ECU Ram 2500 2020 User Guide
[x] Cancel search | Manufacturer: RAM, Model Year: 2020, Model line: 2500, Model: Ram 2500 2020Pages: 553, PDF Size: 21.99 MB
Page 27 of 553

GETTING TO KNOW YOUR VEHICLE25
NOTE:
Duplication of key fobs may be performed at an
authorized dealer. This procedure consists of
programming a blank key fob to the vehicle
electronics. A blank key fob is one that has
never been programmed.
When having the Sentry Key Immobilizer
System serviced, bring all vehicle keys with you
to an authorized dealer.
General Information
The following regulatory statement applies to all
Radio Frequency (RF) devices equipped in this
vehicle:
This device complies with Part 15 of the FCC
Rules and with Innovation, Science and
Economic Development Canada license-exempt
RSS standard(s). Operation is subject to the
following two conditions:
1. This device may not cause harmful interfer
-
ence, and
2. This device must accept any interference received, including interference that may
cause undesired operation.
Le présent appareil est conforme aux CNR
d`Innovation, Science and Economic Develop -
ment applicables aux appareils radio exempts
de licence. L'exploitation est autorisée aux deux
conditions suivantes:
1. l'appareil ne doit pas produire de brouil -
lage, et
2. l'utilisateur de l'appareil doit accepter tout brouillage radioélectrique subi, même si le
brouillage est susceptible d'en comprom -
ettre le fonctionnement.
La operación de este equipo está sujeta a las
siguientes dos condiciones:
1. es posible que este equipo o dispositivo no cause interferencia perjudicial y
2. este equipo o dispositivo debe aceptar cual -
quier interferencia, incluyendo la que
pueda causar su operación no deseada. NOTE:
Changes or modifications not expressly
approved by the party responsible for compli
-
ance could void the user’s authority to operate
the equipment.
VEHICLE SECURITY ALARM
The vehicle security alarm monitors the vehicle
doors, tailgate, and ignition for unauthorized
operation. When the vehicle security alarm is
activated, interior switches for door locks are
disabled. The system will turn the horn off after
29 seconds, 5 seconds between cycles, up to 8
cycles if the trigger remains active and then the
vehicle security alarm will rearm itself.
To Arm The System
Follow these steps to arm the vehicle security
alarm:
1. Remove the key from the ignition system. Refer to "Starting The Engine" in "Starting
And Operating" for further information.
Make sure the vehicle ignition system is OFF.
For vehicles equipped with Keyless
Enter-N-Go — Ignition, always remember to
place the ignition in the OFF position.
CAUTION! (Continued)
2
20_DJD2_OM_EN_USC_t.book Page 25
Page 28 of 553

26GETTING TO KNOW YOUR VEHICLE
2. Perform one of the following methods to
lock the vehicle:
Push the lock button on the interior power door lock switch with the driver
and/or passenger door open.
Push the lock button on the exterior Passive Entry Door Handle with a valid
key fob available in the same exterior
zone. Refer to "Keyless Enter-N-Go —
Passive Entry" in “Doors” in this chapter
for further information.
Push the lock button on the key fob.
3. If any doors are open, close them.
The vehicle security alarm will set when you use
the power door locks, or use the key fob to lock
the doors. After all the doors are locked and
closed, the vehicle security light, in the instru -
ment panel cluster, will flash rapidly for about
16 seconds to indicate that the alarm is being
set. After the alarm is set, the vehicle security
light will flash at a slower rate to indicate that
the system is armed.
To Disarm The System
The vehicle security alarm can be disarmed
using any of the following methods:
1. Push the unlock button on the key fob.
2. Grasp the Passive Entry Door Handle with a valid key fob within 5 ft (1.5 m) of the
Passive Entry door handle. If equipped,
refer to "Keyless Enter-N-Go — Passive
Entry" in "Doors" in this chapter for further
information.
3. Cycle the ignition out of the OFF position.
The vehicle security alarm is designed to protect
your vehicle. However, you can create condi -
tions where the system will give you a false
alarm. If one of the previously described arming
sequences has occurred, the vehicle security
alarm will arm regardless of whether you are in
the vehicle or not. If you remain in the vehicle
and open a door, the alarm will sound. If this
occurs, disarm the vehicle security alarm.
If the vehicle security alarm is armed and the
battery becomes disconnected, the vehicle
security alarm will remain armed when the
battery is reconnected; the exterior lights will flash, and the horn will sound. If this occurs,
disarm the vehicle security alarm.
Rearming Of The System
If something triggers the alarm, and no action is
taken to disarm it, the vehicle security alarm will
turn the horn off after 29 seconds, 5 seconds
between cycles, up to 8 cycles if the trigger
remains active and then the vehicle security
alarm will rearm itself.
Security System Manual Override
The vehicle security alarm will not arm/disarm if
you lock/unlock the doors using the manual
door lock.
20_DJD2_OM_EN_USC_t.book Page 26
Page 29 of 553
GETTING TO KNOW YOUR VEHICLE27
(Continued)
DOORS
Manual Door Locks
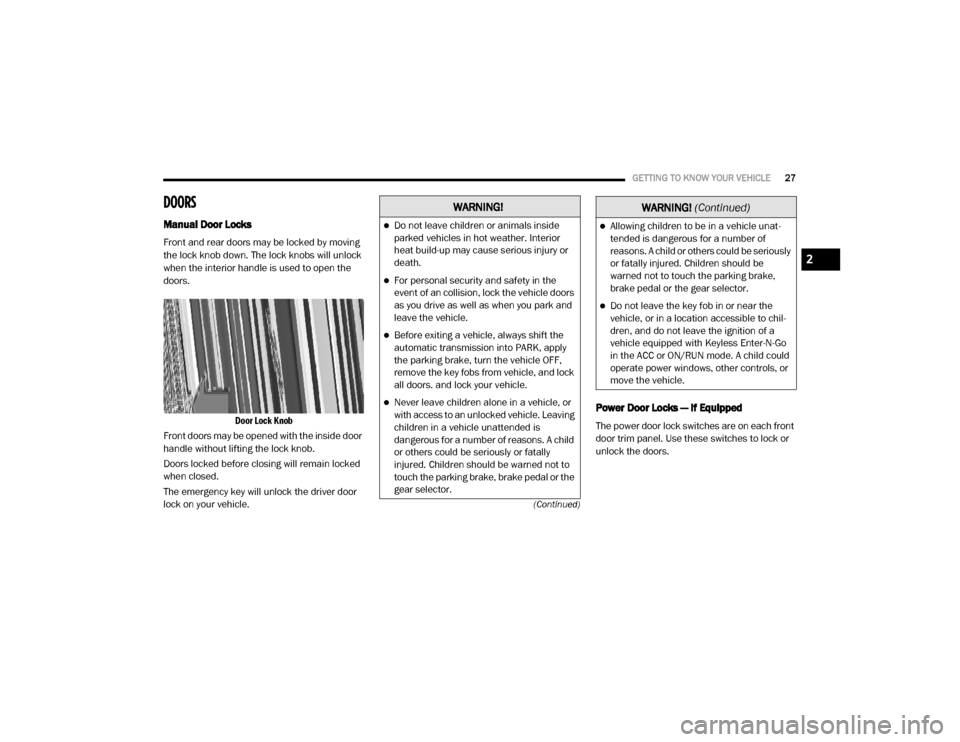
Front and rear doors may be locked by moving
the lock knob down. The lock knobs will unlock
when the interior handle is used to open the
doors.
Door Lock Knob
Front doors may be opened with the inside door
handle without lifting the lock knob.
Doors locked before closing will remain locked
when closed.
The emergency key will unlock the driver door
lock on your vehicle.
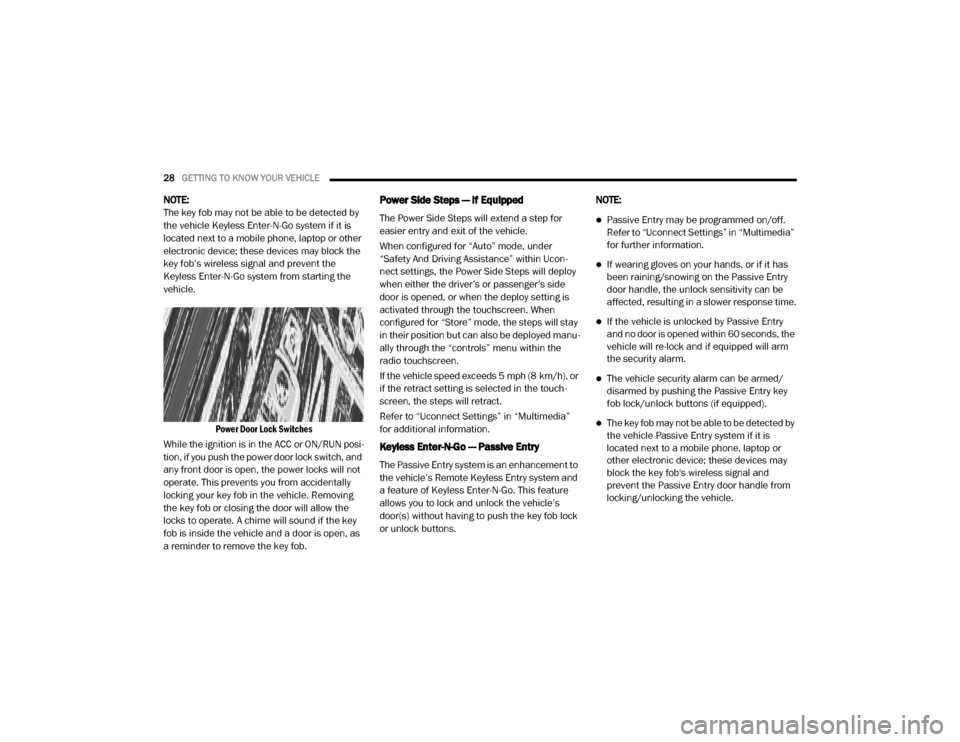
Power Door Locks — If Equipped
The power door lock switches are on each front
door trim panel. Use these switches to lock or
unlock the doors.
WARNING!
Do not leave children or animals inside
parked vehicles in hot weather. Interior
heat build-up may cause serious injury or
death.
For personal security and safety in the
event of an collision, lock the vehicle doors
as you drive as well as when you park and
leave the vehicle.
Before exiting a vehicle, always shift the
automatic transmission into PARK, apply
the parking brake, turn the vehicle OFF,
remove the key fobs from vehicle, and lock
all doors. and lock your vehicle.
Never leave children alone in a vehicle, or
with access to an unlocked vehicle. Leaving
children in a vehicle unattended is
dangerous for a number of reasons. A child
or others could be seriously or fatally
injured. Children should be warned not to
touch the parking brake, brake pedal or the
gear selector.
Allowing children to be in a vehicle unat -
tended is dangerous for a number of
reasons. A child or others could be seriously
or fatally injured. Children should be
warned not to touch the parking brake,
brake pedal or the gear selector.
Do not leave the key fob in or near the
vehicle, or in a location accessible to chil -
dren, and do not leave the ignition of a
vehicle equipped with Keyless Enter-N-Go
in the ACC or ON/RUN mode. A child could
operate power windows, other controls, or
move the vehicle.
WARNING! (Continued)
2
20_DJD2_OM_EN_USC_t.book Page 27
Page 30 of 553
28GETTING TO KNOW YOUR VEHICLE
NOTE:
The key fob may not be able to be detected by
the vehicle Keyless Enter-N-Go system if it is
located next to a mobile phone, laptop or other
electronic device; these devices may block the
key fob’s wireless signal and prevent the
Keyless Enter-N-Go system from starting the
vehicle.
Power Door Lock Switches
While the ignition is in the ACC or ON/RUN posi -
tion, if you push the power door lock switch, and
any front door is open, the power locks will not
operate. This prevents you from accidentally
locking your key fob in the vehicle. Removing
the key fob or closing the door will allow the
locks to operate. A chime will sound if the key
fob is inside the vehicle and a door is open, as
a reminder to remove the key fob.Power Side Steps — If Equipped
The Power Side Steps will extend a step for
easier entry and exit of the vehicle.
When configured for “Auto” mode, under
“Safety And Driving Assistance” within Ucon -
nect settings, the Power Side Steps will deploy
when either the driver’s or passenger’s side
door is opened, or when the deploy setting is
activated through the touchscreen. When
configured for “Store” mode, the steps will stay
in their position but can also be deployed manu -
ally through the “controls” menu within the
radio touchscreen.
If the vehicle speed exceeds 5 mph (8 km/h), or
if the retract setting is selected in the touch -
screen, the steps will retract.
Refer to “Uconnect Settings” in “Multimedia”
for additional information.
Keyless Enter-N-Go — Passive Entry
The Passive Entry system is an enhancement to
the vehicle’s Remote Keyless Entry system and
a feature of Keyless Enter-N-Go. This feature
allows you to lock and unlock the vehicle’s
door(s) without having to push the key fob lock
or unlock buttons. NOTE:
Passive Entry may be programmed on/off.
Refer to “Uconnect Settings” in “Multimedia”
for further information.
If wearing gloves on your hands, or if it has
been raining/snowing on the Passive Entry
door handle, the unlock sensitivity can be
affected, resulting in a slower response time.
If the vehicle is unlocked by Passive Entry
and no door is opened within 60 seconds, the
vehicle will re-lock and if equipped will arm
the security alarm.
The vehicle security alarm can be armed/
disarmed by pushing the Passive Entry key
fob lock/unlock buttons (if equipped).
The key fob may not be able to be detected by
the vehicle Passive Entry system if it is
located next to a mobile phone, laptop or
other electronic device; these devices may
block the key fob's wireless signal and
prevent the Passive Entry door handle from
locking/unlocking the vehicle.
20_DJD2_OM_EN_USC_t.book Page 28
Page 43 of 553
GETTING TO KNOW YOUR VEHICLE41
Rear Head Restraint Adjustment
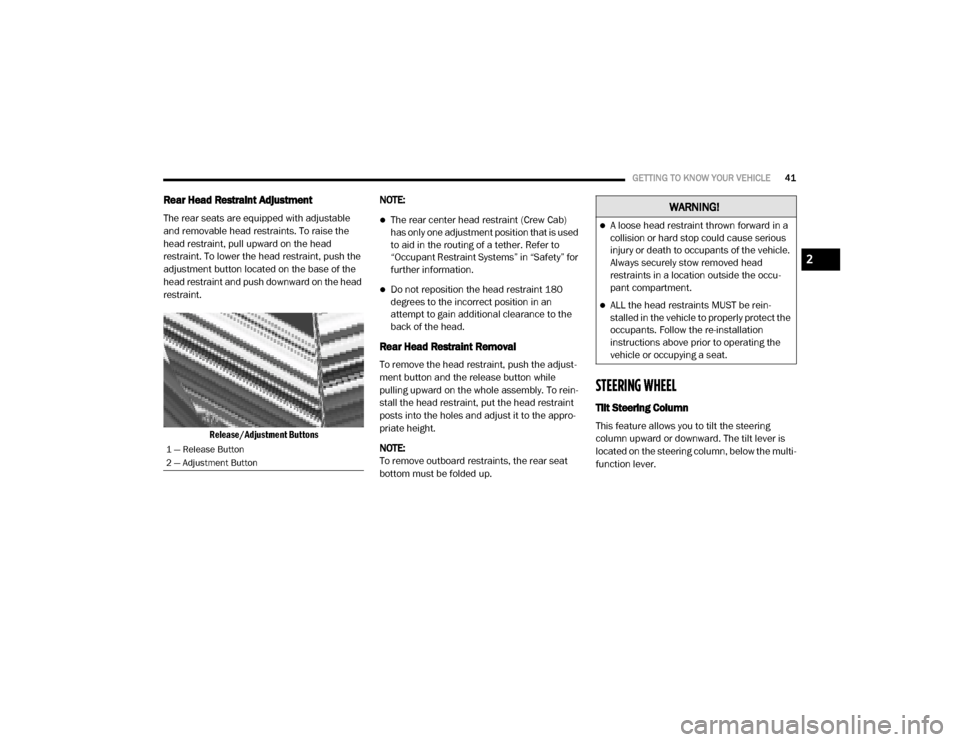
The rear seats are equipped with adjustable
and removable head restraints. To raise the
head restraint, pull upward on the head
restraint. To lower the head restraint, push the
adjustment button located on the base of the
head restraint and push downward on the head
restraint.
Release/Adjustment Buttons
NOTE:The rear center head restraint (Crew Cab)
has only one adjustment position that is used
to aid in the routing of a tether. Refer to
“Occupant Restraint Systems” in “Safety” for
further information.
Do not reposition the head restraint 180
degrees to the incorrect position in an
attempt to gain additional clearance to the
back of the head.
Rear Head Restraint Removal
To remove the head restraint, push the adjust
-
ment button and the release button while
pulling upward on the whole assembly. To rein -
stall the head restraint, put the head restraint
posts into the holes and adjust it to the appro -
priate height.
NOTE:
To remove outboard restraints, the rear seat
bottom must be folded up.
STEERING WHEEL
Tilt Steering Column
This feature allows you to tilt the steering
column upward or downward. The tilt lever is
located on the steering column, below the multi -
function lever.
1 — Release Button
2 — Adjustment Button
WARNING!
A loose head restraint thrown forward in a
collision or hard stop could cause serious
injury or death to occupants of the vehicle.
Always securely stow removed head
restraints in a location outside the occu -
pant compartment.
ALL the head restraints MUST be rein -
stalled in the vehicle to properly protect the
occupants. Follow the re-installation
instructions above prior to operating the
vehicle or occupying a seat.
2
20_DJD2_OM_EN_USC_t.book Page 41
Page 75 of 553

GETTING TO KNOW YOUR VEHICLE73
Opening Sunroof
Express
Push the switch rearward and release it within
one-half second. The sunroof and sunshade will
open automatically and stop when the full open
position is reached. This is called “Express
Open.” During Express Open operation, any
other actuation of the sunroof switch will stop
the sunroof.
Manual Mode
To open the sunroof, push and hold the switch
rearward. The sunroof will move rearward and
automatically stop at full open position. Any
release of the switch will stop the movement.
The sunroof and sunshade will remain in a
partially opened condition until the sunroof
switch is pushed again.
Closing Sunroof
Express
Push the switch forward and release it within
one-half second and the sunroof will close auto -
matically from any position. The sunroof will
close fully and stop automatically. This is called
“Express Close.” During Express Close opera -
tion, any other actuation of the switch will stop
the sunroof. Manual Mode
To close the sunroof, push and hold the switch
forward. The sunroof will move forward and
automatically stop at full closed position. Any
release of the switch will stop the movement
and the sunroof will remain in a partially closed
condition until the sunroof switch is pushed
again.
Wind Buffeting
Wind buffeting can be described as the percep
-
tion of pressure on the ears or a helicopter-type
sound in the ears. Your vehicle may exhibit wind
buffeting with the windows down, or the sunroof
(if equipped) in certain open or partially open
positions. This is a normal occurrence and can
be minimized. If the buffeting occurs with the
rear windows open, then open the front and
rear windows together to minimize the
buffeting. If the buffeting occurs with the
sunroof open, adjust the sunroof opening to
minimize the buffeting or open any window.
WARNING!
Never leave children unattended in a
vehicle, or with access to an unlocked
vehicle. Never leave the key fob in or near
the vehicle, or in a location accessible to
children. Do not leave the ignition of a
vehicle equipped with Keyless Enter-N-Go
in the ACC or ON/RUN mode. Occupants,
particularly unattended children, can
become entrapped by the power sunroof
while operating the power sunroof switch.
Such entrapment may result in serious
injury or death.
In a collision, there is a greater risk of being
thrown from a vehicle with an open sunroof.
You could also be seriously injured or killed.
Always fasten your seat belt properly and
make sure all passengers are also properly
secured.
Do not allow small children to operate the
sunroof. Never allow your fingers, other
body parts, or any object, to project through
the sunroof opening. Injury may result.
2
20_DJD2_OM_EN_USC_t.book Page 73
Page 76 of 553
74GETTING TO KNOW YOUR VEHICLE
Sunshade Operation
The sunshade can be opened manually.
However, the sunshade will open automatically
as the sunroof opens.
NOTE:
The sunshade cannot be closed if the sunroof is
open.
Pinch Protect Feature
This feature will detect an obstruction in the
closing of the sunroof during the Express Close
operation. If an obstruction in the path of the
sunroof is detected, the sunroof will automati-
cally retract. Remove the obstruction if this
occurs.
NOTE:
If three consecutive sunroof close attempts
result in Pinch Protect reversals, Pinch Protect
will disable and the sunroof must be closed in
Manual Mode.
Venting Sunroof — Express
Push and release the Vent button within one
half second and the sunroof will open to the
vent position. This is called “Express Vent”, and
it will occur regardless of sunroof position. During Express Vent operation, any other actua-
tion of the switch will stop the sunroof.
Sunroof Maintenance
Use only a non-abrasive cleaner and a soft cloth
to clean the glass panel.
Ignition Off Operation
The power sunroof switch will remain active for
up to approximately 10 minutes after the igni
-
tion switch is placed in the OFF position.
Opening either front door will cancel this
feature.
NOTE:
Ignition Off time is programmable through the
Uconnect System. Refer to “Uconnect Settings”
in “Multimedia” for further information.
HOOD
To Open The Hood
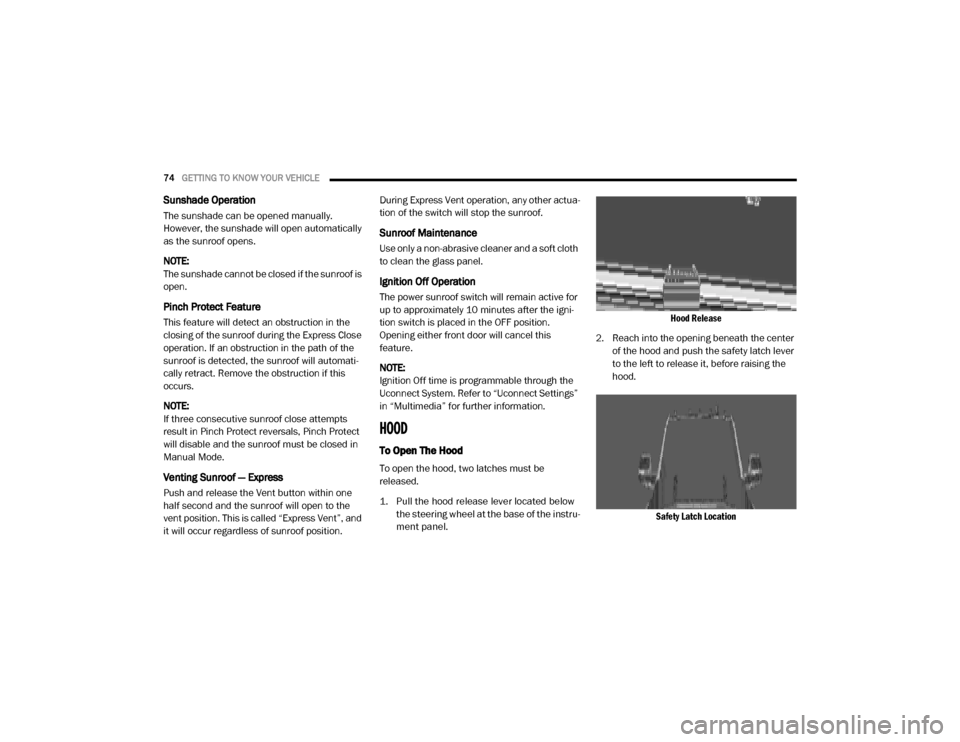
To open the hood, two latches must be
released.
1. Pull the hood release lever located below the steering wheel at the base of the instru -
ment panel.
Hood Release
2. Reach into the opening beneath the center of the hood and push the safety latch lever
to the left to release it, before raising the
hood.
Safety Latch Location
20_DJD2_OM_EN_USC_t.book Page 74
Page 77 of 553
GETTING TO KNOW YOUR VEHICLE75
To Close The Hood
Lower the hood to approximately 12 inches
(30 cm) from the engine compartment and drop
it. Make sure that the hood is completely
closed.
TAILGATE
Opening
The power tailgate may be opened by pushing
the tailgate release pad located on the tailgate
door.
The tailgate damper strut will lower the tailgate
to the open position (if equipped).
Electronic Tailgate Release — If Equipped
The key fob may be equipped with an
electronic release feature for the tail-
gate, allowing hands-free tailgate
opening. To activate, push and
release the Tailgate Release button on the key
fob twice within five seconds. The tailgate door
will unlatch, and slowly lower into the open posi -
tion.
If equipped, a button on the center overhead
console inside the vehicle can be used to
release the tailgate.
NOTE:
The Tri-Fold Tonneau Cover (if equipped) may
prevent Electronic Tailgate Release if installed.
The Tonneau Cover must be removed or folded
up before releasing the tailgate. Refer to “Tri-Fold Tonneau Cover — If Equipped” in this
chapter for further information.
Closing
To close the tailgate, push it upward until both
sides are latched.
NOTE:
Pull back on the tailgate firmly after closing to
ensure it is securely latched.
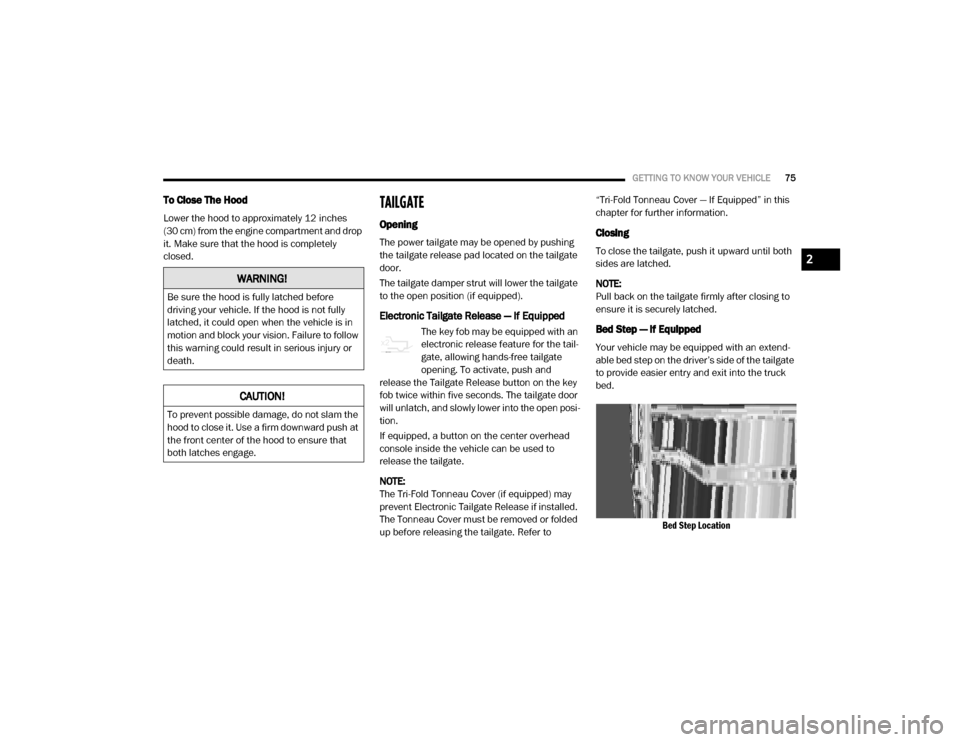
Bed Step — If Equipped
Your vehicle may be equipped with an extend
-
able bed step on the driver’s side of the tailgate
to provide easier entry and exit into the truck
bed.
Bed Step Location
WARNING!
Be sure the hood is fully latched before
driving your vehicle. If the hood is not fully
latched, it could open when the vehicle is in
motion and block your vision. Failure to follow
this warning could result in serious injury or
death.
CAUTION!
To prevent possible damage, do not slam the
hood to close it. Use a firm downward push at
the front center of the hood to ensure that
both latches engage.
2
20_DJD2_OM_EN_USC_t.book Page 75
Page 78 of 553
76GETTING TO KNOW YOUR VEHICLE
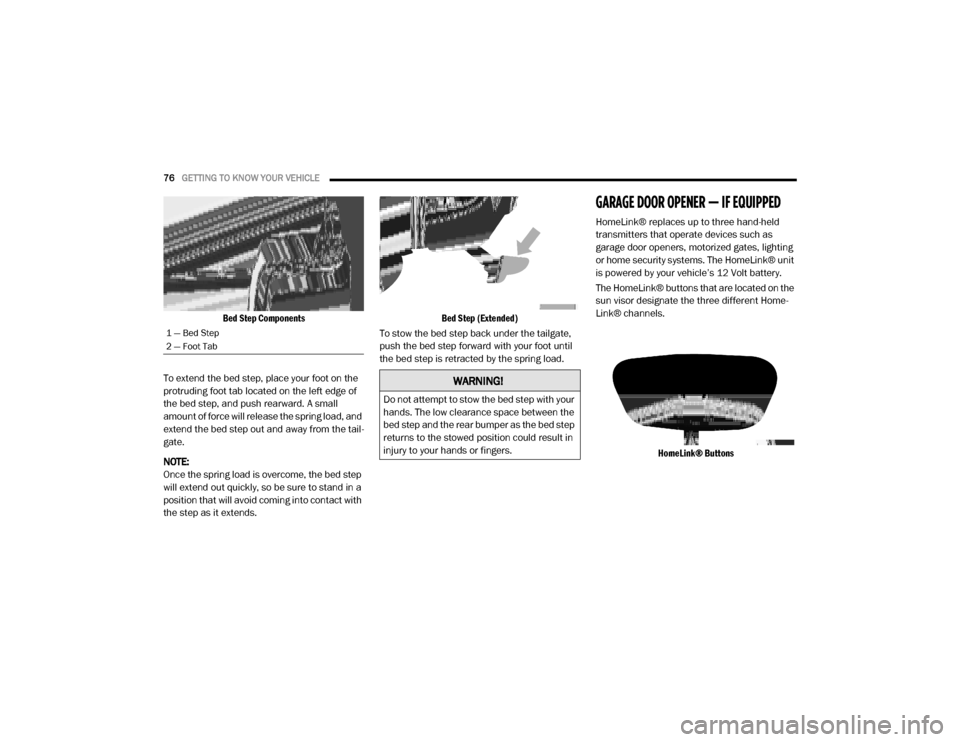
Bed Step Components
To extend the bed step, place your foot on the
protruding foot tab located on the left edge of
the bed step, and push rearward. A small
amount of force will release the spring load, and
extend the bed step out and away from the tail -
gate.
NOTE:
Once the spring load is overcome, the bed step
will extend out quickly, so be sure to stand in a
position that will avoid coming into contact with
the step as it extends.
Bed Step (Extended)
To stow the bed step back under the tailgate,
push the bed step forward with your foot until
the bed step is retracted by the spring load.
GARAGE DOOR OPENER — IF EQUIPPED
HomeLink® replaces up to three hand-held
transmitters that operate devices such as
garage door openers, motorized gates, lighting
or home security systems. The HomeLink® unit
is powered by your vehicle’s 12 Volt battery.
The HomeLink® buttons that are located on the
sun visor designate the three different Home -
Link® channels.
HomeLink® Buttons
1 — Bed Step
2 — Foot Tab
WARNING!
Do not attempt to stow the bed step with your
hands. The low clearance space between the
bed step and the rear bumper as the bed step
returns to the stowed position could result in
injury to your hands or fingers.
20_DJD2_OM_EN_USC_t.book Page 76
Page 79 of 553

GETTING TO KNOW YOUR VEHICLE77
NOTE:
HomeLink® is disabled when the Vehicle Secu -
rity Alarm is active. NOTE:
Only use this transceiver with a garage door
opener that has a “stop and reverse” feature as
required by federal safety standards. This
includes most garage door opener models
manufactured after 1982. Do not use a garage
door opener without these safety features. Call
toll-free 1-800-355-3515 or, on the Internet at
HomeLink.com
for safety information or assis -
tance.
Before You Begin Programming HomeLink®
Be sure that your vehicle is parked outside of
the garage before you begin programming.
For more efficient programming and accurate
transmission of the Radio Frequency (RF) signal
it is recommended that a new battery be placed
in the hand-held transmitter of the device that is
being programmed to the HomeLink® system.
To erase the channels, place the ignition in the
ON/RUN position, and push and hold the two
outside HomeLink® buttons (I and III) for up to
20 seconds or until the orange indicator
flashes. NOTE:
Erasing all channels should only be
performed when programming HomeLink®
for the first time. Do not erase channels when
programming additional buttons.
If you have any problems, or require assis
-
tance, please call toll-free 1-800-355-3515
or, on the Internet at HomeLink.com for infor-
mation or assistance.
Programming A Rolling Code
For programming garage door openers that
were manufactured after 1995. These garage
door openers can be identified by the “LEARN”
or “TRAIN” button located where the hanging
antenna is attached to the garage door opener.
NOTE:
It is NOT the button that is normally used to
open and close the door. The name and color of
the button may vary by manufacturer.
WARNING!
Your motorized door or gate will open and
close while you are programming the
universal transceiver. Do not program the
transceiver if people, pets or other objects
are in the path of the door or gate. Only use
this transceiver with a garage door opener
that has a “stop and reverse” feature as
required by Federal safety standards. This
includes most garage door opener models
manufactured after 1982. Do not use a
garage door opener without these safety
features.
Vehicle exhaust contains carbon monoxide,
a dangerous gas. Do not run your vehicle in
the garage while programming the trans -
ceiver. Exhaust gas can cause serious
injury or death.
2
20_DJD2_OM_EN_USC_t.book Page 77