clock setting Ram 2500 2020 User Guide
[x] Cancel search | Manufacturer: RAM, Model Year: 2020, Model line: 2500, Model: Ram 2500 2020Pages: 553, PDF Size: 21.99 MB
Page 495 of 553

MULTIMEDIA493
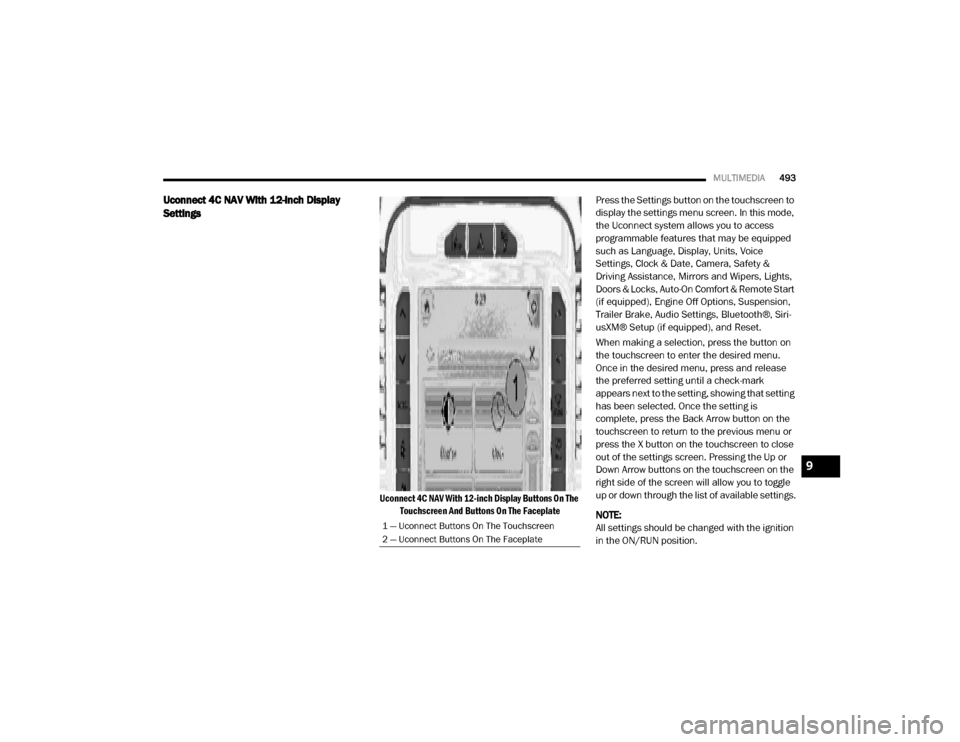
Uconnect 4C NAV With 12-inch Display
Settings
Uconnect 4C NAV With 12-inch Display Buttons On The
Touchscreen And Buttons On The Faceplate
Press the Settings button on the touchscreen to
display the settings menu screen. In this mode,
the Uconnect system allows you to access
programmable features that may be equipped
such as Language, Display, Units, Voice
Settings, Clock & Date, Camera, Safety &
Driving Assistance, Mirrors and Wipers, Lights,
Doors & Locks, Auto-On Comfort & Remote Start
(if equipped), Engine Off Options, Suspension,
Trailer Brake, Audio Settings, Bluetooth®, Siri-
usXM® Setup (if equipped), and Reset.
When making a selection, press the button on
the touchscreen to enter the desired menu.
Once in the desired menu, press and release
the preferred setting until a check-mark
appears next to the setting, showing that setting
has been selected. Once the setting is
complete, press the Back Arrow button on the
touchscreen to return to the previous menu or
press the X button on the touchscreen to close
out of the settings screen. Pressing the Up or
Down Arrow buttons on the touchscreen on the
right side of the screen will allow you to toggle
up or down through the list of available settings.
NOTE:
All settings should be changed with the ignition
in the ON/RUN position.
1 — Uconnect Buttons On The Touchscreen
2 — Uconnect Buttons On The Faceplate
9
20_DJD2_OM_EN_USC_t.book Page 493
Page 498 of 553

496MULTIMEDIA
Voice Settings
After pressing the Voice Settings button on the touchscreen, the following settings will be available:
Clock
After pressing the Clock button on the touchscreen, the following settings will be available:Power — If Equipped
HP (US)HP (UK) Kw
Temperature °F °C
Torque — If Equipped lb-ft Nm
Setting Name Selectable Options
Setting NameSelectable Options
Voice Response LengthBrief Detailed
Show Command List Neverw/Help Always
Setting Name Selectable Options
Sync Time With GPS — If Equipped OnOff
Set Time Hours +–
Set Time Minutes +–
Set Time Format AM
PM
12 hrs 24 hrs
Show Time in Status Bar — If Equipped OnOff
20_DJD2_OM_EN_USC_t.book Page 496
Page 518 of 553

516MULTIMEDIA
Clock Settings
1. Push the SETTINGS button on the face -
plate, or push the MORE button on the
faceplate, and then the SETTINGS button
on the touchscreen.
2. Select the Clock and Date button on the touchscreen.
3. Next, select Set Time to change the time.
4. Select Set Date to change the date.
5. To set the time, select the Seek Up or Seek Down arrows as appropriate. Select “12 hrs
vs 24 hrs”, “AM” or “PM” or select the “Time
Zones” (if equipped).
6. Select the Done button when complete.
Media Mode
Operating Media Mode
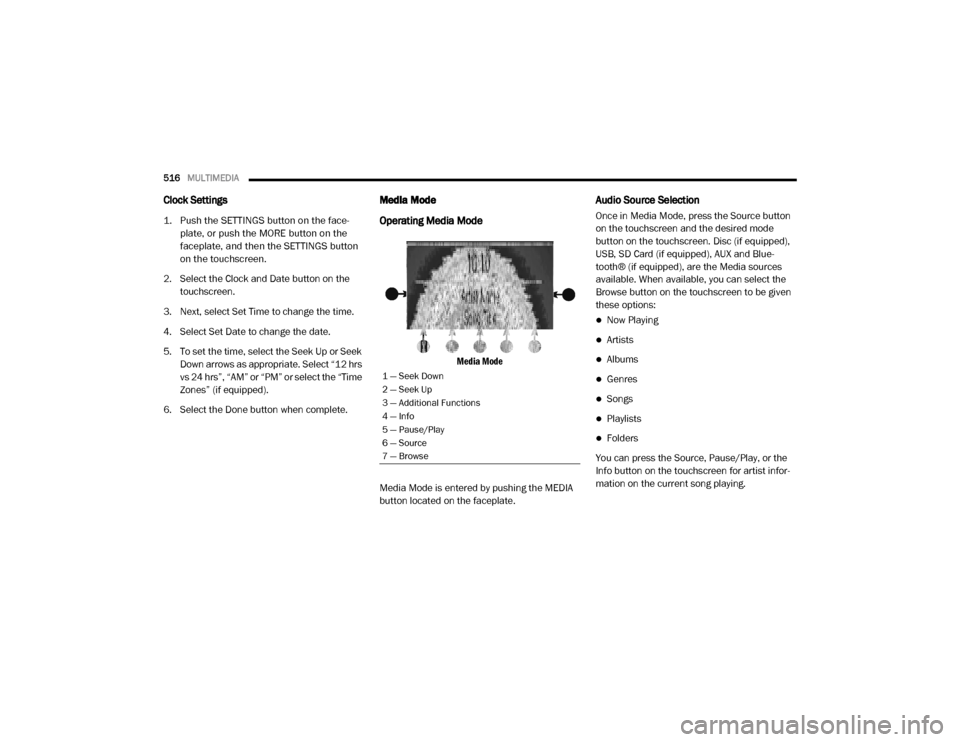
Media Mode
Media Mode is entered by pushing the MEDIA
button located on the faceplate.
Audio Source Selection
Once in Media Mode, press the Source button
on the touchscreen and the desired mode
button on the touchscreen. Disc (if equipped),
USB, SD Card (if equipped), AUX and Blue-
tooth® (if equipped), are the Media sources
available. When available, you can select the
Browse button on the touchscreen to be given
these options:
Now Playing
Artists
Albums
Genres
Songs
Playlists
Folders
You can press the Source, Pause/Play, or the
Info button on the touchscreen for artist infor -
mation on the current song playing.
1 — Seek Down
2 — Seek Up
3 — Additional Functions
4 — Info
5 — Pause/Play
6 — Source
7 — Browse
20_DJD2_OM_EN_USC_t.book Page 516