fuses Ram 2500 2020 Owner's Manual
[x] Cancel search | Manufacturer: RAM, Model Year: 2020, Model line: 2500, Model: Ram 2500 2020Pages: 553, PDF Size: 21.99 MB
Page 9 of 553
7
PARKVIEW REAR BACK UP CAMERA ............. 302 AUX Camera — If Equipped .......................304
SURROUND VIEW CAMERA SYSTEM — IF
EQUIPPED ........................................................... 305
AUX Camera — If Equipped .......................311
ENGINE RUNAWAY — DIESEL ENGINE ............ 312
REFUELING THE VEHICLE — GAS ENGINE ..... 312
Loose Fuel Filler Cap Message ................313
REFUELING THE VEHICLE — DIESEL
ENGINE ............................................................... 313
Diesel Exhaust Fluid ..................................314
VEHICLE LOADING ............................................. 317
Gross Vehicle Weight Rating (GVWR) ......317
Payload .......................................................317
Gross Axle Weight Rating (GAWR) ............317
Tire Size ......................................................317
Rim Size......................................................318
Inflation Pressure ......................................318
Curb Weight................................................318
Loading .......................................................318
TRAILER TOWING .............................................. 318
Common Towing Definitions .....................318
Trailer Hitch Type and Maximum Trailer
Weight.........................................................322 Trailer Towing Weights (Maximum Trailer
Weight Ratings) ..........................................323 Trailer And Tongue Weight ........................ 323
Towing Requirements ...............................323
Towing Tips ................................................328 SNOWPLOW ....................................................... 329
Before Plowing ........................................... 329
Snowplow Prep Package Model
Availability .................................................. 330 Over The Road Operation With Snowplow
Attached ..................................................... 330 Operating Tips ............................................ 330
General Maintenance................................ 330
RECREATIONAL TOWING (BEHIND
MOTORHOME, ETC.) .......................................... 331
Towing This Vehicle Behind Another
Vehicle ........................................................ 331 Recreational Towing — Two-Wheel Drive
Models ........................................................ 331 Recreational Towing — Four-Wheel Drive
Models ........................................................ 332
DRIVING TIPS ...................................................... 335
Driving On Slippery Surfaces ................... 335
Driving Through Water .............................. 335
Off-Road Driving Tips ................................. 336
IN CASE OF EMERGENCY
HAZARD WARNING FLASHERS........................338
ASSIST AND SOS SYSTEM — IF EQUIPPED..... 338
General Information .................................. 342 JACKING AND TIRE CHANGING ...................... 342
Jack Location ............................................. 343
Removal Of Jack And Tools....................... 343
Removing The Spare Tire .......................... 345
Preparations For Jacking .......................... 346
Jacking Instructions................................... 347
To Stow The Flat Or Spare ....................... 350
Reinstalling The Jack And Tools ............... 352
Hub Caps/Wheel Covers — If Equipped ... 352
FUSES .................................................................. 353
Power Distribution Center ........................ 354
JUMP STARTING ............................................... 362
Preparations For Jump Start ..................... 363
Jump Starting Procedure .......................... 363
GEAR SELECTOR OVERRIDE — 6–SPEED
TRANSMISSION ................................................ 365
MANUAL PARK RELEASE — 8 – SPEED
TRANSMISSION ................................................ 366
IF YOUR ENGINE OVERHEATS ......................... 367
FREEING A STUCK VEHICLE ............................ 367
TOWING A DISABLED VEHICLE ........................ 369
Two-Wheel Drive Models ........................... 370
Four-Wheel Drive Models .......................... 370
Emergency Tow Hooks — If Equipped ...... 371
20_DJD2_OM_EN_USC_t.book Page 7
Page 355 of 553
IN CASE OF EMERGENCY353
For 2500/3500 Single Rear Wheel (SRW)
models, use the flat end of the lug wrench to
hook and pull off the hub cap. Find the opening
in the hub cap, insert the lug wrench, and pull
off the cap. If you need to pry against the wheel,
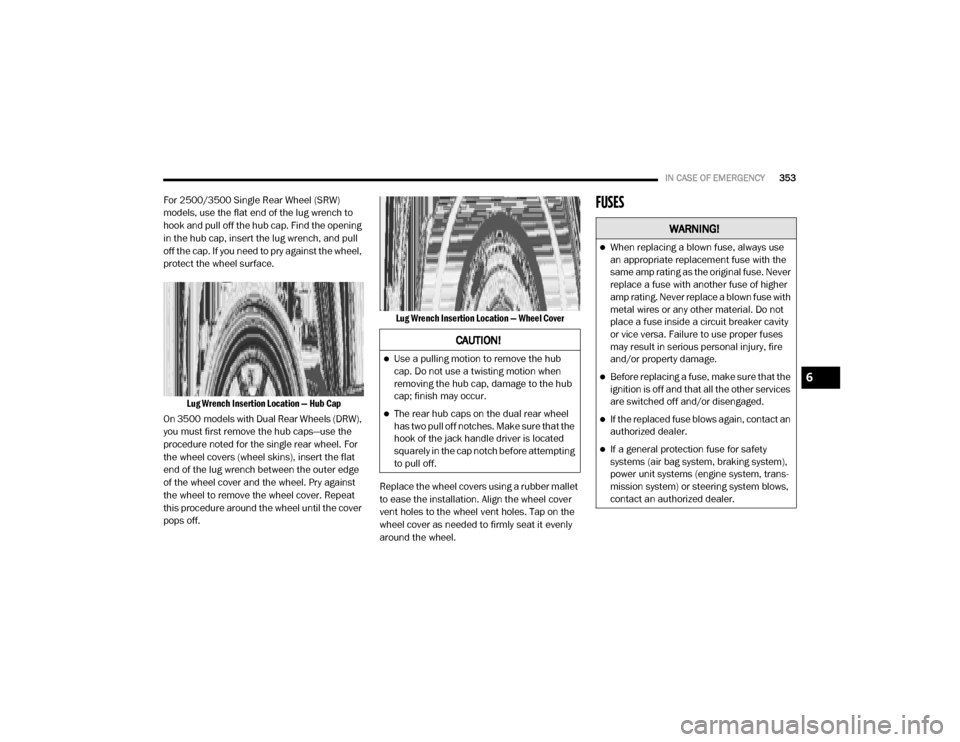
protect the wheel surface.
Lug Wrench Insertion Location — Hub Cap
On 3500 models with Dual Rear Wheels (DRW),
you must first remove the hub caps—use the
procedure noted for the single rear wheel. For
the wheel covers (wheel skins), insert the flat
end of the lug wrench between the outer edge
of the wheel cover and the wheel. Pry against
the wheel to remove the wheel cover. Repeat
this procedure around the wheel until the cover
pops off.
Lug Wrench Insertion Location — Wheel Cover
Replace the wheel covers using a rubber mallet
to ease the installation. Align the wheel cover
vent holes to the wheel vent holes. Tap on the
wheel cover as needed to firmly seat it evenly
around the wheel.FUSES
CAUTION!
Use a pulling motion to remove the hub
cap. Do not use a twisting motion when
removing the hub cap, damage to the hub
cap; finish may occur.
The rear hub caps on the dual rear wheel
has two pull off notches. Make sure that the
hook of the jack handle driver is located
squarely in the cap notch before attempting
to pull off.
WARNING!
When replacing a blown fuse, always use
an appropriate replacement fuse with the
same amp rating as the original fuse. Never
replace a fuse with another fuse of higher
amp rating. Never replace a blown fuse with
metal wires or any other material. Do not
place a fuse inside a circuit breaker cavity
or vice versa. Failure to use proper fuses
may result in serious personal injury, fire
and/or property damage.
Before replacing a fuse, make sure that the
ignition is off and that all the other services
are switched off and/or disengaged.
If the replaced fuse blows again, contact an
authorized dealer.
If a general protection fuse for safety
systems (air bag system, braking system),
power unit systems (engine system, trans -
mission system) or steering system blows,
contact an authorized dealer.
6
20_DJD2_OM_EN_USC_t.book Page 353
Page 356 of 553
354IN CASE OF EMERGENCY
Power Distribution Center
The Power Distribution Center is located in the
engine compartment near the battery. This
center contains cartridge fuses, micro fuses,
relays, and circuit breakers. A description of
each fuse and component may be stamped on
the inside cover, otherwise the cavity number of
each fuse is stamped on the inside cover that
corresponds to the following chart.
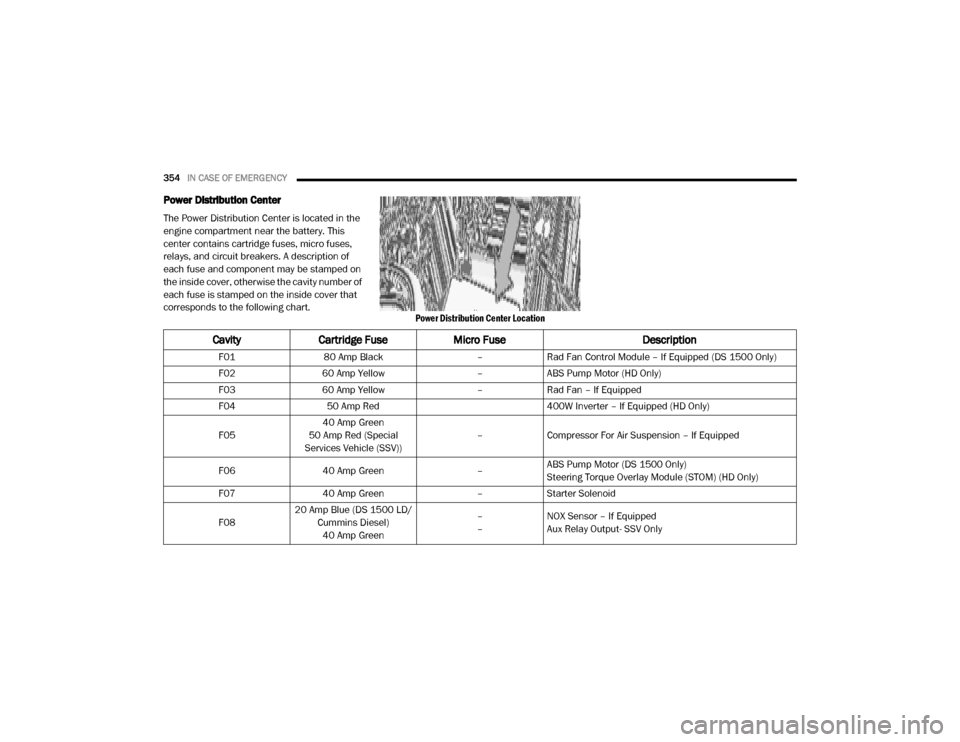
Power Distribution Center Location
CavityCartridge Fuse Micro Fuse Description
F0180 Amp Black –Rad Fan Control Module – If Equipped (DS 1500 Only)
F02 60 Amp Yellow –ABS Pump Motor (HD Only)
F03 60 Amp Yellow –Rad Fan – If Equipped
F04 50 Amp Red 400W Inverter – If Equipped (HD Only)
F05 40 Amp Green
50 Amp Red (Special
Services Vehicle (SSV)) –
Compressor For Air Suspension – If Equipped
F06 40 Amp Green –ABS Pump Motor (DS 1500 Only)
Steering Torque Overlay Module (STOM) (HD Only)
F07 40 Amp Green –Starter Solenoid
F08 20 Amp Blue (DS 1500 LD/
Cummins Diesel)40 Amp Green –
–
NOX Sensor – If Equipped
Aux Relay Output- SSV Only
20_DJD2_OM_EN_USC_t.book Page 354
Page 365 of 553
IN CASE OF EMERGENCY363
Preparations For Jump Start
The battery in your vehicle is located in the front
of the engine compartment, behind the driver
side headlight assembly.
NOTE:
If you have a diesel engine, you may have two
batteries, however jump start off the driver
side battery.
The positive battery post may be covered with
a protective cap if equipped. Lift up on the
cap to gain access to the positive battery
post. Do not jump off fuses. Only jump
directly off positive post which has a positive
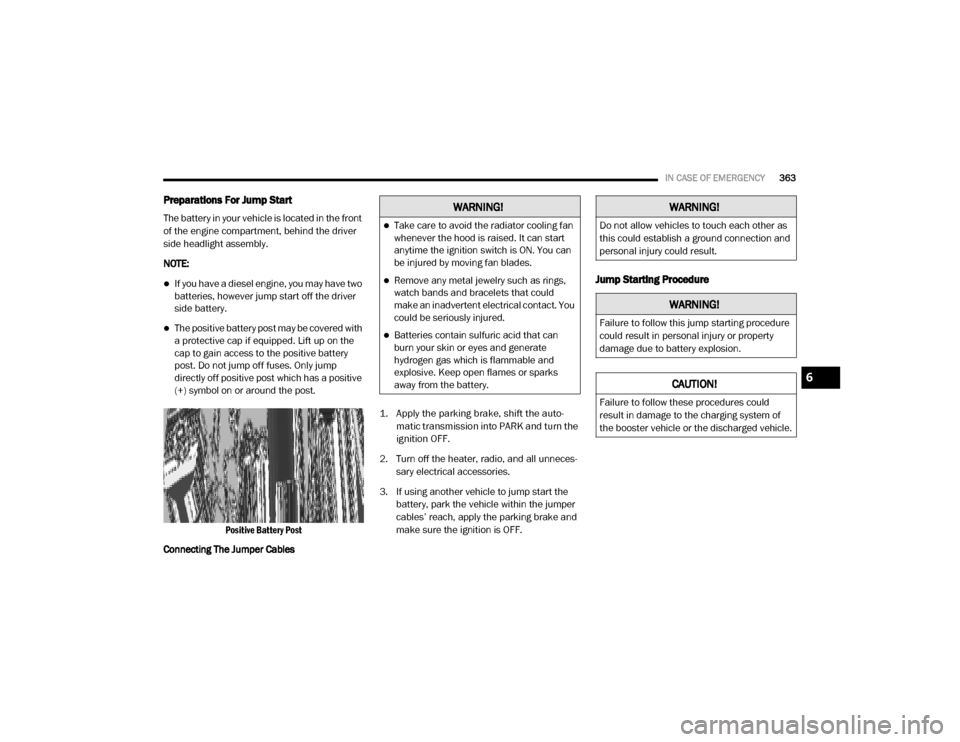
(+) symbol on or around the post.
Positive Battery Post
1. Apply the parking brake, shift the auto
-
matic transmission into PARK and turn the
ignition OFF.
2. Turn off the heater, radio, and all unneces -
sary electrical accessories.
3. If using another vehicle to jump start the battery, park the vehicle within the jumper
cables’ reach, apply the parking brake and
make sure the ignition is OFF.
Jump Starting Procedure
Connecting The Jumper Cables
WARNING!
Take care to avoid the radiator cooling fan
whenever the hood is raised. It can start
anytime the ignition switch is ON. You can
be injured by moving fan blades.
Remove any metal jewelry such as rings,
watch bands and bracelets that could
make an inadvertent electrical contact. You
could be seriously injured.
Batteries contain sulfuric acid that can
burn your skin or eyes and generate
hydrogen gas which is flammable and
explosive. Keep open flames or sparks
away from the battery.
WARNING!
Do not allow vehicles to touch each other as
this could establish a ground connection and
personal injury could result.
WARNING!
Failure to follow this jump starting procedure
could result in personal injury or property
damage due to battery explosion.
CAUTION!
Failure to follow these procedures could
result in damage to the charging system of
the booster vehicle or the discharged vehicle.
6
20_DJD2_OM_EN_USC_t.book Page 363
Page 366 of 553

364IN CASE OF EMERGENCY
1. Connect the positive
(+) end of the jumper
cable to the positive (+)
post of the
discharged vehicle.
NOTE:
Do not jump off fuses. Only jump directly off
positive post.
2. Connect the opposite end of the positive (+)
jumper cable to the positive (+) post of the
booster battery.
3. Connect the negative (-) end of the jumper
cable to the negative (-) post of the booster
battery.
4. Connect the opposite end of the negative (-)
jumper cable to a good engine ground
(exposed metal part of the discharged vehicle’s engine) away from the battery and
the fuel injection system.
5. Start the engine in the vehicle that has the booster battery, let the engine idle a few
minutes, and then start the engine in the
vehicle with the discharged battery.
6. Once the engine is started, remove the jumper cables in the reverse sequence. Disconnecting The Jumper Cables
1. Disconnect the negative
(-)
end of the
jumper cable from the engine ground of
the vehicle with the discharged battery.
2. Disconnect the opposite end of the negative (-) jumper cable from the negative (-) post of
the booster battery.
3. Disconnect the positive (+) end of the
jumper cable from the positive (+) post of
the booster battery.
4. Disconnect the opposite end of the positive (+) jumper cable from the positive (+) post
of the vehicle with the discharged battery.
If frequent jump starting is required to start your
vehicle you should have the battery and
charging system inspected at an authorized
dealer.
WARNING!
Do not connect the jumper cable to the
negative (-) post of the discharged battery.
The resulting electrical spark could cause the
battery to explode and could result in
personal injury. Only use the specific ground
point, do not use any other exposed metal
parts.
CAUTION!
Do not connect jumper cable to any of the
fuses on the positive battery terminal. The
resulting electrical current will blow the fuse.
20_DJD2_OM_EN_USC_t.book Page 364
Page 393 of 553
SERVICING AND MAINTENANCE391
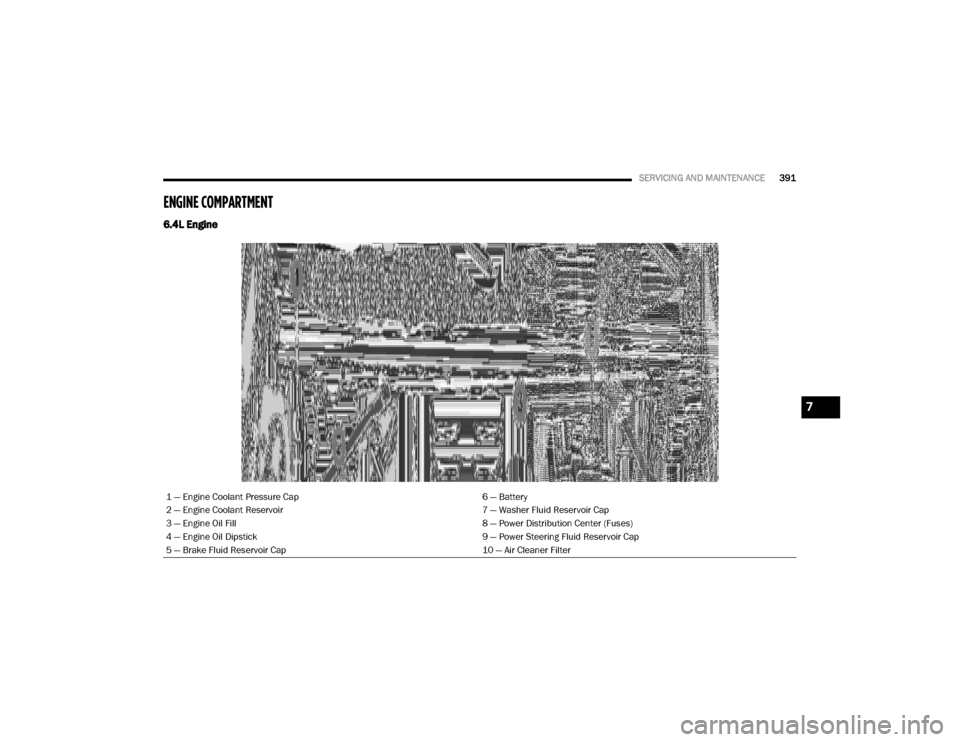
ENGINE COMPARTMENT
6.4L Engine
1 — Engine Coolant Pressure Cap 6 — Battery
2 — Engine Coolant Reservoir 7 — Washer Fluid Reservoir Cap
3 — Engine Oil Fill 8 — Power Distribution Center (Fuses)
4 — Engine Oil Dipstick 9 — Power Steering Fluid Reservoir Cap
5 — Brake Fluid Reservoir Cap 10 — Air Cleaner Filter
7
20_DJD2_OM_EN_USC_t.book Page 391
Page 394 of 553
392SERVICING AND MAINTENANCE
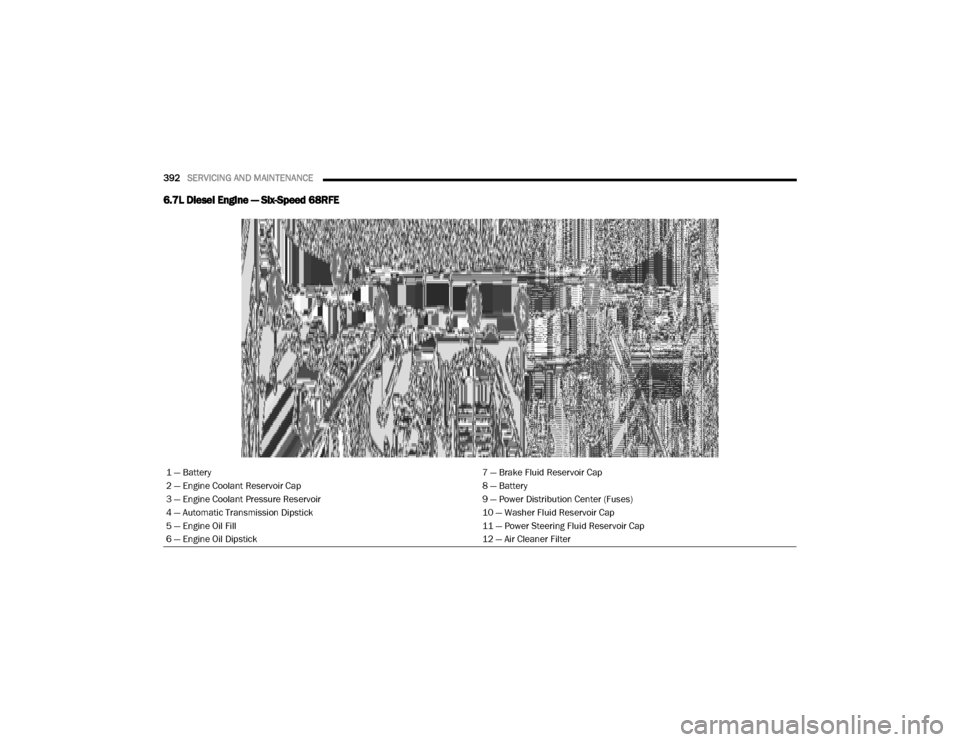
6.7L Diesel Engine — Six-Speed 68RFE
1 — Battery 7 — Brake Fluid Reservoir Cap
2 — Engine Coolant Reservoir Cap 8 — Battery
3 — Engine Coolant Pressure Reservoir 9 — Power Distribution Center (Fuses)
4 — Automatic Transmission Dipstick 10 — Washer Fluid Reservoir Cap
5 — Engine Oil Fill 11 — Power Steering Fluid Reservoir Cap
6 — Engine Oil Dipstick 12 — Air Cleaner Filter
20_DJD2_OM_EN_USC_t.book Page 392
Page 395 of 553
SERVICING AND MAINTENANCE393
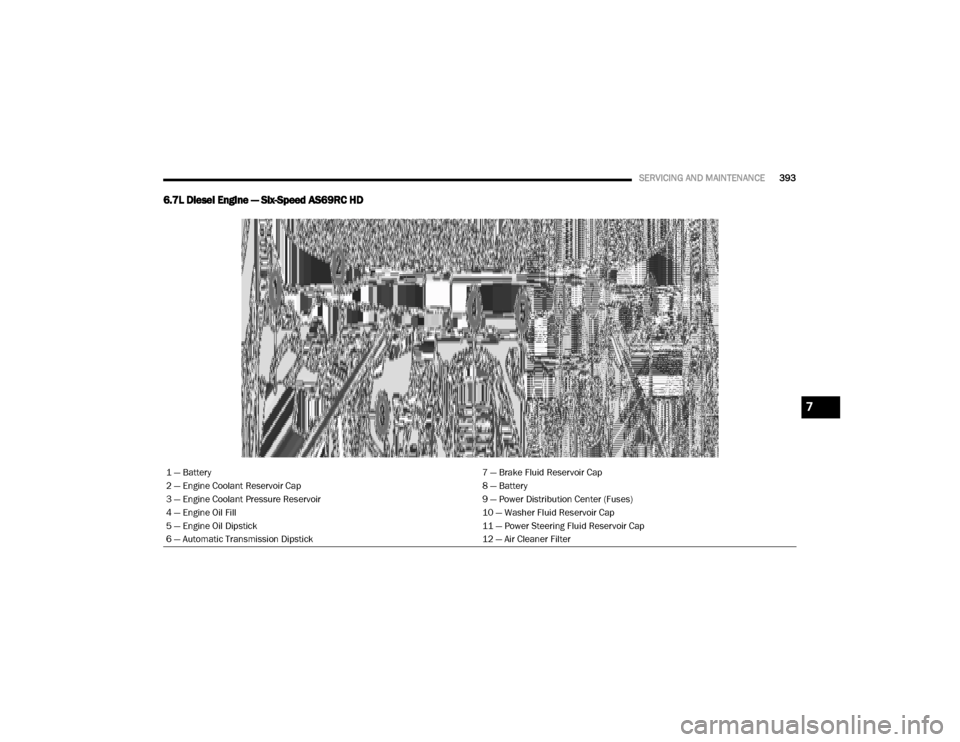
6.7L Diesel Engine — Six-Speed AS69RC HD
1 — Battery 7 — Brake Fluid Reservoir Cap
2 — Engine Coolant Reservoir Cap 8 — Battery
3 — Engine Coolant Pressure Reservoir 9 — Power Distribution Center (Fuses)
4 — Engine Oil Fill 10 — Washer Fluid Reservoir Cap
5 — Engine Oil Dipstick 11 — Power Steering Fluid Reservoir Cap
6 — Automatic Transmission Dipstick 12 — Air Cleaner Filter
7
20_DJD2_OM_EN_USC_t.book Page 393
Page 545 of 553
543
Forward Collision Warning
............................. 160
Four Wheel Drive........................................... 244
Four-Way Hazard Flasher............................... 338
Freeing A Stuck Vehicle................................. 367
Front Axle (Differential).................................. 418
Fuel..................................................... 446, 448
Adding............................................. 312, 313Additives................................................... 446
Capacity.................................................... 451
Clean Air.................................................... 446Diesel.............................................. 448, 454
Ethanol...................................................... 446
Filler Cap (Gas Cap)................................... 313
Filter.......................................................... 403
Gasoline.................................................... 446Light.......................................................... 135
Materials Added........................................ 446
Methanol................................................... 446
Octane Rating................................. 446, 452Requirements........................ 446, 448, 451
Specifications............................................ 448
Tank Capacity............................................ 451
Fueling........................................................... 313
Fuses............................................................. 353
G
Garage Door Opener (HomeLink)
.................... 76
Gas Cap (Fuel Filler Cap)............................... 313
Gasoline, Clean Air........................................ 446
Gasoline, Reformulated................................. 446
Gauges Voltage
..................................................... 221
Gear Ranges................................................. 238
Gear Selector Override................................. 365
Glass Cleaning.............................................. 443
Gross Axle Weight Rating.............................. 319
Gross Vehicle Weight Rating......................... 318GuideBody Builders
.............................................. 12
GVWR............................................................ 317
H
HazardDriving Through Flowing, Rising, Or Shallow Standing Water
.................................... 335
Hazard Warning Flashers.............................. 338
Head Restraints............................................... 39
Head Rests...................................................... 39
Headlights.................................................... 374
Automatic High Beam.................................. 50
Cleaning................................................... 439
High Beam................................................... 50
Lights On Reminder..................................... 52
Passing........................................................ 51Switch.......................................................... 49
Heated Mirrors................................................. 47
Heater, Engine Block.................................... 227
Hill Descent Control...................................... 149
Hill Descent Control Indicator....................... 149
Hill Start Assist.............................................. 151
HitchesTrailer Towing
........................................... 322
Hoisting......................................................... 422
HomeLink (Garage Door Opener).....................76
Hood Prop........................................................74
Hood Release...................................................74
Hub Caps...................................................... 352
I
Idle-Up Feature
............................................. 224Ignition.............................................................18
Switch..........................................................18
Illuminated Entry..............................................55
In Vehicle HelpVehicle User Guide
......................................13
Inside Rearview Mirror.................... 43, 44, 338
Instrument Cluster............ 113, 114, 116, 117
Descriptions.............................................. 140
Display...................................................... 117
Engine Oil Reset....................................... 119
Instrument Panel Lens Cleaning................... 443
Integrated Trailer Brake Control.................... 325
Interior Appearance Care.............................. 442
Interior Lights...................................................53Intermittent Wipers (Delay Wipers)..................55
Intervention Regeneration Strategy..... 124, 407
Inverter Outlet (115V)......................................90
iPod/USB/MP3 Control................................. 52511
20_DJD2_OM_EN_USC_t.book Page 543
Page 547 of 553
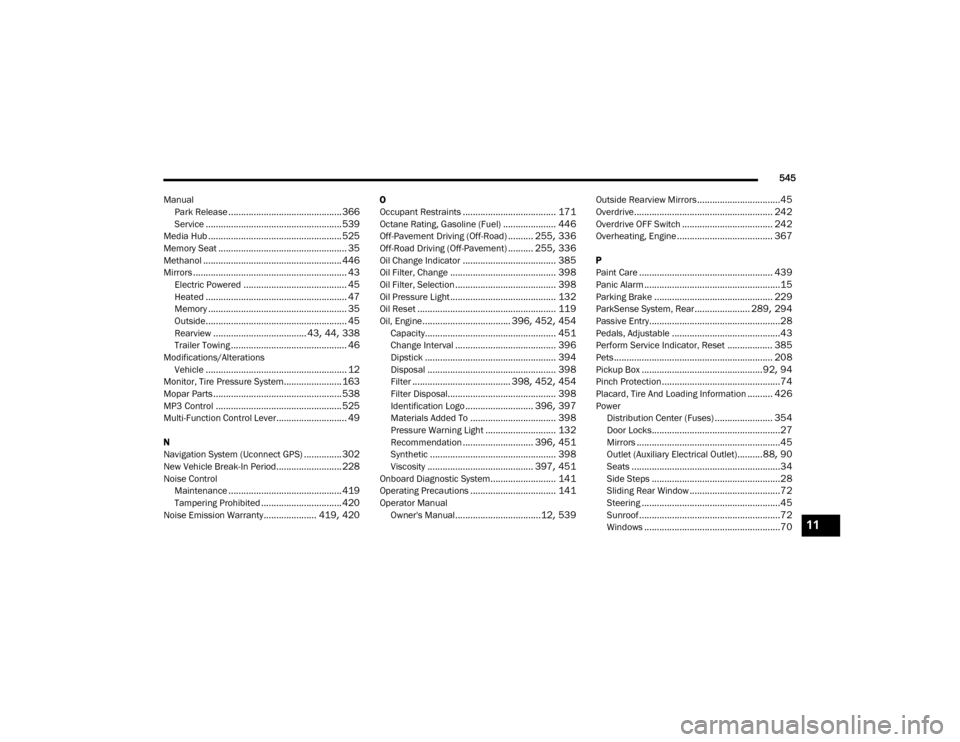
545
Manual Park Release
............................................. 366
Service...................................................... 539
Media Hub..................................................... 525
Memory Seat................................................... 35
Methanol....................................................... 446
Mirrors............................................................. 43Electric Powered......................................... 45
Heated........................................................ 47
Memory....................................................... 35Outside........................................................ 45
Rearview..................................... 43, 44, 338
Trailer Towing.............................................. 46
Modifications/AlterationsVehicle
........................................................ 12Monitor, Tire Pressure System....................... 163
Mopar Parts................................................... 538
MP3 Control.................................................. 525
Multi-Function Control Lever............................ 49
N
Navigation System (Uconnect GPS)
............... 302
New Vehicle Break-In Period.......................... 228
Noise ControlMaintenance............................................. 419
Tampering Prohibited................................ 420
Noise Emission Warranty..................... 419, 420
O
Occupant Restraints
..................................... 171
Octane Rating, Gasoline (Fuel)..................... 446
Off-Pavement Driving (Off-Road).......... 255, 336
Off-Road Driving (Off-Pavement).......... 255, 336
Oil Change Indicator..................................... 385
Oil Filter, Change.......................................... 398Oil Filter, Selection........................................ 398
Oil Pressure Light.......................................... 132
Oil Reset....................................................... 119Oil, Engine................................... 396, 452, 454
Capacity.................................................... 451
Change Interval........................................ 396
Dipstick.................................................... 394
Disposal................................................... 398Filter....................................... 398, 452, 454
Filter Disposal........................................... 398
Identification Logo........................... 396, 397
Materials Added To.................................. 398Pressure Warning Light............................ 132
Recommendation............................ 396, 451
Synthetic.................................................. 398
Viscosity.......................................... 397, 451
Onboard Diagnostic System.......................... 141
Operating Precautions.................................. 141
Operator ManualOwner's Manual
..................................12, 539
Outside Rearview Mirrors.................................45
Overdrive....................................................... 242
Overdrive OFF Switch.................................... 242
Overheating, Engine...................................... 367
P
Paint Care
..................................................... 439
Panic Alarm......................................................15
Parking Brake............................................... 229
ParkSense System, Rear...................... 289, 294Passive Entry....................................................28
Pedals, Adjustable...........................................43
Perform Service Indicator, Reset.................. 385
Pets............................................................... 208
Pickup Box................................................92, 94
Pinch Protection...............................................74
Placard, Tire And Loading Information.......... 426
PowerDistribution Center (Fuses)
....................... 354
Door Locks...................................................27
Mirrors.........................................................45
Outlet (Auxiliary Electrical Outlet)..........88, 90
Seats...........................................................34
Side Steps...................................................28Sliding Rear Window....................................72
Steering.......................................................45
Sunroof........................................................72
Windows......................................................7011
20_DJD2_OM_EN_USC_t.book Page 545