key Ram 3500 2016 Workshop Manual
[x] Cancel search | Manufacturer: RAM, Model Year: 2016, Model line: 3500, Model: Ram 3500 2016Pages: 919, PDF Size: 6.67 MB
Page 238 of 919
WARNING!
To avoid serious injury or death:
•Do not insert any objects into the receptacles.
• Do not touch with wet hands.
• Close the lid when not in use.
• If this outlet is mishandled, it may cause an electric
shock and failure.
AUXILIARY SWITCHES — IF EQUIPPED
There can be up to five auxiliary switches located in the
lower switch bank of the instrument panel which can be
used to power various electronic devices and PTO
(Power Take Off) – If Equipped. If Power Take Off is
equipped, it will take the place of the fifth Auxiliary
switch. Connections to the switches are found under the
hood in the connectors attached to the auxiliary Power
Distribution Center. You have the ability to configure the functionality of the
auxiliary switches via the Electronic Vehicle Information
Center (EVIC) or Driver Information Display (DID). All
switches can now be configured for setting the switch
type operation to latching or momentary, power source of
either battery or ignition, and ability to hold last state
across key cycles.
NOTE:
Holding last state conditions are met when
switch type is set to latching and power source is set to
ignition.
For further information on using the auxiliary switches,
please refer to the Ram Body Builders Guide by accessing
www.rambodybuilder.com and choosing the appropriate
links.
236 UNDERSTANDING THE FEATURES OF YOUR VEHICLE
Page 262 of 919
CAUTION!(Continued)
it is recommended that the bin lights be turned off
manually using the on/off switch.
Cargo bins feature two removable drain plugs (to allow
water to drain from bins). To remove plug, pull up on the
edge. To install push plug downward into drain hole.
NOTE: Provisions are provided in the bins for cargo
dividers and shelf supports. These accessories (in addi-
tion to other RamBox accessories) are available from
MOPAR.
Locking And Unlocking RamBox
Push and release the LOCK or UNLOCK button on the
RKE transmitter to lock and unlock all doors, the tailgate
and the RamBox (if equipped). Refer to “Remote Keyless
Entry” for further details. The RamBox storage bins can
be locked using the vehicle key. To lock and unlock the storage bin, insert the key into the keyhole on the
pushbutton and turn clockwise to lock or counterclock-
wise to unlock. Always return the key to the upright
(vertical) position before removing the key from the
pushbutton.
CAUTION!
•
Ensure cargo bin lids are closed and latched before
moving or driving vehicle.
• Loads applied to the top of the bin lid should be
minimized to prevent damage to the lid and
latching/hinging mechanisms.
• Damage to the RamBox bin may occur due to
heavy/sharp objects placed in bin that shift due to
vehicle motion. In order to minimize potential for
damage, secure all cargo to prevent movement and
protect inside surfaces of bin from heavy/sharp
objects with appropriate padding.
260 UNDERSTANDING THE FEATURES OF YOUR VEHICLE
Page 264 of 919

NOTE:In the event of an individual being locked inside
the storage bin, the storage bin cover can be opened from
inside of the bin by pulling on the glow-in-the-dark lever
attached to the storage bin cover latching mechanism.
Bed Extender — If Equipped
The bed extender has three functional positions:
• Storage Position
• Divider Position
• Extender Position
Storage Position
The storage position for the bed extender is at the front of
the truck bed which maximizes the bed cargo area when
not in use.
To install the bed extender into the storage position,
perform the following: 1. Make sure the center handle is unlocked using the
vehicle key and rotate the center handle vertically to
release the extender side gates.
Center Handle And Lock
1 — Center Handle Lock
2 — Handle
262 UNDERSTANDING THE FEATURES OF YOUR VEHICLE
Page 266 of 919

5. Lock the center handle using the vehicle key to securethe panel into place.
Divider Position
The divider position is intended for managing your cargo
and assisting in keeping cargo from moving around the
bed. There are 11 divider slots along the bed inner panels
which allow for various positions to assist in managing
your cargo.
To install the bed extender into a divider position per-
form the following:
1. Make sure the center handle is unlocked using thevehicle key and rotate the center handle vertically to
release the extender side gates.
Side Gates Closed
264 UNDERSTANDING THE FEATURES OF YOUR VEHICLE
Page 273 of 919

SLIDE-IN CAMPERS
Camper Applications
Certain truck models are not recommended for slide-in
campers. To determine if your vehicle is excluded, please
refer to the “Consumer Information Truck-Camper Load-
ing” document available from your authorized dealer.
For safety reasons, follow all instructions in this impor-
tant document.
NOTE:When a cap or pickup camper is installed on a
vehicle, an alternate Center High-Mounted Stop Light
(CHMSL) must be provided.
EASY-OFF TAILGATE
To simplify mounting of a camper unit with an overhang,
the tailgate can be removed.
NOTE: If your vehicle is equipped with a rear camera or
RKE (Remote Keyless Entry) the electrical connector
must be disconnected prior to removing the tailgate.
Disconnecting The Rear Camera Or Remote
Keyless Entry — If Equipped
1. Open the tailgate to access the rear camera or RKE (Remote Keyless Entry) connector bracket located on
the rear sill.
3
UNDERSTANDING THE FEATURES OF YOUR VEHICLE 271
Page 276 of 919

6. Remove the tailgate from the vehicle.
NOTE:Do not carry the tailgate loose in the truck
pickup box.
WARNING!
To avoid inhaling carbon monoxide, which is deadly,
the exhaust system on vehicles equipped with “Cap
or Slide-In Campers” should extend beyond the
overhanging camper compartment and be free of
leaks.
Locking Tailgate
The lock is located next to the tailgate handle. The
tailgate can be locked using the vehicle key or by locking
the truck with the key-fob if equipped with remote
keyless entry.
TRI-FOLD TONNEAU COVER — IF EQUIPPED
Your vehicle may be equipped with a Tri-Fold Tonneau
Cover which consists of different features:
• Easy Tri-Fold cover
• Tonneau fore aft locator
• Crosscar inside bed locator
• Front and rear clamps
• Stowage strap
• Locking Capability
NOTE: The Tonneau Cover can be folded up and secured
at the front of the box without removing completely.
Tri-Fold Tonneau Cover Removal
To remove the Tonneau Cover follow the following steps:
274 UNDERSTANDING THE FEATURES OF YOUR VEHICLE
Page 292 of 919
1. Tachometer•Indicates the engine speed in revolutions per minute
(RPM x 1000).
2. Electronic Vehicle Information Center (EVIC) Display •When the appropriate conditions exist, this display
shows the Electronic Vehicle Information Center
(EVIC) messages. Refer to “Electronic Vehicle Infor-
mation Center” in “Understanding Your Instrument
Panel” for further information.
3. Speedometer •Indicates vehicle speed.
4. Fuel Gauge •The pointer shows the level of fuel in the fuel tank
when the Keyless Push Button Ignition is in the
ON/RUN position. •
The fuel pump symbol points to the side of the
vehicle where the fuel door is located.
5. Temperature Gauge •The temperature gauge shows engine coolant tem-
perature. Any reading within the normal range indi-
cates that the engine cooling system is operating
satisfactorily.
• The gauge pointer will likely indicate a higher tem-
perature when driving in hot weather, up mountain
grades, or when towing a trailer. It should not be
allowed to exceed the upper limits of the normal
operating range.
290 UNDERSTANDING YOUR INSTRUMENT PANEL
Page 296 of 919
5. Fuel Gauge•The pointer shows the level of fuel in the fuel tank
when the Keyless Push Button Ignition is in the
ON/RUN position.
• The fuel pump symbol points to the side of the
vehicle where the fuel door is located.
6. Driver Information Display (DID) •When the appropriate conditions exist, this
display shows the Driver Information Dis-
play (DID) messages. Refer to “Driver In-
formation Display” in “Understanding
Your Instrument Panel” for further infor-
mation.
7. Temperature Gauge •The temperature gauge shows engine coolant tem-
perature. Any reading within the normal range indi-
cates that the engine cooling system is operating
satisfactorily. •
The gauge pointer will likely indicate a higher tem-
perature when driving in hot weather, up mountain
grades, or when towing a trailer. It should not be
allowed to exceed the upper limits of the normal
operating range.
CAUTION!
Driving with a hot engine cooling system could
damage your vehicle. If the temperature gauge reads
“H” pull over and stop the vehicle. Idle the vehicle
with the air conditioner turned off until the pointer
drops back into the normal range. If the pointer
remains on the “H”, turn the engine off immediately
and call an authorized dealer for service.
294 UNDERSTANDING YOUR INSTRUMENT PANEL
Page 305 of 919
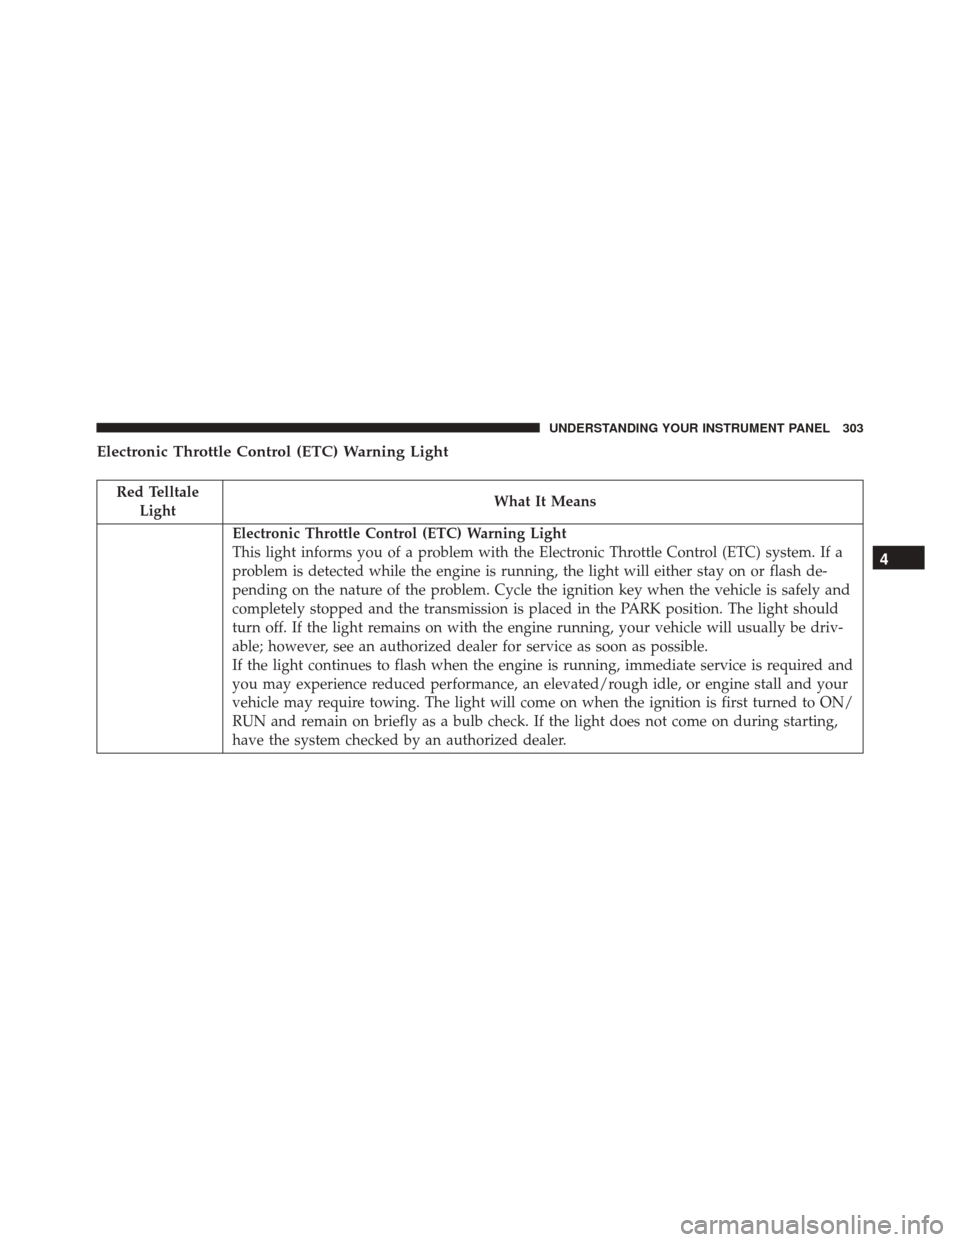
Electronic Throttle Control (ETC) Warning Light
Red TelltaleLight What It Means
Electronic Throttle Control (ETC) Warning Light
This light informs you of a problem with the Electronic Throttle Control (ETC) system. If a
problem is detected while the engine is running, the light will either stay on or flash de-
pending on the nature of the problem. Cycle the ignition key when the vehicle is safely and
completely stopped and the transmission is placed in the PARK position. The light should
turn off. If the light remains on with the engine running, your vehicle will usually be driv-
able; however, see an authorized dealer for service as soon as possible.
If the light continues to flash when the engine is running, immediate service is required and
you may experience reduced performance, an elevated/rough idle, or engine stall and your
vehicle may require towing. The light will come on when the ignition is first turned to ON/
RUN and remain on briefly as a bulb check. If the light does not come on during starting,
have the system checked by an authorized dealer.
4
UNDERSTANDING YOUR INSTRUMENT PANEL 303
Page 309 of 919
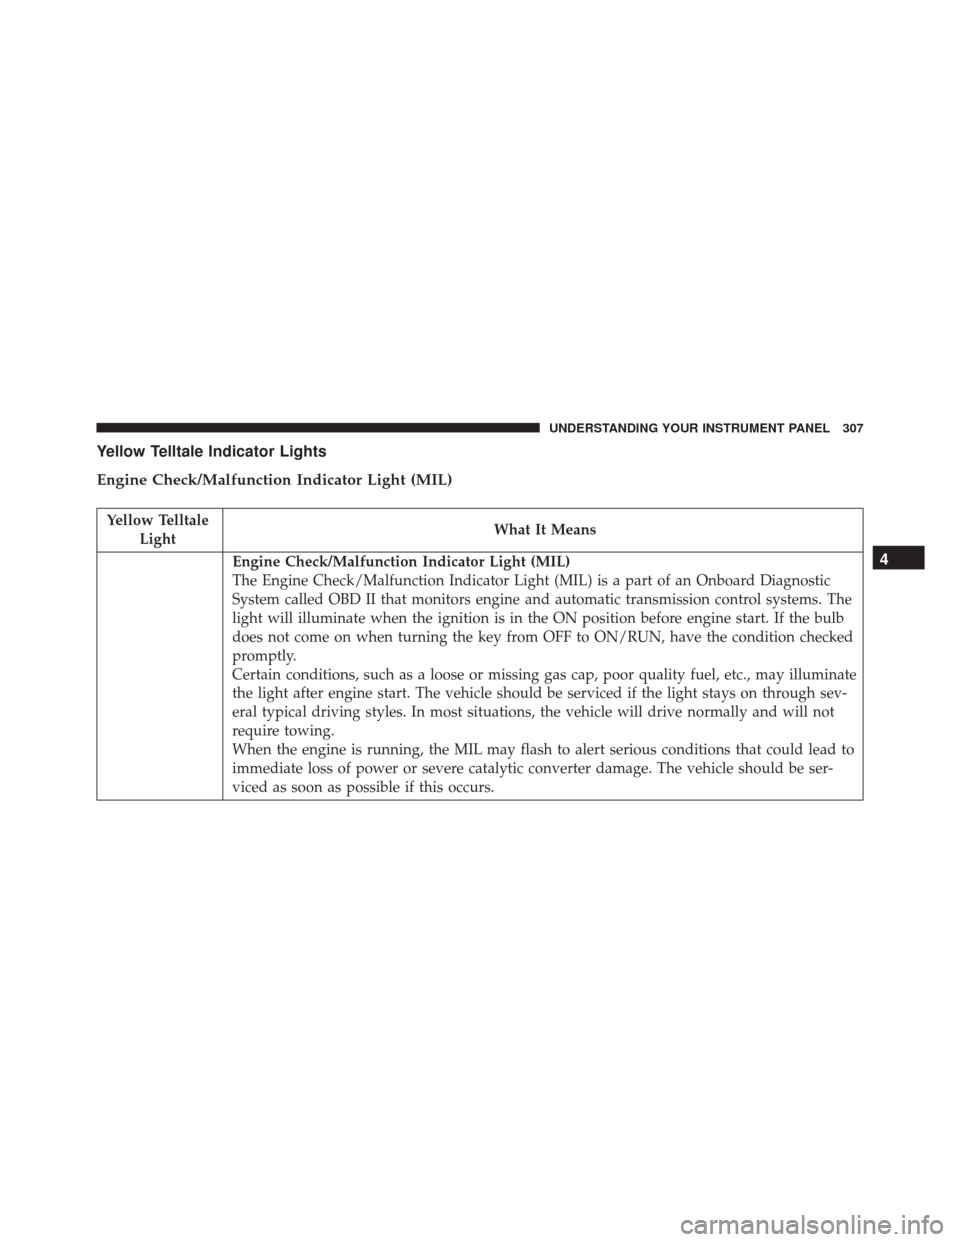
Yellow Telltale Indicator Lights
Engine Check/Malfunction Indicator Light (MIL)
Yellow TelltaleLight What It Means
Engine Check/Malfunction Indicator Light (MIL)
The Engine Check/Malfunction Indicator Light (MIL) is a part of an Onboard Diagnostic
System called OBD II that monitors engine and automatic transmission control systems. The
light will illuminate when the ignition is in the ON position before engine start. If the bulb
does not come on when turning the key from OFF to ON/RUN, have the condition checked
promptly.
Certain conditions, such as a loose or missing gas cap, poor quality fuel, etc., may illuminate
the light after engine start. The vehicle should be serviced if the light stays on through sev-
eral typical driving styles. In most situations, the vehicle will drive normally and will not
require towing.
When the engine is running, the MIL may flash to alert serious conditions that could lead to
immediate loss of power or severe catalytic converter damage. The vehicle should be ser-
viced as soon as possible if this occurs.4
UNDERSTANDING YOUR INSTRUMENT PANEL 307