engine Ram 3500 2020 Owner's Guide
[x] Cancel search | Manufacturer: RAM, Model Year: 2020, Model line: 3500, Model: Ram 3500 2020Pages: 568
Page 52 of 568

50GETTING TO KNOW YOUR VEHICLE
To Activate
1. The Automatic High Beams are enabled
through the Uconnect system. Refer to
“Uconnect Settings” in “Multimedia” for
further information.
2. Turn the headlight switch to the AUTO headlight position.
3. Push the multifunction lever away from you (toward front of vehicle) to engage the high
beam mode.
NOTE:
The Automatic High Beams will not activate until
the vehicle is at or above 12 mph (20 km/h).
To Deactivate
1. Pull the multifunction lever toward you (or rearward in vehicle) to manually deactivate
the system (normal operation of low
beams).
2. Push back on the multifunction lever to reactivate the system.
The Automatic High Beams can also be
deactivated through the Uconnect system.
Refer to “Uconnect Settings” in “Multimedia”
for further information.
FLASH-TO-PASS
You can signal another vehicle with your
headlights by lightly pulling the multifunction
lever toward you. This will cause the high beam
headlights to turn on, and remain on, until the
lever is released.
AUTOMATIC HEADLIGHTS — IF EQUIPPED
This system automatically turns your headlights
on or off based on ambient light levels. To turn
the system on, turn the headlight switch to the
extreme clockwise position aligning the
indicator with the AUTO on the headlight switch.
When the system is on, the Headlight Time
Delay feature is also on. This means your
headlights will stay on for up to 90 seconds
after the ignition is placed in the OFF position.
To turn the Automatic System off, turn the
headlight switch counterclockwise to the O (off)
position.
NOTE:
The engine must be running before the head -
lights will come on in the Automatic mode.
DIRECTIONAL LED HEADLAMP SYSTEM
— I
F EQUIPPED
This is a system consisting of LED (low/high
beam) headlights that incorporate dynamic
cornering with 5-degree inboard/15-degree
outboard swivel. The headlights continuously
and automatically adapt to the driving
conditions around bends or when cornering
based on steering wheel angle.
The system directs the headlights to light up the
road in the best way, taking into account the
speed of the vehicle and the bend or corner
angle, as well as the speed of the vehicle while
the steering wheel is being turned.
The adaptive lights are automatically activated
when the vehicle is traveling above
approximately 5 mph (8 km/h).
This system can be turned on/off through the
Uconnect Settings under “Steering Directed
Lights”. Refer to Uconnect Settings in
“Multimedia” for further information.
20_DJD2_OM_EN_USC_t.book Page 50
Page 70 of 568

68GETTING TO KNOW YOUR VEHICLE
(Continued)
NOTE:
It is not necessary to move the temperature
settings for cold or hot vehicles. The system
automatically adjusts the temperature,
mode, and blower speed to provide comfort
as quickly as possible.
The temperature can be displayed in U.S. or
Metric units by selecting the U.S./Metric
customer-programmable feature. Refer to
the “Uconnect Settings” in “Multimedia” for
further information.
To provide you with maximum comfort in the
Automatic mode during cold start-ups, the
blower fan will remain on low until the engine
warms up. The blower will increase in speed
and transition into Auto mode.
Manual Operation Override
This system offers a full complement of manual
override features. The AUTO symbol in the front
ATC display will be turned off when the system
is being used in the manual mode.
OPERATING TIPS
NOTE:
Refer to the chart at the end of this section for
suggested control settings for various weather
conditions.
Summer Operation
The engine cooling system must be protected
with a high-quality antifreeze coolant to provide
proper corrosion protection and to protect
against engine overheating. OAT coolant
(conforming to MS.90032) is recommended.
Winter Operation
To ensure the best possible heater and
defroster performance, make sure the engine
cooling system is functioning properly and the
proper amount, type, and concentration of
coolant is used. Use of the Air Recirculation
mode during Winter months is not
recommended, because it may cause window
fogging.
Vacation/Storage
Before you store your vehicle, or keep it out of
service (i.e., vacation) for two weeks or more,
run the air conditioning system at idle for about
five minutes, in fresh air with the blower setting
on high. This will ensure adequate system
lubrication to minimize the possibility of
compressor damage when the system is started
again.
Window Fogging
Vehicle windows tend to fog on the inside in
mild, rainy, and/or humid weather. To clear the
windows, select Defrost or Mix mode and
increase the front blower speed. Do not use the
Recirculation mode without A/C for long
periods, as fogging may occur.
CAUTION!
Failure to follow these cautions can cause
damage to the heating elements:
20_DJD2_OM_EN_USC_t.book Page 68
Page 76 of 568
74GETTING TO KNOW YOUR VEHICLE
HOOD
TO OPEN THE HOOD
To open the hood, two latches must be
released.
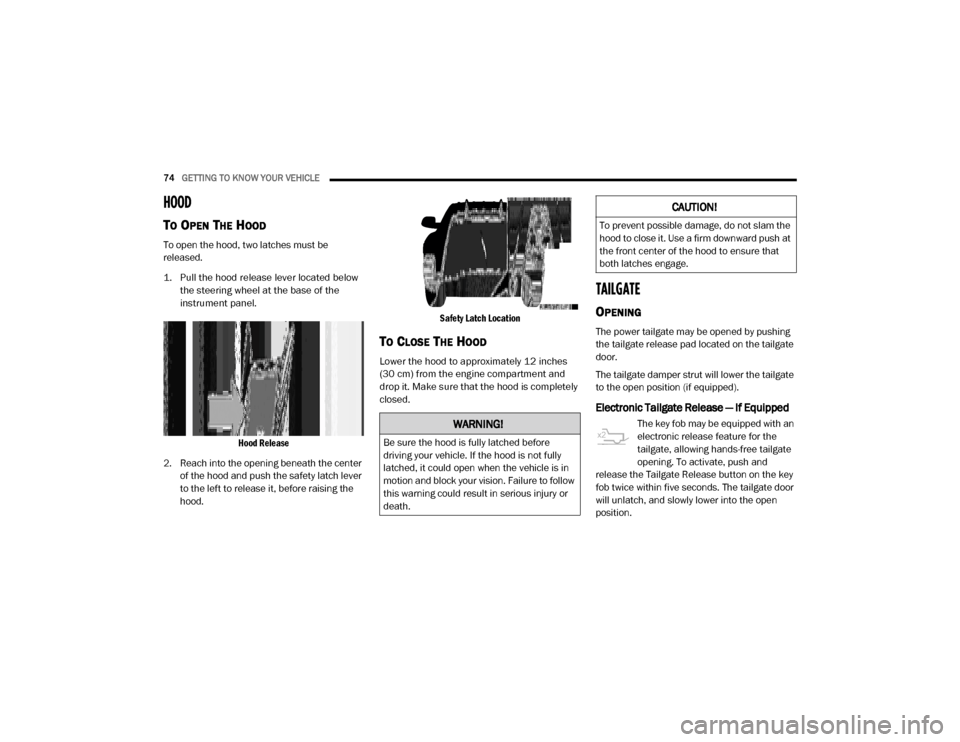
1. Pull the hood release lever located below
the steering wheel at the base of the
instrument panel.
Hood Release
2. Reach into the opening beneath the center of the hood and push the safety latch lever
to the left to release it, before raising the
hood.
Safety Latch Location
TO CLOSE THE HOOD
Lower the hood to approximately 12 inches
(30 cm) from the engine compartment and
drop it. Make sure that the hood is completely
closed.
TAILGATE
OPENING
The power tailgate may be opened by pushing
the tailgate release pad located on the tailgate
door.
The tailgate damper strut will lower the tailgate
to the open position (if equipped).
Electronic Tailgate Release — If Equipped
The key fob may be equipped with an
electronic release feature for the
tailgate, allowing hands-free tailgate
opening. To activate, push and
release the Tailgate Release button on the key
fob twice within five seconds. The tailgate door
will unlatch, and slowly lower into the open
position.WARNING!
Be sure the hood is fully latched before
driving your vehicle. If the hood is not fully
latched, it could open when the vehicle is in
motion and block your vision. Failure to follow
this warning could result in serious injury or
death.
CAUTION!
To prevent possible damage, do not slam the
hood to close it. Use a firm downward push at
the front center of the hood to ensure that
both latches engage.
20_DJD2_OM_EN_USC_t.book Page 74
Page 89 of 568
GETTING TO KNOW YOUR VEHICLE87
(Continued)
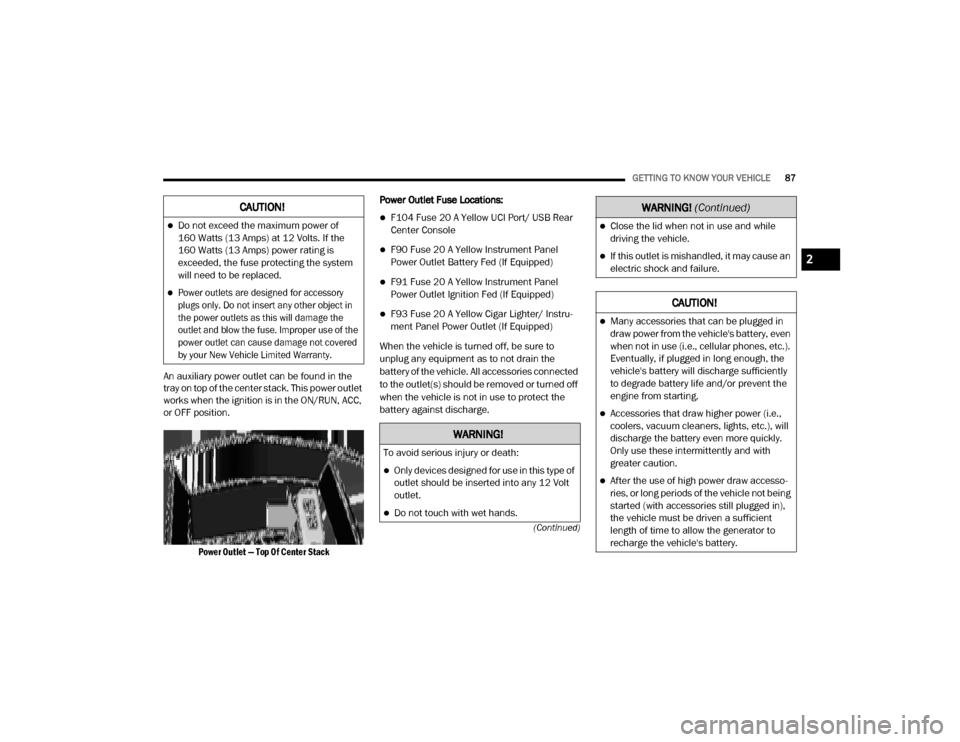
An auxiliary power outlet can be found in the
tray on top of the center stack. This power outlet
works when the ignition is in the ON/RUN, ACC,
or OFF position.
Power Outlet — Top Of Center Stack
Power Outlet Fuse Locations:
F104 Fuse 20 A Yellow UCI Port/ USB Rear
Center Console
F90 Fuse 20 A Yellow Instrument Panel
Power Outlet Battery Fed (If Equipped)
F91 Fuse 20 A Yellow Instrument Panel
Power Outlet Ignition Fed (If Equipped)
F93 Fuse 20 A Yellow Cigar Lighter/ Instru
-
ment Panel Power Outlet (If Equipped)
When the vehicle is turned off, be sure to
unplug any equipment as to not drain the
battery of the vehicle. All accessories connected
to the outlet(s) should be removed or turned off
when the vehicle is not in use to protect the
battery against discharge.
CAUTION!
Do not exceed the maximum power of
160 Watts (13 Amps) at 12 Volts. If the
160 Watts (13 Amps) power rating is
exceeded, the fuse protecting the system
will need to be replaced.
Power outlets are designed for accessory
plugs only. Do not insert any other object in
the power outlets as this will damage the
outlet and blow the fuse. Improper use of the
power outlet can cause damage not covered
by your New Vehicle Limited Warranty.
WARNING!
To avoid serious injury or death:
Only devices designed for use in this type of
outlet should be inserted into any 12 Volt
outlet.
Do not touch with wet hands.
Close the lid when not in use and while
driving the vehicle.
If this outlet is mishandled, it may cause an
electric shock and failure.
CAUTION!
Many accessories that can be plugged in
draw power from the vehicle's battery, even
when not in use (i.e., cellular phones, etc.).
Eventually, if plugged in long enough, the
vehicle's battery will discharge sufficiently
to degrade battery life and/or prevent the
engine from starting.
Accessories that draw higher power (i.e.,
coolers, vacuum cleaners, lights, etc.), will
discharge the battery even more quickly.
Only use these intermittently and with
greater caution.
After the use of high power draw accesso -
ries, or long periods of the vehicle not being
started (with accessories still plugged in),
the vehicle must be driven a sufficient
length of time to allow the generator to
recharge the vehicle's battery.
WARNING! (Continued)
2
20_DJD2_OM_EN_USC_t.book Page 87
Page 108 of 568

106
GETTING TO KNOW YOUR INSTRUMENT PANEL
BASE / MIDLINE INSTRUMENT CLUSTER — GAS ENGINE
Base / Midline Instrument Cluster — Gas Engine
BASE / MIDLINE INSTRUMENT CLUSTER
D
ESCRIPTIONS — GAS ENGINE
1. Tachometer
Indicates the engine speed in revolutions
per minute (RPM x 1000). 2. Voltmeter
When the vehicle is in the RUN state, the
gauge indicates the electrical system
voltage. The pointer should stay within
the normal range if the battery is
charged. If the pointer moves to either
extreme left or right and remains there
during normal driving, the electrical
system should be serviced.
20_DJD2_OM_EN_USC_t.book Page 106
Page 109 of 568
GETTING TO KNOW YOUR INSTRUMENT PANEL107
3. Instrument Cluster Display
When the appropriate conditions exist,
this display shows the instrument cluster
display messages. Refer to “Instrument
Cluster Display” in “Getting To Know Your
Instrument Panel” for further informa-
tion.
4. Oil Pressure Gauge
The pointer should always indicate the oil
pressure when the engine is running. A
continuous high or low reading under
normal driving conditions may indicate a
lubrication system malfunction. Imme -
diate service should be obtained from an
authorized dealer.
5. Speedometer
Indicates vehicle speed.
6. Fuel Gauge
The pointer shows the level of fuel in the
fuel tank when the ignition is in the ON/
RUN position.
The fuel pump symbol points
to the side of the vehicle where
the fuel door is located.
Refer to “Refueling The Vehicle — Gas
Engine” in “Starting And Operating” for
further information.
7. Temperature Gauge
The gauge pointer shows engine coolant
temperature. The pointer positioned
within the normal range indicates that
the engine cooling system is operating
satisfactorily.
The gauge pointer will likely indicate a
higher temperature when driving in hot
weather, up mountain grades, or when
towing a trailer. It should not be allowed
to exceed the upper limits of the normal
operating range.
WARNING!
A hot engine cooling system is dangerous.
You or others could be badly burned by steam
or boiling coolant. You may want to call an
authorized dealer for service if your vehicle
overheats. If you decide to look under the
hood yourself, refer to the warnings under
“Cooling System Pressure Cap” in see
“Servicing And Maintenance” for further
information.
CAUTION!
Driving with a hot engine cooling system
could damage your vehicle. If the
temperature gauge reads “H,” pull over and
stop the vehicle. Idle the vehicle with the air
conditioner turned off until the pointer drops
back into the normal range. If the pointer
remains on the “H,” turn the engine off
immediately and call an authorized dealer for
service.
3
20_DJD2_OM_EN_USC_t.book Page 107
Page 110 of 568

108GETTING TO KNOW YOUR INSTRUMENT PANEL
PREMIUM INSTRUMENT CLUSTER — GAS ENGINE
Premium Instrument Cluster — Gas Engine
PREMIUM INSTRUMENT CLUSTER
D
ESCRIPTIONS — GAS ENGINE
1. Tachometer
Indicates the engine speed in revolutions
per minute (RPM x 1000). 2. Instrument Cluster Display
When the appropriate conditions exist,
this display shows the instrument cluster
display messages. Refer to “Instrument
Cluster Display” in “Getting To Know Your
Instrument Panel” for further information.
3. SpeedometerIndicates vehicle speed.
4. Fuel Gauge
The pointer shows the level of fuel in the
fuel tank when the ignition is in the ON/
RUN position.
20_DJD2_OM_EN_USC_t.book Page 108
Page 111 of 568
GETTING TO KNOW YOUR INSTRUMENT PANEL109
The fuel pump symbol points
to the side of the vehicle where
the fuel door is located.
Refer to “Refueling The Vehicle — Gas
Engine” in “Starting And Operating” for
further information.
5. Temperature Gauge
The gauge pointer shows engine coolant
temperature. The pointer positioned
within the normal range indicates that
the engine cooling system is operating
satisfactorily.
The gauge pointer will likely indicate a
higher temperature when driving in hot
weather, up mountain grades, or when
towing a trailer. It should not be allowed
to exceed the upper limits of the normal
operating range.
WARNING!
A hot engine cooling system is dangerous.
You or others could be badly burned by steam
or boiling coolant. You may want to call an
authorized dealer for service if your vehicle
overheats. If you decide to look under the
hood yourself, refer to the warnings under
“Cooling System Pressure Cap” in see
“Servicing And Maintenance” for further
information.
CAUTION!
Driving with a hot engine cooling system
could damage your vehicle. If the
temperature gauge reads “H,” pull over and
stop the vehicle. Idle the vehicle with the air
conditioner turned off until the pointer drops
back into the normal range. If the pointer
remains on the “H,” turn the engine off
immediately and call an authorized dealer for
service.
3
20_DJD2_OM_EN_USC_t.book Page 109
Page 112 of 568

110GETTING TO KNOW YOUR INSTRUMENT PANEL
BASE INSTRUMENT CLUSTER — DIESEL ENGINE
Base Instrument Cluster — Diesel Engine
BASE INSTRUMENT CLUSTER
D
ESCRIPTIONS — DIESEL ENGINE
1. Tachometer
Indicates the engine speed in revolutions
per minute (RPM x 1000). 2. Engine Coolant Temperature
This gauge shows the engine coolant
temperature. The gauge pointer will likely
show higher temperatures when driving
in hot weather, up mountain grades, or in
heavy stop and go traffic. If the red Warning Light turns on while driving,
safely bring the vehicle to a stop, and
turn off the engine. DO NOT operate the
vehicle until the cause is corrected.
20_DJD2_OM_EN_USC_t.book Page 110
Page 113 of 568
GETTING TO KNOW YOUR INSTRUMENT PANEL111
3. Instrument Cluster Display
When the appropriate conditions exist,
this display shows the instrument cluster
display messages. Refer to “Instrument
Cluster Display” in “Getting To Know Your
Instrument Panel” for further informa-
tion. 4. Oil Pressure Gauge
The pointer should always indicate some
oil pressure when the engine is running.
A continuous high or low reading under
normal driving conditions may indicate a
lubrication system malfunction. Imme
-
diate service should be obtained from an
authorized dealer.
5. Speedometer
Indicates vehicle speed.
6. Fuel Gauge
The pointer shows the level of fuel in the
fuel tank when the ignition switch is in
the ON/RUN position.
The fuel pump symbol points
to the side of the vehicle where
the fuel filler door is located.
Refer to “Refueling The Vehicle — Gas
Engine” in “Starting And Operating” for
further information.
7. Diesel Exhaust Fluid (DEF) Gauge
The DEF Gauge displays the actual level
of Diesel Exhaust Fluid in the DEF tank.
Diesel Exhaust Fluid (DEF) is required to maintain normal vehicle operation and
emissions compliance. If something is
wrong with the gauge, a DEF Warning
Message or Malfunction Indicator Light
(MIL) will be displayed. More information
is available in the instrument cluster
display section under the heading of
Diesel Exhaust Fluid (DEF) Warning
Messages.
NOTE:
The gauge may take up to five seconds to
update after adding a gallon or more of
Diesel Exhaust Fluid (DEF) to the DEF tank. If
you have a fault related to the DEF system,
the gauge may not update to the new level.
See an authorized dealer for service.
The DEF gauge may also not immediately
update after a refill if the temperature of the
DEF fluid is below 39°F (4°C). The DEF tank
heater will warm up the DEF fluid and allow
the gauge to update after a period of run
time. Under very cold conditions, it is possible
that the gauge may not reflect the new fill
level for several drives.
WARNING!
A hot engine cooling system is dangerous.
You or others could be badly burned by steam
or boiling coolant. You may want to call an
authorized dealer for service if your vehicle
overheats.
CAUTION!
Driving with a hot engine cooling system
could damage your vehicle. If the
temperature gauge reads greater “H,” pull
over and stop the vehicle. Idle the vehicle
with the air conditioner turned off until the
pointer drops back into the normal range. If
the pointer remains on the “h,” turn the
engine off immediately and call an authorized
dealer for service.
3
20_DJD2_OM_EN_USC_t.book Page 111