Driver controls Ram 3500 2020 Owner's Manual
[x] Cancel search | Manufacturer: RAM, Model Year: 2020, Model line: 3500, Model: Ram 3500 2020Pages: 568
Page 5 of 568

3
HEAD RESTRAINTS...............................................38 Front Head Restraints ................................. 39
Front Head Restraint Removal ................... 40
Rear Head Restraint Adjustment ................ 40
Rear Head Restraint Removal .................... 40
STEERING WHEEL.................................................41
Tilt Steering Column ................................... 41
Heated Steering Wheel — If Equipped ....... 41
DRIVER ADJUSTABLE PEDALS —
IF EQUIPPED .........................................................42
MIRRORS ..............................................................42
Inside Day/Night Mirror — If Equipped ...... 42
Automatic Dimming Mirror — If Equipped ... 43
Automatic Dimming Mirror With Rear
View Camera Display — If Equipped .......... 43 Outside Mirrors ........................................... 44
Driver's Outside Automatic Dimming
Mirror — If Equipped .................................... 44 Power Mirrors — If Equipped ...................... 44
Power Convex Mirror Switch — If Equipped .. 45
Trailer Towing Mirrors — If Equipped ......... 46
Heated Mirrors — If Equipped .................... 46
Tilt Side Mirrors In Reverse — If Equipped ... 46
Power Folding Outside Mirrors For
Standard And Trailer Tow — If Equipped .... 46 Illuminated Vanity Mirror — If Equipped ..... 48 EXTERIOR LIGHTS ............................................... 48
Multifunction Lever...................................... 48
Headlight Switch .......................................... 48
Daytime Running Lights (DRLs) —
If Equipped ................................................... 49 High/Low Beam Switch ............................... 49
Automatic High Beam Headlamp
Control — If Equipped .................................. 49 Flash-To-Pass ............................................... 50
Automatic Headlights — If Equipped .......... 50
Directional LED Headlamp System —
If Equipped ................................................... 50 Parking Lights And Panel Lights ................. 51
Headlights On With Wipers (Available
With Automatic Headlights Only) ................ 51 Headlight Delay............................................ 51
Lights-On Reminder ..................................... 51
Front Fog Lights — If Equipped .................. 51
Turn Signals ................................................. 51
Lane Change Assist — If Equipped ............. 52
Cargo Lights/Trailer Spotter Lights
With Bed Lights — If Equipped .................... 52 Battery Saver ............................................... 53 INTERIOR LIGHTS ................................................53
Courtesy Lights ............................................ 53
Illuminated Entry ........................................ 54
WINDSHIELD WIPERS AND WASHERS .............55
Windshield Wipers ...................................... 55
Rain Sensing Wipers — If Equipped ........... 56
CLIMATE CONTROLS ...........................................57
Manual Climate Control Overview .............. 57
Automatic Climate Control Overview .......... 61
Climate Control Functions........................... 67
Automatic Temperature Control (ATC) ...... 67
Operating Tips ............................................. 68
WINDOWS ............................................................70
Power Windows .......................................... 70
Wind Buffeting ............................................ 71
POWER SUNROOF — IF EQUIPPED ....................72
Single Pane Power Sunroof — If Equipped ... 72
HOOD......................................................................74
To Open The Hood ...................................... 74
To Close The Hood....................................... 74
TAILGATE ...............................................................74
Opening ........................................................ 74
Closing.......................................................... 75
Bed Step — If Equipped ............................... 75
20_DJD2_OM_EN_USC_t.book Page 3
Page 29 of 568
GETTING TO KNOW YOUR VEHICLE27
POWER DOOR LOCKS — IF EQUIPPED
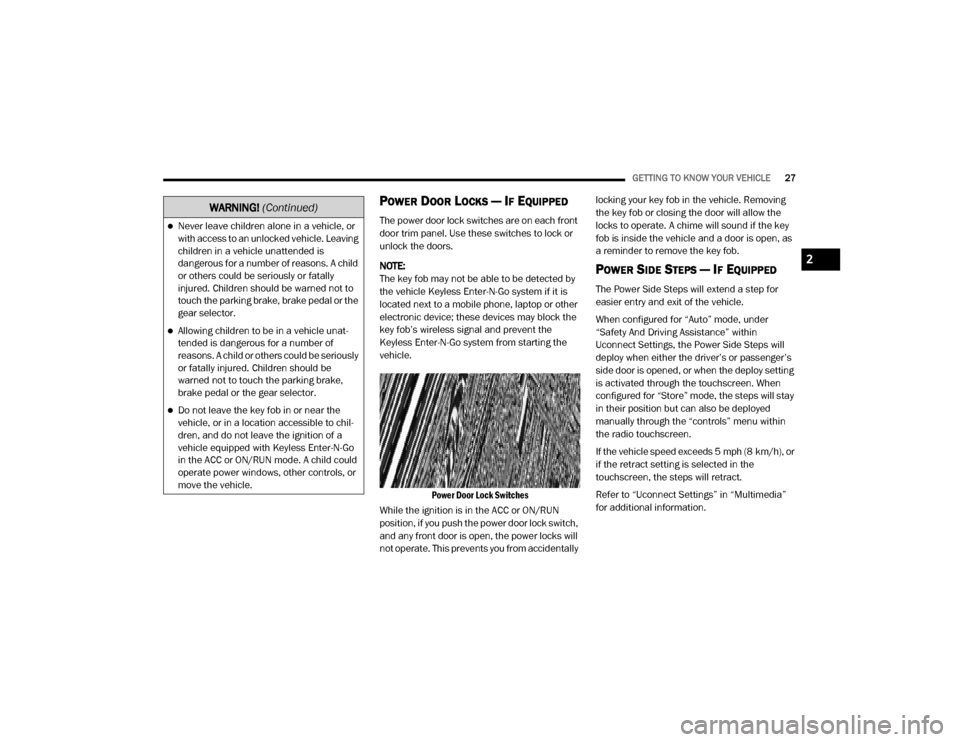
The power door lock switches are on each front
door trim panel. Use these switches to lock or
unlock the doors.
NOTE:
The key fob may not be able to be detected by
the vehicle Keyless Enter-N-Go system if it is
located next to a mobile phone, laptop or other
electronic device; these devices may block the
key fob’s wireless signal and prevent the
Keyless Enter-N-Go system from starting the
vehicle.
Power Door Lock Switches
While the ignition is in the ACC or ON/RUN
position, if you push the power door lock switch,
and any front door is open, the power locks will
not operate. This prevents you from accidentally locking your key fob in the vehicle. Removing
the key fob or closing the door will allow the
locks to operate. A chime will sound if the key
fob is inside the vehicle and a door is open, as
a reminder to remove the key fob.
POWER SIDE STEPS — IF EQUIPPED
The Power Side Steps will extend a step for
easier entry and exit of the vehicle.
When configured for “Auto” mode, under
“Safety And Driving Assistance” within
Uconnect Settings, the Power Side Steps will
deploy when either the driver’s or passenger’s
side door is opened, or when the deploy setting
is activated through the touchscreen. When
configured for “Store” mode, the steps will stay
in their position but can also be deployed
manually through the “controls” menu within
the radio touchscreen.
If the vehicle speed exceeds 5 mph (8 km/h), or
if the retract setting is selected in the
touchscreen, the steps will retract.
Refer to “Uconnect Settings” in “Multimedia”
for additional information.
Never leave children alone in a vehicle, or
with access to an unlocked vehicle. Leaving
children in a vehicle unattended is
dangerous for a number of reasons. A child
or others could be seriously or fatally
injured. Children should be warned not to
touch the parking brake, brake pedal or the
gear selector.
Allowing children to be in a vehicle unat
-
tended is dangerous for a number of
reasons. A child or others could be seriously
or fatally injured. Children should be
warned not to touch the parking brake,
brake pedal or the gear selector.
Do not leave the key fob in or near the
vehicle, or in a location accessible to chil-
dren, and do not leave the ignition of a
vehicle equipped with Keyless Enter-N-Go
in the ACC or ON/RUN mode. A child could
operate power windows, other controls, or
move the vehicle.
WARNING! (Continued)
2
20_DJD2_OM_EN_USC_t.book Page 27
Page 37 of 568

GETTING TO KNOW YOUR VEHICLE35
POWER DRIVER SEAT ADJUSTMENT — IF
E
QUIPPED
Some models may be equipped with an
eight-way power driver's seat. The power seat
switches are located on the outboard side of the
driver's seat cushion. There are two power seat
switches that are used to control the movement
of the seat cushion and the seatback.
Power Seat Switches
Adjusting The Seat Forward Or Rearward
The seat can be adjusted both forward and
rearward. Push the seat switch forward or
rearward. The seat will move in the direction of
the switch. Release the switch when the desired
position has been reached.
Adjusting The Seat Up Or Down
The height of the seats can be adjusted up or
down. Pull upward or push downward on the
rear of seat switch, the seat will move in the
direction of the switch. Release the switch when
the desired position has been reached.
Tilting The Seat Up Or Down
The angle of the seat cushion can be adjusted
in four directions. Pull upward or push
downward on the front or rear of the seat
switch, the front or rear of the seat cushion will
move in the direction of the switch. Release the
switch when the desired position is reached.
Reclining The Seatback
The angle of the seatback can be adjusted
forward or rearward. Push the seatback switch
forward or rearward, the seat will move in the
direction of the switch. Release the switch when
the desired position is reached.
1 — Power Seat Switch
2 — Power Seatback Switch
WARNING!
Adjusting a seat while driving may be
dangerous. Moving a seat while driving
could result in loss of control which could
cause a collision and serious injury or
death.
Seats should be adjusted before fastening
the seat belts and while the vehicle is
parked. Serious injury or death could result
from a poorly adjusted seat belt.
Do not ride with the seatback reclined so
that the shoulder belt is no longer resting
against your chest. In a collision you could
slide under the seat belt, which could result
in serious injury or death.
CAUTION!
Do not place any article under a power seat
or impede its ability to move as it may cause
damage to the seat controls. Seat travel may
become limited if movement is stopped by an
obstruction in the seat’s path.
2
20_DJD2_OM_EN_USC_t.book Page 35
Page 39 of 568
GETTING TO KNOW YOUR VEHICLE37
HEATED SEATS — IF EQUIPPED
On some models, the front and rear seats may
be equipped with heaters located in the seat
cushions and seat backs.
Front Heated Seats
The heated seats control buttons are located on
the center instrument panel below the
touchscreen, and are also located within the
climate or controls screen of the touchscreen.
NOTE:
If the vehicle is equipped with a 12-inch radio,
there will only be control buttons through the
touchscreen.
Push the heated seat buttononce to turn the
HI setting on.
Push the heated seat button a second time to
turn the MED setting on.
Push the heated seat button a third time to
turn the LO setting on.
Push the heated seat buttona fourth time to
turn the heating elements off.
NOTE:
The engine must be running for the heated
seats to operate.
The level of heat selected will stay on until
the operator changes it. Vehicles Equipped With Remote Start
On models that are equipped with remote start,
the driver’s seat can be programmed to come
on during a remote start.
This feature can be programmed through the
Uconnect system. Refer to “Uconnect Settings”
in “Multimedia” for further information.
Rear Heated Seats
On some models, the two outboard rear seats
are equipped with heated seats. The heated
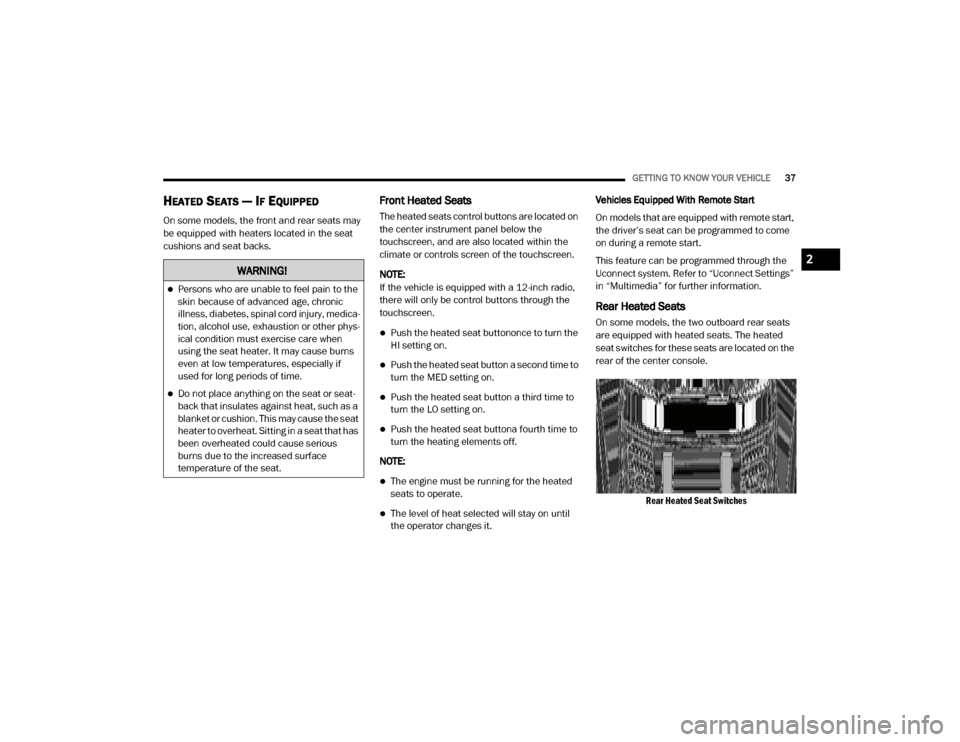
seat switches for these seats are located on the
rear of the center console.
Rear Heated Seat Switches
WARNING!
Persons who are unable to feel pain to the
skin because of advanced age, chronic
illness, diabetes, spinal cord injury, medica -
tion, alcohol use, exhaustion or other phys -
ical condition must exercise care when
using the seat heater. It may cause burns
even at low temperatures, especially if
used for long periods of time.
Do not place anything on the seat or seat -
back that insulates against heat, such as a
blanket or cushion. This may cause the seat
heater to overheat. Sitting in a seat that has
been overheated could cause serious
burns due to the increased surface
temperature of the seat.
2
20_DJD2_OM_EN_USC_t.book Page 37
Page 40 of 568
38GETTING TO KNOW YOUR VEHICLE
There are two heated seat switches that allow
the rear passengers to operate the seats
independently. You can choose from HI, MED,
LO, or OFF heat settings. Amber indicator lights
in each switch indicate the level of heat in use.
Push the heated seat buttononce to turn the
HI setting on.
Push the heated seat button a second time to
turn the MED setting on.
Push the heated seat button a third time to
turn the LO setting on.
Push the heated seat buttona fourth time to
turn the heating elements off.
NOTE:
The level of heat selected will stay on until
the operator changes it.
Once a heat setting is selected, heat will be
felt within two to five minutes.
The engine must be running for the heated
seats to operate.
VENTILATED SEATS — IF EQUIPPED
Front Ventilated Seats
Located in the seat cushion are small fans that
draw the air from the passenger compartment
and move air through fine perforations in the
seat cover to help keep the driver and front
passenger cooler in higher ambient
temperatures. The fans operate at three
speeds, HI, MED and LO.
The front ventilated seats control buttons are
located on the center instrument panel below
the touchscreen, and are also located within the
climate or controls screen of the touchscreen.
NOTE:
If the vehicle is equipped with a 12-inch radio,
there will only be control buttons through the
touchscreen.
Press the ventilated seat button once to
choose HI.
Press the ventilated seat button a second
time to choose MED.
Press the ventilated seat button a third time
to choose LO.
Press the ventilated seat button a fourth time
to turn the ventilation off.
NOTE:
The engine must be running for the ventilated
seats to operate.
Vehicles Equipped With Remote Start
On models that are equipped with remote start,
the driver’s seat can be programmed to come
on during a remote start.
This feature can be programmed through the
Uconnect system. Refer to “Uconnect Settings”
in “Multimedia” for further information.
HEAD RESTRAINTS
Head restraints are designed to reduce the risk
of injury by restricting head movement in the
event of a rear impact. Head restraints should
be adjusted so that the top of the head restraint
is located above the top of your ear.
20_DJD2_OM_EN_USC_t.book Page 38
Page 43 of 568
GETTING TO KNOW YOUR VEHICLE41
STEERING WHEEL
TILT STEERING COLUMN
This feature allows you to tilt the steering
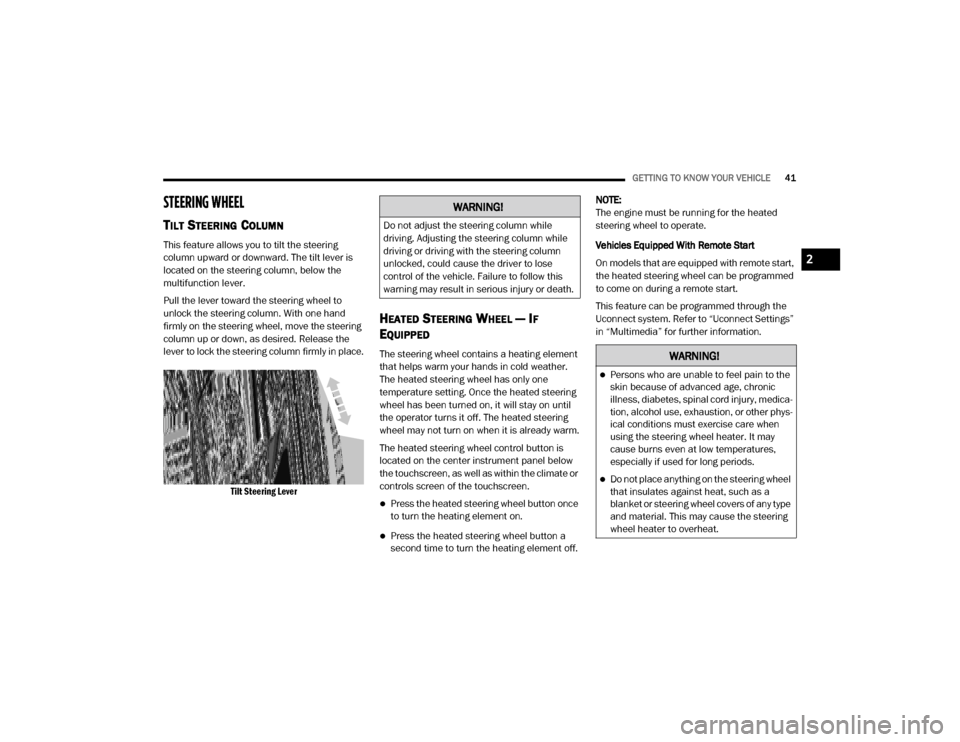
column upward or downward. The tilt lever is
located on the steering column, below the
multifunction lever.
Pull the lever toward the steering wheel to
unlock the steering column. With one hand
firmly on the steering wheel, move the steering
column up or down, as desired. Release the
lever to lock the steering column firmly in place.
Tilt Steering Lever
HEATED STEERING WHEEL — IF
E
QUIPPED
The steering wheel contains a heating element
that helps warm your hands in cold weather.
The heated steering wheel has only one
temperature setting. Once the heated steering
wheel has been turned on, it will stay on until
the operator turns it off. The heated steering
wheel may not turn on when it is already warm.
The heated steering wheel control button is
located on the center instrument panel below
the touchscreen, as well as within the climate or
controls screen of the touchscreen.
Press the heated steering wheel button once
to turn the heating element on.
Press the heated steering wheel button a
second time to turn the heating element off. NOTE:
The engine must be running for the heated
steering wheel to operate.
Vehicles Equipped With Remote Start
On models that are equipped with remote start,
the heated steering wheel can be programmed
to come on during a remote start.
This feature can be programmed through the
Uconnect system. Refer to “Uconnect Settings”
in “Multimedia” for further information.
WARNING!
Do not adjust the steering column while
driving. Adjusting the steering column while
driving or driving with the steering column
unlocked, could cause the driver to lose
control of the vehicle. Failure to follow this
warning may result in serious injury or death.
WARNING!
Persons who are unable to feel pain to the
skin because of advanced age, chronic
illness, diabetes, spinal cord injury, medica
-
tion, alcohol use, exhaustion, or other phys -
ical conditions must exercise care when
using the steering wheel heater. It may
cause burns even at low temperatures,
especially if used for long periods.
Do not place anything on the steering wheel
that insulates against heat, such as a
blanket or steering wheel covers of any type
and material. This may cause the steering
wheel heater to overheat.
2
20_DJD2_OM_EN_USC_t.book Page 41
Page 44 of 568
42GETTING TO KNOW YOUR VEHICLE
DRIVER ADJUSTABLE PEDALS — IF
EQUIPPED
The adjustable pedals system is designed to
allow a greater range of driver comfort for
steering wheel tilt and seat position. This
feature allows the brake and accelerator pedals
to move toward or away from the driver to
provide improved position with the steering
wheel.
The adjustable pedal switch is located to the left
side of the steering column.
Adjustable Pedals Switch
The pedals can be adjusted with the ignition
OFF.
The pedals
cannot be adjusted when the
vehicle is in REVERSE or when the Speed
Control System is on. The following messages
will appear on vehicles equipped with an
instrument cluster display if the pedals are
attempted to be adjusted when the system is
locked out: “Adjustable Pedal Disabled — Cruise
Control Engaged” or “Adjustable Pedal Disabled
— Vehicle In Reverse”.
NOTE:
Always adjust the pedals to a position that
allows full pedal travel.
Further small adjustments may be necessary
to find the best possible seat/pedal position.
For vehicles equipped with Driver Memory
Settings, you can use your remote keyless
entry key fob or the memory switch on the
driver’s door trim panel to return the adjust -
able pedals to pre-programmed positions.
Refer to “Driver Memory Settings — If
Equipped” in this chapter for further informa -
tion.
MIRRORS
INSIDE DAY/NIGHT MIRROR — IF
E
QUIPPED
The mirror head can be adjusted up, down, left,
and right for various drivers. The mirror should
be adjusted to center on the view through the
rear window.
WARNING!
Do not adjust the pedals while the vehicle is
moving. You could lose control and have an
accident. Always adjust the pedals while the
vehicle is parked.
CAUTION!
Do not place any article under the adjustable
pedals or impede its ability to move, as it may
cause damage to the pedal controls. Pedal
travel may become limited if movement is
stopped by an obstruction in the adjustable
pedal's path.
20_DJD2_OM_EN_USC_t.book Page 42
Page 46 of 568

44GETTING TO KNOW YOUR VEHICLE
the tailgate handle. The auto dimming feature is
also disabled to improve rear view viewing.
Automatic Dimming Mirror With Rear View Camera
OUTSIDE MIRRORS
To receive maximum benefit, adjust the outside
mirrors to center on the adjacent lane of traffic
with a slight overlap of the view obtained on the
inside mirror.
NOTE:
If your vehicle is equipped with puddle lamps
under the outside mirrors, they can be turned off through the Uconnect display. For further
information, refer to “Uconnect Settings” in
“Multimedia”.
DRIVER'S OUTSIDE AUTOMATIC
D
IMMING MIRROR — IF EQUIPPED
The driver’s outside mirror will automatically
adjust for glare from vehicles behind you. This
feature is controlled by the inside automatic dimming mirror and will automatically adjust for
headlight glare when the inside mirror adjusts.
POWER MIRRORS — IF EQUIPPED
The controls for the power mirrors are located
on the driver's door trim panel.
Power Mirror Controls
WARNING!
Vehicles and other objects seen in the
passenger side convex mirror will look smaller
and farther away than they really are. Relying
too much on your passenger side convex
mirror could cause you to collide with another
vehicle or other object. Use your inside mirror
when judging the size or distance of a vehicle
seen in the passenger side convex mirror.
Some vehicles will not have a convex
passenger side mirror.
1 — Mirror Direction Control
2 — Right Mirror Selection
3 — Left Mirror Selection
20_DJD2_OM_EN_USC_t.book Page 44
Page 47 of 568
GETTING TO KNOW YOUR VEHICLE45
The power mirror controls consist of mirror
select buttons and a four-way mirror control
switch.
To adjust a mirror, push either the L (left) or R
(right) button to select the mirror that you want
to adjust.
Using the mirror control switch, push on any of
the four arrows for the direction that you want
the mirror to move.
Power Mirror Movement
POWER CONVEX MIRROR SWITCH — IF
E
QUIPPED
The Power Convex Mirror Switch is located on
the door trim panel, above the power mirror
controls. The switch enables the movement of
the convex portion of both the driver and
passenger outside mirrors.
Power Convex Mirror Switch
To adjust the convex portion of the outside
mirrors, push the Power Convex Mirror Switch.
Then, select the mirror you want to adjust by
using the L (left) or R (right) buttons. To return the control to the large mirror, push
the Power Convex Mirror Switch a second time.
Trailer Tow Power Convex Mirror
NOTE:
If the Power Convex Mirror Switch is not pushed
a second time, the switch will automatically
default back to the larger portion of the outside
mirrors after a period of time.
2
20_DJD2_OM_EN_USC_t.book Page 45
Page 48 of 568

46GETTING TO KNOW YOUR VEHICLE
TRAILER TOWING MIRRORS — IF
E
QUIPPED
These mirrors are designed with an adjustable
mirror head to provide a greater vision range
when towing extra-wide loads. To change
position inboard or outboard, the mirror head
should be rotated (flipped in or out).
Trailer Towing Position
NOTE:
Fold the trailer towing mirrors rearward prior to
entering an automated car wash.
A small blindspot mirror is located next to main
mirror and can be adjusted separately.
Blindspot Mirror
HEATED MIRRORS — IF EQUIPPED
These mirrors are heated to melt frost
or ice. This feature will be activated
whenever you turn on the rear window
defroster (if equipped).
Refer to “Climate Controls” in this chapter for
further information.
TILT SIDE MIRRORS IN REVERSE — IF
E
QUIPPED
Tilt Side Mirrors In Reverse provides automatic
outside mirror positioning which will aid the
driver’s view of the ground rearward of the front
doors. The outside mirrors will move slightly
downward from the present position when the
vehicle is shifted into REVERSE. The outside mirrors will then return to the original position
when the vehicle is shifted out of the REVERSE
position. Each stored memory setting will have
an associated Tilt Side Mirrors In Reverse
position.
NOTE:
The Tilt Side Mirrors In Reverse feature is not
turned on when delivered from the factory.
This feature can be programmed through the
Uconnect system. Refer to “Uconnect Settings”
in “Multimedia” for further information.
POWER FOLDING OUTSIDE MIRRORS
F
OR STANDARD AND TRAILER TOW — IF
E
QUIPPED
If equipped with power folding mirrors, they can
be electrically folded rearward and unfolded
into the drive position.
The switch for the power folding mirrors is
located between the power mirror switches L
(left) and R (right). Push the switch once and the
mirrors will fold in, push the switch a second
time and the mirrors will return to the normal
driving position.
20_DJD2_OM_EN_USC_t.book Page 46