display Ram 3500 Chassis Cab 2020 User Guide
[x] Cancel search | Manufacturer: RAM, Model Year: 2020, Model line: 3500 Chassis Cab, Model: Ram 3500 Chassis Cab 2020Pages: 516, PDF Size: 29.24 MB
Page 31 of 516
GETTING TO KNOW YOUR VEHICLE29
Automatic Door Locks — If Equipped
The auto door lock feature default condition is
enabled. When enabled, the door locks will lock
automatically when the vehicle's speed exceeds
15 mph (24 km/h). The auto door lock feature
can be enabled or disabled by an authorized
dealer per written request of the customer.
Please see an authorized dealer for service.
Automatic Doors Unlock — If Equipped
This feature unlocks all of the doors of the
vehicle when either front door is opened. This
will occur only after the vehicle has been shifted
into the PARK position after the vehicle has
been driven (shifted out of PARK and all doors
closed).
Automatic Doors Unlock Programming — If
Equipped
The Automatic Doors Unlock feature can be
enabled or disabled as follows:
For vehicles not equipped with a touchscreen
radio, refer to “Instrument Cluster Display” in
“Getting To Know Your Instrument Panel” for
further information.
For vehicles equipped with a touchscreen
radio, refer to “Uconnect Settings” in “Multi -
media” for further information.
NOTE:
Use the Auto Unlock Doors feature in accor -
dance with local laws.
Child-Protection Door Lock
To provide a safer environment for children
riding in the rear seat, the rear doors (if
equipped) of your vehicle have the Child-Protec -
tion Door Lock system.
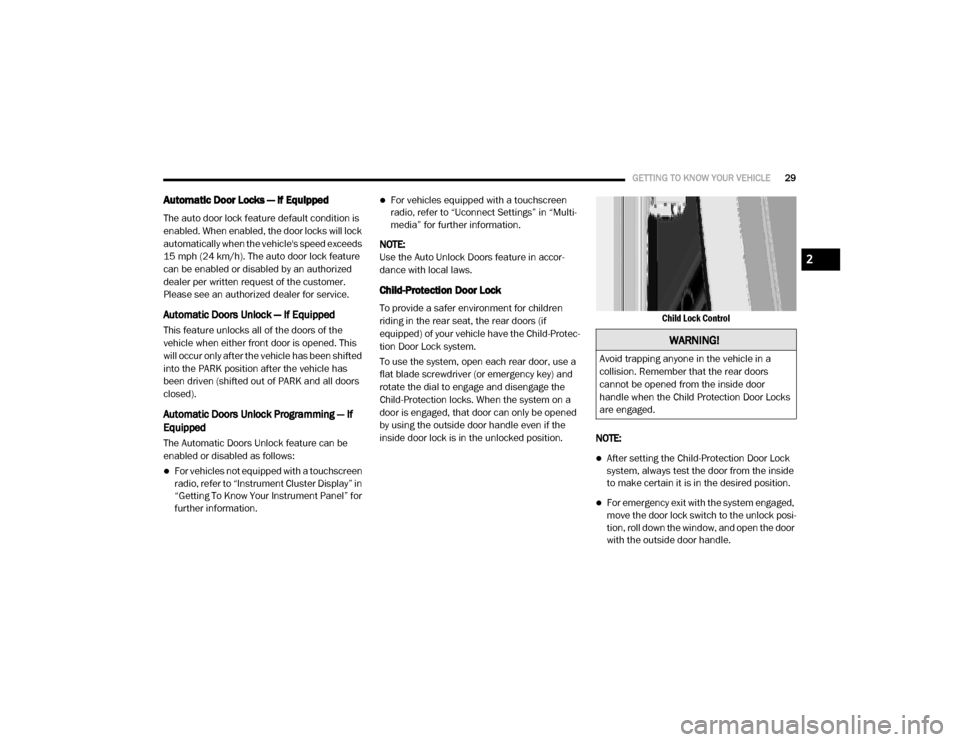
To use the system, open each rear door, use a
flat blade screwdriver (or emergency key) and
rotate the dial to engage and disengage the
Child-Protection locks. When the system on a
door is engaged, that door can only be opened
by using the outside door handle even if the
inside door lock is in the unlocked position.
Child Lock Control
NOTE:
After setting the Child-Protection Door Lock
system, always test the door from the inside
to make certain it is in the desired position.
For emergency exit with the system engaged,
move the door lock switch to the unlock posi -
tion, roll down the window, and open the door
with the outside door handle.
WARNING!
Avoid trapping anyone in the vehicle in a
collision. Remember that the rear doors
cannot be opened from the inside door
handle when the Child Protection Door Locks
are engaged.
2
2020_RAM_CHASSIS_CAB_OM_USA=GUID-6C67832B-7839-4CCF-BEFC-CDF988F949EA=1=en=.book Page 29
Page 34 of 516
32GETTING TO KNOW YOUR VEHICLE
Power Lumbar — If Equipped
Vehicles equipped with power driver or
passenger seats may be also be equipped with
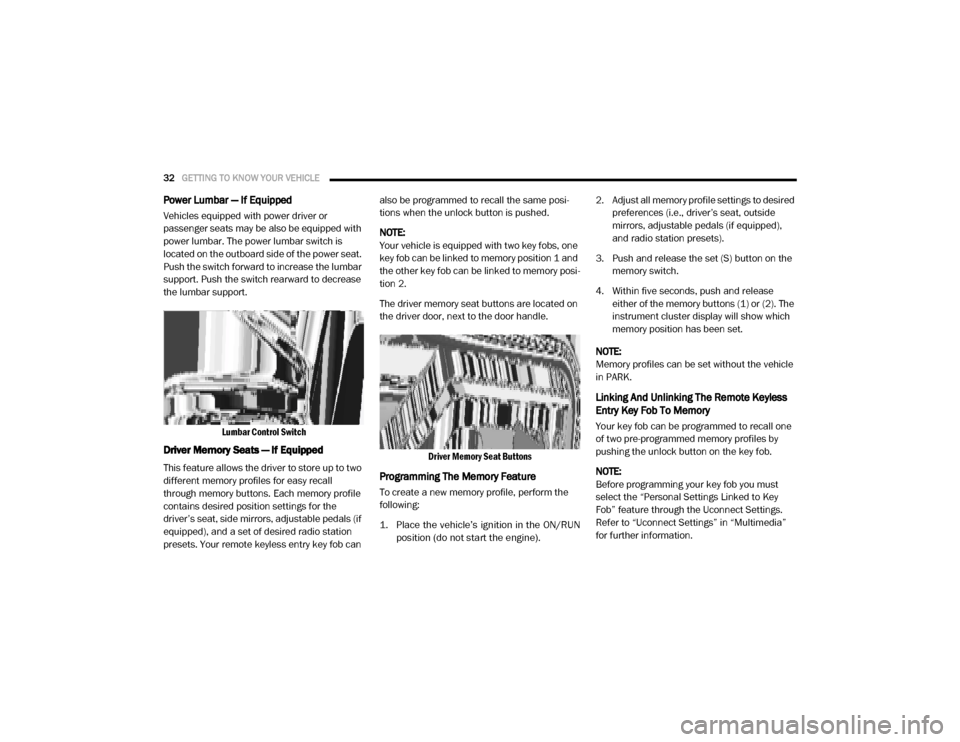
power lumbar. The power lumbar switch is
located on the outboard side of the power seat.
Push the switch forward to increase the lumbar
support. Push the switch rearward to decrease
the lumbar support.
Lumbar Control Switch
Driver Memory Seats — If Equipped
This feature allows the driver to store up to two
different memory profiles for easy recall
through memory buttons. Each memory profile
contains desired position settings for the
driver’s seat, side mirrors, adjustable pedals (if
equipped), and a set of desired radio station
presets. Your remote keyless entry key fob can also be programmed to recall the same posi
-
tions when the unlock button is pushed.
NOTE:
Your vehicle is equipped with two key fobs, one
key fob can be linked to memory position 1 and
the other key fob can be linked to memory posi -
tion 2.
The driver memory seat buttons are located on
the driver door, next to the door handle.
Driver Memory Seat Buttons
Programming The Memory Feature
To create a new memory profile, perform the
following:
1. Place the vehicle’s ignition in the ON/RUNposition (do not start the engine).
2. Adjust all memory profile settings to desired
preferences (i.e., driver’s seat, outside
mirrors, adjustable pedals (if equipped),
and radio station presets).
3. Push and release the set (S) button on the memory switch.
4. Within five seconds, push and release either of the memory buttons (1) or (2). The
instrument cluster display will show which
memory position has been set.
NOTE:
Memory profiles can be set without the vehicle
in PARK.
Linking And Unlinking The Remote Keyless
Entry Key Fob To Memory
Your key fob can be programmed to recall one
of two pre-programmed memory profiles by
pushing the unlock button on the key fob.
NOTE:
Before programming your key fob you must
select the “Personal Settings Linked to Key
Fob” feature through the Uconnect Settings.
Refer to “Uconnect Settings” in “Multimedia”
for further information.
2020_RAM_CHASSIS_CAB_OM_USA=GUID-6C67832B-7839-4CCF-BEFC-CDF988F949EA=1=en=.book Page 32
Page 35 of 516

GETTING TO KNOW YOUR VEHICLE33
To program your key fob, perform the following:
1. Place the vehicle’s ignition in the OFF posi -
tion.
2. Select a desired memory profile 1 or 2.
NOTE:
If a memory profile has not already been set,
refer to "Programming The Memory Feature" in
this section for instructions on how to set a
memory profile.
3. Once the profile has been recalled, push and release the set (S) button on the
memory switch.
4. Push and release button (1) or (2) accord -
ingly. “Memory Profile Set” (1 or 2) will
display in the instrument cluster.
5. Push and release the lock button on the key fob within 10 seconds.
NOTE:
Your key fob can be unlinked to your memory
settings by pushing the set (S) button, and
within 10 seconds, pushing the unlock button
on the key fob.Memory Position Recall
NOTE:
The vehicle speed must be lower than 5 mph
(8 km/h) to recall memory positions. If a recall
is attempted when the vehicle speed is greater
than 5 mph (8 km/h), a message will be
displayed in the instrument cluster display.
Driver One Memory Position Recall
To recall the memory settings for driver one
using the memory buttons on the door panel,
push memory button (1).
To recall the memory settings for driver one
using the key fob, push the unlock button on
the key fob linked to memory position 1.
Driver Two Memory Position Recall
To recall the memory setting for driver two
using the memory buttons on the door panel,
push memory button (2).
To recall the memory settings for driver two
using the key fob, push the unlock button on
the key fob linked to memory position 2. A recall can be cancelled by pushing any of the
memory buttons during a recall (S, 1, or 2).
When a recall is canceled, the driver's seat and
the power pedals (if equipped) stop moving. A
delay of one second will occur before another
recall can be selected.
Easy Entry/Exit Seat
This feature provides automatic driver’s seat
positioning to enhance driver mobility when
entering and exiting the vehicle.
The distance the driver’s seat moves depends
on where you have the driver’s seat positioned
when you remove the key fob from the ignition.
When you remove the key fob from the igni
-
tion, the driver’s seat will move about
2.4 inches (60 mm) rearward if the driver’s seat position is greater than or equal to
2.7 inches (67.7 mm) forward of the rear stop. The seat will return to its previously set
position when you place the ignition into the
ACC or RUN position.
2
2020_RAM_CHASSIS_CAB_OM_USA=GUID-6C67832B-7839-4CCF-BEFC-CDF988F949EA=1=en=.book Page 33
Page 41 of 516
GETTING TO KNOW YOUR VEHICLE39
DRIVER ADJUSTABLE PEDALS — IF
EQUIPPED
The adjustable pedals system is designed to
allow a greater range of driver comfort for
steering wheel tilt and seat position. This
feature allows the brake and accelerator pedals
to move toward or away from the driver to
provide improved position with the steering
wheel.
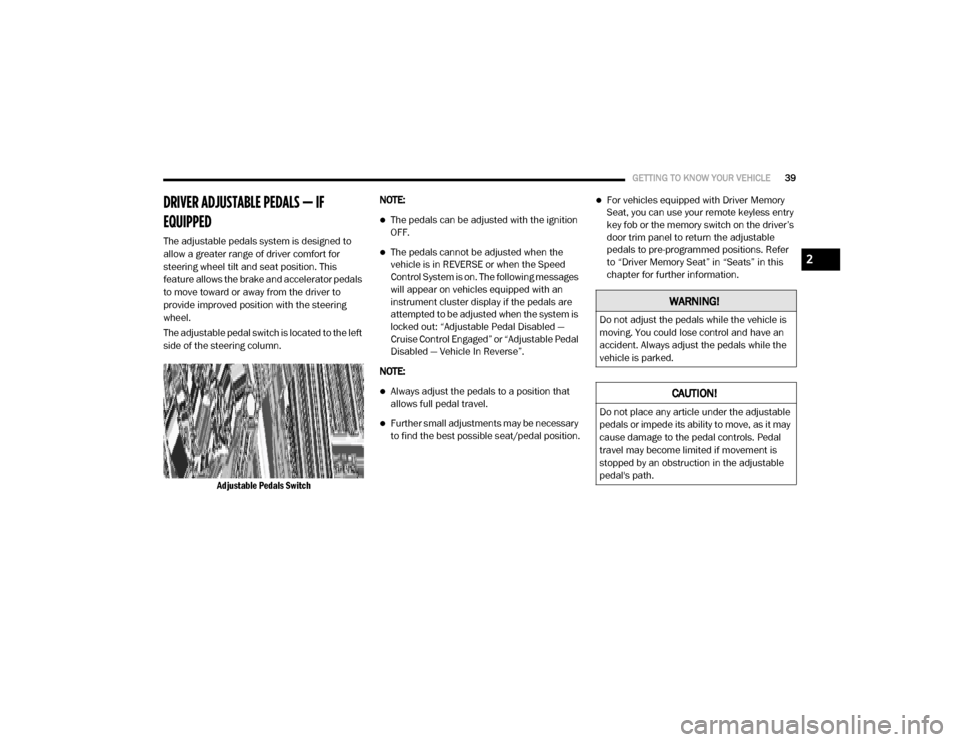
The adjustable pedal switch is located to the left
side of the steering column.
Adjustable Pedals Switch
NOTE:
The pedals can be adjusted with the ignition
OFF.
The pedals cannot be adjusted when the
vehicle is in REVERSE or when the Speed
Control System is on. The following messages
will appear on vehicles equipped with an
instrument cluster display if the pedals are
attempted to be adjusted when the system is
locked out: “Adjustable Pedal Disabled —
Cruise Control Engaged” or “Adjustable Pedal
Disabled — Vehicle In Reverse”.
NOTE:
Always adjust the pedals to a position that
allows full pedal travel.
Further small adjustments may be necessary
to find the best possible seat/pedal position.
For vehicles equipped with Driver Memory
Seat, you can use your remote keyless entry
key fob or the memory switch on the driver’s
door trim panel to return the adjustable
pedals to pre-programmed positions. Refer
to “Driver Memory Seat” in “Seats” in this
chapter for further information.
WARNING!
Do not adjust the pedals while the vehicle is
moving. You could lose control and have an
accident. Always adjust the pedals while the
vehicle is parked.
CAUTION!
Do not place any article under the adjustable
pedals or impede its ability to move, as it may
cause damage to the pedal controls. Pedal
travel may become limited if movement is
stopped by an obstruction in the adjustable
pedal's path.
2
2020_RAM_CHASSIS_CAB_OM_USA=GUID-6C67832B-7839-4CCF-BEFC-CDF988F949EA=1=en=.book Page 39
Page 42 of 516
40GETTING TO KNOW YOUR VEHICLE
MIRRORS
Inside Day/Night Mirror — If Equipped
The mirror head can be adjusted up, down, left,
and right for various drivers. The mirror should
be adjusted to center on the view through the
rear window.
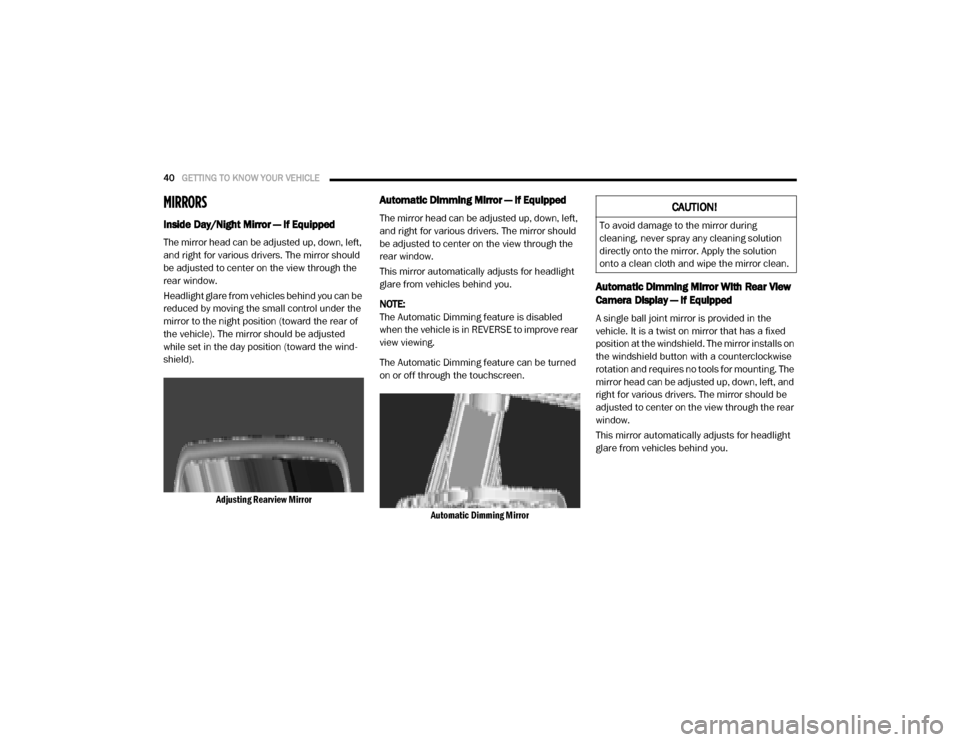
Headlight glare from vehicles behind you can be
reduced by moving the small control under the
mirror to the night position (toward the rear of
the vehicle). The mirror should be adjusted
while set in the day position (toward the wind -
shield).
Adjusting Rearview Mirror
Automatic Dimming Mirror — If Equipped
The mirror head can be adjusted up, down, left,
and right for various drivers. The mirror should
be adjusted to center on the view through the
rear window.
This mirror automatically adjusts for headlight
glare from vehicles behind you.
NOTE:
The Automatic Dimming feature is disabled
when the vehicle is in REVERSE to improve rear
view viewing.
The Automatic Dimming feature can be turned
on or off through the touchscreen.
Automatic Dimming Mirror
Automatic Dimming Mirror With Rear View
Camera Display — If Equipped
A single ball joint mirror is provided in the
vehicle. It is a twist on mirror that has a fixed
position at the windshield. The mirror installs on
the windshield button with a counterclockwise
rotation and requires no tools for mounting. The
mirror head can be adjusted up, down, left, and
right for various drivers. The mirror should be
adjusted to center on the view through the rear
window.
This mirror automatically adjusts for headlight
glare from vehicles behind you.
CAUTION!
To avoid damage to the mirror during
cleaning, never spray any cleaning solution
directly onto the mirror. Apply the solution
onto a clean cloth and wipe the mirror clean.
2020_RAM_CHASSIS_CAB_OM_USA=GUID-6C67832B-7839-4CCF-BEFC-CDF988F949EA=1=en=.book Page 40
Page 43 of 516

GETTING TO KNOW YOUR VEHICLE41
When the vehicle is placed into reverse gear, a
video display illuminates to display the image
generated by the rear view camera (for the
3500, 4500, and 5500 Chassis Cab vehicles,
the Rear Backup Camera is shipped loose and
not installed. Please refer to the Ram Body
Builders Guide for more information). The auto
dimming feature is also disabled to improve
rear view viewing.
Automatic Dimming Mirror With Rear View Camera
Outside Mirrors
To receive maximum benefit, adjust the outside
mirrors to center on the adjacent lane of traffic
with a slight overlap of the view obtained on the
inside mirror. NOTE:
If your vehicle is equipped with puddle lamps
under the outside mirrors, they can be turned
off through the Uconnect display. For further
information, refer to “Uconnect Settings” in
“Multimedia”.
Driver's Outside Automatic Dimming Mirror
— If Equipped
The driver’s outside mirror will automatically
adjust for glare from vehicles behind you. This
feature is controlled by the inside automatic
dimming mirror and will automatically adjust for
headlight glare when the inside mirror adjusts.
Power Mirrors — If Equipped
The controls for the power mirrors are located
on the driver's door trim panel.
Power Mirror Controls
The power mirror controls consist of mirror
select buttons and a four-way mirror control
switch.
To adjust a mirror, push either the L (left) or R
(right) button to select the mirror that you want
to adjust.
WARNING!
Vehicles and other objects seen in the
passenger side convex mirror will look smaller
and farther away than they really are. Relying
too much on your passenger side convex
mirror could cause you to collide with another
vehicle or other object. Use your inside mirror
when judging the size or distance of a vehicle
seen in the passenger side convex mirror.
Some vehicles will not have a convex
passenger side mirror.
1 — Left Mirror Selection
2 — Right Mirror Selection
3 — Mirror Direction Control
2
2020_RAM_CHASSIS_CAB_OM_USA=GUID-6C67832B-7839-4CCF-BEFC-CDF988F949EA=1=en=.book Page 41
Page 49 of 516

GETTING TO KNOW YOUR VEHICLE47
NOTE:
This feature can be programmed through the
Uconnect system. Refer to “Uconnect Settings”
in “Multimedia” for further information.
Headlight Delay
To aid in your exit, your vehicle is equipped with
a headlight delay that will leave the headlights
on for approximately up to 90 seconds. This
delay is initiated when the ignition is turned off
while the headlight switch is on, and then the
headlight switch is cycled off. Headlight delay
can be canceled by either turning the headlight
switch on then off, or by placing the ignition in
the ON/RUN position.
NOTE:
This feature can be programmed through the
Uconnect system. Refer to “Uconnect Settings”
in “Multimedia” for further information.
Lights-On Reminder
If the headlights, parking lights, or cargo lights
are left on after the ignition is placed in the OFF
position, a chime will sound when the driver’s
door is opened.
Front Fog Lights — If Equipped
To activate the front fog lights, turn on the
parking lights or low beam headlights and push
in the center of the headlight switch control
knob. Pushing the headlight switch control knob
a second time will turn the front fog lights off.
Front Fog Light Switch
Turn Signals
Move the multifunction lever up or down and
the arrows on each side of the instrument
cluster display will flash to show proper opera -
tion of the front and rear turn signal lights.
NOTE:
If either light remains on and does not flash, or
there is a very fast flash rate, check for a defec -
tive outside light bulb. If an indicator fails to light when the lever is moved, it would suggest
that the indicator bulb is defective.
Lane Change Assist — If Equipped
Tap the multifunction lever up or down once,
without moving beyond the detent, and the turn
signal (right or left) will flash three times then
automatically turn off.
Cargo Lights/Trailer Spotter Lights — If
Equipped
The cargo lights (if equipped) and trailer spotter
lights (if equipped) are turned on by pushing the
cargo lights button located on the lower half of
the headlight switch.
Cargo Lights Button On Headlight Switch
2
2020_RAM_CHASSIS_CAB_OM_USA=GUID-6C67832B-7839-4CCF-BEFC-CDF988F949EA=1=en=.book Page 47
Page 57 of 516

GETTING TO KNOW YOUR VEHICLE55
Automatic Climate Control Overview
Uconnect 4/4C/4C NAV With 8.4–inch Display Automatic Temperature Controls
2
2020_RAM_CHASSIS_CAB_OM_USA=GUID-6C67832B-7839-4CCF-BEFC-CDF988F949EA=1=en=.book Page 55
Page 58 of 516

56GETTING TO KNOW YOUR VEHICLE
Uconnect 4C NAV With 12–inch Display Automatic Temperature Controls
Uconnect 4C/4C NAV With 8.4-inch Display Automatic Climate Control Knobs
NOTE:
Icons and descriptions can vary based upon
vehicle equipment.
2020_RAM_CHASSIS_CAB_OM_USA=GUID-6C67832B-7839-4CCF-BEFC-CDF988F949EA=1=en=.book Page 56
Page 61 of 516
GETTING TO KNOW YOUR VEHICLE59
Faceplate Temperature
Knobs
Touchscreen
Temperature Buttons Driver and Passenger Temperature Up and Down Buttons
Provides the driver and passenger with independent temperature control. Push the red button (or rotate knob if equipped)
on the faceplate or touchscreen, or press and slide the temperature bar towards the red arrow button on the touchscreen
for warmer temperature settings. Push the blue button (or rotate knob if equipped) on the faceplate or touchscreen, or
press and slide the temperature bar towards the blue arrow button on the touchscreen for cooler temperature settings.
NOTE:
The numbers within the temperature display will only appear if the system is equipped with an automatic climate control
system.
Up and down buttons are only available on vehicles equipped with a 12-inch display.
SYNC
Press the SYNC button on the touchscreen to toggle the SYNC feature on/off. The SYNC indicator illuminates when SYNC is
on. SYNC synchronizes the passenger temperature setting with the driver temperature setting. Changing the passenger’s
temperature setting while in SYNC will automatically exit this feature.
NOTE:
The SYNC button is only available on the touchscreen.
Icon
Description
2
2020_RAM_CHASSIS_CAB_OM_USA=GUID-6C67832B-7839-4CCF-BEFC-CDF988F949EA=1=en=.book Page 59