center console Ram 3500 Chassis Cab 2020 Owner's Manual
[x] Cancel search | Manufacturer: RAM, Model Year: 2020, Model line: 3500 Chassis Cab, Model: Ram 3500 Chassis Cab 2020Pages: 516, PDF Size: 29.24 MB
Page 37 of 516
GETTING TO KNOW YOUR VEHICLE35
Rear Heated Seats
On some models, the two outboard rear seats
are equipped with heated seats. The heated
seat switches for these seats are located on the
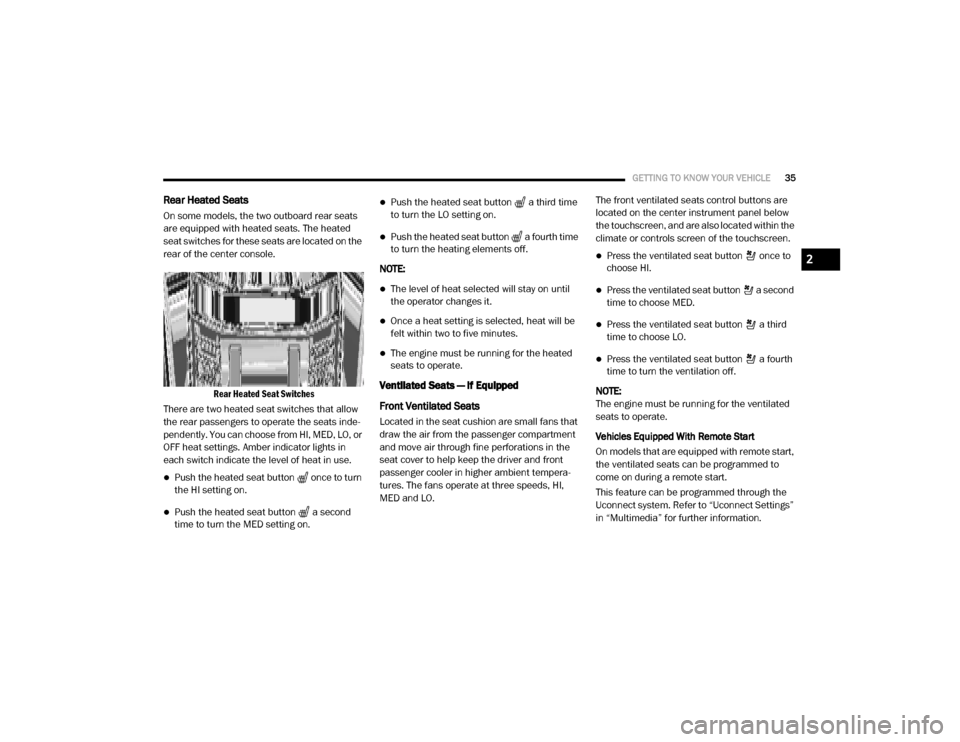
rear of the center console.
Rear Heated Seat Switches
There are two heated seat switches that allow
the rear passengers to operate the seats inde -
pendently. You can choose from HI, MED, LO, or
OFF heat settings. Amber indicator lights in
each switch indicate the level of heat in use.
Push the heated seat button once to turn
the HI setting on.
Push the heated seat button a second
time to turn the MED setting on.
Push the heated seat button a third time
to turn the LO setting on.
Push the heated seat button a fourth time
to turn the heating elements off.
NOTE:
The level of heat selected will stay on until
the operator changes it.
Once a heat setting is selected, heat will be
felt within two to five minutes.
The engine must be running for the heated
seats to operate.
Ventilated Seats — If Equipped
Front Ventilated Seats
Located in the seat cushion are small fans that
draw the air from the passenger compartment
and move air through fine perforations in the
seat cover to help keep the driver and front
passenger cooler in higher ambient tempera -
tures. The fans operate at three speeds, HI,
MED and LO. The front ventilated seats control buttons are
located on the center instrument panel below
the touchscreen, and are also located within the
climate or controls screen of the touchscreen.
Press the ventilated seat button once to
choose HI.
Press the ventilated seat button a second
time to choose MED.
Press the ventilated seat button a third
time to choose LO.
Press the ventilated seat button a fourth
time to turn the ventilation off.
NOTE:
The engine must be running for the ventilated
seats to operate.
Vehicles Equipped With Remote Start
On models that are equipped with remote start,
the ventilated seats can be programmed to
come on during a remote start.
This feature can be programmed through the
Uconnect system. Refer to “Uconnect Settings”
in “Multimedia” for further information.
2
2020_RAM_CHASSIS_CAB_OM_USA=GUID-6C67832B-7839-4CCF-BEFC-CDF988F949EA=1=en=.book Page 35
Page 68 of 516
66GETTING TO KNOW YOUR VEHICLE
Window Lockout Switch — If Equipped
The window lockout switch on the driver's door
allows you to disable the window control on the
rear passenger doors. To disable the window
controls on the rear passenger doors, push the
window lock switch into the latched or down
position. To enable the window controls, push
the window lock switch again and return the
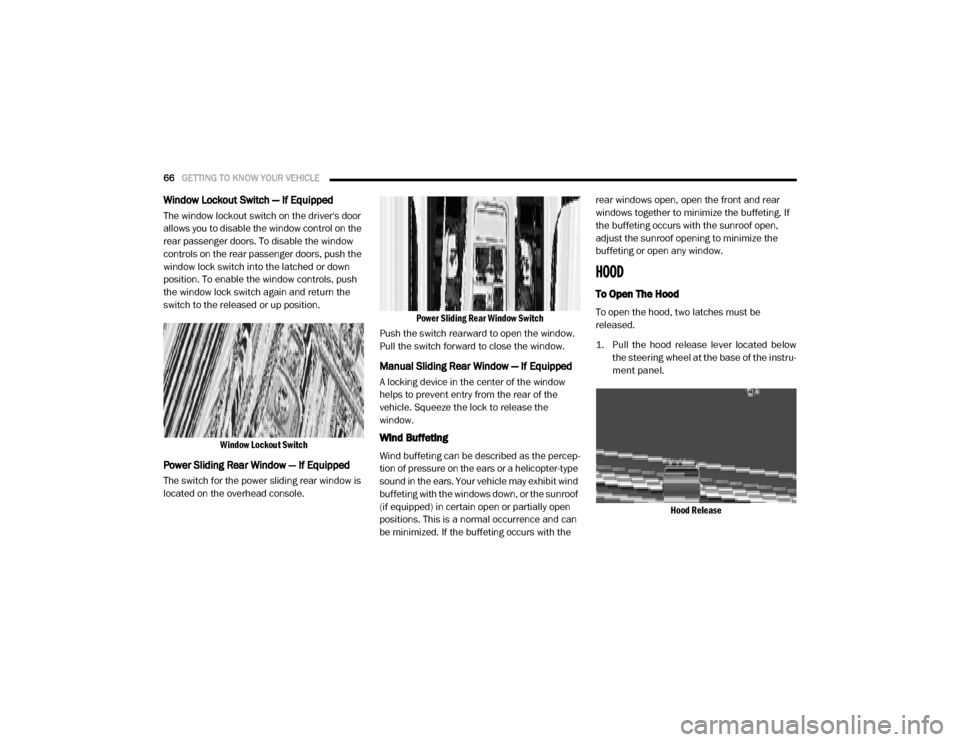
switch to the released or up position.
Window Lockout Switch
Power Sliding Rear Window — If Equipped
The switch for the power sliding rear window is
located on the overhead console.
Power Sliding Rear Window Switch
Push the switch rearward to open the window.
Pull the switch forward to close the window.
Manual Sliding Rear Window — If Equipped
A locking device in the center of the window
helps to prevent entry from the rear of the
vehicle. Squeeze the lock to release the
window.
Wind Buffeting
Wind buffeting can be described as the percep -
tion of pressure on the ears or a helicopter-type
sound in the ears. Your vehicle may exhibit wind
buffeting with the windows down, or the sunroof
(if equipped) in certain open or partially open
positions. This is a normal occurrence and can
be minimized. If the buffeting occurs with the rear windows open, open the front and rear
windows together to minimize the buffeting. If
the buffeting occurs with the sunroof open,
adjust the sunroof opening to minimize the
buffeting or open any window.
HOOD
To Open The Hood
To open the hood, two latches must be
released.
1. Pull the hood release lever located below
the steering wheel at the base of the instru -
ment panel.
Hood Release
2020_RAM_CHASSIS_CAB_OM_USA=GUID-6C67832B-7839-4CCF-BEFC-CDF988F949EA=1=en=.book Page 66
Page 76 of 516
74GETTING TO KNOW YOUR VEHICLE
With the upper lid closed, pull on the lower
handle to open the lower storage bin. The lower
bin contains a power inverter outlet located in
the front portion of the lower bin. There is also a
“fill line” located along the rear inside wall of the
lower bin. Contents above the “fill line” may
interfere with cupholder placement if equipped
with a premium center console.
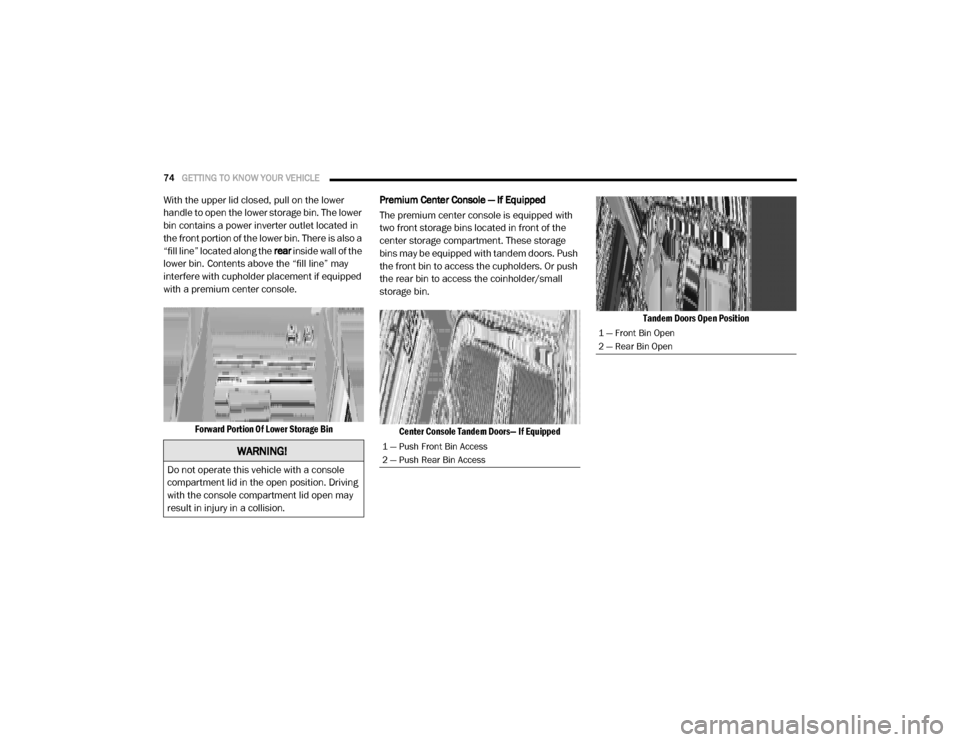
Forward Portion Of Lower Storage Bin
Premium Center Console — If Equipped
The premium center console is equipped with
two front storage bins located in front of the
center storage compartment. These storage
bins may be equipped with tandem doors. Push
the front bin to access the cupholders. Or push
the rear bin to access the coinholder/small
storage bin.
Center Console Tandem Doors— If Equipped Tandem Doors Open Position
WARNING!
Do not operate this vehicle with a console
compartment lid in the open position. Driving
with the console compartment lid open may
result in injury in a collision.
1 — Push Front Bin Access
2 — Push Rear Bin Access
1 — Front Bin Open
2 — Rear Bin Open
2020_RAM_CHASSIS_CAB_OM_USA=GUID-6C67832B-7839-4CCF-BEFC-CDF988F949EA=1=en=.book Page 74
Page 77 of 516
GETTING TO KNOW YOUR VEHICLE75
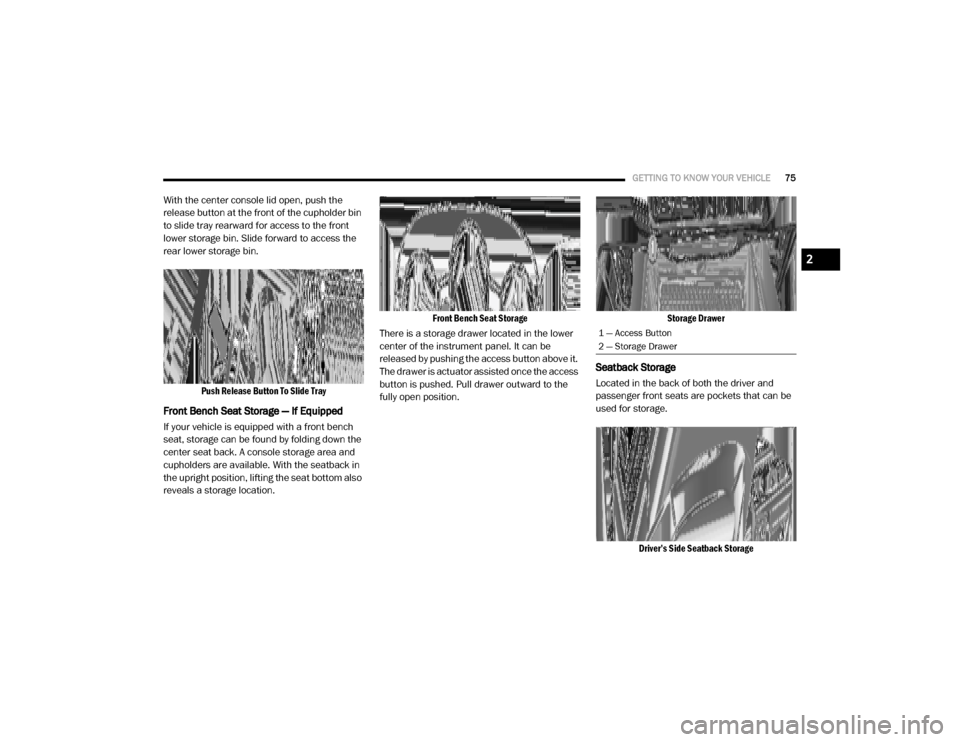
With the center console lid open, push the
release button at the front of the cupholder bin
to slide tray rearward for access to the front
lower storage bin. Slide forward to access the
rear lower storage bin.
Push Release Button To Slide Tray
Front Bench Seat Storage — If Equipped
If your vehicle is equipped with a front bench
seat, storage can be found by folding down the
center seat back. A console storage area and
cupholders are available. With the seatback in
the upright position, lifting the seat bottom also
reveals a storage location.
Front Bench Seat Storage
There is a storage drawer located in the lower
center of the instrument panel. It can be
released by pushing the access button above it.
The drawer is actuator assisted once the access
button is pushed. Pull drawer outward to the
fully open position.
Storage Drawer
Seatback Storage
Located in the back of both the driver and
passenger front seats are pockets that can be
used for storage.
Driver’s Side Seatback Storage
1 — Access Button
2 — Storage Drawer
2
2020_RAM_CHASSIS_CAB_OM_USA=GUID-6C67832B-7839-4CCF-BEFC-CDF988F949EA=1=en=.book Page 75
Page 79 of 516

GETTING TO KNOW YOUR VEHICLE77
Load Floor Securing Straps/Crew Cab
4. Reverse the procedure to put the load floor back in the secured down position before
you operate the vehicle.
Below Rear Seat Storage (Crew Cab)
The Crew Cab models provide additional
storage under the rear seats. Lift the seats to
access the storage compartment.
To open the storage compartments, unsnap the
securing snap located at either side of the load
floor and lift upward on the fold flat lid.
Crew Cab Storage
NOTE:
For more information on storage and the fold
flat floor, refer to “Fold Flat Load Floor” in this
section.
Cupholders
Front Seat Cupholders
For vehicles equipped with a center console,
two cupholders are located in front of the
console storage bin.
Front Cupholders
NOTE:
If the vehicle is equipped with a premium center
console with double (tandem) doors, push the
front bin door to access the cupholders.
WARNING!
Do not drive with the load floor in the up
position. When stopping fast or in an
accident, the load floor could move to the
down position causing serious injury.
2
2020_RAM_CHASSIS_CAB_OM_USA=GUID-6C67832B-7839-4CCF-BEFC-CDF988F949EA=1=en=.book Page 77
Page 81 of 516

GETTING TO KNOW YOUR VEHICLE79
An auxiliary power outlet can be found in the
tray on top of the center stack. This power outlet
works when the ignition is in the ON/RUN, ACC,
or OFF position.
Power Outlet — Top Of Center Stack
Power Outlet Fuse Locations:
F104 Fuse 20 A Yellow UCI Port/ USB Rear
Center Console
F90 Fuse 20 A Yellow Instrument Panel
Power Outlet Battery Fed (If Equipped)
F91 Fuse 20 A Yellow Instrument Panel
Power Outlet Ignition Fed (If Equipped)
F93 Fuse 20 A Yellow Cigar Lighter/ Instru -
ment Panel Power Outlet (If Equipped) When the vehicle is turned off, be sure to
unplug any equipment as to not drain the
battery of the vehicle. All accessories connected
to the outlet(s) should be removed or turned off
when the vehicle is not in use to protect the
battery against discharge.
WARNING!
To avoid serious injury or death:
Only devices designed for use in this type of
outlet should be inserted into any 12 Volt
outlet.
Do not touch with wet hands.
Close the lid when not in use and while
driving the vehicle.
If this outlet is mishandled, it may cause an
electric shock and failure.
CAUTION!
Many accessories that can be plugged in
draw power from the vehicle's battery, even
when not in use (i.e., cellular phones, etc.).
Eventually, if plugged in long enough, the
vehicle's battery will discharge sufficiently
to degrade battery life and/or prevent the
engine from starting.
Accessories that draw higher power (i.e.,
coolers, vacuum cleaners, lights, etc.), will
discharge the battery even more quickly.
Only use these intermittently and with
greater caution.
After the use of high power draw accesso
-
ries, or long periods of the vehicle not being
started (with accessories still plugged in),
the vehicle must be driven a sufficient
length of time to allow the generator to
recharge the vehicle's battery.
2
2020_RAM_CHASSIS_CAB_OM_USA=GUID-6C67832B-7839-4CCF-BEFC-CDF988F949EA=1=en=.book Page 79
Page 82 of 516
80GETTING TO KNOW YOUR VEHICLE
Power Inverter — If Equipped
If equipped, a 115 Volt (400 Watts Maximum)
inverter may be located inside the center
console towards the right hand side, just under
the Wireless Charging Pad (if equipped). This
inverter can power cellular phones, electronics
and other low power devices requiring power up
to 400 Watts. Certain high-end video game
consoles exceed this power limit, as will most
power tools.
Center Console Power Inverter Outlet
There is also a second 115 Volt (400 Watts
Maximum) power inverter located on the rear of
the center console. This inverter can power
cellular phones, electronics and other low
power devices requiring power up to 400 Watts.
Certain high-end video game consoles exceed
this power limit, as will most power tools. All power inverters are designed with built-in
overload protection. If the power rating of 400
Watts is exceeded, the power inverter shuts
down. Once the electrical device has been
removed from the outlet the inverter should
reset.
Rear Center Console Power Inverter Outlet
NOTE:
400 Watts is the maximum for the inverter, not
each outlet. If three outlets are in use, 400 Watts
is shared amongst the devices plugged in.
If equipped, there may be a 115 Volt
(400 Watts Maximum) inverter located to the
right of the center stack, just below the climate
controls. This inverter can power cellular phones, electronics and other low power
devices requiring power up to 400 Watts.
Certain high-end video game consoles exceed
this power limit, as will most power tools.
Center Stack Power Inverter
To turn on the power outlet, simply plug in the
device. The outlet turns off when the device is
unplugged.
NOTE:
The Power Inverter only turns on if the igni -
tion is in the ACC or ON/RUN position.
Due to built-in overload protection, the power
inverter shuts down if the power rating is
exceeded.
2020_RAM_CHASSIS_CAB_OM_USA=GUID-6C67832B-7839-4CCF-BEFC-CDF988F949EA=1=en=.book Page 80
Page 83 of 516

GETTING TO KNOW YOUR VEHICLE81
Wireless Charging Pad — If Equipped
Wireless Charging Pad
Your vehicle may be equipped with a 15W 3A Qi
wireless charging pad located inside of the
center console just below the CD player (if
equipped). This charging pad is designed to wirelessly charge your Qi enabled mobile
phone. Qi is a standard that uses magnetic
induction to transfer power to your mobile
device.
Your mobile phone must be designed for Qi
wireless charging. If the phone is not equipped
with Qi wireless charging functionality, an after
-
market sleeve or a specialized back plate can
be purchased from your mobile phone provider
or an local electronics retailer. Please see your
phone’s owner’s manual for further informa -
tion.
The wireless charging pad is equipped with an
anti-slip mat, an adjustable cradle to hold your
mobile phone in place and an LED indicator
light.
Overhead Sunglass Storage
At the front of the overhead console, a compart -
ment is provided for the storage of one pair of
sunglasses.
From the closed position, push the door latch to
open the compartment.
Overhead Sunglass Door
The door will slowly rotate to the full open posi -
tion.WARNING!
To avoid serious injury or death:
Do not insert any objects into the recepta -
cles.
Do not touch with wet hands.
Close the lid when not in use.
If this outlet is mishandled, it may cause an
electric shock and failure.
CAUTION!
The key fob should not be placed on the
charging pad or within 15 cm (150 mm) of it.
Doing so can cause excessive heat buildup
and damage to the fob. Placing the fob in
close proximity of the charging pad blocks the
fob from being detected by the vehicle and
prevents the vehicle from starting.
2
2020_RAM_CHASSIS_CAB_OM_USA=GUID-6C67832B-7839-4CCF-BEFC-CDF988F949EA=1=en=.book Page 81
Page 297 of 516

IN CASE OF EMERGENCY295
Assist And SOS Buttons
If equipped, the overhead console contains an
ASSIST and a SOS button. NOTE:
Your vehicle may be transmitting data as
authorized by the subscriber.
The SOS and ASSIST buttons will only func
-
tion if you are connected to an operable LTE
(voice/data) or 4G (data) network. Other
Uconnect services will only be operable if
your SiriusXM Guardian™ service is active
and you are connected to an operable LTE
(voice/data) or 4G (data) network.
ASSIST Call
The ASSIST Button is used to automatically
connect you to any one of the following support
centers:
Roadside Assistance – If you get a flat tire, or
need a tow, just push the ASSIST button and
you’ll be connected to someone who can
help. Roadside Assistance will know what
vehicle you’re driving and its location. Addi -
tional fees may apply for roadside assis -
tance.
SiriusXM Guardian™ Customer Care –
In-vehicle support for SiriusXM Guardian™.
Vehicle Customer Care – Total support for all
other vehicle issues.
SOS Call
1. Push the SOS Call button on the overhead console.
NOTE:
In case the SOS Call button is pushed in error,
there will be a 10 second delay before the SOS
Call system initiates a call to a SOS operator. To
cancel the SOS Call connection, push the SOS
call button on the overhead console or press
the cancellation button on the Device Screen.
Termination of the SOS Call will turn off the
green LED light on the overhead console.
2. The LED light located between the ASSIST and SOS buttons on the overhead console
will turn green once a connection to a SOS
operator has been made.
1 — ASSIST Button
2 — SOS Button
WARNING!
ALWAYS obey traffic laws and pay attention to
the road. ALWAYS drive safely with your hands
on the steering wheel. You have full
responsibility and assume all risks related to
the use of the features and applications in
this vehicle. Only use the features and
applications when it is safe to do so. Failure
to do so may result in an accident involving
serious injury or death.
6
2020_RAM_CHASSIS_CAB_OM_USA=GUID-6C67832B-7839-4CCF-BEFC-CDF988F949EA=1=en=.book Page 295
Page 316 of 516

314IN CASE OF EMERGENCY
(Continued)
JACKING AND TIRE CHANGING
F101–20 Amp Yellow Rear Heated Seat Right (HD Only)
F102 –
20 Amp Yellow Rear Heated Seat Left / Run RLY #3 Coil (HD Only)
F103 –10 Amp Red HeadLamp AFLS (HD Only)
F104 –20 Amp Yellow Power Outlets (Instrument Panel / Center Console) / Trunk
– If Equipped (DS 1500 Only)
UCI Port / USB Rear (HD Only)
Cavity
Cartridge Fuse Micro Fuse Description
CAUTION!
When installing the power distribution
center cover, it is important to ensure the
cover is properly positioned and fully
latched. Failure to do so may allow water to
get into the power distribution center and
possibly result in an electrical system
failure.
When replacing a blown fuse, it is important
to use only a fuse having the correct
amperage rating. The use of a fuse with a
rating other than indicated may result in a
dangerous electrical system overload. If a
properly rated fuse continues to blow, it
indicates a problem in the circuit that must
be corrected.
WARNING!
Do not attempt to change a tire on the side
of the vehicle close to moving traffic. Pull
far enough off the road to avoid the danger
of being hit when operating the jack or
changing the wheel.
Being under a jacked-up vehicle is
dangerous. The vehicle could slip off the
jack and fall on you. You could be crushed.
Never put any part of your body under a
vehicle that is on a jack. If you need to get
under a raised vehicle, take it to a service
center where it can be raised on a lift.
Never start or run the engine while the
vehicle is on a jack.
The jack is designed to be used as a tool for
changing tires only. The jack should not be
used to lift the vehicle for service purposes.
The vehicle should be jacked on a firm level
surface only. Avoid ice or slippery areas.
WARNING! (Continued)
2020_RAM_CHASSIS_CAB_OM_USA=GUID-6C67832B-7839-4CCF-BEFC-CDF988F949EA=1=en=.book Page 314