stop start Ram 5500 Chassis Cab 2014 Owner's Manual
[x] Cancel search | Manufacturer: RAM, Model Year: 2014, Model line: 5500 Chassis Cab, Model: Ram 5500 Chassis Cab 2014Pages: 546, PDF Size: 3.76 MB
Page 15 of 546
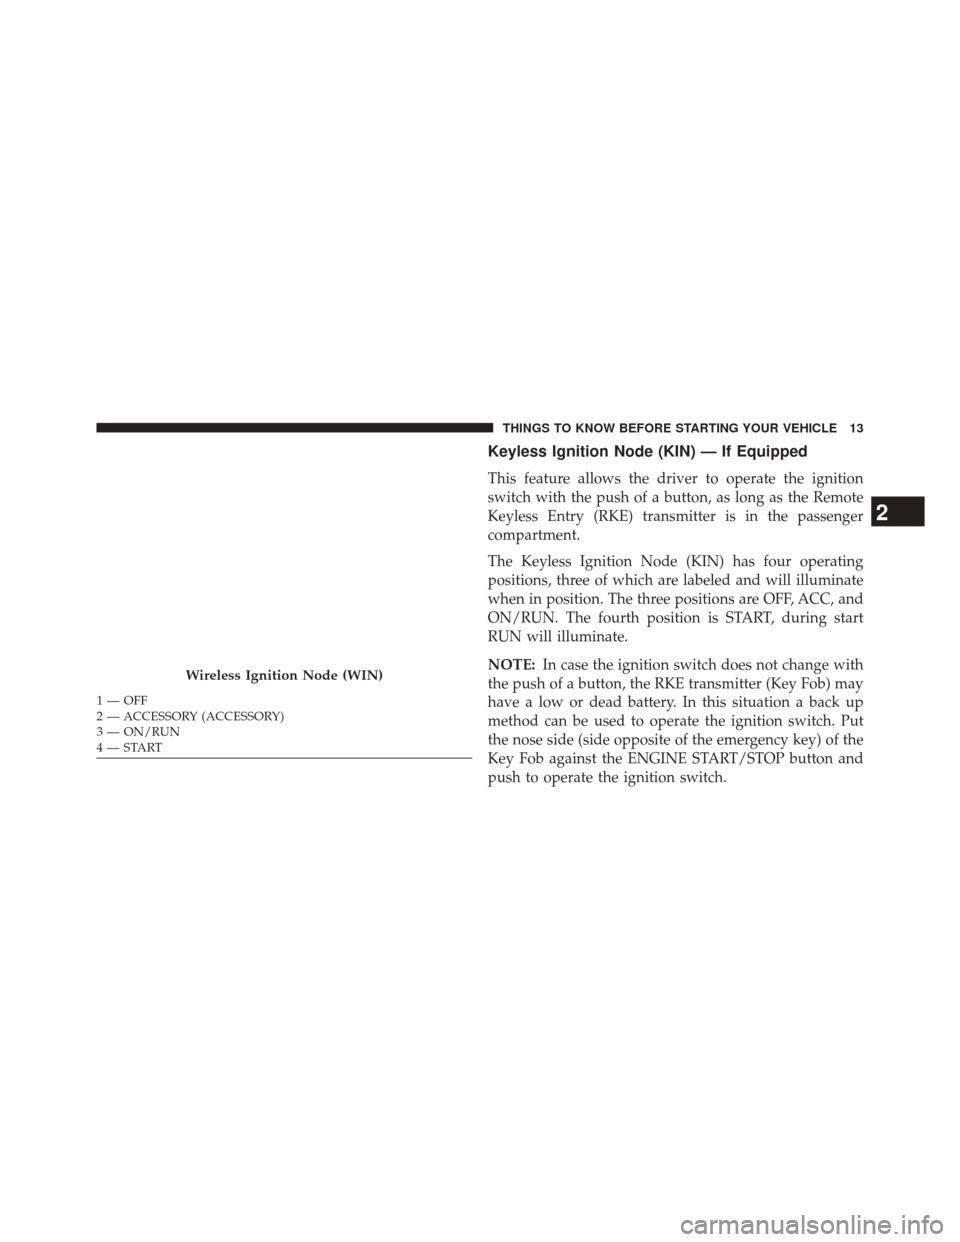
Keyless Ignition Node (KIN) — If Equipped
This feature allows the driver to operate the ignition
switch with the push of a button, as long as the Remote
Keyless Entry (RKE) transmitter is in the passenger
compartment.
The Keyless Ignition Node (KIN) has four operating
positions, three of which are labeled and will illuminate
when in position. The three positions are OFF, ACC, and
ON/RUN. The fourth position is START, during start
RUN will illuminate.
NOTE:In case the ignition switch does not change with
the push of a button, the RKE transmitter (Key Fob) may
have a low or dead battery. In this situation a back up
method can be used to operate the ignition switch. Put
the nose side (side opposite of the emergency key) of the
Key Fob against the ENGINE START/STOP button and
push to operate the ignition switch.
Wireless Ignition Node (WIN)
1 — OFF
2 — ACCESSORY (ACCESSORY)
3 — ON/RUN
4 — START
2
THINGS TO KNOW BEFORE STARTING YOUR VEHICLE 13
Page 18 of 546
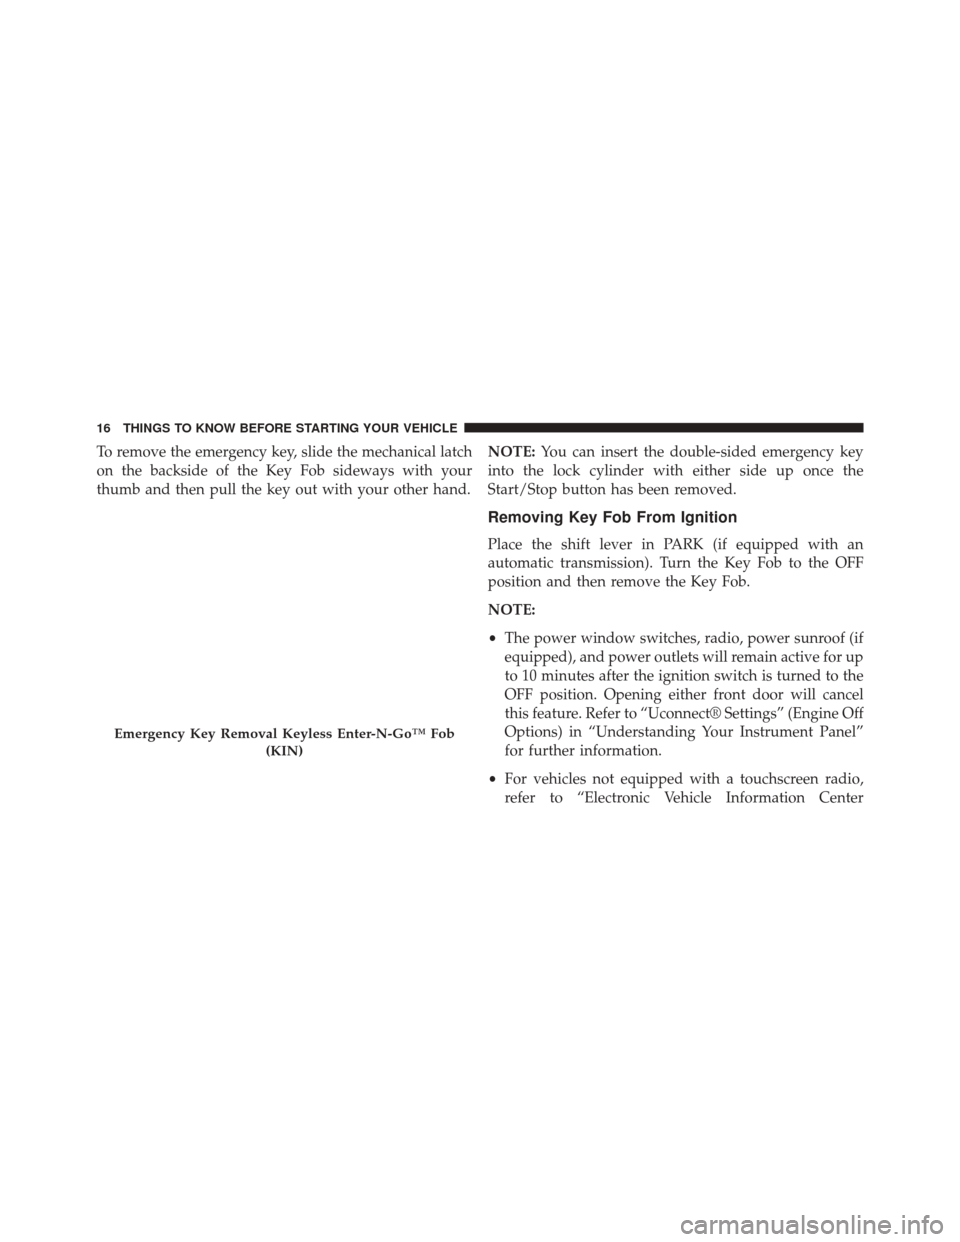
To remove the emergency key, slide the mechanical latch
on the backside of the Key Fob sideways with your
thumb and then pull the key out with your other hand.NOTE:
You can insert the double-sided emergency key
into the lock cylinder with either side up once the
Start/Stop button has been removed.
Removing Key Fob From Ignition
Place the shift lever in PARK (if equipped with an
automatic transmission). Turn the Key Fob to the OFF
position and then remove the Key Fob.
NOTE:
• The power window switches, radio, power sunroof (if
equipped), and power outlets will remain active for up
to 10 minutes after the ignition switch is turned to the
OFF position. Opening either front door will cancel
this feature. Refer to “Uconnect® Settings” (Engine Off
Options) in “Understanding Your Instrument Panel”
for further information.
• For vehicles not equipped with a touchscreen radio,
refer to “Electronic Vehicle Information Center
Emergency Key Removal Keyless Enter-N-Go™ Fob
(KIN)
16 THINGS TO KNOW BEFORE STARTING YOUR VEHICLE
Page 47 of 546
WARNING!(Continued)
particularly unattended children, can become en-
trapped by the windows while operating the power
window switches. Such entrapment may result in
serious injury or death.
Auto-Down
Both the driver and front passenger window switch have
an Auto-Down feature. Press the window switch past the
first detent, release, and the window will go down
automatically. To cancel the Auto-Down movement, op-
erate the switch in either the up or down direction and
release the switch.
To stop the window from going all the way down during
the Auto-Down operation, pull up on the switch briefly.
To open the window part way, press to the first detent
and release it when you want the window to stop.
Auto-Up Feature With Anti-Pinch Protection
(4-Door Models Driver And Front Passenger Door
Only) — If Equipped
Lift the window switch fully upward to the second
detent, release, and the window will go up automatically.
To stop the window from going all the way up during the
Auto Up operation, push down on the switch briefly.
To close the window part way, lift the window switch to the
first detent and release when you want the window to stop.
NOTE:If the window runs into any obstacle during the
auto-closure, it will reverse direction and then go back
down. Remove the obstacle and use the window switch
again to close the window. Any impact due to rough road
conditions may trigger the auto reverse function unex-
pectedly during auto closure. If this happens, pull the
switch lightly to the first detent and hold to close the
window manually.
2
THINGS TO KNOW BEFORE STARTING YOUR VEHICLE 45
Page 48 of 546
WARNING!
There is no anti-pinch protection when the window
is almost closed. Be sure to clear all objects from the
window before closing.
Reset Auto-Up
Should the Auto Up feature stop working, the window
may need to be reset. To reset Auto Up:
1. Make sure the door is fully closed.
2. Pull the window switch up to close the windowcompletely and continue to hold the switch up for an
additional two seconds after the window is closed.
3. Push the window switch down firmly to the second detent to open the window completely and continue
to hold the switch down for an additional two seconds
after the window is fully open.
Window LOCKOUT Switch (4–Door Models Only)
The window LOCKOUT switch on the driver’s door
allows you to disable the window control on the rear
passenger doors. To disable the window controls on the
rear passenger doors, press the window LOCK button
into the latched or down position. To enable the window
controls, press the window LOCK button again and
return the switch to the released or up position.
46 THINGS TO KNOW BEFORE STARTING YOUR VEHICLE
Page 52 of 546
and cause a collision that includes you. This can happen
far away from home or on your own street.
Research has shown that seat belts save lives, and they
can reduce the seriousness of injuries in a collision. Some
of the worst injuries happen when people are thrown
from the vehicle. Seat belts reduce the possibility of
ejection and the risk of injury caused by striking the
inside of the vehicle. Everyone in a motor vehicle should
be belted at all times.
Lap/Shoulder Belts
All seating positions except the Crew Cab front center
seating position have combination lap/shoulder belts.
The belt webbing retractor is designed to lock during
very sudden stops or collisions. This feature allows theshoulder part of the belt to move freely with you under
normal conditions. However, in an collision the belt will
lock and reduce the risk of you striking the inside of the
vehicle or being thrown out.
WARNING!
In a collision, you and your passengers can suffer
much greater injuries if you are not properly buckled
up. You can strike the interior of your vehicle or other
passengers, or you can be thrown out of the vehicle.
Always be sure you and others in your vehicle are
buckled up properly.
50 THINGS TO KNOW BEFORE STARTING YOUR VEHICLE
Page 55 of 546
WARNING!
•A belt buckled into the wrong buckle will not
protect you properly. The lap portion could ride too
high on your body, possibly causing internal inju-
ries. Always buckle your belt into the buckle
nearest you.
• A belt that is too loose will not protect you prop-
erly. In a sudden stop you could move too far
forward, increasing the possibility of injury. Wear
your seat belt snugly.
(Continued)Latch Plate To Buckle
2
THINGS TO KNOW BEFORE STARTING YOUR VEHICLE 53
Page 80 of 546
WARNING!
•Improper installation can lead to failure of an
infant or child restraint. It could come loose in a
collision. The child could be badly injured or
killed. Follow the child restraint manufacturer ’s
directions exactly when installing an infant or
child restraint.
• After a child restraint is installed in the vehicle, do
not move the vehicle seat forward or rearward
because it can loosen the child restraint attach-
ments. Remove the child restraint before adjusting
the vehicle seat position. When the vehicle seat has
been adjusted, reinstall the child restraint.
(Continued)
WARNING! (Continued)
•When your child restraint is not in use, secure it in
the vehicle with the seat belt or LATCH anchor-
ages, or remove it from the vehicle. Do not leave it
loose in the vehicle. In a sudden stop or accident, it
could strike the occupants or seatbacks and cause
serious personal injury.
Children Too Large For Booster Seats
Children who are large enough to wear the shoulder belt
comfortably, and whose legs are long enough to bend
over the front of the seat when their back is against the
seatback, should use the seat belt in a rear seat. Use this
simple 5-step test to decide whether the child can use the
vehicle’s seat belt alone:
1. Can the child sit all the way back against the back of the vehicle seat?
78 THINGS TO KNOW BEFORE STARTING YOUR VEHICLE
Page 208 of 546
16. Tire Pressure Monitoring Telltale Light — If
EquippedEach tire, including the spare (if provided),
should be checked monthly when cold and
inflated to the inflation pressure recommended
by the vehicle manufacturer on the vehicle
placard or tire inflation pressure label. (If your vehicle
has tires of a different size than the size indicated on the
vehicle placard or tire inflation pressure label, you should
determine the proper tire inflation pressure for those
tires.)
As an added safety feature, your vehicle has been
equipped with a Tire Pressure Monitoring System
(TPMS) that illuminates a low tire pressure telltale when
one or more of your tires is significantly under-inflated.
Accordingly, when the low tire pressure telltale illumi-
nates, you should stop and check your tires as soon as
possible, and inflate them to the proper pressure. Driving
on a significantly under-inflated tire causes the tire to overheat and can lead to tire failure. Under-inflation also
reduces fuel efficiency and tire tread life, and may affect
the vehicle’s handling and stopping ability.
Please note that the TPMS is not a substitute for proper
tire maintenance, and it is the driver ’s responsibility to
maintain correct tire pressure, even if under-inflation has
not reached the level to trigger illumination of the TPMS
low tire pressure telltale.
Your vehicle has also been equipped with a TPMS
malfunction indicator to indicate when the system is not
operating properly. The TPMS malfunction indicator is
combined with the low tire pressure telltale. When the
system detects a malfunction, the telltale will flash for
approximately one minute and then remain continuously
illuminated. This sequence will continue upon subse-
quent vehicle start-ups as long as the malfunction exists.
When the malfunction indicator is illuminated, the sys-
tem may not be able to detect or signal low tire pressure
as intended. TPMS malfunctions may occur for a variety
206 UNDERSTANDING YOUR INSTRUMENT PANEL
Page 212 of 546
WARNING!
A hot engine cooling system is dangerous. You or
others could be badly burned by steam or boiling
coolant. You may want to call an authorized dealer
for service if your vehicle overheats. If you decide to
look under the hood yourself, see “Maintaining Your
Vehicle.” Follow the warnings under the “Cooling
System Pressure Cap” paragraph.
25. Stop/Start – If Equipped Press and release the UP or DOWN arrow
button until the Stop/Start icon is highlighted
in the EVIC. Press and release the SELECT/
RIGHT arrow button to display the Stop/Start
status. 26. Electric Power Steering Malfunction Warning Light
This telltale is on when the Electric Power
Steering is not operating and needs service.
27. Electronic Throttle Control (ETC) Light This light informs you of a problem with the
Electronic Throttle Control (ETC) system. The
light will come on when the ignition is first
turned ON and remain on briefly as a bulb
check. If the light does not come on during starting, have
the system checked by an authorized dealer.
If a problem is detected, the light will come on while the
engine is running. Cycle the ignition key when the
vehicle has completely stopped and the shift lever is
placed in the PARK position. The light should turn off.
210 UNDERSTANDING YOUR INSTRUMENT PANEL
Page 215 of 546
The EVIC Menu items consists of the following:
•Digital Speedometer •
Vehicle Info
• Fuel Economy Info
• Trip A
• Trip B
• Stop/Start Info (If Equipped)
• Trailer Tow
• Audio
• Stored Messages
• Screen Setup
• Vehicle Settings (Not Equipped with a Uconnect® 5.0
& 8.4 radio)
Electronic Vehicle Information Center (EVIC)
4
UNDERSTANDING YOUR INSTRUMENT PANEL 213