radio Ram 5500 Chassis Cab 2015 Owner's Guide
[x] Cancel search | Manufacturer: RAM, Model Year: 2015, Model line: 5500 Chassis Cab, Model: Ram 5500 Chassis Cab 2015Pages: 599, PDF Size: 4.51 MB
Page 256 of 599
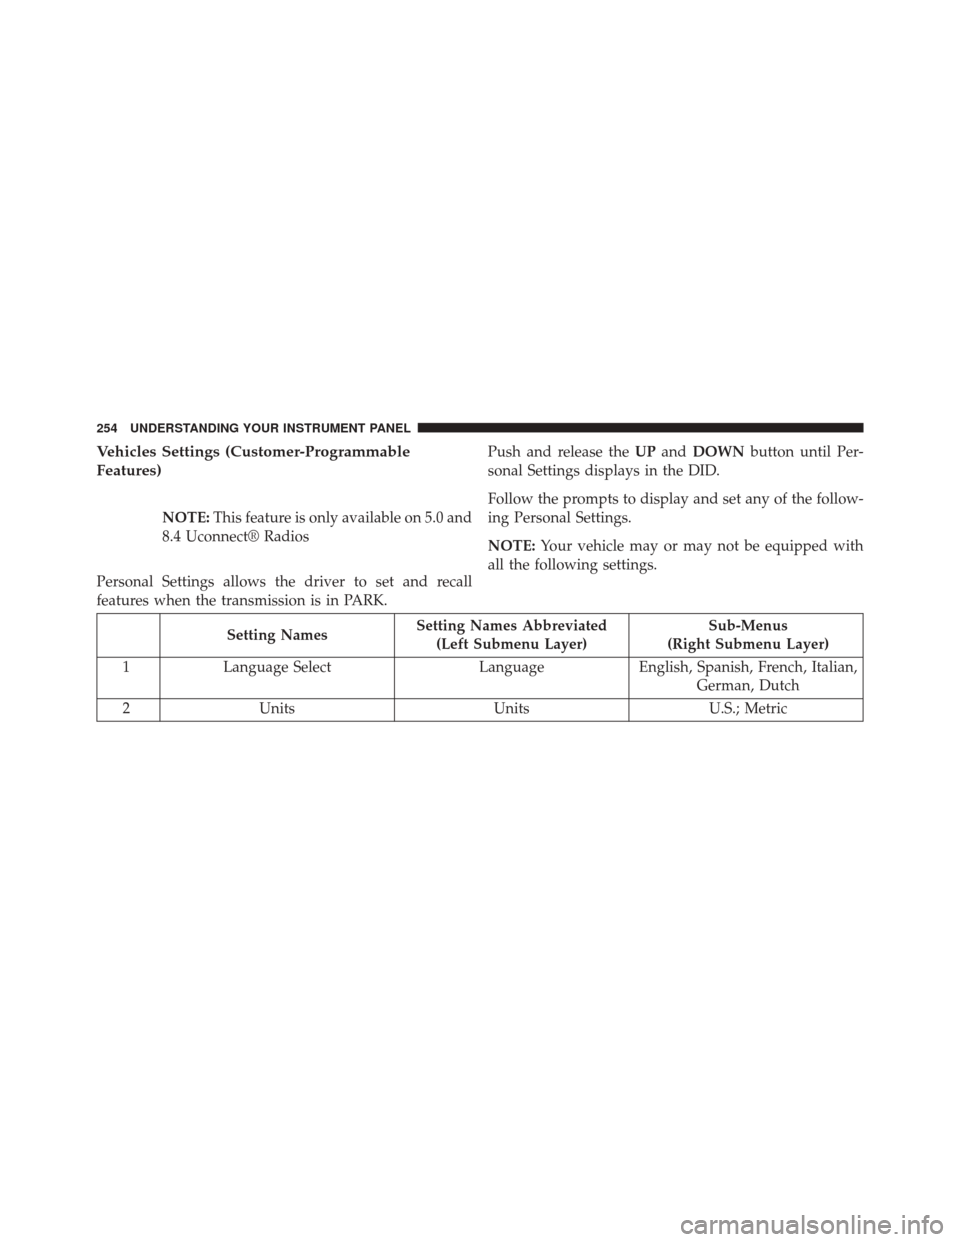
Vehicles Settings (Customer-Programmable
Features)
NOTE:This feature is only available on 5.0 and
8.4 Uconnect® Radios
Personal Settings allows the driver to set and recall
features when the transmission is in PARK. Push and release the
UPand DOWN button until Per-
sonal Settings displays in the DID.
Follow the prompts to display and set any of the follow-
ing Personal Settings.
NOTE: Your vehicle may or may not be equipped with
all the following settings.
Setting Names Setting Names Abbreviated
(Left Submenu Layer) Sub-Menus
(Right Submenu Layer)
1 Language Select LanguageEnglish, Spanish, French, Italian,
German, Dutch
2 Units UnitsU.S.; Metric
254 UNDERSTANDING YOUR INSTRUMENT PANEL
Page 264 of 599

When making a selection, press the button on the touch-
screen to enter the desired mode. Once in the desired
mode, press and release the preferred setting until a
check-mark appears next to the setting, showing that
setting has been selected. Once the setting is complete,
either press the “Back Arrow” button on the touchscreen
or the BACK button on the faceplate to return to the
previous menu or press the “X” button on the touch-
screen to close out of the settings screen. Pressing the
“Up” or “Down” arrow buttons on the touchscreen on
the right side of the screen will allow you to toggle up or
down through the available settings.
Display
After pressing the “Display” button on the touchscreen
the following settings will be available.
•Display Mode
When in this display you may select one of the auto
display settings. To change Mode status, select from “Day,” “Night” or “Auto” until a check-mark appears
next to the setting, showing that setting has been se-
lected. Then press the arrow back button on the touch-
screen.
NOTE:
When Day or Night is selected for the Display
Mode, the usage of the Parade Mode feature will cause
the radio to activate the Display Brightness Day control
even though the headlights are on.
• Display Brightness With Headlights ON
When in this display, you may select the brightness with
the headlights on. Adjust the brightness with the “+” and
“–” setting buttons on the touchscreen or by selecting any
point on the scale between the “+” and “–” buttons on the
touchscreen. Then press the arrow back button on the
touchscreen.
262 UNDERSTANDING YOUR INSTRUMENT PANEL
Page 267 of 599
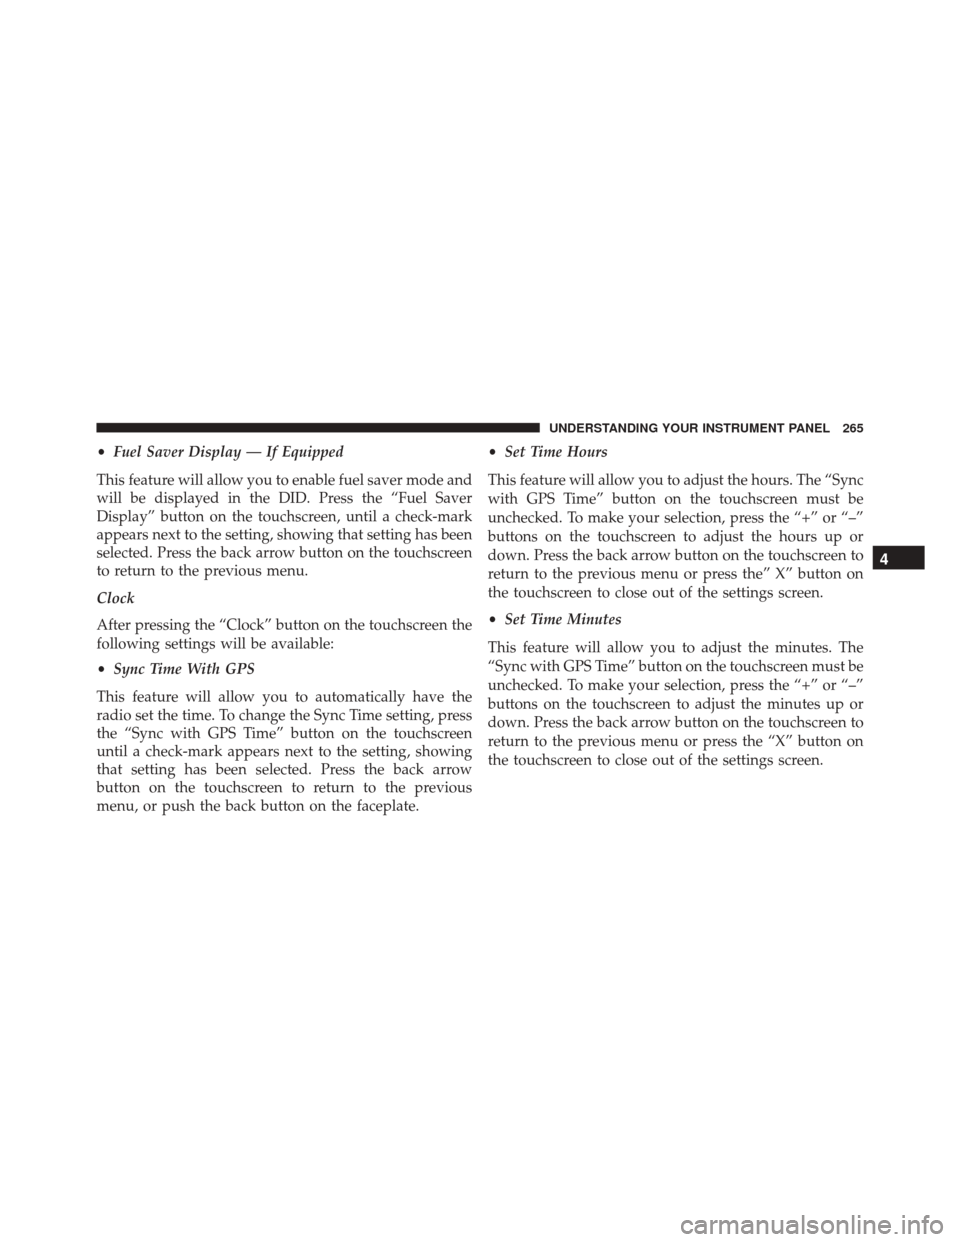
•Fuel Saver Display — If Equipped
This feature will allow you to enable fuel saver mode and
will be displayed in the DID. Press the “Fuel Saver
Display” button on the touchscreen, until a check-mark
appears next to the setting, showing that setting has been
selected. Press the back arrow button on the touchscreen
to return to the previous menu.
Clock
After pressing the “Clock” button on the touchscreen the
following settings will be available:
• Sync Time With GPS
This feature will allow you to automatically have the
radio set the time. To change the Sync Time setting, press
the “Sync with GPS Time” button on the touchscreen
until a check-mark appears next to the setting, showing
that setting has been selected. Press the back arrow
button on the touchscreen to return to the previous
menu, or push the back button on the faceplate. •
Set Time Hours
This feature will allow you to adjust the hours. The “Sync
with GPS Time” button on the touchscreen must be
unchecked. To make your selection, press the “+” or “–”
buttons on the touchscreen to adjust the hours up or
down. Press the back arrow button on the touchscreen to
return to the previous menu or press the” X” button on
the touchscreen to close out of the settings screen.
• Set Time Minutes
This feature will allow you to adjust the minutes. The
“Sync with GPS Time” button on the touchscreen must be
unchecked. To make your selection, press the “+” or “–”
buttons on the touchscreen to adjust the minutes up or
down. Press the back arrow button on the touchscreen to
return to the previous menu or press the “X” button on
the touchscreen to close out of the settings screen.
4
UNDERSTANDING YOUR INSTRUMENT PANEL 265
Page 269 of 599

•ParkView® Backup Camera
Your vehicle may be equipped with the ParkView® Rear
Back Up Camera that allows you to see an on-screen
image of the rear surroundings of your vehicle whenever
the shift lever is put into REVERSE. The image will be
displayed on the radio touchscreen display along with a
caution note to “check entire surroundings” across the
top of the screen. After five seconds, this note will
disappear. The ParkView® camera is located on the rear
of the vehicle above the rear License plate. To make your
selection, press the “ParkView® Backup Camera” button
on the touchscreen, until a check-mark appears next to
the setting, indicating that the setting had been selected.
Press the back arrow button on the touchscreen to return
to the previous menu.
• ParkView® Camera Delay
When this feature is enabled, it will allow the ParkView
Backup Camera display to remain on while in drive for up to 10 seconds, or 8 mph. To make your selection, press
the “ParkView® Backup Camera Delay” button on the
touchscreen, until a check-mark appears next to the
setting, indicating that the setting had been selected.
Press the back arrow button on the touchscreen to return
to the previous menu.
•
ParkView® Backup Camera Active Guidelines
Your vehicle may be equipped with the ParkView® Rear
Back Up Camera Active Guidelines that allows you to see
Active (Dynamic) Guidelines which deflect with steering
wheel angle over the ParkView Back up Camera display
whenever the shift lever is put into REVERSE. The image
will be displayed on the radio touchscreen display along
with a caution note to “check entire surroundings” across
the top of the screen. After five seconds, this note will
disappear. To make your selection, press the “ParkView®
Backup Camera Active Guidelines” button on the touch-
screen, until a check-mark appears next to the setting,
4
UNDERSTANDING YOUR INSTRUMENT PANEL 267
Page 273 of 599

NOTE:If the vehicle is programmed 1st Push Of Key Fob
Unlocks, all doors will unlock no matter which Passive
Entry equipped door handle is grasped. If 1st Push Of
Key Fob Unlocks is programmed, only the driver ’s door
will unlock when the driver ’s door is grasped. With
Passive Entry, if 1st Push Of Key Fob Unlocks is pro-
grammed, pressing the handle more than once will only
result in the driver ’s door opening. If Driver ’s Door first
is selected, once the driver door is opened, the interior
door lock/unlock switch can be used to unlock all doors
(or use RKE transmitter).
• Passive Entry
This feature allows you to lock and unlock the vehicles
door(s) without having to push the Remote Keyless Entry
(RKE) transmitter LOCK or UNLOCK buttons. To make
your selection, press the “Passive Entry” button on the
touchscreen, until a check-mark appears next to the
setting, showing that the setting has been selected. Press the back arrow button on the touchscreen to return to the
previous menu. Refer to “Keyless Enter-N-Go™” in
“Things To Know Before Starting Your Vehicle.”
•
Personal Settings Linked to Key Fob — If Equipped
This feature provides automatic recall of all settings
stored to a memory location (driver ’s seat, exterior
mirrors, steering column position and radio station pre-
sets) to enhance driver mobility when entering and
exiting the vehicle. To make your selection, press the
“Personal Settings Linked to Key Fob” button on the
touchscreen, until a check-mark appears next to the
setting, showing that the setting has been selected. Press
the back arrow button on the touchscreen to return to the
previous menu.
4
UNDERSTANDING YOUR INSTRUMENT PANEL 271
Page 275 of 599

Engine Off Options
After pressing the “Engine Off Options” button on the
touchscreen the following settings will be available:
•Easy Exit Seats — If Equipped
When this feature is selected, the Driver ’s seat will
automatically move rearward once the engine is shut off.
To make your selection, press the “Easy Exit Seats”
button on the touchscreen, until a check-mark appears
next to setting, showing that setting has been selected.
Press the back arrow button on the touchscreen to return
to the previous menu.
• Engine Off Power Delay
When this feature is selected, the power window
switches, radio, Uconnect® Phone system (if equipped),
DVD video system (if equipped), power sunroof (if equipped), and power outlets will remain active for up to
10 minutes after the ignition is cycled to OFF. Opening
either front door will cancel this feature. To change the
Engine Off Power Delay status, press the “0 seconds,”
“45 seconds,” “5 minutes” or “10 minutes” button on the
touchscreen. Then press the back arrow button on the
touchscreen.
•
Headlight Off Delay
When this feature is selected, the driver can choose to
have the headlights remain on for 0, 30, 60, or 90 seconds
when exiting the vehicle. To change the Headlight Off
Delay status, press the “+” or “–” button on the touch-
screen to select your desired time interval. Press the back
arrow button on the touchscreen to return to the previous
menu.
4
UNDERSTANDING YOUR INSTRUMENT PANEL 273
Page 279 of 599
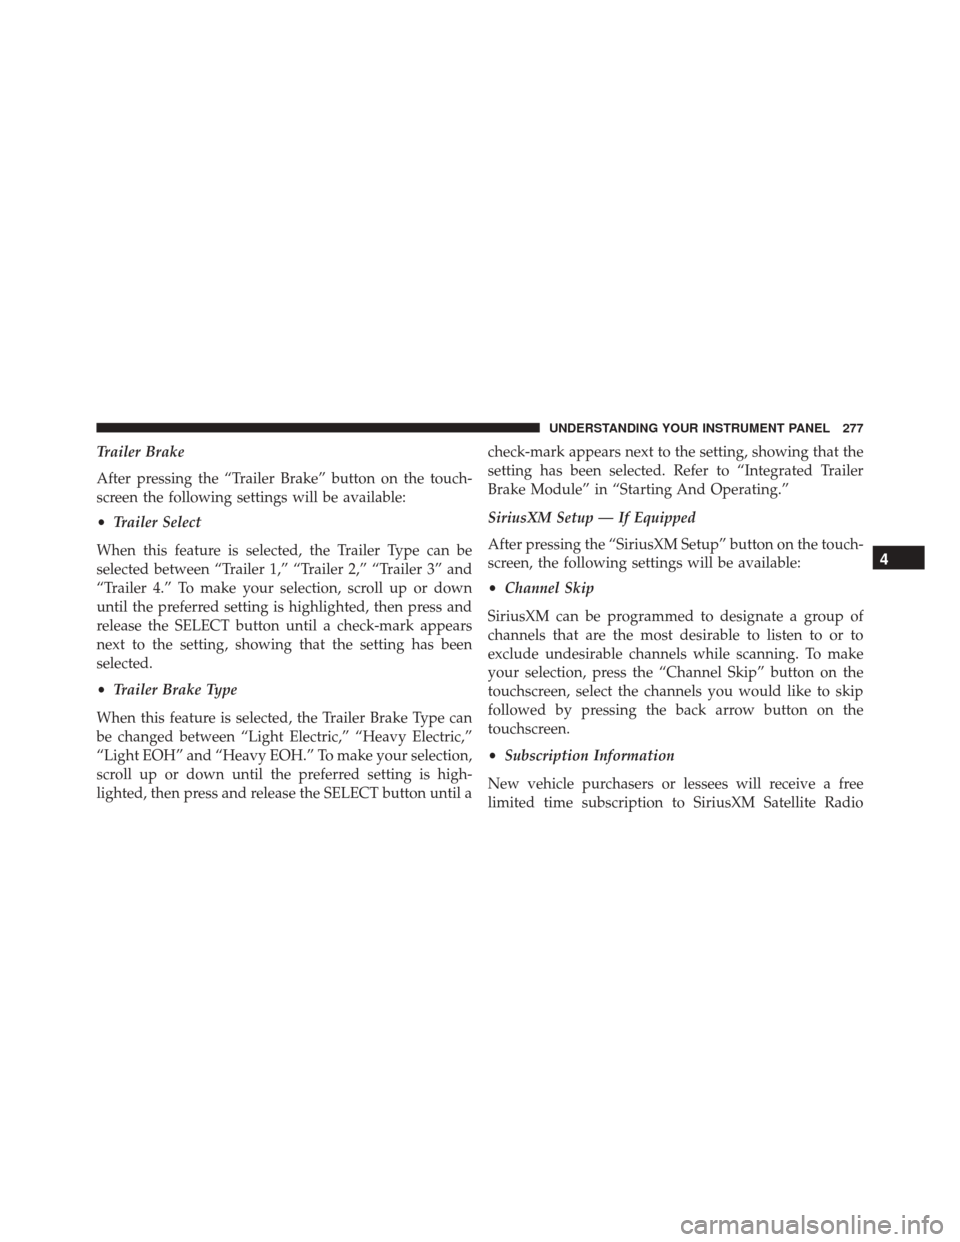
Trailer Brake
After pressing the “Trailer Brake” button on the touch-
screen the following settings will be available:
•Trailer Select
When this feature is selected, the Trailer Type can be
selected between “Trailer 1,” “Trailer 2,” “Trailer 3” and
“Trailer 4.” To make your selection, scroll up or down
until the preferred setting is highlighted, then press and
release the SELECT button until a check-mark appears
next to the setting, showing that the setting has been
selected.
• Trailer Brake Type
When this feature is selected, the Trailer Brake Type can
be changed between “Light Electric,” “Heavy Electric,”
“Light EOH” and “Heavy EOH.” To make your selection,
scroll up or down until the preferred setting is high-
lighted, then press and release the SELECT button until a check-mark appears next to the setting, showing that the
setting has been selected. Refer to “Integrated Trailer
Brake Module” in “Starting And Operating.”
SiriusXM Setup — If Equipped
After pressing the “SiriusXM Setup” button on the touch-
screen, the following settings will be available:
•
Channel Skip
SiriusXM can be programmed to designate a group of
channels that are the most desirable to listen to or to
exclude undesirable channels while scanning. To make
your selection, press the “Channel Skip” button on the
touchscreen, select the channels you would like to skip
followed by pressing the back arrow button on the
touchscreen.
• Subscription Information
New vehicle purchasers or lessees will receive a free
limited time subscription to SiriusXM Satellite Radio
4
UNDERSTANDING YOUR INSTRUMENT PANEL 277
Page 280 of 599
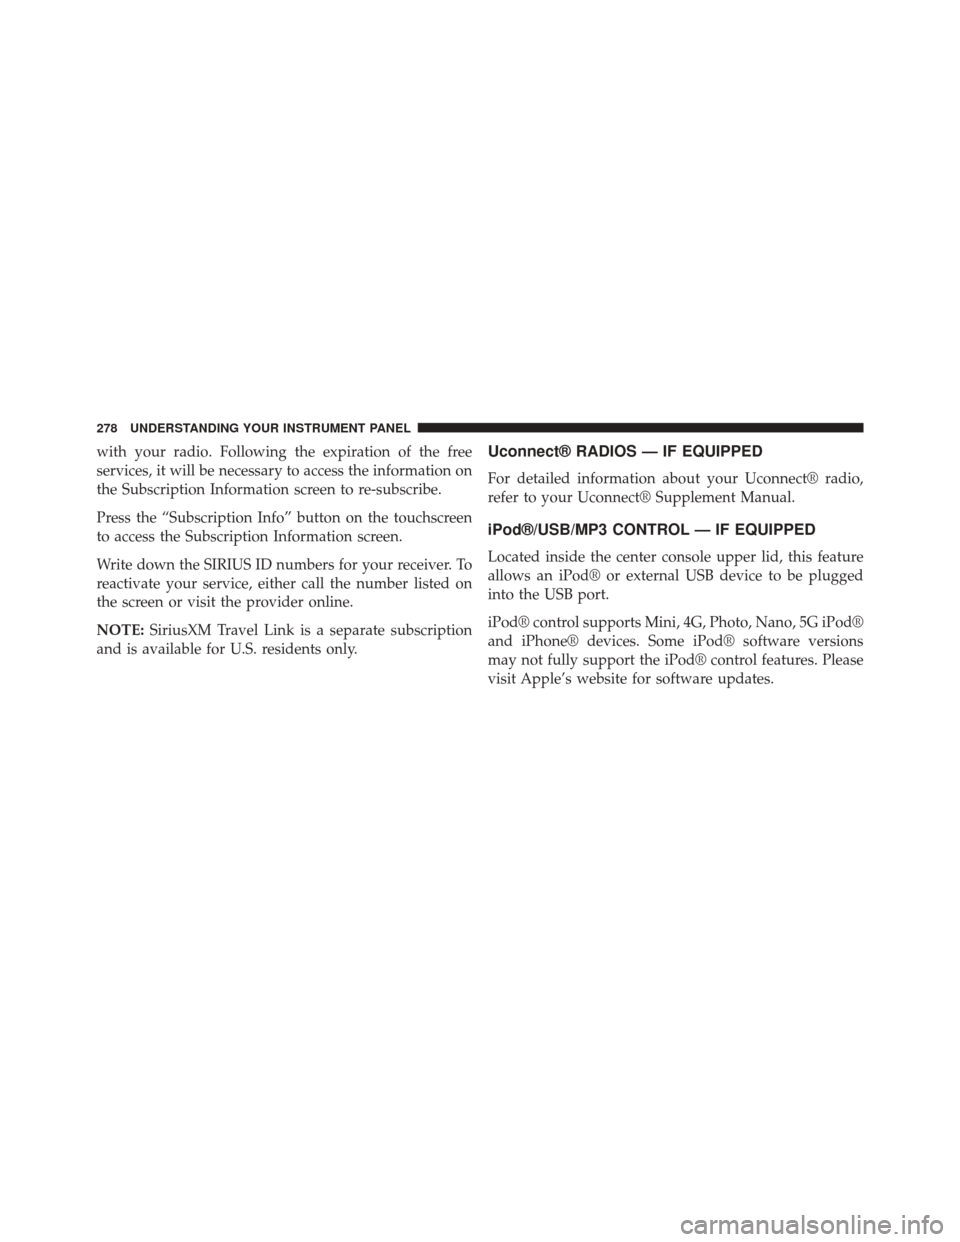
with your radio. Following the expiration of the free
services, it will be necessary to access the information on
the Subscription Information screen to re-subscribe.
Press the “Subscription Info” button on the touchscreen
to access the Subscription Information screen.
Write down the SIRIUS ID numbers for your receiver. To
reactivate your service, either call the number listed on
the screen or visit the provider online.
NOTE:SiriusXM Travel Link is a separate subscription
and is available for U.S. residents only.Uconnect® RADIOS — IF EQUIPPED
For detailed information about your Uconnect® radio,
refer to your Uconnect® Supplement Manual.
iPod®/USB/MP3 CONTROL — IF EQUIPPED
Located inside the center console upper lid, this feature
allows an iPod® or external USB device to be plugged
into the USB port.
iPod® control supports Mini, 4G, Photo, Nano, 5G iPod®
and iPhone® devices. Some iPod® software versions
may not fully support the iPod® control features. Please
visit Apple’s website for software updates.
278 UNDERSTANDING YOUR INSTRUMENT PANEL
Page 282 of 599
The right hand control is a rocker type switch with a
push-button in the center. Pushing the top of the switch
will increase the volume, and pushing the bottom of the
switch will decrease the volume.
The button located in the center of the right hand control
will switch modes to Radio, CD or other valid audio
sources.
The left hand control is a rocker type switch with a
push-button in the center. The function of the left hand
control is different depending on which mode you are in.
The following describes the left hand control operation in
each mode.
Radio Operation
Pushing the top of the switch will SEEK up for the next
listenable station and pushing the bottom of the switch
will SEEK down for the next listenable station.The button located in the center of the left hand control
will tune to the next pre-set station that you have
programmed in the radio pre-set buttons.
CD Player — If Equipped
Pushing the top of the switch once will go to the next
track on the CD. Pressing the bottom of the switch once
will go to the beginning of the current track or to the
beginning of the previous track if it is within eight
seconds after the current track begins to play.
If you push the switch up or down twice it plays the
second track, three times, it will play the third, etc.
CD/DVD DISC MAINTENANCE
To keep a CD/DVD in good condition, take the following
precautions:
1. Handle the disc by its edge; avoid touching the
surface.
280 UNDERSTANDING YOUR INSTRUMENT PANEL
Page 283 of 599
2. If the disc is stained, clean the surface with a soft cloth,wiping from center to edge.
3. Do not apply paper or tape to the disc; avoid scratch- ing the disc.
4. Do not use solvents such as benzene, thinner, cleaners, or anti-static sprays.
5. Store the disc in its case after playing.
6. Do not expose the disc to direct sunlight.
7. Do not store the disc where temperatures may become too high.
NOTE: If you experience difficulty in playing a particular
disc, it may be damaged (e.g., scratched, reflective coat-
ing removed, a hair, moisture or dew on the disc)
oversized, or have protection encoding. Try a known
good disc before considering disc player service.RADIO OPERATION AND MOBILE PHONES
Under certain conditions, the mobile phone being on in
your vehicle can cause erratic or noisy performance from
your radio. This condition may be lessened or eliminated
by relocating the mobile phone antenna. This condition is
not harmful to the radio. If your radio performance does
not satisfactorily “clear” by the repositioning of the
antenna, it is recommended that the radio volume be
turned down or off during mobile phone operation when
not using Uconnect® (if equipped).
Regulatory And Safety Information
USA/CANADA
Exposure to Radio Frequency Radiation
The radiated output power of the internal wireless radio
is far below the FCC radio frequency exposure limits.
4
UNDERSTANDING YOUR INSTRUMENT PANEL 281