seat adjustment Ram 5500 Chassis Cab 2017 Owner's Manual
[x] Cancel search | Manufacturer: RAM, Model Year: 2017, Model line: 5500 Chassis Cab, Model: Ram 5500 Chassis Cab 2017Pages: 534, PDF Size: 4.74 MB
Page 50 of 534
NOTE:The adjustable upper shoulder belt anchorage is
equipped with an Easy Up feature. This feature allows the
shoulder belt anchorage to be adjusted in the upward
position without pushing or squeezing the release button.
To verify the shoulder belt anchorage is latched, pull
downward on the shoulder belt anchorage until it is locked
into position.
NOTE:
• Wearing your seat belt incorrectly could make your
injuries in a collision much worse. You might suffer
internal injuries, or you could even slide out of the seat
belt. Follow these instructions to wear your seat belt
safely and to keep your passengers safe, too.
• Position the shoulder belt across the shoulder and chest
with minimal, if any slack so that it is comfortable and
not resting on your neck. The retractor will withdraw
any slack in the shoulder belt.
• Misadjustment of the seat belt could reduce the effec-
tiveness of the safety belt in a crash.
First Row Center Seat Belt Operating Instructions
(Regular Cab Only)
The first row center seat belt (Regular Cab only) features a
seat belt with a mini-latch plate and buckle, which allows the seat belt to detach from the lower anchor when the seat
is folded. The latch plate and regular latch plate can then be
stored out of the way in the seat for added convenience to
open up utilization of the storage areas behind the front
seats when the seat is not occupied.
1. Remove the mini-latch plate and regular latch plate
from its stowed position on the seat.
Inserting Latch Plate
48 THINGS TO KNOW BEFORE STARTING YOUR VEHICLE
Page 121 of 534
of illuminated LEDs changes from two to one, indicating
the change. The LO-level setting will turn OFF automati-
cally after approximately 45 minutes.
Ventilated Seats — If Equipped
Located in the seat cushion are small fans that draw the air
from the passenger compartment and pull air through fine
perforations in the seat cover to help keep the driver and
front passenger cooler in higher ambient temperatures. The
fans operate at two speeds, HI and LO.
The front ventilated seats control buttons are located
within the climate or controls screen of the touchscreen.
•Press the ventilated seat button
once to choose HI.
•Press the ventilated seat buttona second time to
choose LO.
• Press the ventilated seat buttona third time to turn
the ventilated seat OFF.
NOTE: The engine must be running for the ventilated
seats to operate.
Vehicles Equipped With Remote Start
On models that are equipped with remote start, the ventilated
seats can be programed to come on during a remote start.
If your vehicle is equipped with a touchscreen, this feature
can be programmed through the Uconnect system. Refer to
“Uconnect Settings” in “Understanding Your Instrument
Panel” for further information.
Manual Seat Adjuster — If Equipped
Both front seats are adjustable forward or rearward. The
manual seat adjustment handle is located under the seat
cushion at the front edge of each seat.
While sitting in the seat, pull up on the handle and slide the
seat forward or backward. Release the bar once you have
reached the desired position. Then, using body pressure,
Manual Seat Adjuster
3
UNDERSTANDING THE FEATURES OF YOUR VEHICLE 119
Page 125 of 534

WARNING!(Continued)
•ALL the head restraints MUST be reinstalled in the
vehicle to properly protect the occupants. Follow the
re-installation instructions above prior to operating
the vehicle or occupying a seat.
NOTE: Do not reposition the head restraint 180 degrees to
the incorrect position in an attempt to gain additional
clearance to the back of the head.
Rear Head Restraints
The rear seats are equipped with adjustable and removable
head restraints. To raise the head restraint, pull upward on
the head restraint. To lower the head restraint, push the
adjustment button located on the base of the head restraint
and push downward on the head restraint.
To remove the head restraint, push the adjustment button
and the release button while pulling upward on the whole
assembly. To reinstall the head restraint, put the head
restraint posts into the holes and adjust it to the appropri-
ate height.
NOTE: To remove outboard restraints, the rear seat bottom
must be folded up.
WARNING!
A loose head restraint thrown forward in a collision or
hard stop could cause serious injury or death to occu-
pants of the vehicle. Always securely stow removed
head restraints in a location outside the occupant
compartment.
Release/Adjustment Buttons
1 — Release Button
2 — Adjustment Button
3
UNDERSTANDING THE FEATURES OF YOUR VEHICLE 123
Page 126 of 534
NOTE:
•The rear center head restraint (Crew Cab and Quad Cab)
has only one adjustment position that is used to aid in
the routing of a tether. Refer to “Occupant Restraints” in
“Things to Know Before Starting Your Vehicle” for
further information.
• Do not reposition the head restraint 180 degrees to the
incorrect position in an attempt to gain additional clear-
ance to the back of the head.
WARNING!
ALL the head restraints MUST be reinstalled in the
vehicle to properly protect the occupants. Follow the
re-installation instructions above prior to operating the
vehicle or occupying a seat.
DRIVER MEMORY SEAT — IF EQUIPPED
This feature allows the driver to store up to two different
memory profiles for easy recall through a memory switch.
Each memory profile contains desired position settings for
the driver seat, side mirrors, adjustable pedals (if
equipped) and a set of desired radio station presets. Your Remote Keyless Entry key fob can also be programmed to
recall the same positions when the UNLOCK button is
pushed.
NOTE:
Your vehicle is equipped with two key fobs, one
key fob can be linked to memory position 1 and the other
key fob can be linked to memory position 2.
The memory seat buttons are located on the outboard side
of the drivers seat cushion.
Memory Seat Buttons
124 UNDERSTANDING THE FEATURES OF YOUR VEHICLE
Page 145 of 534
•The pedals can be adjusted with the ignition OFF.
• The pedals cannotbe adjusted when the vehicle is in
REVERSE or when the Electronic Speed Control System
is on. The following messages will appear on vehicles
equipped with an instrument cluster display if the
pedals are attempted to be adjusted when the system is
locked out (“Adjustable Pedal Disabled — Cruise Con-
trol Engaged” or “Adjustable Pedal Disabled — Vehicle
In Reverse”). NOTE:
•
Always adjust the pedals to a position that allows full
pedal travel.
• Further small adjustments may be necessary to find the
best possible seat/pedal position.
• For vehicles equipped with Driver Memory Seat, you
can use your Remote Keyless Entry key fob or the
memory switch on the driver ’s door trim panel to return
the adjustable pedals to pre-programmed positions. Re-
fer to “Driver Memory Seat” in “Understanding The
Features Of Your Vehicle” for further information.WARNING!
Do not adjust the pedals while the vehicle is moving.
You could lose control and have an accident. Always
adjust the pedals while the vehicle is parked.
CAUTION!
Do not place any article under the adjustable pedals or
impede its ability to move as it may cause damage to
the pedal controls. Pedal travel may become limited if
(Continued)
Adjustable Pedals Switch
3
UNDERSTANDING THE FEATURES OF YOUR VEHICLE 143
Page 528 of 534
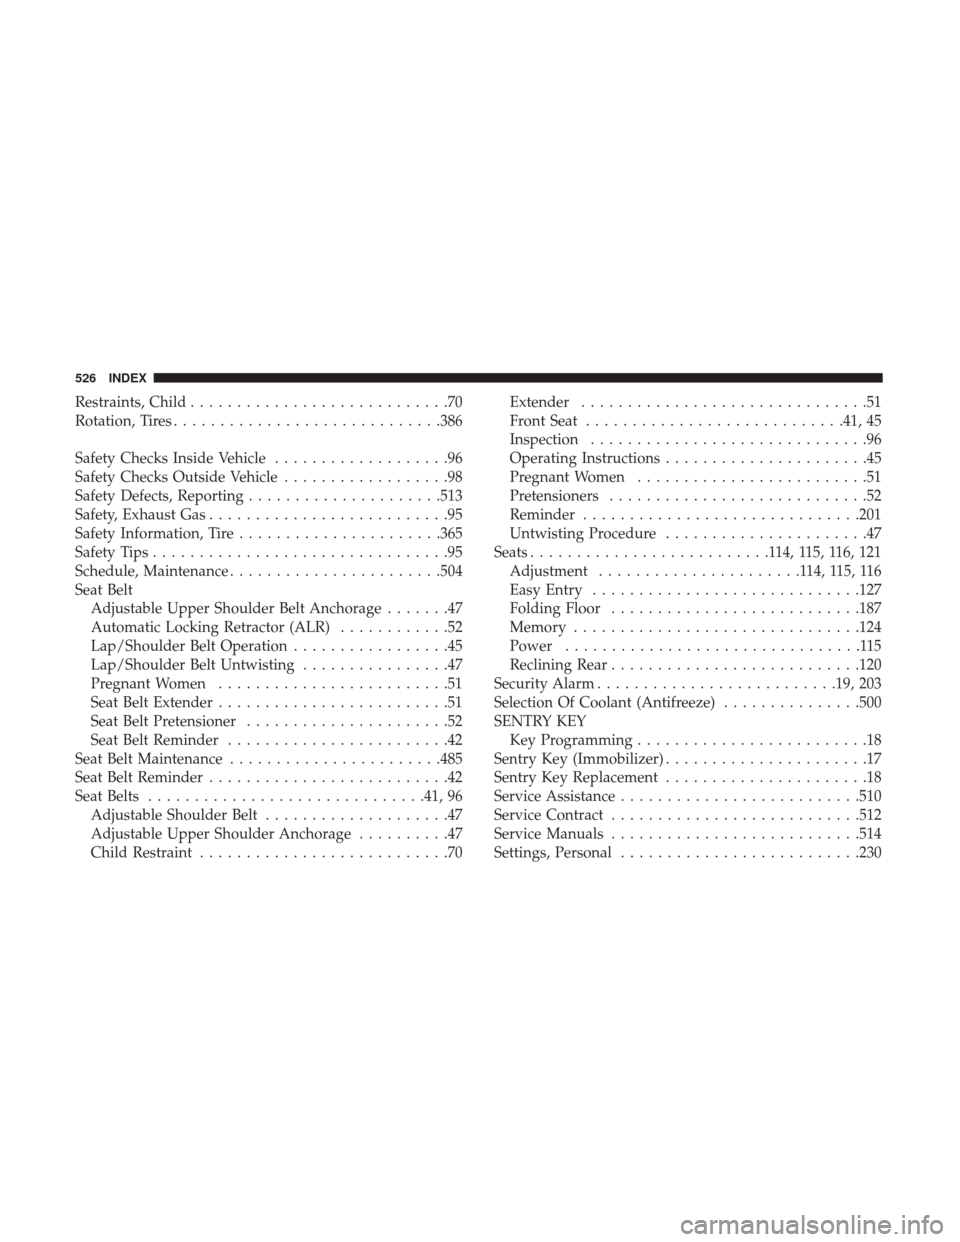
Restraints, Child............................70
Rotation, Tires ............................ .386
Safety Checks Inside Vehicle ...................96
Safety Checks Outside Vehicle ..................98
Safety Defects, Reporting .....................513
Safety, Exhaust Gas ..........................95
Safety Information, Tire ..................... .365
Safety Tips ................................95
Schedule, Maintenance ...................... .504
Seat Belt Adjustable Upper Shoulder Belt Anchorage .......47
Automatic Locking Retractor (ALR) ............52
Lap/Shoulder Belt Operation .................45
Lap/Shoulder Belt Untwisting ................47
Pregnant Women .........................51
Seat Belt Extender .........................51
Seat Belt Pretensioner ......................52
Seat Belt Reminder ........................42
Seat Belt Maintenance ...................... .485
Seat Belt Reminder ..........................42
Seat Belts ............................. .41, 96
Adjustable Shoulder Belt ....................47
Adjustable Upper Shoulder Anchorage ..........47
Child Restraint ...........................70 Extender
...............................51
Front Seat ........................... .41, 45
Inspection ..............................96
Operating Instructions ......................45
Pregnant Women .........................51
Pretensioners ............................52
Reminder ............................. .201
Untwisting Procedure ......................47
Seats ..........................114,115,116,121
Adjustment ......................114,115,116
Easy Entry ............................ .127
Folding Floor .......................... .187
Memory .............................. .124
Power ................................115
Reclining Rear .......................... .120
Security Alarm ......................... .19, 203
Selection Of Coolant (Antifreeze) ...............500
SENTRY KEY Key Programming .........................18
Sentry Key (Immobilizer) ......................17
Sentry Key Replacement ......................18
Service
Assistance ......................... .510
Service Contract .......................... .512
Service Manuals .......................... .514
Settings, Personal ......................... .230
526 INDEX