check engine light RAM CHASSIS CAB 2016 Owners Manual
[x] Cancel search | Manufacturer: RAM, Model Year: 2016, Model line: CHASSIS CAB, Model: RAM CHASSIS CAB 2016Pages: 675, PDF Size: 5.46 MB
Page 22 of 675
During normal operation, after turning on the ignition
switch, the Vehicle Security Light will turn on for three
seconds for a bulb check. If the light remains on after the
bulb check, it indicates that there is a problem with the
electronics. In addition, if the light begins to flash after
the bulb check, it indicates that someone used an invalid
Key Fob to try to start the engine. Either of these
conditions will result in the engine being shut off after
two seconds.
If the Vehicle Security Light turns on during normal
vehicle operation (vehicle running for longer than 10
seconds), it indicates that there is a fault in the electron-
ics. Should this occur, have the vehicle serviced as soon
as possible by an authorized dealer. CAUTION!The Sentry Key Immobilizer system is not compat-
ible with some aftermarket remote starting systems.
Use of these systems may result in vehicle starting
problems and loss of security protection.
All of the Key Fobs provided with your new vehicle have
been programmed to the vehicle electronics.
Replacement Keys
NOTE: Only Key Fobs that are programmed to the
vehicle electronics can be used to start and operate the
vehicle. Once a Key Fob is programmed to a vehicle, it
cannot be programmed to any other vehicle.20 THINGS TO KNOW BEFORE STARTING YOUR VEHICLE
Page 81 of 675

NOTE:
• Air bag covers may not be obvious in the interior trim,
but they will open during air bag deployment.
• After any collision, the vehicle should be taken to an
authorized dealer immediately.
Enhanced Accident Response System
In the event of an impact, if the communication network
remains intact, and the power remains intact, depending
on the nature of the event, the ORC will determine
whether to have the Enhanced Accident Response Sys-
tem perform the following functions:
• Cut off fuel to the engine. • Flash hazard lights as long as the battery has power or
until the hazard light button is pressed. The hazard
lights can be deactivated by pressing the hazard light
button.
• Turn on the interior lights, which remain on as long as
the battery has power.
• Unlock the power door locks.
Enhanced Accident Response System Reset
Procedure
In order to reset the Enhanced Accident Response System
functions after an event, the ignition switch must be
changed from ignition START or ON/RUN to ignition
OFF. Carefully check the vehicle for fuel leaks in the
engine compartment and on the ground near the engine
compartment and fuel tank before resetting the system
and starting the engine. 2THINGS TO KNOW BEFORE STARTING YOUR VEHICLE 79
Page 83 of 675
• The Air Bag Warning Light comes on intermittently or
remains on while driving.
NOTE: If the speedometer, tachometer, or any engine
related gauges are not working, the Occupant Restraint
Controller (ORC) may also be disabled. In this condition
the air bags may not be ready to inflate for your protec-
tion. Have an authorized dealer service the air bag
system immediately.
WARNING!Ignoring the Air Bag Warning Light in your instru-
ment panel could mean you won’t have the air bags
to protect you in a collision. If the light does not come
on as a bulb check when the ignition is first turned
on, stays on after you start the vehicle, or if it comes
on as you drive, have an authorized dealer service the
air bag system immediately. Maintaining Your Air Bag System
WARNING!• Modifications to any part of the air bag system
could cause it to fail when you need it. You could
be injured if the air bag system is not there to
protect you. Do not modify the components or
wiring, including adding any kind of badges or
stickers to the steering wheel hub trim cover or the
upper right side of the instrument panel. Do not
modify the front bumper, vehicle body structure, or
add aftermarket side steps or running boards.
• It is dangerous to try to repair any part of the air
bag system yourself. Be sure to tell anyone who
works on your vehicle that it has an air bag system.
• Do not attempt to modify any part of your air bag
system. The air bag may inflate accidentally or may (Continued) 2THINGS TO KNOW BEFORE STARTING YOUR VEHICLE 81
Page 118 of 675
• Use the appropriate transmission gear to prevent
engine lugging.
• Observe vehicle oil pressure and temperature indica-
tors.
• Check the coolant and oil levels frequently.
• Vary throttle position at highway speeds when carry-
ing or towing significant weight.
NOTE: Light duty operation such as light trailer towing
or no load operation will extend the time before the
engine is at full efficiency. Reduced fuel economy and
power may be seen at this time.
For additional vehicle break-in requirements, refer to
“Trailer Towing” in “Starting and Operating” of the
Owner ’s Manual. Because of the construction of the Cummins turbo-
charged diesel engine, engine run-in is enhanced by
loaded operating conditions which allow the engine
parts to achieve final finish and fit during the first 6,000
miles (10 000 km).
SAFETY TIPS
Transporting Passengers
NEVER TRANSPORT PASSENGERS IN THE CARGO
AREA.116 THINGS TO KNOW BEFORE STARTING YOUR VEHICLE
Page 120 of 675
WARNING! (Continued)• If it is necessary to sit in a parked vehicle with the
engine running, adjust your heating or cooling
controls to force outside air into the vehicle. Set the
blower at high speed.
The best protection against carbon monoxide entry into
the vehicle body is a properly maintained engine exhaust
system.
Whenever a change is noticed in the sound of the exhaust
system, when exhaust fumes can be detected inside the
vehicle, or when the underside or rear of the vehicle is
damaged, have a competent mechanic inspect the com-
plete exhaust system and adjacent body areas for broken,
damaged, deteriorated, or mispositioned parts. Open
seams or loose connections could permit exhaust fumes
to seep into the passenger compartment. In addition,
inspect the exhaust system each time the vehicle is raised
for lubrication or oil change. Replace as required. Safety Checks You Should Make Inside The
Vehicle
Seat Belts
Inspect the seat belt system periodically, checking for
cuts, frays, and loose parts. Damaged parts must be
replaced immediately. Do not disassemble or modify the
system.
Front seat belt assemblies must be replaced after a
collision. Rear seat belt assemblies must be replaced after
a collision if they have been damaged (i.e., bent retractor,
torn webbing, etc.). If there is any question regarding seat
belt or retractor condition, replace the seat belt.
Air Bag Warning Light
The Air Bag warning light will turn on for four to
eight seconds as a bulb check when the ignition switch
is first turned to ON/RUN. If the light is either not on
during starting, stays on, or turns on while driving,118 THINGS TO KNOW BEFORE STARTING YOUR VEHICLE
Page 248 of 675

Oil Pressure Warning Light
Red Telltale
Light What It Means
Oil Pressure Warning Light
This light indicates low engine oil pressure. If the light turns on while driving, stop the ve-
hicle and shut off the engine as soon as possible. A chime will sound when this light turns
on.
Do not operate the vehicle until the cause is corrected. This light does not indicate how
much oil is in the engine. The engine oil level must be checked under the hood.246 UNDERSTANDING YOUR INSTRUMENT PANEL
Page 249 of 675
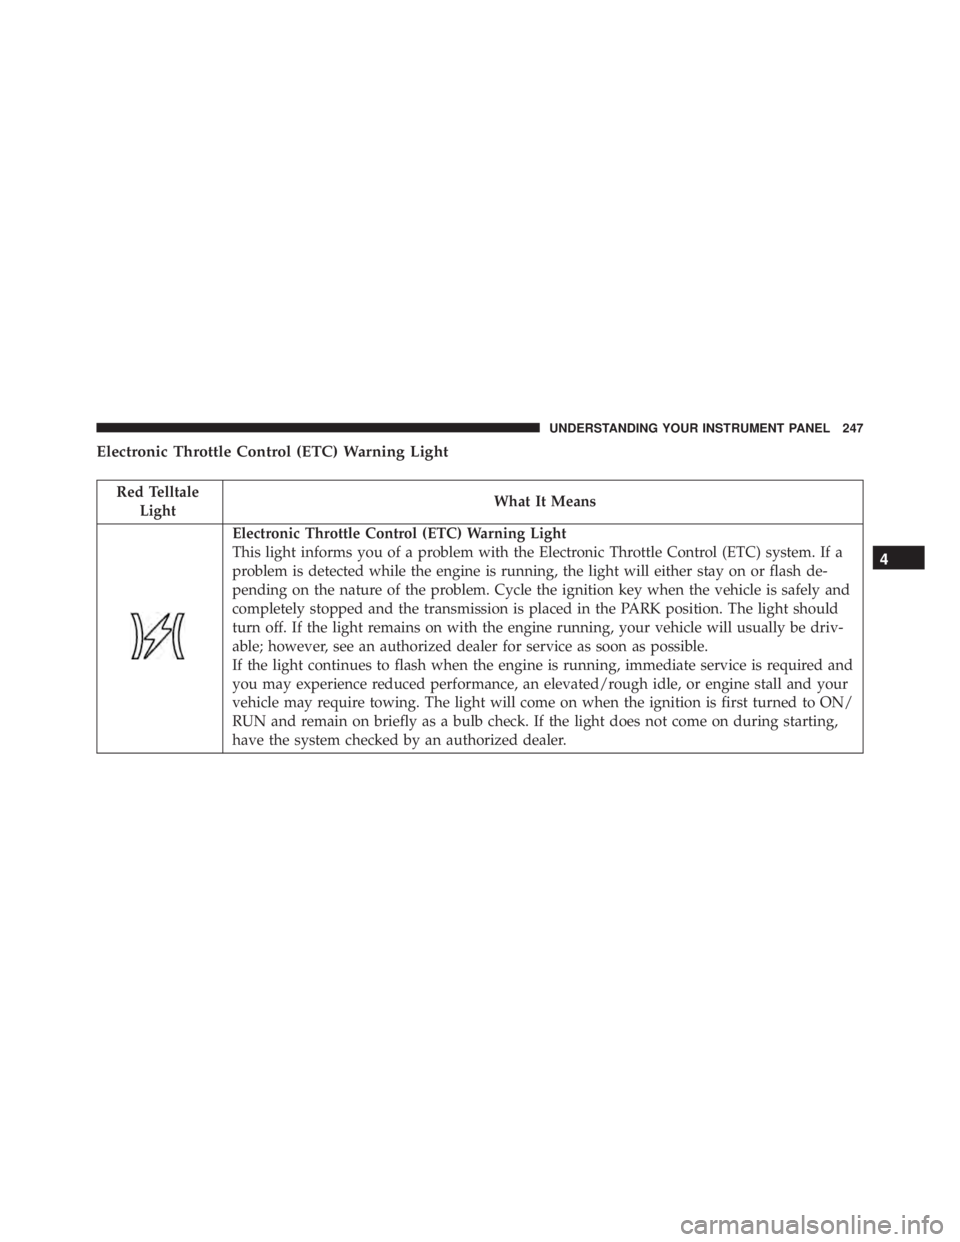
Electronic Throttle Control (ETC) Warning Light
Red Telltale
Light What It Means
Electronic Throttle Control (ETC) Warning Light
This light informs you of a problem with the Electronic Throttle Control (ETC) system. If a
problem is detected while the engine is running, the light will either stay on or flash de-
pending on the nature of the problem. Cycle the ignition key when the vehicle is safely and
completely stopped and the transmission is placed in the PARK position. The light should
turn off. If the light remains on with the engine running, your vehicle will usually be driv-
able; however, see an authorized dealer for service as soon as possible.
If the light continues to flash when the engine is running, immediate service is required and
you may experience reduced performance, an elevated/rough idle, or engine stall and your
vehicle may require towing. The light will come on when the ignition is first turned to ON/
RUN and remain on briefly as a bulb check. If the light does not come on during starting,
have the system checked by an authorized dealer. 4UNDERSTANDING YOUR INSTRUMENT PANEL 247
Page 252 of 675
NOTE: Door Open Warning Light will differ depending
on the equipped instrument cluster display
Yellow Telltale Indicator Lights
Engine Check/Malfunction Indicator Light (MIL)
Yellow Telltale
Light What It Means
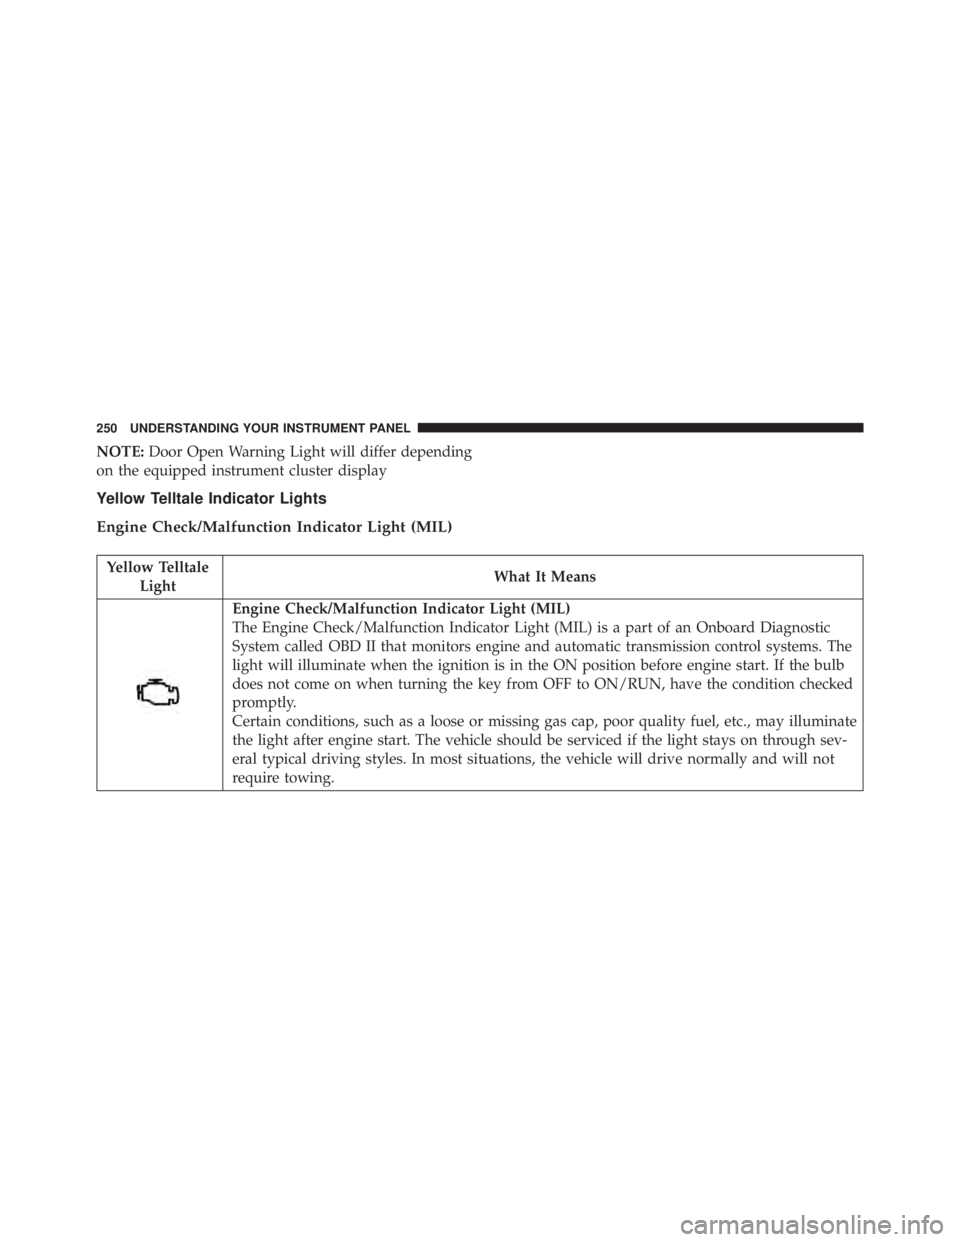
Engine Check/Malfunction Indicator Light (MIL)
The Engine Check/Malfunction Indicator Light (MIL) is a part of an Onboard Diagnostic
System called OBD II that monitors engine and automatic transmission control systems. The
light will illuminate when the ignition is in the ON position before engine start. If the bulb
does not come on when turning the key from OFF to ON/RUN, have the condition checked
promptly.
Certain conditions, such as a loose or missing gas cap, poor quality fuel, etc., may illuminate
the light after engine start. The vehicle should be serviced if the light stays on through sev-
eral typical driving styles. In most situations, the vehicle will drive normally and will not
require towing.250 UNDERSTANDING YOUR INSTRUMENT PANEL
Page 331 of 675
System Information
After pressing the “System Information” button on the
touchscreen the following information will be available:
• System Information
When System Information is selected, a System Informa-
tion screen will appear displaying the system software
version.
Customer Programmable Features — Uconnect
8.4A/8.4AN Personal Settings
Press the “Apps” button on the touchscreen then press
the “Settings” button on the touchscreen to display the
settings menu screen. In this mode the Uconnect system
allows you to access programmable features that may be
equipped such as Display, Voice, Clock, Safety & Driving
Assistance, Lights, Doors & Locks, Auto-On Comfort (if
equipped), Engine Off Options, Trailer Brake, Audio, Phone/Bluetooth, SiriusXM Setup (if equipped), Restore
Settings, Clear Personal Data and System Information.
NOTE: Only one category may be selected at a time.
When making a selection, press the button on the touch-
screen to enter the desired mode. Once in the desired
mode, press and release the preferred setting until a
check-mark appears next to the setting, showing that
setting has been selected. Once the setting is complete,
either press the back arrow button on the touchscreen or
the Back button on the faceplate to return to the previous
menu or press the “X” button on the touchscreen to close
out of the settings screen. Pressing the Up or Down
Arrow buttons on the touchscreen on the right side of the
screen will allow you to toggle up or down through the
list of available settings.
NOTE: All settings should be changed with the ignition
in the “Run” position. 4UNDERSTANDING YOUR INSTRUMENT PANEL 329
Page 344 of 675

turn ON. To make your selection, press the “Auto Heated
Seats” button on the touchscreen, then select either “Off,”
“Remote Start” or “All Starts”.
Engine Off Options
After pressing the “Engine Off Options” button on the
touchscreen the following settings will be available.
• Engine Off Power Delay
When this feature is selected, the power window
switches, radio, Uconnect phone system (if equipped),
DVD video system (if equipped), power sunroof (if
equipped), and power outlets will remain active for up to
10 minutes after the ignition is cycled to OFF. Opening
either front door will cancel this feature. To change the
Engine Off Power Delay status press the “+” or “–”
buttons on the touchscreen to adjust the time delay up or
down. • Headlight Off Delay
When this feature is selected, the driver can choose to
have the headlights remain on for 0, 30, 60, or 90 seconds
when exiting the vehicle. To make your selection press
the “+” or “–” buttons on the touchscreen to adjust the
seconds up or down.
Trailer Brake
After pressing the “Trailer Brake” button on the touch-
screen the following settings will be available:
• Trailer Select
When this feature is selected, the Trailer Type can be
selected between “Trailer 1,” “Trailer 2,” “Trailer 3” and
“Trailer 4.” To make your selection, scroll up or down
until the preferred setting is highlighted, then press and
release the SELECT button until a check-mark appears
next to the setting, showing that the setting has been
selected.342 UNDERSTANDING YOUR INSTRUMENT PANEL