Maintenance Ram ProMaster 2019 Repair Manual
[x] Cancel search | Manufacturer: RAM, Model Year: 2019, Model line: ProMaster, Model: Ram ProMaster 2019Pages: 332, PDF Size: 3.66 MB
Page 272 of 332
The most common causes are:
•Road salt, dirt and moisture accumulation.
• Stone and gravel impact.
• Insects, tree sap and tar.
• Salt in the air near seacoast localities.
• Atmospheric fallout/industrial pollutants.
Body And Underbody Maintenance
Cleaning Headlights
Your vehicle is equipped with plastic headlights and fog
lights that are lighter and less susceptible to stone breakage
than glass headlights.
Plastic is not as scratch resistant as glass and therefore
different lens cleaning procedures must be followed.
To minimize the possibility of scratching the lenses and
reducing light output, avoid wiping with a dry cloth. To
remove road dirt, wash with a mild soap solution followed
by rinsing.
Do not use abrasive cleaning components, solvents, steel
wool or other aggressive material to clean the lenses.
Preserving The Bodywork
Washing
•Wash your vehicle regularly. Always wash your vehicle
in the shade using Mopar Car Wash, or a mild car wash
soap, and rinse the panels completely with clear water.
• If insects, tar, or other similar deposits have accumulated
on your vehicle, use Mopar Super Kleen Bug and Tar
Remover to remove.
• Use a high quality cleaner wax, such as Mopar Cleaner
Wax to remove road film, stains and to protect your
paint finish. Take care never to scratch the paint.
• Avoid using abrasive compounds and power buffing
that may diminish the gloss or thin out the paint finish.
CAUTION!
• Do not use abrasive or strong cleaning materials such
as steel wool or scouring powder that will scratch
metal and painted surfaces.
• Use of power washers exceeding 1,200 psi (8,274 kPa)
can result in damage or removal of paint and decals.
270 SERVICING AND MAINTENANCE
Page 273 of 332

Special Care
•If you drive on salted or dusty roads or if you drive near
the ocean, hose off the undercarriage at least once a
month.
• It is important that the drain holes in the lower edges of
the doors, rocker panels, and trunk be kept clear and
open.
• If you detect any stone chips or scratches in the paint,
touch them up immediately. The cost of such repairs is
considered the responsibility of the owner.
• If your vehicle is damaged due to a collision or similar
cause that destroys the paint and protective coating,
have your vehicle repaired as soon as possible. The cost
of such repairs is considered the responsibility of the
owner.
• If you carry special cargo such as chemicals, fertilizers,
de-icer salt, etc., be sure that such materials are well
packaged and sealed.
• If a lot of driving is done on gravel roads, consider mud
or stone shields behind each wheel.
• Use Mopar Touch Up Paint on scratches as soon as
possible. An authorized dealer has touch up paint to
match the color of your vehicle.
INTERIORS
Seats And Fabric Parts
Use Mopar Total Clean to clean fabric upholstery and
carpeting.
WARNING!
Do not use volatile solvents for cleaning purposes.
Many are potentially flammable, and if used in closed
areas they may cause respiratory harm.
Stain Repel Fabric Cleaning Procedure — If
Equipped
Stain Repel seats may be cleaned in the following manner:
• Remove as much of the stain as possible by blotting with
a clean, dry towel.
• Blot any remaining stain with a clean, damp towel.
• For tough stains, apply Mopar Total Clean, or a mild
soap solution to a clean, damp cloth and remove stain.
Use a fresh, damp towel to remove soap residue.
• For grease stains, apply Mopar Multi-Purpose Cleaner
to a clean, damp cloth and remove stain. Use a fresh,
damp towel to remove soap residue.
8
SERVICING AND MAINTENANCE 271
Page 274 of 332
•Do not use any harsh solvents or any other form of
protectants on Stain Repel products.
Seat Belt Maintenance
Do not bleach, dye or clean the belts with chemical solvents
or abrasive cleaners. This will weaken the fabric. Sun
damage can also weaken the fabric.
If the belts need cleaning, use a mild soap solution or
lukewarm water. Do not remove the belts from the vehicle
to wash them. Dry with a soft cloth.
Replace the belts if they appear frayed or worn or if the
buckles do not work properly.
WARNING!
A frayed or torn belt could rip apart in a collision and
leave you with no protection. Inspect the belt system
periodically, checking for cuts, frays, or loose parts.
Damaged parts must be replaced immediately. Do not
disassemble or modify the system. Seat belt assemblies
must be replaced after a collision if they have been
damaged (i.e., bent retractor, torn webbing, etc.).
Plastic And Coated Parts
Use Mopar Total Clean to clean vinyl upholstery.
CAUTION!
• Direct contact of air fresheners, insect repellents,
suntan lotions, or hand sanitizers to the plastic,
painted, or decorated surfaces of the interior may
cause permanent damage. Wipe away immediately.
• Damage caused by these type of products may not be
covered by your New Vehicle Limited Warranty.
Cleaning Plastic Instrument Cluster Lenses
The lenses in front of the instruments in this vehicle are
molded in clear plastic. When cleaning the lenses, care
must be taken to avoid scratching the plastic.
1. Clean with a wet soft cloth. A mild soap solution may be used, but do not use high alcohol content or abrasive
cleaners. If soap is used, wipe clean with a clean damp
cloth.
2. Dry with a soft cloth.
272 SERVICING AND MAINTENANCE
Page 275 of 332
Leather Parts
Mopar Total Clean is specifically recommended for leather
upholstery.
Your leather upholstery can be best preserved by regular
cleaning with a damp soft cloth. Small particles of dirt can
act as an abrasive and damage the leather upholstery and
should be removed promptly with a damp cloth. Stubborn
soils can be removed easily with a soft cloth and Mopar
Total Clean. Care should be taken to avoid soaking your
leather upholstery with any liquid. Please do not use
polishes, oils, cleaning fluids, solvents, detergents, or
ammonia-based cleaners to clean your leather upholstery.
Application of a leather conditioner is not required to
maintain the original condition.
NOTE:If equipped with light colored leather, it tends to
show any foreign material, dirt, and fabric dye transfer
more so than darker colors. The leather is designed for easy
cleaning, and FCA recommends Mopar total care leather
cleaner applied on a cloth to clean the leather seats as
needed.
CAUTION!
Do not use Alcohol and Alcohol-based and/or Ketone
based cleaning products to clean leather upholstery, as
damage to the upholstery may result.
Glass Surfaces
All glass surfaces should be cleaned on a regular basis with
Mopar Glass Cleaner, or any commercial household-type
glass cleaner. Never use an abrasive type cleaner. Use
caution when cleaning the inside rear window equipped
with electric defrosters or windows equipped with radio
antennas. Do not use scrapers or other sharp instruments
that may scratch the elements.
When cleaning the rear view mirror, spray cleaner on the
towel or cloth that you are using. Do not spray cleaner
directly on the mirror.
Cleaning The Instrument Panel Cupholders
Removal
Pull the flexible liner from the cupholder drawer starting at
one edge to ease removal.
8
SERVICING AND MAINTENANCE 273
Page 276 of 332
Cleaning
The liner is top shelf dishwasher safe, or you may follow
the cleaning procedure below.
Soak the liner in a mixture of medium hot tap water and
one teaspoon of mild liquid dish soap. Let soak for
approximately 30 minutes. After 30 minutes, pull the liner
from the water and dip it back into the water about six
times. This will loosen any remaining debris. Rinse the
liner thoroughly under warm running water. Shake the
excess water from the liner and dry the outer surfaces with
a clean soft cloth.
Installation
Place the liner into the cupholder drawer and push the
liner into place so that the retention tabs seat into the
corresponding openings in the drawer.
274 SERVICING AND MAINTENANCE
Page 312 of 332

SUGGESTIONS FOR OBTAINING SERVICE FOR
YOUR VEHICLE
Prepare For The Appointment
If you are having warranty work done, be sure to have the
right papers with you. Take your warranty folder. All work
to be performed may not be covered by the warranty.
Discuss additional charges with the service manager. Keep
a maintenance log of your vehicle’s service history. This
can often provide a clue to the current problem.
Prepare A List
Make a written list of your vehicle’s problems or the
specific work you want done. If you’ve had an accident or
work done that is not on your maintenance log, let the
service advisor know.
Be Reasonable With Requests
If you list a number of items and you must have your
vehicle by the end of the day, discuss the situation with the
service advisor and list the items in order of priority. At
many authorized dealers, you may obtain a rental vehicle
at a minimal daily charge. If you need a rental, it is
advisable to make these arrangements when you call for an
appointment.
IF YOU NEED ASSISTANCE
The manufacturer and its authorized dealer are vitally
interested in your satisfaction. We want you to be happy
with our products and services.
Warranty service must be done by an authorized dealer. We
strongly recommend that you take the vehicle to an autho-
rized dealer. They know your vehicle the best, and are most
concerned that you get prompt and high quality service.
The manufacturer’s authorized dealer have the facilities,
factory-trained technicians, special tools, and the latest
information to ensure the vehicle is fixed correctly and in a
timely manner.
This is why you should always talk to an authorized dealer
service manager first. Most matters can be resolved with
this process.
•If for some reason you are still not satisfied, talk to the
general manager or owner of the authorized dealer.
They want to know if you need assistance.
• If an authorized dealer is unable to resolve the concern,
you may contact the manufacturer’s customer center.
310 CUSTOMER ASSISTANCE
Page 316 of 332

PUBLICATION ORDER FORMS
To order the following manuals, you may use either the
website or the phone numbers listed below.
Service Manuals
These comprehensive Service Manuals provide the infor-
mation that students and professional technicians need in
diagnosing/troubleshooting, problem solving, maintain-
ing, servicing, and repairing FCA US LLC vehicles. A
complete working knowledge of the vehicle, system,
and/or components is written in straightforward language
with illustrations, diagrams, and charts.
Diagnostic Procedure Manuals
Diagnostic Procedure Manuals are filled with diagrams,
charts and detailed illustrations. These practical manuals
make it easy for students and technicians to find and fix
problems on computer-controlled vehicle systems and fea-
tures. They show exactly how to find and correct problems
the first time, using step-by-step troubleshooting and driv-
ability procedures, proven diagnostic tests and a complete
list of all tools and equipment.Owner’s Manuals
These Owner’s Manuals have been prepared with the
assistance of service and engineering specialists to acquaint
you with specific FCA US LLC vehicles. Included are
starting, operating, emergency and maintenance proce-
dures as well as specifications, capabilities and safety tips.
Call toll free at:
•
1-800-890-4038 (U.S.)
• 1-800-387-1143 (Canada)
Or
Visit us on the Worldwide Web at:
• www.techauthority.com (U.S.)
314 CUSTOMER ASSISTANCE
Page 318 of 332
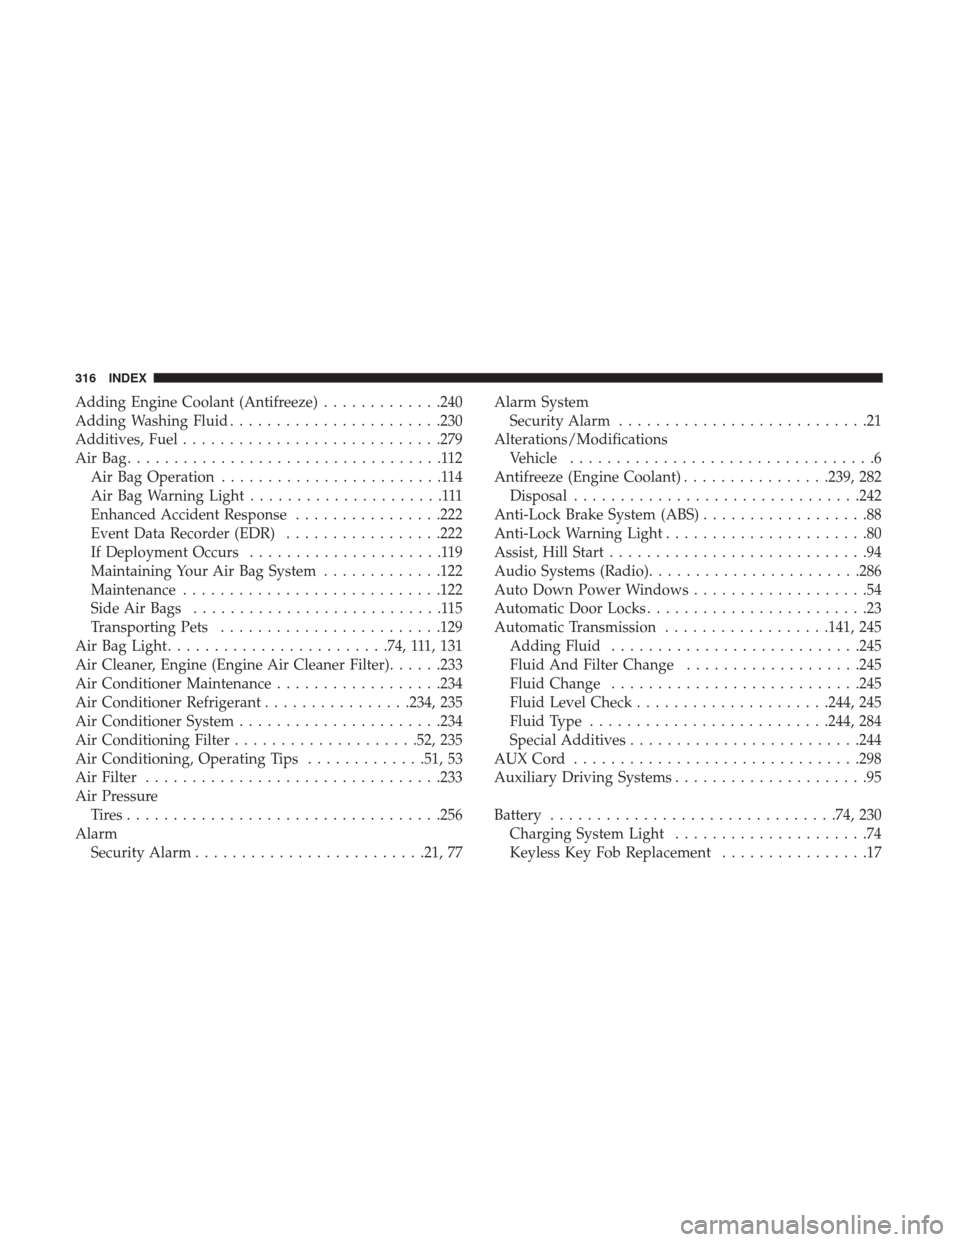
Adding Engine Coolant (Antifreeze).............240
Adding Washing Fluid ...................... .230
Additives, Fuel ........................... .279
AirBag..................................112 Air Bag Operation ........................114
Air Bag Warning Light .....................111
Enhanced Accident Response ................222
Event Data Recorder (EDR) .................222
If Deployment Occurs .....................119
Maintaining Your Air Bag System .............122
Maintenance ........................... .122
Side Air Bags ...........................115
Transporting Pets ....................... .129
Air Bag Light ....................... .74, 111, 131
Air Cleaner, Engine (Engine Air Cleaner Filter) ......233
Air Conditioner Maintenance ..................234
Air Conditioner Refrigerant ................234, 235
Air Conditioner System ..................... .234
Air Conditioning Filter ....................52, 235
Air Conditioning, Operating Tips .............51, 53
Air Filter ............................... .233
Air Pressure Tires................................. .256
Alarm Security Alarm ........................ .21, 77Alarm System
Security Alarm ...........................21
Alterations/Modifications Vehicle .................................6
Antifreeze (Engine Coolant) ................239, 282
Disposal .............................. .242
Anti-Lock Brake System (ABS) ..................88
Anti-Lock Warning Light ......................80
Assist, Hill Start ............................94
Audio Systems (Radio) ...................... .286
Auto Down Power Windows ...................54
Automatic Door Locks ........................23
Automatic Transmission ..................141, 245
Adding Fluid .......................... .245
Fluid And Filter Change ...................245
Fluid Change .......................... .245
Fluid Level Check .....................244,
245
Fluid Type ......................... .244, 284
Special Additives ........................ .244
AUXCord .............................. .298
Auxiliary Driving Systems .....................95
Battery .............................. .74, 230
Charging System Light .....................74
Keyless Key Fob Replacement ................17
316 INDEX
Page 321 of 332
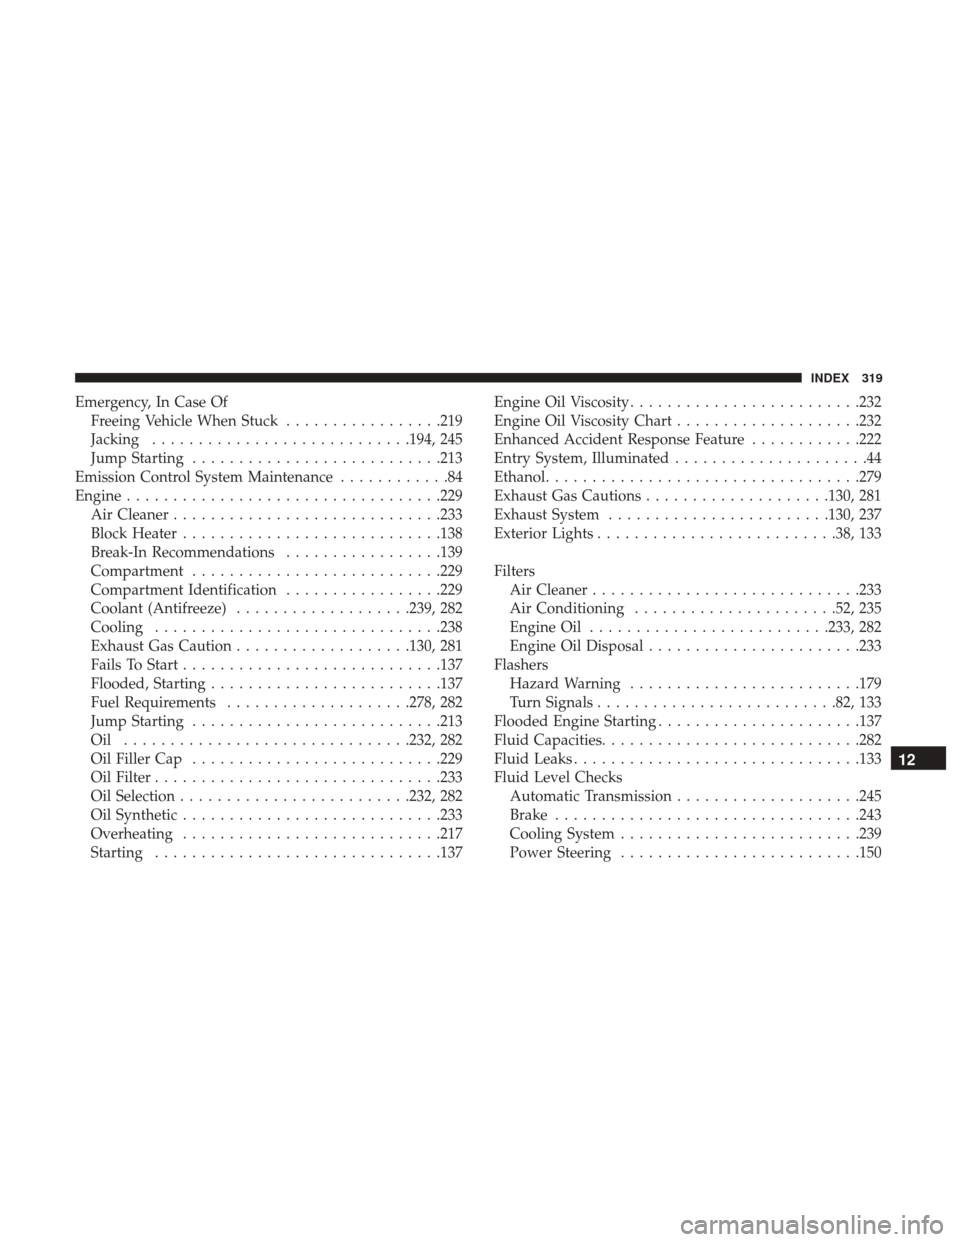
Emergency, In Case OfFreeing Vehicle When Stuck .................219
Jacking ........................... .194, 245
Jump Starting .......................... .213
Emission Control System Maintenance ............84
Engine ................................. .229
Air Cleaner ............................ .233
Block Heater ........................... .138
Break-In Recommendations .................139
Compartment .......................... .229
Compartment Identification .................229
Coolant (Antifreeze) ...................239, 282
Cooling .............................. .238
Exhaust Gas Caution ...................130, 281
Fails To Start ........................... .137
Flooded, Starting ........................ .137
Fuel Requirements ....................278, 282
Jump Starting .......................... .213
Oil .............................. .232, 282
Oil Filler Cap .......................... .229
Oil Filter .............................. .233
Oil Selection ........................ .232, 282
Oil Synthetic ........................... .233
Overheating ........................... .217
Starting .............................. .137Engine Oil Viscosity
........................ .232
Engine Oil Viscosity Chart ....................232
Enhanced Accident Response Feature ............222
Entry System, Illuminated .....................44
Ethanol ................................. .279
Exhaust Gas Cautions ....................130, 281
Exhaust System ....................... .130, 237
Exterior Lights ......................... .38, 133
Filters Air Cleaner ............................ .233
Air Conditioning ..................... .52, 235
Engine Oil ......................... .233,
282
Engine Oil Disposal ...................... .233
Flashers Hazard Warning ........................ .179
Turn Signals ......................... .82, 133
Flooded Engine Starting ..................... .137
Fluid Capacities ........................... .282
Fluid Leaks .............................. .133
Fluid Level Checks Automatic Transmission ....................245
Brake ................................ .243
Cooling System ......................... .239
Power Steering ......................... .150
12
INDEX 319
Page 324 of 332
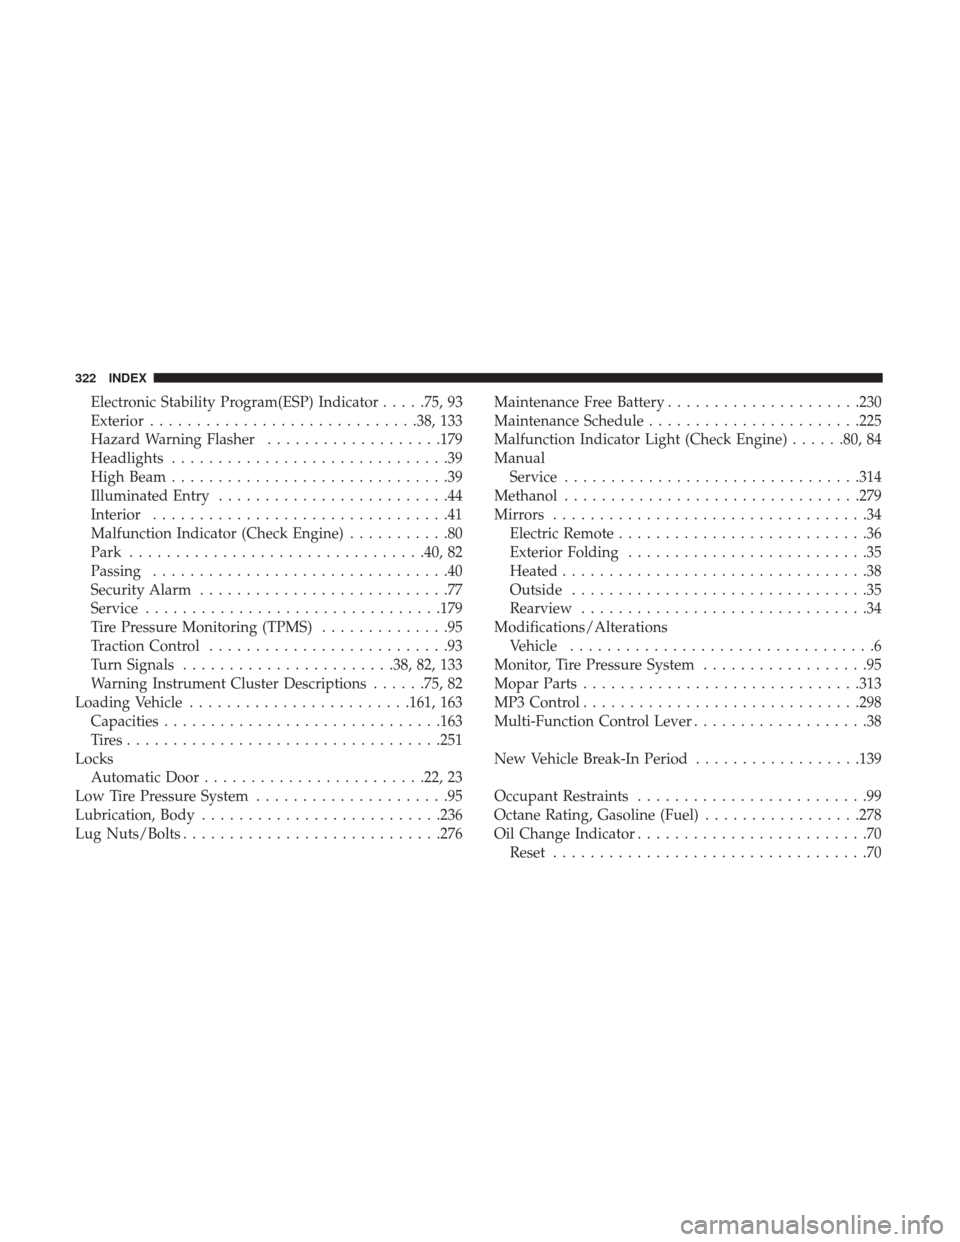
Electronic Stability Program(ESP) Indicator.....75, 93
Exterior ............................ .38, 133
Hazard Warning Flasher ...................179
Headlights ..............................39
High Beam ..............................39
Illuminated Entry .........................44
Interior ................................41
Malfunction Indicator (Check Engine) ...........80
Park ............................... .40, 82
Passing ................................40
Security Alarm ...........................77
Service ............................... .179
Tire Pressure Monitoring (TPMS) ..............95
Traction Control ..........................93
Turn Signals ...................... .38, 82, 133
Warning Instrument Cluster Descriptions ......75, 82
Loading Vehicle ....................... .161, 163
Capacities ............................. .163
Tires................................. .251
Locks Automatic Door ....................... .22, 23
Low Tire Pressure System .....................95
Lubrication, Body ......................... .236
Lug Nuts/Bolts ........................... .276Maintenance Free Battery
.....................230
Maintenance Schedule ...................... .225
Malfunction Indicator Light (Check Engine) ......80, 84
Manual Service ............................... .314
Methanol ............................... .279
Mirrors ..................................34
Electric Remote ...........................36
Exterior Folding ..........................35
Heated .................................38
Outside ................................35
Rearview ...............................34
Modifications/Alterations Vehicle .................................6
Monitor, Tire Pressure System ..................95
Mopar Parts ............................. .313
MP3 Control ............................. .298
Multi-Function Control Lever ...................38
New Vehicle Break-In Period ..................139
Occupant
Restraints .........................99
Octane Rating, Gasoline (Fuel) .................278
Oil Change Indicator .........................70
Reset ..................................70
322 INDEX