12 v Ram ProMaster 2020 Owner's Manual
[x] Cancel search | Manufacturer: RAM, Model Year: 2020, Model line: ProMaster, Model: Ram ProMaster 2020Pages: 264, PDF Size: 10.11 MB
Page 221 of 264
MULTIMEDIA219
NOTE:
If supported, the download and update begin
as soon as the Bluetooth® wireless phone
connection is made to the Uconnect Phone,
for example, after you start the vehicle.
You may be asked for permission to initiate
the phonebook download.
A maximum of 2,000 contact names with six
numbers per contact will be downloaded and
updated every time a phone is connected to
the Uconnect Phone.
Depending on the maximum number of
entries downloaded, there may be a short
delay before the latest downloaded names
can be used. Until then, if available, the previ -
ously downloaded phonebook is available for
use.
Only the phonebook of the currently
connected mobile phone is accessible.
Only the mobile phone’s phonebook is down -
loaded. SIM card phonebook is not part of
the mobile phonebook.
This downloaded phonebook cannot be
edited or deleted on the Uconnect Phone.
These can only be edited on the mobile
phone. The changes are transferred and
updated to Uconnect Phone on the next
phone connection.
Making A Phone Call
Dialing The Phone Number Using The Keyboard
Icon On The Display
Enter the phone number using the graphic
keypad displayed.
Proceed as follows:
1. Press the Keyboard icon on the display and
use the number buttons to enter the
number.
2. Press the Call button to make a call.
Call By Saying A Phonebook Name Or Phone
Number
1. Push the VR button or Phone button (if enabled) on the steering wheel.
2. After the BEEP, say “dial” (or “call” a full name or phone number). Recent Calls
The list of the last calls made for each of the
following call types can be displayed:
Calls received
Calls made
Calls without a reply
All calls
To access these types of calls, press the Recent
Calls button on the Phone menu main screen.
Making A Second Call While Current Call Is In
Progress
When a phone conversation is active, a second
phone call can be made as follows:
Select the number/contact from the list of
recent calls.
Select the contact from the phonebook.
Press the Hold button and dial the number
using the graphic keyboard of the display.
Redial
To call the number/contact of last call made,
press the Redial button.9
20_VF_OM_EN_US_t.book Page 219
Page 222 of 264

220MULTIMEDIA
Answering An Incoming Call
Call Controls
The buttons on the display allow the following
phone call functions to be managed:
Answer
End
Ignore
Put on hold/resume
Deactivate/activate the microphone
Transfer the call
Switch from one call to the other
Conference/merge two active calls
Answering Or Ignoring A Call With No Call
Currently In Progress
When an incoming call rings or is announced on
Uconnect, push the Answer button on the touch -
screen or push the PHONE button on the
steering wheel. Answering Or Ignoring An Incoming Call With A
Call Currently In Progress
When an incoming call rings or is announced on
Uconnect, push the Answer button on the touch
-
screen or push the PHONE button on the
steering wheel to answer the call and put the
ongoing call on hold.
NOTE:
Not all mobile phones may support the manage -
ment of an incoming call when another phone
conversation is active.
Ending A Call
Press the End button on the touchscreen or the
PHONE button on the steering wheel controls to
end a call in progress.
Only the ongoing call is ended and any call on
hold becomes the new active call.
Depending on the type of mobile phone, if the
ongoing call is ended by the caller, the call on
hold may not be activated automatically.
Uconnect Phone Features
Mute/Unmute
1. During a call, push the Voice Recognition (VR) button on the steering wheel.
2. After the BEEP, say “mute” (or “mute off”).
Reading Messages
The system can read the messages received by
the mobile phone.
To use this function the mobile phone must
support the SMS exchange function via Blue -
tooth®.
If this function is not supported by the phone,
the corresponding message button is deacti -
vated (grayed out) or may only accept incoming
messages.
When a text message is received, the display
will show a screen where the options "Listen",
"Call" or "Ignore" can be selected.
Press the message button to access the list of
SMS messages received by the mobile phone
(the list displays a maximum of 60 messages
received).
20_VF_OM_EN_US_t.book Page 220
Page 223 of 264
MULTIMEDIA221
SMS Message Reader Activation/Deactivation
The SMS message automatic reading function
can be activated/deactivated by pressing the
corresponding button on the display, which is
shown after pressing the phone selection
button.
NOTE:
On some mobile phones, to make the SMS
voice reading function available, the SMS notifi -
cation option on the phone must be enabled,
this option is usually available on the phone, in
the Bluetooth® connections menu for a device
registered as Uconnect. After enabling this func -
tion on the mobile phone, it must be discon -
nected and reconnected with the system to
make it effective.
SMS Message Options
Preset SMS messages are stored in the system
and can be sent to answer a received message
or as a new message.Navigation Mode — If Equipped
Operating Navigation Mode — If Equipped
Planning A Route
Using the search bar provides a wide range of
ways to find places and then navigate to them.
You can search your destination in different
ways:
A specific address
A partial address
A type of place
A zip code
A city to navigate to a city center
A Point of Interest (POI) near your current
location
Latitude and longitude coordinates Using Search
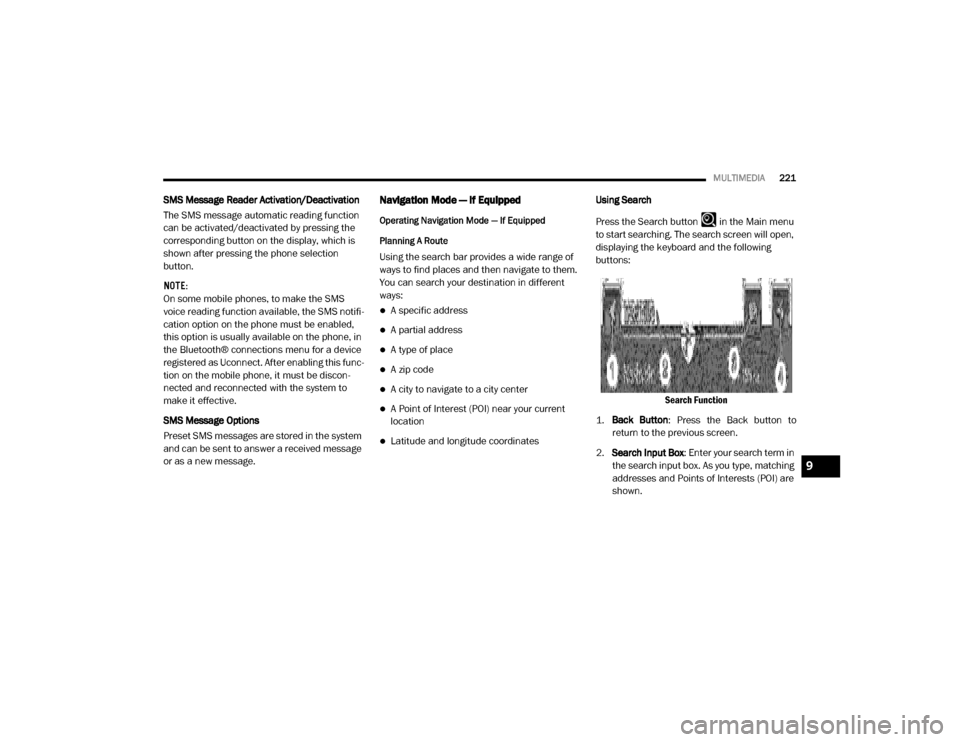
Press the Search button in the Main menu
to start searching. The search screen will open,
displaying the keyboard and the following
buttons:
Search Function
1. Back Button : Press the Back button to
return to the previous screen.
2. Search Input Box : Enter your search term in
the search input box. As you type, matching
addresses and Points of Interests (POI) are
shown.
9
20_VF_OM_EN_US_t.book Page 221
Page 224 of 264
222MULTIMEDIA
3.Type Of Search: Press this button to change
the type of search to any of the following:
Whole Map: Select this option to search
your current map with no limit to the
search radius. Your current location is
the center of the search. The results are
ranked by exact match.
Near Me: Select this option to search with
your current GPS location as the search
center. The results are ranked by
distance.
In Town or City: Select this option to use
a town or city as the center of your
se arch. Enter the town or city name using
the keyboard on the touchscreen. When
you have selected the town or city from
the results list, you can search for an
address or POI in that city.
Along Route: When a route has been
planned, you can select this option to
search along your route for a specific type
of location, such as a POI category. When
prompted, enter the type of location and
then select it in the right-hand column to
carry out the search.
Near Destination: When a route has been
planned, you can select this option to use
your destination as the center of your
search.
Latitude Longitude: Select this option to
enter a pair of latitude and longitude
coordinates.
NOTE:
By default, the current map is searched. Once
you have used search, the last search type you
selected is used.
4. View Button : Press this button to return to
the map view or guidance view.
5. Show/Hide Keyboard : Press this button to
show or hide the keyboard.
6. List/Map Button : Select this button to
switch between showing the results in a list
or showing the results on the map. 7.
Keyboard Layout Button : Press this button
to change your keyboard layout to another
language.
8. 123?! Button : Press this button to use
numbers and symbols on your keyboard.
Select the =\< button to toggle between the
numbers and more symbols. Select the ABC
button to go back to the general keyboard.
Planning A Route — Searching For A City Center
When planning a route to a city center, you can
search for a town, city or postal code.
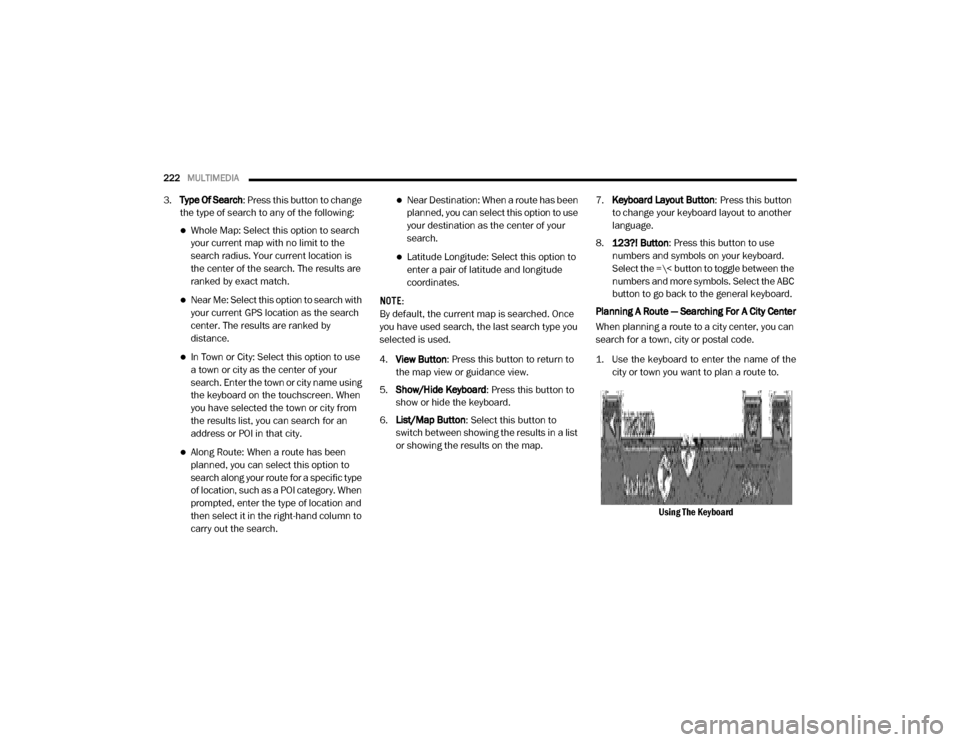
1. Use the keyboard to enter the name of the city or town you want to plan a route to.
Using The Keyboard
20_VF_OM_EN_US_t.book Page 222
Page 225 of 264
MULTIMEDIA223
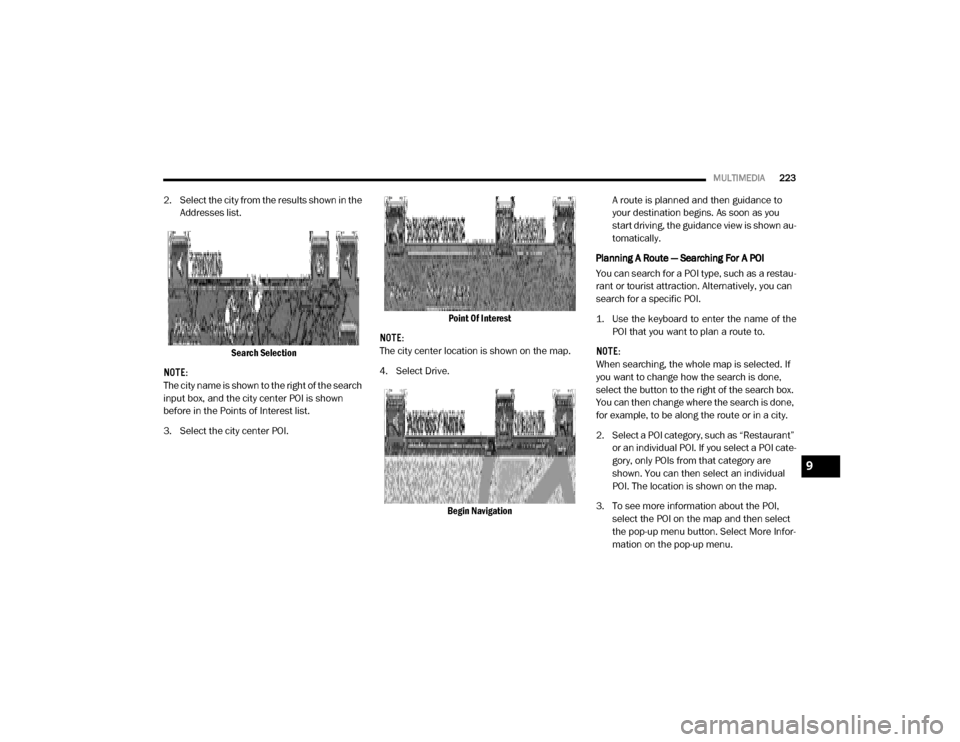
2. Select the city from the results shown in the
Addresses list.
Search Selection
NOTE:
The city name is shown to the right of the search
input box, and the city center POI is shown
before in the Points of Interest list.
3. Select the city center POI. Point Of Interest
NOTE:
The city center location is shown on the map.
4. Select Drive.
Begin Navigation A route is planned and then guidance to
your destination begins. As soon as you
start driving, the guidance view is shown au
-
tomatically.
Planning A Route — Searching For A POI
You can search for a POI type, such as a restau -
rant or tourist attraction. Alternatively, you can
search for a specific POI.
1. Use the keyboard to enter the name of the POI that you want to plan a route to.
NOTE:
When searching, the whole map is selected. If
you want to change how the search is done,
select the button to the right of the search box.
You can then change where the search is done,
for example, to be along the route or in a city.
2. Select a POI category, such as “Restaurant” or an individual POI. If you select a POI cate -
gory, only POIs from that category are
shown. You can then select an individual
POI. The location is shown on the map.
3. To see more information about the POI, select the POI on the map and then select
the pop-up menu button. Select More Infor -
mation on the pop-up menu.
9
20_VF_OM_EN_US_t.book Page 223
Page 226 of 264
224MULTIMEDIA
4. To plan a route to this destination, select
the drive button.
Begin Navigation
For more information on navigating to a POI,
refer to “Points Of Interest” within this section.
Planning A Route — Searching By Entering Coor -
dinates
1. Select the type of search button to the right of the search box.
2. Select Latitude Longitude.
3. Type in your pair of coordinates. You can enter any of these coordinate types:
Decimal values
Degrees, minutes and seconds
GPS standard coordinates 4. Select a suggestion for your destination.
5. To plan a route to this destination, select
the drive button.
Planning A Route Using The Map
1. Move the map and zoom in until you can see the destination that you want to navi -
gate to.
2. When you have found your destination on the map, select it by pressing and holding
the screen for about one second.
Planning A Route Using The Map NOTE:
A pop-up menu shows the nearest address.
3. To plan a route to this destination, select
the drive button.
Planning A Route Using My Places
1. Select the Main Menu button to open the Main Menu.
2. Select My Places.
3. Select the Place you want to navigate to, for example Home.
My Places
4. To plan a route to this Place, select the drive button.
20_VF_OM_EN_US_t.book Page 224
Page 227 of 264
MULTIMEDIA225
Finding A Parking Lot
1. Press the Parking button from the Main
Menu.
NOTE:
If a route is planned, the map shows parking
lots near your destination. If a route isn’t
planned, the map shows parking lots near your
current location. You also have an option to
view the parking lots in a list by pressing the
Menu button to the left of the red highlighted
icon.
2. Select a parking lot from the map or the list.
Find A Parking Lot 3. To plan a route to your chosen parking lot,
select the drive button.
Finding A Gas Station
1. Select the Main Menu button to open the Main Menu.
2. Select Gas Station.
NOTE:
You also have an option to view the gas stations
in a list by pressing the Menu button to the left
of the red highlighted icon.
Finding A Gas Station 3. Select a gas station from the map or the list.
By opening the pop-up menu, you can add
the gas station as a stop on your route. You
can also plan a route to your chosen gas
station by pressing the drive button on the
touchscreen. Your system will plan a route,
and guidance to your destination will begin.
The guidance view will be shown automati-
cally once you start driving.
Changing Your Route
Making Changes To Your Route
After you plan a route, you may want to change
the route or even the destination. There are
various ways to change your route without the
need to completely re-plan the entire journey.
To change the current route, press the Current
Route button in the Main menu. The
following options are available:
9
20_VF_OM_EN_US_t.book Page 225
Page 228 of 264

226MULTIMEDIA
Current Route Menu
Clear Route
Press the button to clear the currently
planned route. The Current Route Menu will
close and the screen will return to the map view.
Find Alternative
Press the button while driving on a planned
route to show up to three alternative routes on
the map view. Each alternative route shows the
difference in travel time in a balloon.
Select your chosen route by tapping on the time
balloon.
Press “Let’s GO.” Guidance to your destination
will automatically begin, and the guidance view
appears automatically as you begin driving.
Avoid Blocked Road
Press the button to avoid an unexpected
obstacle that is blocking the road on your route.
A new route will be found that avoids blocked
roads.
You may be shown a maximum of two alterna -
tives depending on the road network between
you and your destination.
The new route is shown on the map view with
the difference in travel time in a balloon. Select the new route by pressing the time
balloon. Guidance to your destination will
resume avoiding blocked roads, and the guid
-
ance view will appear automatically as you
begin driving.
NOTE:
It may not be possible to find an alternative
route around the blocked road if none exists.
Avoid Part Of Route
Press the button to avoid part of the current
route.
You are shown a list of the sections that make
up your current route.
Select the section of the route you want to
avoid. A pop-up menu will appear on the map
showing the location of the instruction.
To avoid the chosen section of the route, select
“Avoid.” A new route is planned that will avoid
your chosen route sections, and the new route
will appear in map view.
NOTE:
To avoid more sections of the route, repeat the
steps above. It may not be possible to find an
alternative route around the section if none
exists. Avoid Toll Roads and More
Select the button to avoid some types of
route features that are on your currently
planned route. These include ferries, toll roads
and unpaved roads.
Show Instructions
Press the button to see a list of turn-by-turn
instructions for your planned route.
The instructions include the following informa
-
tion:
Current location
Street names
Up to two road numbers shown in road signs
(if available)
An instruction arrow
An instruction description
The distance between two consecutive
instructions
Exit number
The full addresses of stops on your route
20_VF_OM_EN_US_t.book Page 226
Page 229 of 264
MULTIMEDIA227
Add Stop To Route
Press the button to add a stop to your route.
You can add a stop by selecting a point on the
map. In map view, zoom in on the map and
press and hold to select a location. Then, select
the pop-up menu button, and press “Add to
Current Route.”
You route will be recalculated to include your
stop.
Change Route Type
Press the button to change the type of route
used to plan your route. Your route will be recal -
culated using the new route type selected.
You can select the following types of routes:
Fastest Route
Shortest Route
Most Eco-Friendly Route
Avoid Interstate Highways
You can set the default route type in the
settings menu.
Reorder Stops Press the button to see the lists of stops for
your current route. You can change the order of
the stops on your route by pressing “Edit Stops”.
Use the Up and Down arrows to change the
order of your stops. Your route will be recalcu
-
lated with the stops in that changed order.
NOTE:
You can also delete stops from your route by
pressing the Edit Stops button and then press
the Delete button. The stop will be removed
from your route and your route will be recalcu -
lated.
Play Route Or Track Preview
Press button to watch a preview of your
planned route or track.
NOTE:
This feature is not available while driving.
Stop Route Preview
Press button to stop the preview of your
planned route.
Voice Command — If Equipped
About Voice command
Instead of pressing the touchscreen to control
your navigation system, you can use your voice
to control navigation.
For example, to switch to 2D view, you can say
“2D view.”
To view a list of available commands, press the
“Help” button in the Main menu and then press
“What can I say?”
Using Voice Control
WARNING!
ALWAYS drive safely with your hands on the
wheel. You have full responsibility and
assume all risks related to the use of the
Uconnect features and applications in this
vehicle. Only use Uconnect when it is safe to
do so. Failure to do so may result in an
accident involving serious injury or death.
9
20_VF_OM_EN_US_t.book Page 227
Page 230 of 264
228MULTIMEDIA
The following example shows how to use voice
control to plan a journey to your Home address:
1. Push the Voice Recognition button on the
steering wheel to turn on the microphone.
A screen will pop up with examples of
commands.
NOTE:
Press the Help button in the Main menu then
press “What can I say?” to see a full list of
commands.
2. When you hear a beep, say a command of your choice. For example, you can say “Navi -
gate home”.
NOTE:
For accurate results, speak normally without
trying to articulate words in an unnatural way. If
there is excessive road noise, for example, you
may need to speak directly into the microphone.
3. If the command is correct, say “Yes”. NOTE:
If the command is incorrect, say “No” and
repeat the command after you hear the prompt
and tone again. Your navigation system plans a
route from your current location to your destina-
tion. To stop your navigation system from
listening out for further commands, say
“Cancel”.
Guidance View
About Guidance View
The guidance view is used to guide you along
the route to your destination. As soon as you
start driving, your navigation system will imme
-
diately start guiding you to your destination with
spoken instructions and visual instructions on
the touchscreen. You can also see your current
location and details along your route, including
3D buildings in some cities. The guidance view
is normally in 3D. To show a 2D map with the
map moving in your direction of travel, change
the 2D and 3D default settings. Refer to
“Settings” within this section for more informa -
tion. NOTE:
When you have planned a route and the 3D
guidance view is shown, select the switch view
button to change to the map view and use the
interactive features.
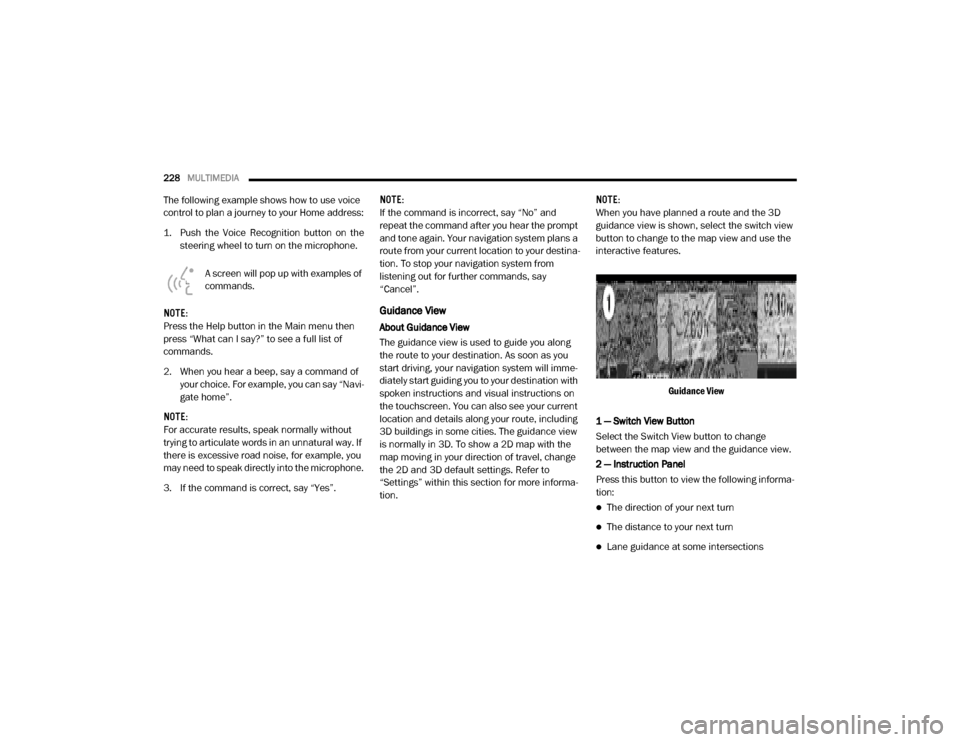
Guidance View
1 — Switch View Button
Select the Switch View button to change
between the map view and the guidance view.
2 — Instruction Panel
Press this button to view the following informa -
tion:
The direction of your next turn
The distance to your next turn
Lane guidance at some intersections
20_VF_OM_EN_US_t.book Page 228