instrument cluster Ram ProMaster 2020 Owner's Guide
[x] Cancel search | Manufacturer: RAM, Model Year: 2020, Model line: ProMaster, Model: Ram ProMaster 2020Pages: 264, PDF Size: 10.11 MB
Page 110 of 264

108STARTING AND OPERATING
While audible signals are emitted, the audio
system is not muted.
The audible signal is turned off immediately if
the distance increases. The tone cycle remains
constant if the distance measured by the inner
sensors is constant. If this condition occurs for
the external sensors, the signal is turned off
after three seconds (stopping warnings during
maneuvers parallel to walls).
ParkSense Rear Park Assist Failure
Indications
A malfunction of the ParkSense Rear Park
Assist sensors or system is indicated, during
REVERSE gear engagement, by the instrument
panel warning icon.
The warning icon is illuminated and a
message is displayed in the instru -
ment cluster display (if equipped).
Refer to “Warning Lights And
Messages” in “Getting To Know Your Instru -
ment Panel” for further information.
The sensors and wiring are tested continuously
when the ignition is in the MAR (ACC/ON/RUN)
position. Failures are indicated immediately if
they occur when the system is on. Even if the system is able to identify that a
specific sensor is in failure condition, the instru
-
ment cluster display shall indicate that the Park-
Sense Rear Park Assist system is unavailable,
without reference to the sensor in failure condi -
tion. If even a single sensor fails, the entire
system must be disabled. The system is turned
off automatically.
Cleaning The ParkSense System
Clean the Rear Park Assist sensors with water,
car wash soap and a soft cloth. Do not use
rough or hard cloths. In washing stations, clean
sensors quickly keeping the vapor jet/high pres -
sure washing nozzles at least 4 inches (10 cm)
from the sensors. Do not scratch or poke the
sensors. Otherwise, you could damage the
sensors.
ParkSense Rear Park Assist System Usage
Precautions
NOTE:
Ensure that the outer surface and the under -
side of the rear bumper is clean and clear of
snow, ice, mud, dirt or other obstruction to
keep the Rear Park Assist system operating
properly.
Jackhammers, large trucks, and other vibra -
tions could affect the performance of Rear
Park Assist.
Clean the Rear Park Assist sensors regularly,
taking care not to scratch or damage them.
The sensors must not be covered with ice,
snow, slush, mud, dirt or debris. Failure to do
so can result in the system not working prop -
erly. The Rear Park Assist system might not
detect an obstacle behind the fascia/
bumper, or it could provide a false indication
that an obstacle is behind the fascia/
bumper.
Objects such as bicycle carriers, etc., must
not be placed within 12 inches (30 cm) from
the rear fascia/bumper while driving the
vehicle. Failure to do so can result in the
system misinterpreting a close object as a
sensor problem, causing a failure indication
to be displayed in the instrument cluster
display.
20_VF_OM_EN_US_t.book Page 108
Page 113 of 264

STARTING AND OPERATING111
(Continued)
REFUELING THE VEHICLE
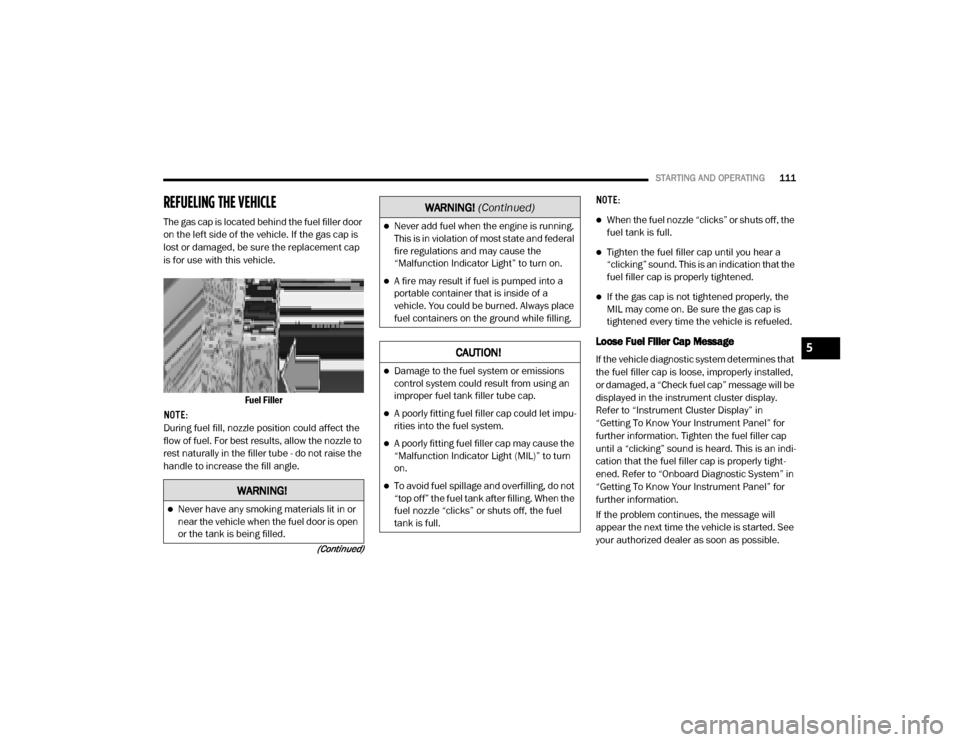
The gas cap is located behind the fuel filler door
on the left side of the vehicle. If the gas cap is
lost or damaged, be sure the replacement cap
is for use with this vehicle.
Fuel Filler
NOTE:
During fuel fill, nozzle position could affect the
flow of fuel. For best results, allow the nozzle to
rest naturally in the filler tube - do not raise the
handle to increase the fill angle. NOTE:When the fuel nozzle “clicks” or shuts off, the
fuel tank is full.
Tighten the fuel filler cap until you hear a
“clicking” sound. This is an indication that the
fuel filler cap is properly tightened.
If the gas cap is not tightened properly, the
MIL may come on. Be sure the gas cap is
tightened every time the vehicle is refueled.
Loose Fuel Filler Cap Message
If the vehicle diagnostic system determines that
the fuel filler cap is loose, improperly installed,
or damaged, a “Check fuel cap” message will be
displayed in the instrument cluster display.
Refer to “Instrument Cluster Display” in
“Getting To Know Your Instrument Panel” for
further information. Tighten the fuel filler cap
until a “clicking” sound is heard. This is an indi
-
cation that the fuel filler cap is properly tight -
ened. Refer to “Onboard Diagnostic System” in
“Getting To Know Your Instrument Panel” for
further information.
If the problem continues, the message will
appear the next time the vehicle is started. See
your authorized dealer as soon as possible.
WARNING!
Never have any smoking materials lit in or
near the vehicle when the fuel door is open
or the tank is being filled.
Never add fuel when the engine is running.
This is in violation of most state and federal
fire regulations and may cause the
“Malfunction Indicator Light” to turn on.
A fire may result if fuel is pumped into a
portable container that is inside of a
vehicle. You could be burned. Always place
fuel containers on the ground while filling.
CAUTION!
Damage to the fuel system or emissions
control system could result from using an
improper fuel tank filler tube cap.
A poorly fitting fuel filler cap could let impu -
rities into the fuel system.
A poorly fitting fuel filler cap may cause the
“Malfunction Indicator Light (MIL)” to turn
on.
To avoid fuel spillage and overfilling, do not
“top off” the fuel tank after filling. When the
fuel nozzle “clicks” or shuts off, the fuel
tank is full.
WARNING!
(Continued)
5
20_VF_OM_EN_US_t.book Page 111
Page 154 of 264

152
SERVICING AND MAINTENANCE
SCHEDULED SERVICING
Your vehicle is equipped with an automatic oil
change indicator system. The oil change indi-
cator system will remind you that it is time to
take your vehicle in for scheduled maintenance.
Based on engine operation conditions, the oil
change indicator message will illuminate in the
instrument cluster. This means that service is
required for your vehicle. Operating conditions
such as frequent short-trips, trailer tow, and
extremely hot or cold ambient temperatures will
influence when the “Oil Change Required”
message is displayed. Severe Operating Condi-
tions can cause the change oil message to illu -
minate as early as 3,500 miles (5,600 km)
since last reset. Have the vehicle serviced as
soon as possible, within the next 500 miles
(805 km). An authorized dealer will reset the oil change
indicator message after completing the sched
-
uled oil change. If a scheduled oil change is
performed by someone other than an autho -
rized dealer, the message can be reset by refer -
ring to the steps described under “Instrument
Cluster Display” in “Getting To Know Your
Instrument Panel” for further information.
NOTE:
Under no circumstances should oil change
intervals exceed 10,000 miles (16,000 km),
12 months or 350 hours of engine run time,
whichever comes first. The 350 hours of engine
run or idle time is generally only a concern for
fleet customers.
Severe Duty All Models
Change Engine Oil at 4,000 miles (6,500 km) or
350 hours of engine run time if the vehicle is
operated in a dusty and off road environment or
is operated predominately at idle or only very
low engine RPM. This type of vehicle use is
considered Severe Duty. Once A Month Or Before A Long Trip:Check engine oil level
Check windshield washer fluid level
Check the tire inflation pressures and look
for unusual wear or damage. Rotate at the
first sign of irregular wear, even if it occurs
before the oil indicator system turns on
Check the fluid levels of the coolant reservoir,
brake master cylinder, and power steering
and fill as needed
Check function of all interior and exterior
lights
Maintenance Plan
Required Maintenance Intervals
Refer to the maintenance plan on the following
pages for the required maintenance intervals.
20_VF_OM_EN_US_t.book Page 152
Page 191 of 264

SERVICING AND MAINTENANCE189
Seat Belt Maintenance
Do not bleach, dye or clean the belts with chem -
ical solvents or abrasive cleaners. This will
weaken the fabric. Sun damage can also
weaken the fabric.
If the belts need cleaning, use a mild soap solu -
tion or lukewarm water. Do not remove the belts
from the vehicle to wash them. Dry with a soft
cloth.
Replace the belts if they appear frayed or worn
or if the buckles do not work properly.
Plastic And Coated Parts
Use Mopar Total Clean to clean vinyl upholstery.
Cleaning Plastic Instrument Cluster Lenses
The lenses in front of the instruments in this
vehicle are molded in clear plastic. When
cleaning the lenses, care must be taken to
avoid scratching the plastic.
1. Clean with a wet soft cloth. A mild soap solu -
tion may be used, but do not use high
alcohol content or abrasive cleaners. If soap
is used, wipe clean with a clean damp cloth.
2. Dry with a soft cloth.
WARNING!
A frayed or torn belt could rip apart in a
collision and leave you with no protection.
Inspect the belt system periodically, checking
for cuts, frays, or loose parts. Damaged parts
must be replaced immediately. Do not
disassemble or modify the system. Seat belt
assemblies must be replaced after a collision
if they have been damaged (i.e., bent
retractor, torn webbing, etc.).
CAUTION!
Direct contact of air fresheners, insect
repellents, suntan lotions, or hand sani -
tizers to the plastic, painted, or decorated
surfaces of the interior may cause perma -
nent damage. Wipe away immediately.
Damage caused by these type of products
may not be covered by your New Vehicle
Limited Warranty.
7
20_VF_OM_EN_US_t.book Page 189
Page 255 of 264

253
H
Hazard
Driving Through Flowing, Rising,
Or Shallow Standing Water
................. 121
Hazard Warning Flashers
.......................... 123
Head Restraints
....................................... 20
Headlights
Cleaning......................................... 187High Beam........................................ 24High Beam/Low Beam Select Switch....... 24Passing............................................ 24Switch.............................................. 23
Heated Mirrors
........................................ 23
Heated Seats
.......................................... 18
Heater, Engine Block
................................. 93
High Beam/Low Beam Select (Dimmer) Switch
... 24
Hill Start Assist
........................................ 60
Hitches
Trailer Towing.................................. 114
Hood Prop
............................................. 36
Hood Release
......................................... 36
I
Ignition
.................................................11Key.............................................. 9, 11Switch.............................................. 11
Ignition Key Removal
.................................11
Illuminated Entry
......................................27
Immobilizer (Sentry Key)
............................. 12
Inside Rearview Mirror
................................21
Instrument Cluster
.............................. 41, 53Display............................................. 43
Instrument Panel Lens Cleaning
................... 189
Interior And Instrument Lights
.......................25
Interior Appearance Care
........................... 188
Interior Lights
..........................................25
Intermittent Wipers (Delay Wipers)
..................28
Introduction
..............................................7
iPod/USB/MP3 Control
............................. 238
J
Jack Location
........................................ 133
Jack Operation
.............................. 133, 168
Jacking And Tire Changing
......................... 133
Jacking And Tire Changing Instructions
...........135
Jump Starting
........................................ 145
K
Key Fob
Programming Additional Key Fobs
.......... 10
Key Fob Battery Service (Remote Keyless Entry)
.. 10
Key Fob Programming (Remote Keyless Entry)
.... 10
Key-In Reminder
...................................... 12
Keys
..................................................... 9Replacement.................................... 12Sentry (Immobilizer)............................ 12
L
Lane Change Assist
.................................. 25
Lap/Shoulder Belts
.................................. 67
Latches
................................................ 91Hood............................................... 36
Lead Free Gasoline
................................ 192
Leaks, Fluid
........................................... 91
Life Of Tires
......................................... 179
Light Bulbs
.....................................91, 123
Lights
.................................................. 91Air Bag................................. 47, 73, 90Brake Assist Warning.......................... 59Brake Warning.................................. 48Bulb Replacement............................ 123Cruise............................................. 53Daytime Running............................... 24Dimmer Switch, Headlight...............23, 2411
20_VF_OM_EN_US_t.book Page 253
Page 256 of 264

254
Electronic Stability Program(ESP) Indicator
................................. 48, 59Exterior...................................... 23, 91Hazard Warning Flasher..................... 123Headlights........................................ 23High Beam........................................ 24Illuminated Entry................................ 27Interior............................................. 25Malfunction Indicator (Check Engine)...... 51Park.......................................... 24, 53Passing............................................ 24Security Alarm................................... 49Service........................................... 123Tire Pressure Monitoring (TPMS)............ 61Traction Control.................................. 59Turn Signals.......................... 23, 53, 91Warning Instrument Cluster Descriptions................... 48, 53
Loading Vehicle
............................. 112, 113Capacities....................................... 113Tires.............................................. 173
Locks
Automatic Door............................ 14, 15
Low Tire Pressure System
............................ 61
Lubrication, Body
................................... 161
Lug Nuts/Bolts
...................................... 191
M
Maintenance Free Battery
.......................... 157
Maintenance Schedule
............................. 152
Malfunction Indicator Light (Check Engine)
.. 51, 55
Manual
Service........................................... 249
Methanol
............................................. 193
Mirrors
.................................................21Electric Remote.................................. 22Exterior Folding.................................. 22Heated............................................. 23Outside............................................21Rearview..........................................21
Modifications/Alterations
Vehicle...............................................8
Monitor, Tire Pressure System
.......................61
Mopar Parts
..........................................248
MP3 Control
......................................... 238
Multi-Function Control Lever
......................... 23
N
New Vehicle Break-In Period
......................... 93
O
Occupant Restraints
................................. 64
Octane Rating, Gasoline (Fuel)
.................... 192
Oil Change Indicator
................................. 44Reset.............................................. 44
Oil Filter, Change
................................... 159
Oil Filter, Selection
................................. 159
Oil Pressure Light
..................................... 49
Oil, Engine
....................................158, 195Capacity........................................ 195Change Interval............................... 158Dipstick......................................... 157Disposal........................................ 159Filter...................................... 159, 195Filter Disposal................................. 159Identification Logo............................ 159Materials Added To.......................... 159Pressure Warning Light....................... 49Recommendation.....................158, 195Synthetic........................................ 159Viscosity................................. 159, 195
Onboard Diagnostic System
......................... 54
Operating Precautions
............................... 54
Operator Manual
Owner's Manual............................ 8, 249
Outside Rearview Mirrors
............................ 21
Overheating, Engine
................................ 147
20_VF_OM_EN_US_t.book Page 254
Page 259 of 264

257
Transmission
Automatic
................................. 95, 167Fluid.............................................. 197Maintenance................................... 167
Transporting Pets
..................................... 89
Tread Wear Indicators
.............................. 179
Turn Signals
........................................... 53
U
Uconnect
Uconnect Settings
............................... 10
Uconnect Settings
Customer Programmable Features....... 199
Uconnect Voice Command
......................... 241
Uniform Tire Quality Grades
........................ 185
Unleaded Gasoline
.................................. 192
Untwisting Procedure, Seat Belt
..................... 69
USB
................................................... 238
V
Vehicle Certification Label
......................... 112
Vehicle Identification Number (VIN)
............... 191
Vehicle Loading
..................... 112, 113, 174
Vehicle Modifications/Alterations
..................... 8
Vehicle Storage
................................ 33, 186
Viscosity, Engine Oil
................................. 159
Voice Command
.....................................241
W
Warning Lights
(Instrument Cluster Descriptions)
................... 51
Warnings And Cautions
.................................8
Warranty Information
............................... 248
Washer
Adding Fluid.................................... 157
Washing Vehicle
.....................................187
Water
Driving Through................................ 121
Wheel And Wheel Tire Care
........................ 183
Wheel And Wheel Tire Trim
........................ 183
Wind Buffeting
........................................ 36
Window Fogging
...................................... 33
Windows
............................................... 35Power.............................................. 35
Windshield Defroster
................................. 90
Windshield Washers
..........................27, 157Fluid............................................... 27
Windshield Wiper Blades
.......................... 162
Windshield Wipers
................................... 27
Wipers Blade Replacement
....................... 162
Wipers, Intermittent
.................................. 28
11
20_VF_OM_EN_US_t.book Page 257