brake lights Ram ProMaster City 2018 Owner's Manual
[x] Cancel search | Manufacturer: RAM, Model Year: 2018, Model line: ProMaster City, Model: Ram ProMaster City 2018Pages: 347, PDF Size: 4.08 MB
Page 85 of 347
Travel Distance
This value shows the distance covered since the last reset.
Average Fuel Consumption
This value shows the approximate average consumption
since the last reset.
Current Fuel Consumption
This indicates the fuel consumption. The value is con-
stantly updated. The message “----” will appear on the
display if the vehicle is parked with the engine running.
Average Speed
This value shows the vehicle’s average speed as a function
of the overall time elapsed since the last reset.
Travel Time
This value shows the time elapsed since the last reset.
WARNING LIGHTS AND MESSAGES
The warning/indicator lights will illuminate in the instru-
ment panel together with a dedicated message and/or
acoustic signal when applicable. These indications are
indicative and precautionary and as such must not beconsidered as exhaustive and/or alternative to the infor-
mation contained in the Owner ’s Manual, which you are
advised to read carefully in all cases. Always refer to the
information in this chapter in the event of a failure indica-
tion. All active telltales will display first if applicable. The
system check menu may appear different based upon
equipment options and current vehicle status. Some tell-
tales are optional and may not appear.
Red Warning Lights
— Air Bag Warning Light
This light will turn on for four to eight seconds as a bulb
check when the ignition is placed in the ON/RUN or
MAR/ON/RUN position. If the light is either not on
during startup, stays on, or turns on while driving, have
the system inspected at an authorized dealer as soon as
possible. This light will illuminate with a single chime
when a fault with the Air Bag Warning Light has been
detected, it will stay on until the fault is cleared. If the light
comes on intermittently or remains on while driving, have
an authorized dealer service the vehicle immediately.
— Brake Warning Light
This light monitors various brake functions, including
brake fluid level and parking brake application. If the
4
GETTING TO KNOW YOUR INSTRUMENT PANEL 83
Page 89 of 347
— Transmission Fault Warning Light
This light will illuminate (together with a message in the
instrument cluster display and a buzzer) to indicate a
transmission fault. Contact your authorized dealer if the
message remains after restarting the engine.
— Engine Oil Level Warning Light
This warning light appears on the panel when the engine
oil level falls below the minimum recommended value.
Restore the correct engine oil level or contact your autho-
rized dealer for service.
Yellow Warning Lights
— Anti-Lock Brake (ABS) Warning Light
This light monitors the Anti-Lock Brake System (ABS). The
light will turn on when the ignition is placed in the
ON/RUN or MAR/ON/RUN position and may stay on
for as long as four seconds.
If the ABS light remains on or turns on while driving, then
the Anti-Lock portion of the brake system is not function-
ing and service is required. However, the conventional
brake system will continue to operate normally if the brake
warning light is not on.If the ABS light is on, the brake system should be serviced
as soon as possible to restore the benefits of Anti-Lock
Brakes. If the ABS light does not turn on when the ignition
is placed in the ON/RUN or MAR/ON/RUN position,
have the light inspected by an authorized dealer.
— Low Fuel Warning Light
When the fuel level reaches approximately 2–6 gal (9–11 L)
this light will turn on, and remain on until fuel is added.
— Generic Warning Light
The Generic Warning Light will illuminate if any of the
following conditions occur: Engine Oil Pressure Sensor
Failure, External Light Failure, Parking Sensor Failure, DST
System Failure, Stop/Start failure, or Air Bag telltale recov-
ery.
The telltale will blink in case of Air Bag Warning Light
Failure. Contact an authorized dealer immediately for
service.
4
GETTING TO KNOW YOUR INSTRUMENT PANEL 87
Page 153 of 347
Periodic Safety Checks You Should Make Outside
The Vehicle
Tires
Examine tires for excessive tread wear and uneven wear
patterns. Check for stones, nails, glass, or other objects
lodged in the tread or sidewall. Inspect the tread for cuts
and cracks. Inspect sidewalls for cuts, cracks, and bulges.
Check the wheel bolts for tightness. Check the tires (includ-
ing spare) for proper cold inflation pressure.
Lights
Have someone observe the operation of brake lights and
exterior lights while you work the controls. Check turn
signal and high beam indicator lights on the instrument
panel.
Door Latches
Check for proper closing, latching, and locking.
Fluid Leaks
Check area under the vehicle after overnight parking for
fuel, coolant, oil, or other fluid leaks. Also, if gasoline
fumes are detected or if fuel, or brake fluid leaks are
suspected. The cause should be located and corrected
immediately.
5
SAFETY 151
Page 190 of 347
CAUTION!
If the trailer weighs more than 1,000 lbs (453 kg)
loaded, it should have its own brakes and they should
be of adequate capacity. Failure to do this could lead to
accelerated brake lining wear, higher brake pedal
effort, and longer stopping distances.
Towing Requirements — Trailer Lights And Wiring
Whenever you pull a trailer, regardless of the trailer size,
stoplights and turn signals on the trailer are required for
motoring safety.
The Trailer Tow Package may include a four- and seven-pin
wiring harness. Use a factory approved trailer harness and
connector.
NOTE:Do not cut or splice wiring into the vehicle’s wiring
harness.
The electrical connections are all complete to the vehicle
but you must mate the harness to a trailer connector. Refer
to the following illustrations. NOTE:
•
Disconnect trailer wiring connector from the vehicle
before launching a boat (or any other device plugged
into vehicle’s electrical connect) into water.
• Be sure to reconnect after clear from water area.
Four-Pin Connector
1 — Female Pins 4 — Park
2 — Male Pin 5 — Left Stop/Turn
3 — Ground 6 — Right Stop/Turn
188 STARTING AND OPERATING
Page 200 of 347
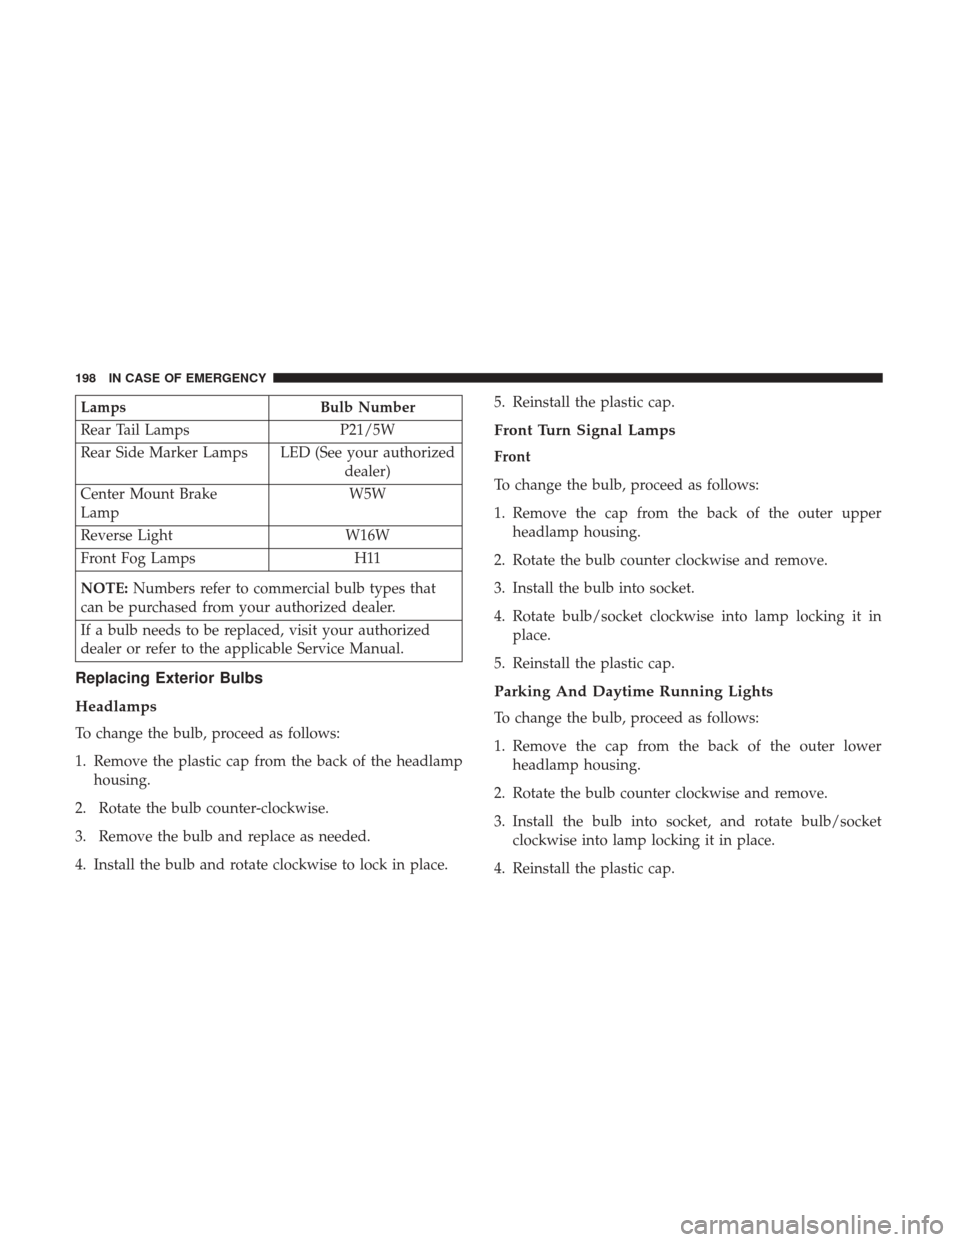
LampsBulb Number
Rear Tail Lamps P21/5W
Rear Side Marker Lamps LED (See your authorized dealer)
Center Mount Brake
Lamp W5W
Reverse Light W16W
Front Fog Lamps H11
NOTE: Numbers refer to commercial bulb types that
can be purchased from your authorized dealer.
If a bulb needs to be replaced, visit your authorized
dealer or refer to the applicable Service Manual.
Replacing Exterior Bulbs
Headlamps
To change the bulb, proceed as follows:
1. Remove the plastic cap from the back of the headlamp housing.
2. Rotate the bulb counter-clockwise.
3. Remove the bulb and replace as needed.
4. Install the bulb and rotate clockwise to lock in place. 5. Reinstall the plastic cap.
Front Turn Signal Lamps
Front
To change the bulb, proceed as follows:
1. Remove the cap from the back of the outer upper
headlamp housing.
2. Rotate the bulb counter clockwise and remove.
3. Install the bulb into socket.
4. Rotate bulb/socket clockwise into lamp locking it in place.
5. Reinstall the plastic cap.
Parking And Daytime Running Lights
To change the bulb, proceed as follows:
1. Remove the cap from the back of the outer lower headlamp housing.
2. Rotate the bulb counter clockwise and remove.
3. Install the bulb into socket, and rotate bulb/socket clockwise into lamp locking it in place.
4. Reinstall the plastic cap.
198 IN CASE OF EMERGENCY
Page 201 of 347
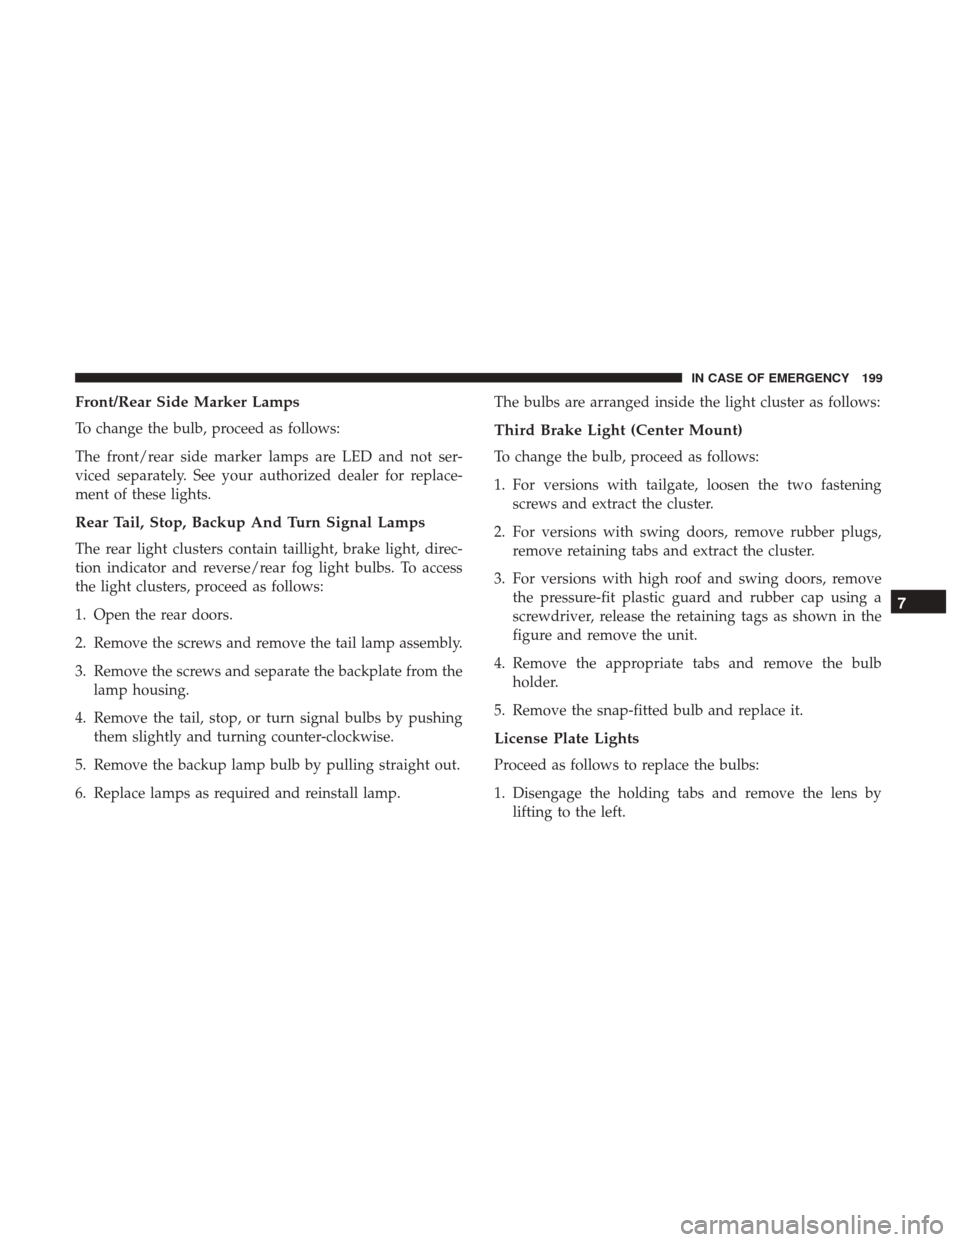
Front/Rear Side Marker Lamps
To change the bulb, proceed as follows:
The front/rear side marker lamps are LED and not ser-
viced separately. See your authorized dealer for replace-
ment of these lights.
Rear Tail, Stop, Backup And Turn Signal Lamps
The rear light clusters contain taillight, brake light, direc-
tion indicator and reverse/rear fog light bulbs. To access
the light clusters, proceed as follows:
1. Open the rear doors.
2. Remove the screws and remove the tail lamp assembly.
3. Remove the screws and separate the backplate from thelamp housing.
4. Remove the tail, stop, or turn signal bulbs by pushing them slightly and turning counter-clockwise.
5. Remove the backup lamp bulb by pulling straight out.
6. Replace lamps as required and reinstall lamp. The bulbs are arranged inside the light cluster as follows:
Third Brake Light (Center Mount)
To change the bulb, proceed as follows:
1. For versions with tailgate, loosen the two fastening
screws and extract the cluster.
2. For versions with swing doors, remove rubber plugs, remove retaining tabs and extract the cluster.
3. For versions with high roof and swing doors, remove the pressure-fit plastic guard and rubber cap using a
screwdriver, release the retaining tags as shown in the
figure and remove the unit.
4. Remove the appropriate tabs and remove the bulb holder.
5. Remove the snap-fitted bulb and replace it.
License Plate Lights
Proceed as follows to replace the bulbs:
1. Disengage the holding tabs and remove the lens by lifting to the left.
7
IN CASE OF EMERGENCY 199
Page 239 of 347
SCHEDULED SERVICING
Your vehicle is equipped with an automatic oil change
indicator system. The oil change indicator system will
remind you that it is time to take your vehicle in for
scheduled maintenance.
Based on engine operation conditions, the oil change
indicator message will illuminate. This means that service
is required for your vehicle. Operating conditions such as
frequent short-trips, trailer tow, extended engine idle time,
extremely hot or cold ambient temperatures will influence
when the “Oil Change Required” message is displayed.
Severe Operating Conditions can cause the change oil
message to illuminate as early as 3,500 miles (5,600 km)
since last reset. Have your vehicle serviced as soon as
possible, within the next 500 miles (805 km).
Your authorized dealer will reset the oil change indicator
message after completing the scheduled oil change. If a
scheduled oil change is performed by someone other than
your authorized dealer, the message can be reset by
referring to the steps described under “Oil Change Reset”
in “Instrument Cluster Display” in “Getting To Know Your
Instrument Panel” for further information.NOTE:
Under no circumstances should oil change inter-
vals exceed 10,000 miles (16,000 km), 350 hours of engine
run time or twelve months, whichever comes first. The 350
hours of engine run or idle time is generally only a concern
for fleet customers.
Severe Duty All Models
Change Engine Oil at 4,000 miles (6,500 km) or 350 hours of
engine run time if the vehicle is operated in a dusty and off
road environment or is operated predominantly at idle, or
only very low engine RPM’s. This type of vehicle use is
considered Severe Duty.
Once A Month Or Before A Long Trip:
• Check engine oil level.
• Check windshield washer fluid level.
• Check tire pressure and look for unusual wear or
damage. Rotate tires at the first sign of irregular wear,
even if it occurs before the oil indicator system turns on.
• Check the fluid levels of the coolant reservoir and brake
master cylinder, fill as needed.
• Check function of all interior and exterior lights.
8
SERVICING AND MAINTENANCE 237
Page 336 of 347
Manual................................49
Cold Weather Operation ..................... .155
Compact Disc (CD) Maintenance ................323
Compact Spare Tire ........................ .279
Contract, Service .......................... .328
Coolant Pressure Cap (Radiator Cap) .............253
Cooling System ........................... .250
Adding Coolant (Antifreeze) .................252
Coolant Capacity ........................ .296
Coolant Level .......................... .254
Disposal Of Used Coolant ..................254
Drain, Flush, And Refill ....................251
Inspection ......................... .251, 254
Points To Remember ..................... .254
Pressure Cap ........................... .253
Radiator Cap .......................... .253
Selection Of Coolant (Antifreeze) .......251, 296, 297
Corrosion Protection ....................... .285
Cruise Light ...............................92
Cupholders ...............................65
Customer Assistance ....................... .326
Customer Programmable Features ...............301
Daytime Running Lights ......................42
Dealer Service ............................ .244Defroster, Windshield
....................... .149
Diagnostic System, Onboard ....................92
Dipsticks Oil (Engine) ........................... .242
Power Steering ......................... .169
Disabled Vehicle Towing .....................233
Disposal Antifreeze (Engine Coolant) .................254
Door Ajar .................................85
Door Ajar Light ............................85
Door Locks ................................23
Doors ....................................23
Driver’s Seat Back Tilt ........................29
Driving Through Flowing, Rising, Or Shallow Standing
Water ................................ .192
Electrical Outlet, Auxiliary (Power Outlet) ..........
65
Electric Remote Mirrors .......................40
Electronic Brake Control System .................97
Electronic Range Select (ERS)..................167
Electronic Speed Control (Cruise Control) .........170
Electronic Stability Control (ESC) ................99
Electronic Throttle Control Warning Light ..........85
334 INDEX
Page 337 of 347
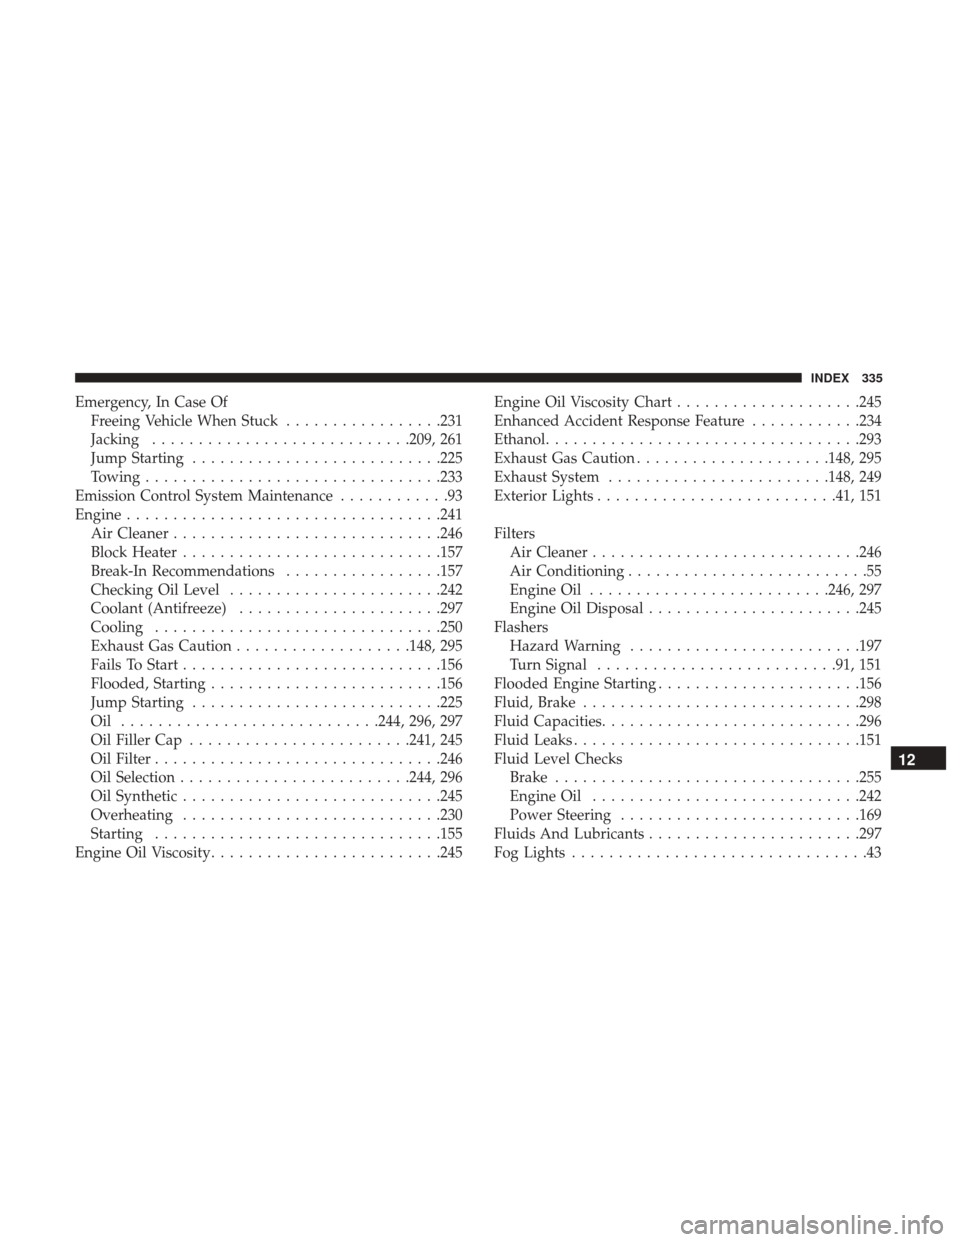
Emergency, In Case OfFreeing Vehicle When Stuck .................231
Jacking ........................... .209, 261
Jump Starting .......................... .225
Towing ............................... .233
Emission Control System Maintenance ............93
Engine ................................. .241
Air Cleaner ............................ .246
Block Heater ........................... .157
Break-In Recommendations .................157
Checking Oil Level ...................... .242
Coolant (Antifreeze) ..................... .297
Cooling .............................. .250
Exhaust Gas Caution ...................148, 295
Fails To Start ........................... .156
Flooded, Starting ........................ .156
Jump Starting .......................... .225
Oil ........................... .244, 296, 297
Oil Filler Cap ....................... .241, 245
Oil Filter .............................. .246
Oil Selection ........................ .244, 296
Oil Synthetic ........................... .245
Overheating ........................... .230
Starting .............................. .155
Engine Oil Viscosity ........................ .245Engine Oil Viscosity Chart
....................245
Enhanced Accident Response Feature ............234
Ethanol ................................. .293
Exhaust Gas Caution .....................148, 295
Exhaust System ....................... .148, 249
Exterior Lights ......................... .41, 151
Filters Air Cleaner ............................ .246
Air Conditioning ..........................55
Engine Oil ......................... .246, 297
Engine Oil Disposal ...................... .245
Flashers Hazar
d Warning ........................ .197
Turn Signal ......................... .91, 151
Flooded Engine Starting ..................... .156
Fluid, Brake ............................. .298
Fluid Capacities ........................... .296
Fluid Leaks .............................. .151
Fluid Level Checks Brake ................................ .255
Engine Oil ............................ .242
Power Steering ......................... .169
Fluids And Lubricants ...................... .297
Fog Lights ................................43
12
INDEX 335
Page 339 of 347
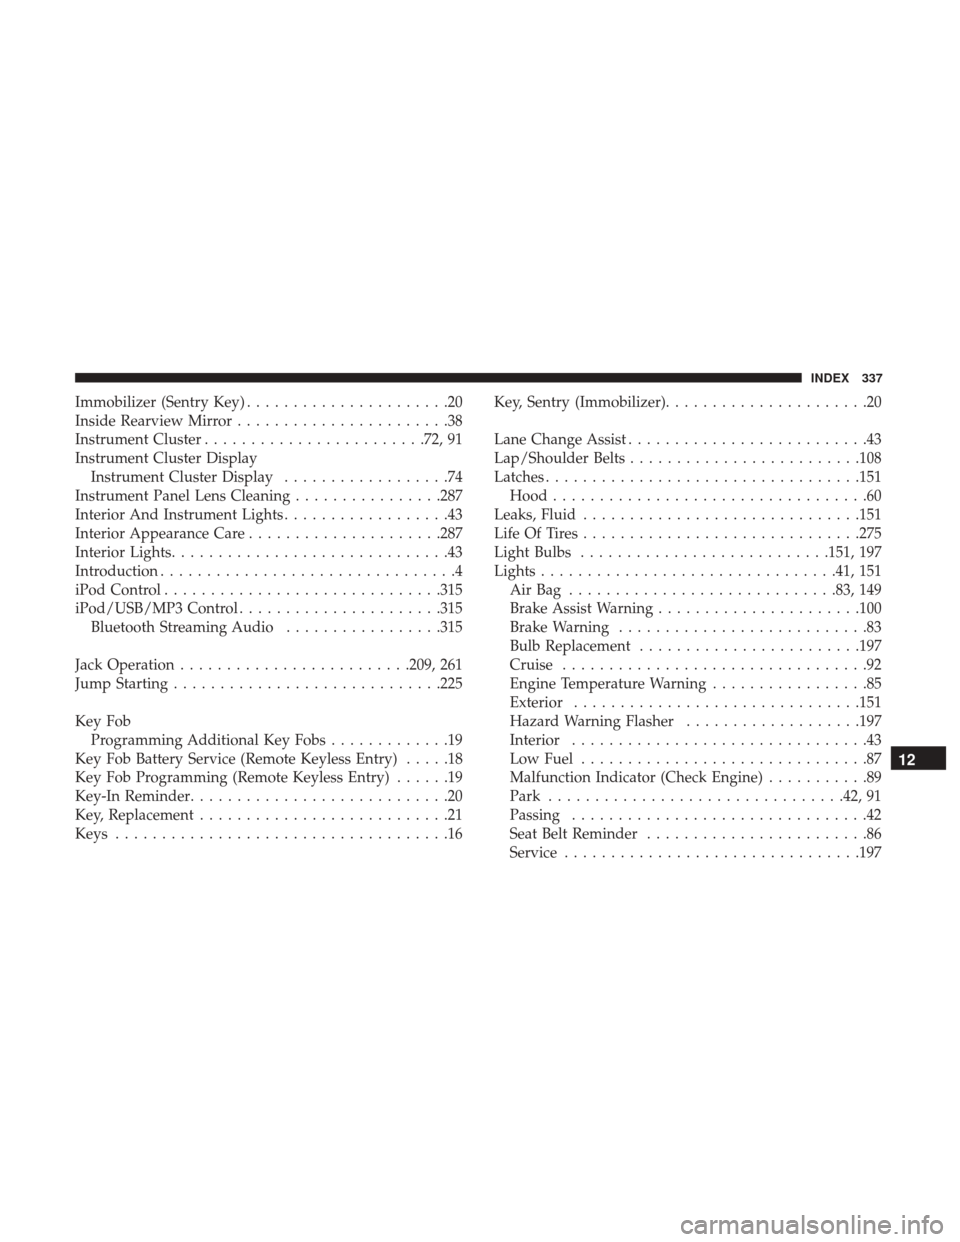
Immobilizer (Sentry Key)......................20
Inside Rearview Mirror .......................38
Instrument Cluster ....................... .72, 91
Instrument Cluster Display Instrument Cluster Display ..................74
Instrument Panel Lens Cleaning ................287
Interior And Instrument Lights ..................43
Interior Appearance Care .....................287
Interior Lights ..............................43
Introduction ................................4
iPod Control ............................. .315
iPod/USB/MP3 Control ..................... .315
Bluetooth Streaming Audio .................315
Jack Operation ........................ .209, 261
Jump Starting ............................ .225
Key Fob Programming Additional Key Fobs .............19
Key Fob Battery Service (Remote Keyless Entry) .....18
Key Fob Programming (Remote Keyless Entry) ......19
Key-In Reminder ............................20
Key, Replacement ...........................21
Keys ....................................16 Key, Sentry (Immobilizer)
......................20
Lane Change Assist ..........................43
Lap/Shoulder Belts ........................ .108
Latches ................................. .151
Hood ..................................60
Leaks, Fluid ............................. .151
Life Of Tires ............................. .275
Light Bulbs .......................... .151, 197
Lights ............................... .41, 151
AirBag ............................ .83, 149
Brake Assist Warning ..................... .100
Brake Warning ...........................83
Bulb Replacement ....................... .197
Cruise .................................92
Engine Temperature Warning .................85
Exterior .............................. .151
Hazard Warning Flasher ...................197
Interior ................................43
Low Fuel ...............................87
Malfunction Indicator (Check Engine) ...........89
Park ............................... .42,
91
Passing ................................42
Seat Belt Reminder ........................86
Service ............................... .197
12
INDEX 337