clock reset Ram ProMaster City 2018 User Guide
[x] Cancel search | Manufacturer: RAM, Model Year: 2018, Model line: ProMaster City, Model: Ram ProMaster City 2018Pages: 180, PDF Size: 7.52 MB
Page 146 of 180

Clock Setting
1. To start the clock setting procedure, pushthe SETTINGS
button on the right
side of the display, then “Clock” button
on the touchscreen, and then “Set Time &
Format” button on the touchscreen. Se-
lect the up or down arrows as appropriate.
2. Press the up or down arrows to adjust the hours or minutes, next select the AM or
PM button on the touchscreen. You can
also select 12hr or 24hr format by press-
ing the desired button on the
touchscreen.
3. Once the time is set, press the “Done” or “back arrow” button on the touchscreen
to exit the time screen.
NOTE:
Once the time has been set on the radio, the
time will also appear in the instrument clus-
ter display.
Equalizer, Balance And Fade
1. Push the SETTINGSbutton on the
right side of the display.
2. Scroll down and press the “Audio” button on the touchscreen to open the Audio
menu.
3. The Audio Menu shows the following op- tions for you to customize your audio
settings.
Equalizer — If Equipped
• Press the “Equalizer” button on the touch- screen to adjust the Bass, Mid and Treble.
Use the “+” or “-” buttons on the touch-
screen to adjust the equalizer to your de-
sired settings.
Balance/Fade — If Equipped
• Press the “Balance/Fade” button on the touchscreen to adjust the sound from the
speakers. Use the “arrow” buttons on the
touchscreen to adjust the sound level from
the front and rear or right and left side
speakers. Press the Center “C” button on
the touchscreen to reset the balance and
fade to the factory setting. Speed Adjusted Volume — If Equipped
• Press the “Speed Adjusted Volume” button
on the touchscreen to select between OFF,
1, 2 or 3. This decreases the radio volume
relative to a decrease in vehicle speed.
AUX Volume Offset
• Press the “AUX Volume Offset” button on the touchscreen to activate the AUX Vol-
ume Offset screen.
• The AUX Volume Offset is adjusted by pressing of the “+” and “–” buttons. This
alters the AUX input audio volume. The
level value, which spans between plus or
minus three, is displayed above the adjust-
ment bar.
Auto Play
• Press the “Auto Play” button on the touch- screen to activate the Auto Play screen.
• The Auto Play feature begins playing music as soon as a USB Media device is con-
nected to one of the vehicle’s Media USB
ports, when it is turned on. Press “Off” to
turn the setting off.
MULTIMEDIA
144
Page 151 of 180

Depending on the vehicles options, the following feature settings are available:
• Language• Doors & Locks
• Display • Engine Options
• Units (If Equipped) • Audio
• Voice • Phone (If Equipped)
• Clock • SiriusXM Setup (If Equipped)
• Brakes • Radio Setup
• Safety & Driving Assistance (If Equipped) • Restore Settings
• Lights • Clear Personal Data
Refer to “Uconnect Settings” in “Multime-
dia” in your Owner’s Manual on
www.mopar.com/en-us/care/owners-manual.html
(U.S. Residents) or www.owners.mopar.ca
(Canadian Residents) for further information.
STEERING WHEEL AUDIO CONTROLS
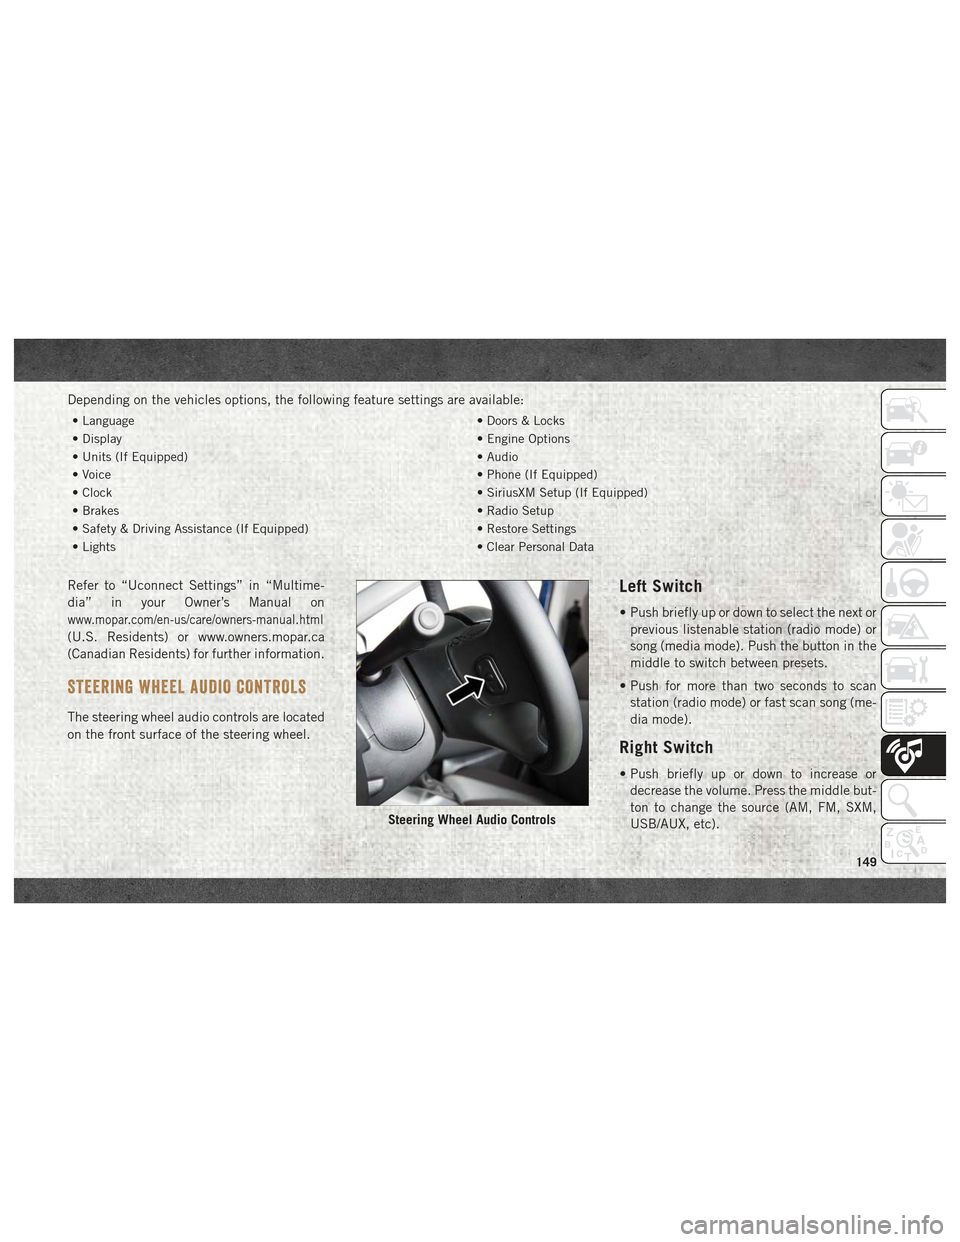
The steering wheel audio controls are located
on the front surface of the steering wheel.
Left Switch
• Push briefly up or down to select the next or
previous listenable station (radio mode) or
song (media mode). Push the button in the
middle to switch between presets.
• Push for more than two seconds to scan station (radio mode) or fast scan song (me-
dia mode).
Right Switch
• Push briefly up or down to increase ordecrease the volume. Press the middle but-
ton to change the source (AM, FM, SXM,
USB/AUX, etc).
Steering Wheel Audio Controls
149