RENAULT FLUENCE 2017 1.G R Link Manual PDF
Manufacturer: RENAULT, Model Year: 2017, Model line: FLUENCE, Model: RENAULT FLUENCE 2017 1.GPages: 96, PDF Size: 4.02 MB
Page 71 of 96
GB.69
DURING A CALL
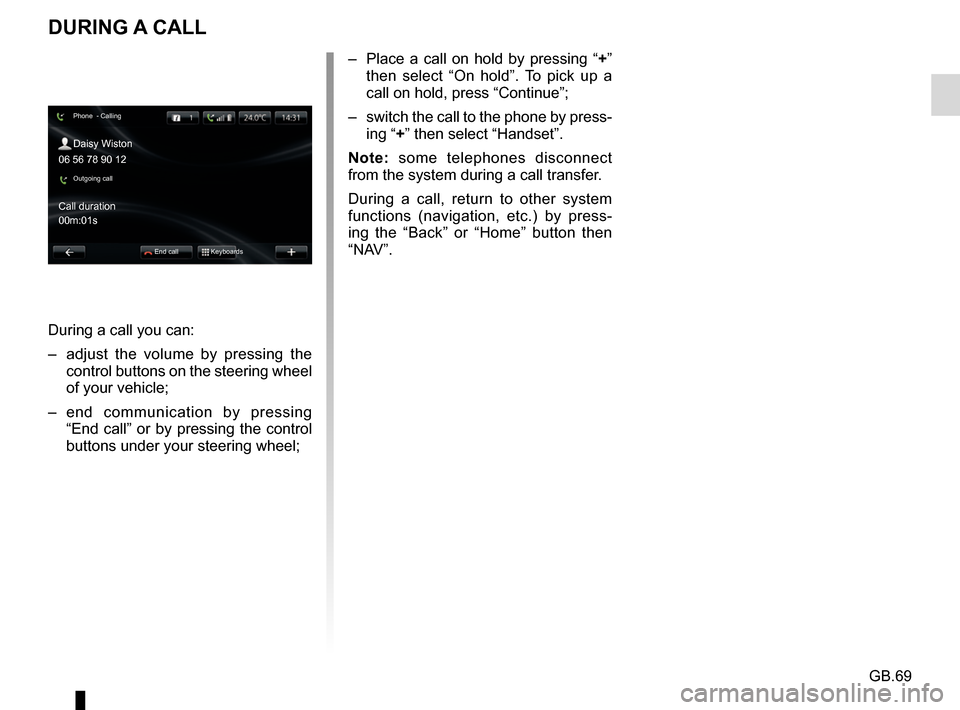
During a call you can:
– adjust the volume by pressing the control buttons on the steering wheel
of your vehicle;
– end communication by pressing “End call” or by pressing the control
buttons under your steering wheel; – Place a call on hold by pressing “
+”
then select “On hold”. To pick up a
call on hold, press “Continue”;
– switch the call to the phone by press- ing “+” then select “Handset”.
Note: some telephones disconnect
from the system during a call transfer.
During a call, return to other system
functions (navigation, etc.) by press-
ing the “Back” or “Home” button then
“NAV”.
Phone - Calling
Daisy Wiston
Call duration
Outgoing call
End call Keyboards
06 56 78 90 12
00m:01s
Page 72 of 96
GB.70
Accessing
telephone settings
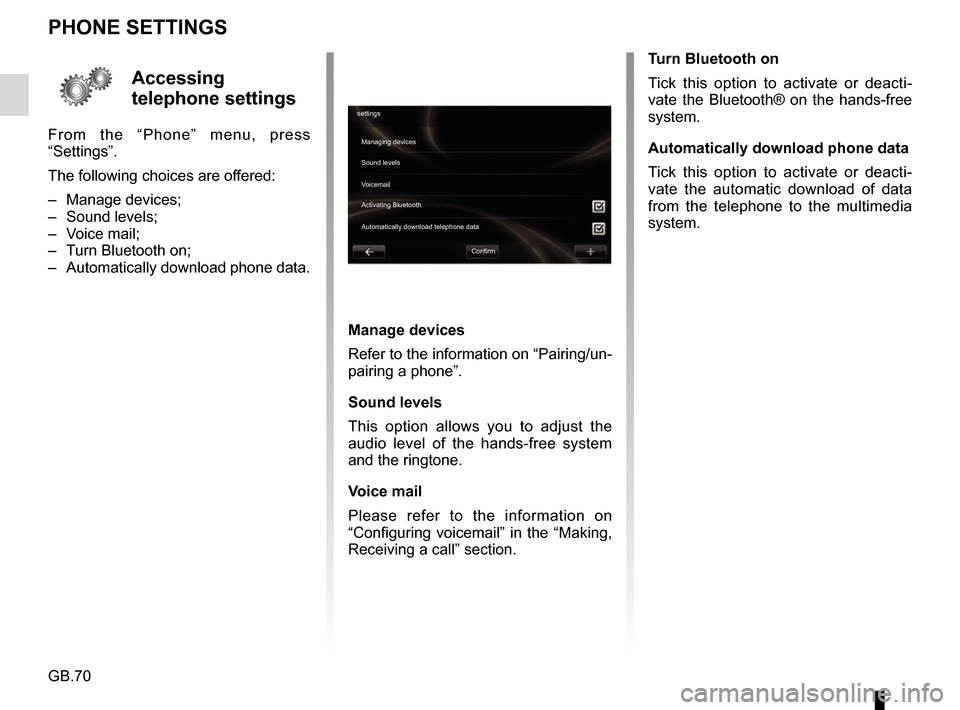
From the “Phone” menu, press
“Settings”.
The following choices are offered:
– Manage devices;
– Sound levels;
– Voice mail;
– Turn Bluetooth on;
– Automatically download phone data.
PHONE SETTINGS
Turn Bluetooth on
Tick this option to activate or deacti-
vate the Bluetooth® on the hands-free
system.
Automatically download phone data
Tick this option to activate or deacti-
vate the automatic download of data
from the telephone to the multimedia
system.
settingsManaging devices
Voicemail Sound levels
Activating Bluetooth
Automatically download telephone data
Confirm
Manage devices
Refer to the information on “Pairing/un-
pairing a phone”.
Sound levels
This option allows you to adjust the
audio level of the hands-free system
and the ringtone.
Voice mail
Please refer to the information on
“Configuring voicemail” in the “Making,
Receiving a call” section.
Page 73 of 96
GB.71
DRIVING ECO²
Eco-coaching
This menu monitors your driving style,
and provides you with advice to best
reduce your fuel consumption, as nec-
essary.
To access this menu, press “Eco-
coaching” and carefully read the
advice, scroll through the pages by
pressing the scroll arrows.Access the Driving
Eco² menu
From the main menu, press “Vehicle”,
then “Driving Eco²”.
The “Driving Eco²” menu grants
access to the following information:
– Trip report;
– My prefered trips;
– Eco-coaching.
Trip report
This menu shows you the data saved
from your last journey:
– average fuel consumption;
– average speed;
– total consumption;
– recovered energy or mileage com- pleted;
– average environmental driving per- formance;
– braking anticipation;
– ability to manage vehicle speed. To save your data, press “Save”, then
select the type of journey taken from
the following list:
– “Home-work”;
– “Holidays”;
– “Weekends”;
– “Ride”;
– “Personal”.
To reset your data, press “Reset”. A
message will ask you to confirm the
data reset. Press “Yes” to confirm or
“No” to cancel.
My prefered trips
Once you have saved a specific journey
(see information on “Journey record”),
this menu will show you the changes in
your driving style from amongst the fol-
lowing categories:
– “Last journey”;
– “Home-work”;
– “Weekends”;
– “Ride”;
– “Personal”.
Page 74 of 96
GB.72
PARKING DISTANCE CONTROL, REVERSING CAMERA (1/2)
Parking aidsDone
Front parking distance control
Side parking distance control Rear park assist
Easy park assist
12
Rear camera view settings
Image settings
Static guidelines
Dynamic guidelines
Done
Volume
Parking aids
Activation/deactivation
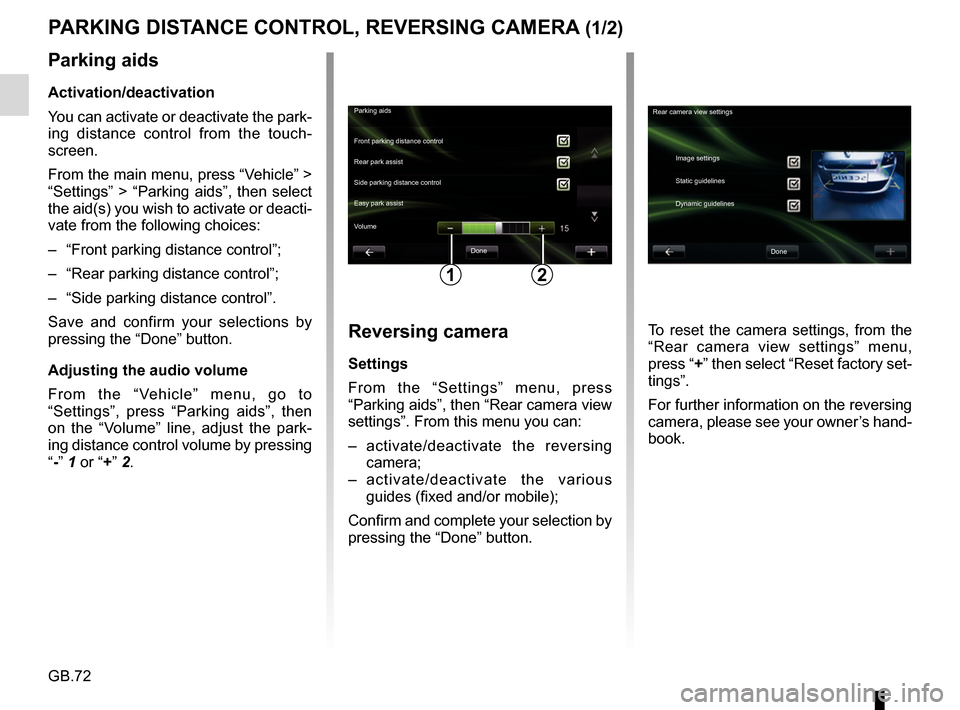
You can activate or deactivate the park-
ing distance control from the touch-
screen.
From the main menu, press “Vehicle” >
“Settings” > “Parking aids”, then select
the aid(s) you wish to activate or deacti-
vate from the following choices:
– “Front parking distance control”;
– “Rear parking distance control”;
– “Side parking distance control”.
Save and confirm your selections by
pressing the “Done” button.
Adjusting the audio volume
From the “Vehicle” menu, go to
“Settings”, press “Parking aids”, then
on the “Volume” line, adjust the park-
ing distance control volume by pressing
“-” 1 or “+” 2.
Reversing camera
Settings
From the “Settings” menu, press
“Parking aids”, then “Rear camera view
settings”. From this menu you can:
– activate/deactivate the reversing
camera;
– activate/deactivate the various guides (fixed and/or mobile);
Confirm and complete your selection by
pressing the “Done” button. To reset the camera settings, from the
“Rear camera view settings” menu,
press “+” then select “Reset factory set-
tings”.
For further information on the reversing
camera, please see your owner’s hand-
book.
Page 75 of 96
GB.73
PARKING DISTANCE CONTROL, REVERSING CAMERA (2/2)
Display settings
From the “Vehicle” menu, go to
“Settings”, press “Image settings”, then
adjust the following settings:
– brightness;
– saturation;
– contrast.
Confirm your choice by selecting “Done
”.
To reset the video settings, from the
“Image settings” menu, press “+” then
select “Reset factory settings”.
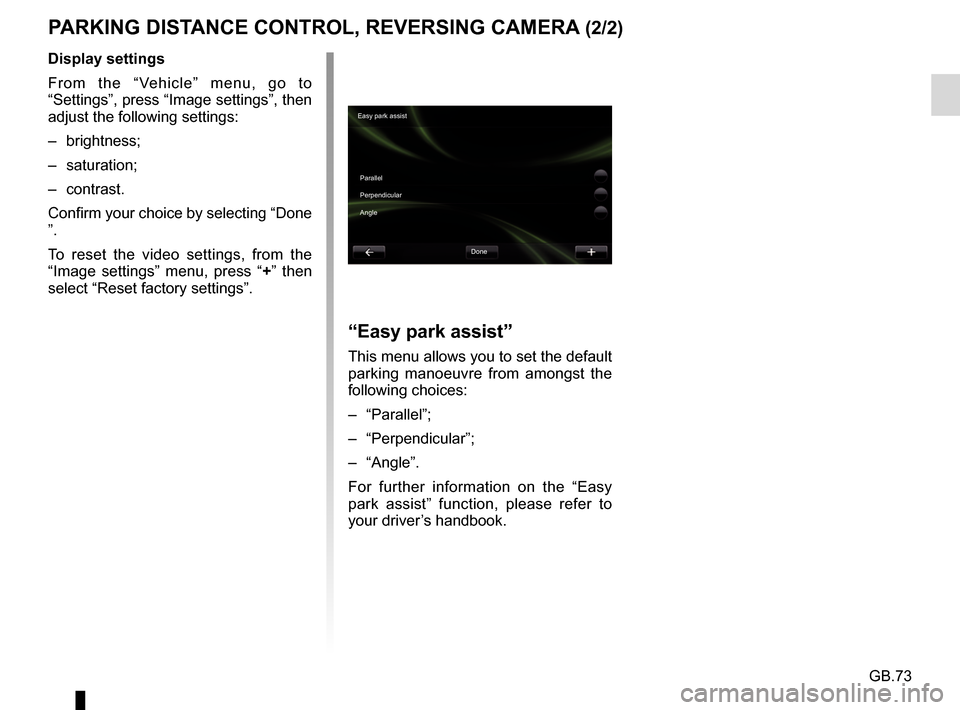
“Easy park assist”
This menu allows you to set the default
parking manoeuvre from amongst the
following choices:
– “Parallel”;
– “Perpendicular”;
– “Angle”.
For further information on the “Easy
park assist” function, please refer to
your driver’s handbook.
Easy park assist
Parallel
Perpendicular
Angle Done
Page 76 of 96
GB.74
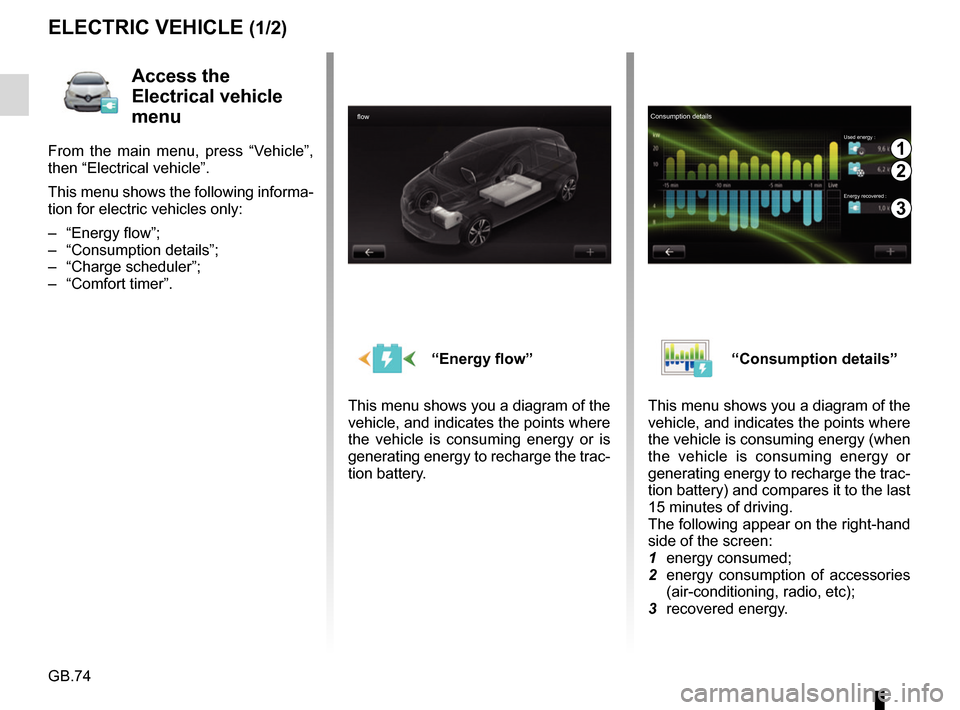
“Energy flow”
This menu shows you a diagram of the
vehicle, and indicates the points where
the vehicle is consuming energy or is
generating energy to recharge the trac-
tion battery.“Consumption details”
This menu shows you a diagram of the
vehicle, and indicates the points where
the vehicle is consuming energy (when
the vehicle is consuming energy or
generating energy to recharge the trac-
tion battery) and compares it to the last
15 minutes of driving.
The following appear on the right-hand
side of the screen:
1 energy consumed;
2 energy consumption of accessories (air-conditioning, radio, etc);
3 recovered energy.
ELECTRIC VEHICLE (1/2)
Access the
Electrical vehicle
menu
From the main menu, press “Vehicle”,
then “Electrical vehicle”.
This menu shows the following informa-
tion for electric vehicles only:
– “Energy flow”;
– “Consumption details”;
– “Charge scheduler”;
– “Comfort timer”.
flowConsumption details
Used energy :
Energy recovered :1
2
3
Page 77 of 96
GB.75
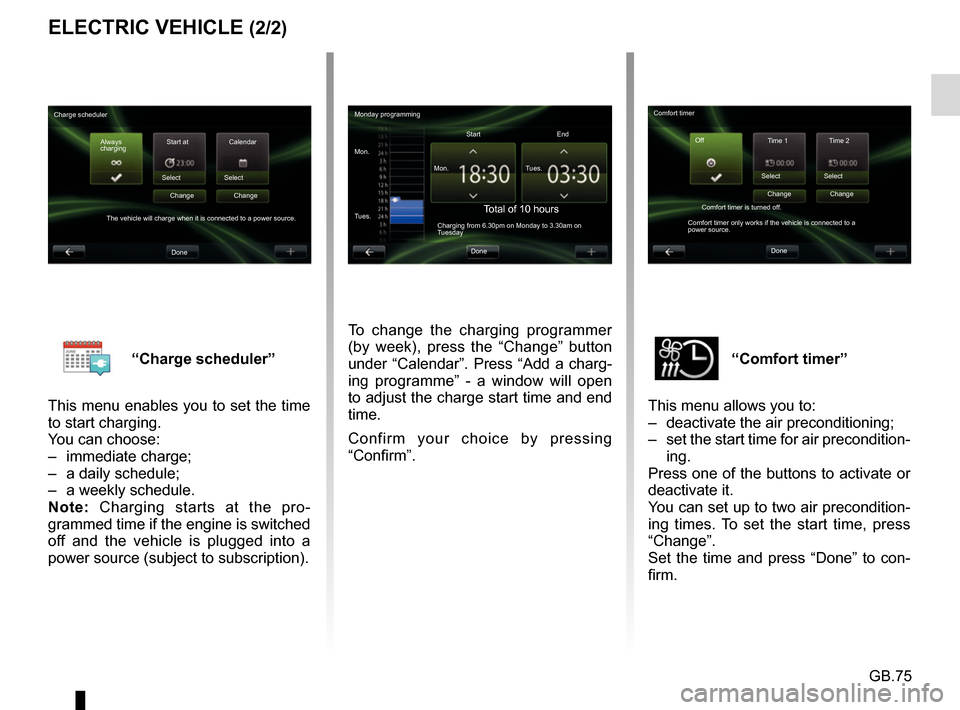
“Comfort timer”
This menu allows you to:
– deactivate the air preconditioning;
– set the start time for air precondition- ing.
Press one of the buttons to activate or
deactivate it.
You can set up to two air precondition-
ing times. To set the start time, press
“Change”.
Set the time and press “Done” to con-
firm.“Charge scheduler”
This menu enables you to set the time
to start charging.
You can choose:
– immediate charge;
– a daily schedule;
– a weekly schedule.
Note: Charging starts at the pro-
grammed time if the engine is switched
off and the vehicle is plugged into a
power source (subject to subscription).
ELECTRIC VEHICLE (2/2)
To change the charging programmer
(by week), press the “Change” button
under “Calendar”. Press “Add a charg-
ing programme” - a window will open
to adjust the charge start time and end
time.
Confirm your choice by pressing
“Confirm”.
Monday programming
Mon. Mon.Start
Total of 10 hoursCharging from 6.30pm on Monday to 3.30am on
Tuesday
Tues. Tues.
End
Done
Charge scheduler Always
charging Start at
Select
The vehicle will charge when it is connected to a power source. Change
Done Calendar
Select Change Comfort timer
Time 1 Time 2
Select
Comfort timer is turned off.
Comfort timer only works if the vehicle is connected to a
power source. Change
Done Select
Change
Off
Page 78 of 96
GB.76
Access the TAKE
CARE menu
You may have a fragrance diffuser, an
air ioniser and a system checking the
quality of the exterior air.
TAKE CARE (1/2)
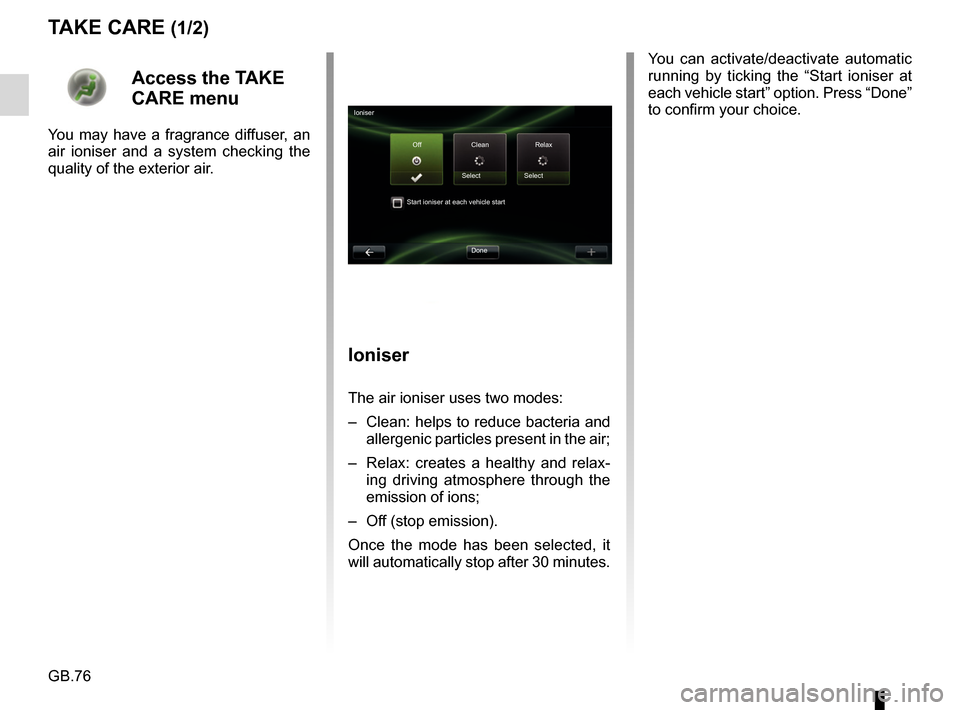
Ioniser
The air ioniser uses two modes:
– Clean: helps to reduce bacteria and allergenic particles present in the air;
– Relax: creates a healthy and relax- ing driving atmosphere through the
emission of ions;
– Off (stop emission).
Once the mode has been selected, it
will automatically stop after 30 minutes.
Ioniser
Off Clean Select
Start ioniser at each vehicle start
Done Relax
Select
You can activate/deactivate automatic
running by ticking the “Start ioniser at
each vehicle start” option. Press “Done”
to confirm your choice.
Page 79 of 96
GB.77
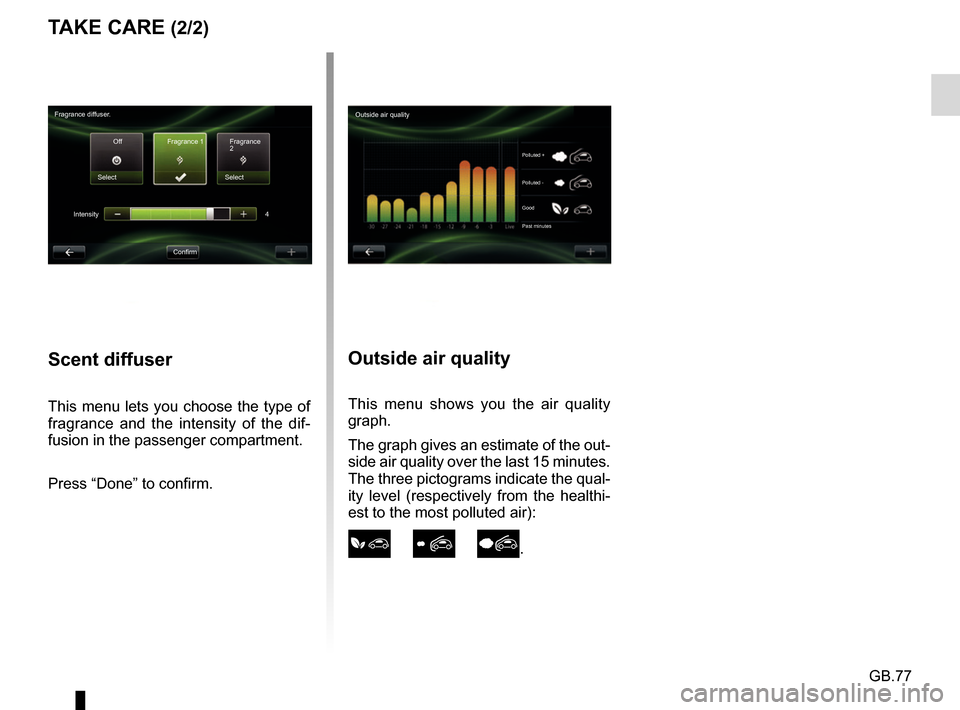
Outside air quality
This menu shows you the air quality
graph.
The graph gives an estimate of the out-
side air quality over the last 15 minutes.
The three pictograms indicate the qual-
ity level (respectively from the healthi-
est to the most polluted air):
.
TAKE CARE (2/2)
Fragrance diffuser.Off Fragrance 1
Select
Intensity
ConfirmFragrance
2
Select
4
Scent diffuser
This menu lets you choose the type of
fragrance and the intensity of the dif-
fusion in the passenger compartment.
Press “Done” to confirm.
Outside air quality
Polluted +
Polluted -
Good
Past minutes
Page 80 of 96
GB.78
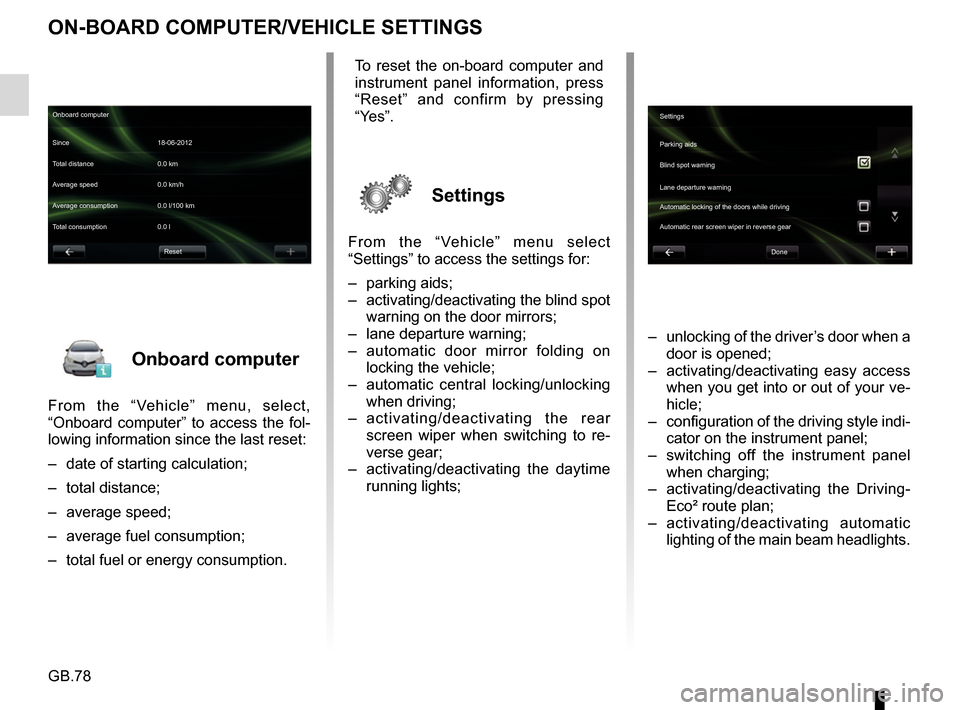
Onboard computer
From the “Vehicle” menu, select,
“Onboard computer” to access the fol-
lowing information since the last reset:
– date of starting calculation;
– total distance;
– average speed;
– average fuel consumption;
– total fuel or energy consumption.
ON-BOARD COMPUTER/VEHICLE SETTINGS
– unlocking of the driver’s door when a door is opened;
– activating/deactivating easy access when you get into or out of your ve-
hicle;
– configuration of the driving style indi- cator on the instrument panel;
– switching off the instrument panel when charging;
– activating/deactivating the Driving- Eco² route plan;
– activating/deactivating automatic lighting of the main beam headlights.
Onboard computer
Since 18-06-2012
Average speed 0.0 km/h Total distance 0.0 km
Average consumption 0.0 l/100 km
Total consumption 0.0 l
Reset
To reset the on-board computer and
instrument panel information, press
“Reset” and confirm by pressing
“Yes”.
Settings
From the “Vehicle” menu select
“Settings” to access the settings for:
– parking aids;
– activating/deactivating the blind spot warning on the door mirrors;
– lane departure warning;
– automatic door mirror folding on locking the vehicle;
– automatic central locking/unlocking when driving;
– activating/deactivating the rear
screen wiper when switching to re-
verse gear;
– activating/deactivating the daytime running lights;
Settings
Parking aids
Blind spot warning
Lane departure warning
Automatic locking of the doors while driving
Done
Automatic rear screen wiper in reverse gear