check engine RENAULT FLUENCE Z.E. 2012 User Guide
[x] Cancel search | Manufacturer: RENAULT, Model Year: 2012, Model line: FLUENCE Z.E., Model: RENAULT FLUENCE Z.E. 2012Pages: 195, PDF Size: 5.23 MB
Page 114 of 195

air conditioning ..................................... (up to the end of the DU)
heating and air conditioning system ...................... (current page)
air conditioning ..................................... (up to the end of the DU)
3.11
ENG_UD20950_2
Air conditionné : informations et conseils d’utilisation (L38 - X\
38 - Renault)
ENG_NU_914-4_L38e_Renault_3
Air conditioning: information and advice on use.
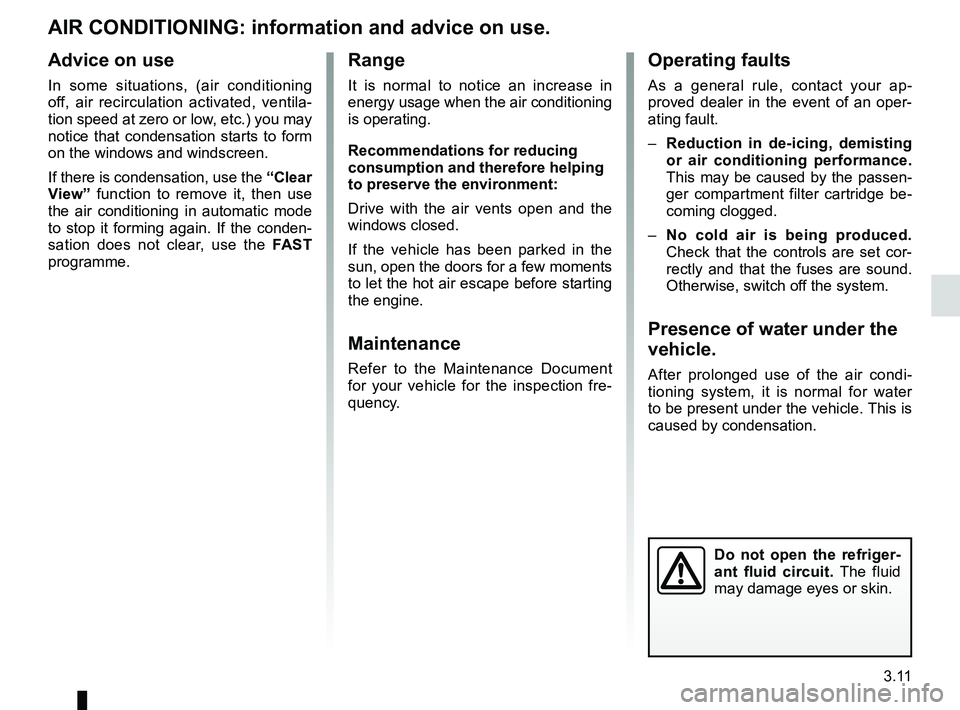
AIR coNDITIoNINg: information and advice on use.
Do not open the refriger -
ant fluid circuit. The fluid
may damage eyes or skin.
Advice on use
In some situations, (air conditioning
off, air recirculation activated, ventila -
tion speed at zero or low, etc.) you may
notice that condensation starts to form
on the windows and windscreen.
If there is condensation, use the “clear
View” function to remove it, then use
the air conditioning in automatic mode
to stop it forming again. If the conden -
sation does not clear, use the FAST
programme.
Range
It is normal to notice an increase in
energy usage when the air conditioning
is operating.
Recommendations for reducing
consumption and therefore helping
to preserve the environment:
Drive with the air vents open and the
windows closed.
If the vehicle has been parked in the
sun, open the doors for a few moments
to let the hot air escape before starting
the engine.
maintenance
Refer to the Maintenance Document
for your vehicle for the inspection fre -
quency.
operating faults
As a general rule, contact your ap -
proved dealer in the event of an oper-
ating fault.
– Reduction in de-icing, demisting
or air conditioning performance.
This may be caused by the passen-
ger compartment filter cartridge be -
coming clogged.
– No cold air is being produced.
Check that the controls are set cor-
rectly and that the fuses are sound.
Otherwise, switch off the system.
Presence of water under the
vehicle.
After prolonged use of the air condi -
tioning system, it is normal for water
to be present under the vehicle. This is
caused by condensation.
Page 127 of 195

bonnet................................................... (up to the end of the DU)
maintenance: mechanical ...................................... (up to the end of the DU)
4.2
ENG_UD20065_2
Capot moteur (L38 - X38 - Renault)
ENG_NU_914-4_L38e_Renault_4
Jaune NoirNoir texte
Bonnet
Opening the bonnet
Lift the bonnet, release stay 4 from its
holder 5 . For your safety, always fix it
in location 3 on the bonnet.
BOnnet (1/2)
1
2
The engine may be hot
when carrying out opera -
tions in close proximity. In
addition, the engine cooling
fan can come on at any moment.
Risk of injury.In the event of even a slight
impact involving the radia -
tor grille or bonnet, have the
bonnet lock checked by an
authorised dealer as soon as pos -
sible.
3
4
5
Do not do any work under
the bonnet when the vehicle
is charging or when the igni -
tion is switched on.
Unlocking the bonnet catch
To release it, lift tab 2.
To open, pull handle
1 , located on the
left-hand side of the dashboard.
Page 128 of 195

JauneNoirNoir texte
4.3
ENG_UD20065_2
Capot moteur (L38 - X38 - Renault)
ENG_NU_914-4_L38e_Renault_4
BOnnet (2/2)
Closing the bonnet
Check that nothing has been left in the
engine compartment.
To close the bonnet, replace stay 4
back into its holder 5, hold the bonnet in
the middle and lower it to 30cm above
the closed position, then release it. It
will latch automatically under its own
weight.
After carrying out any work
in the engine compart -
ment, check that nothing
has been left behind (cloth,
tools, etc.).
Otherwise, this may lead to engine
damage.
Ensure that the bonnet is
properly locked.
Ensure that nothing is pre -
venting locking (grit, cloths,
etc.).
Page 129 of 195

coolant ................................................................... (current page)
levels: coolant ............................................................. (current page)
tanks and reservoirs coolant ............................................................. (current page)
4.4
ENG_UD23025_2
Niveaux (L38 électrique - Renault)
ENG_NU_914-4_L38e_Renault_4
Jaune NoirNoir texte
Replacement intervals
Refer to the Maintenance Document for
your vehicle.
Levels
coolant
LeveLs (1/2)
CoolantThe level is checked with the engine
switched off and on flat ground. The
level when cold must be between the
“MIN” and “MAX” marks on coolant res-
ervoirs 1 and 2.
Top this level up when cold before the
“MINIMUM” mark is reached. Checking intervals
Check the coolant level regularly
(very severe damage is likely to be
caused to the engine if it runs out of
coolant).
If the level needs to be topped up, only
use products approved by our Technical
Department which ensure:
–
protection against freezing;
– anticorrosion protection of the cool -
ing system.
No operations should be
carried out on the cooling
circuit when the engine is
hot.
Risk of burns.
Consult your approved dealer at
once if you notice an abnormal or
repeated drop in any of the fluid
levels.
12
Do not do any work under
the bonnet when the vehicle
is charging or when the igni -
tion is switched on.
Page 130 of 195

brake fluid .............................................................. (current page)
levels: brake fluid ........................................................ (current page)
tanks and reservoirs brake fluid ........................................................ (current page)
windscreen washer ................................................ (current page)
levels: windscreen washer reservoir ........................... (current page)
tanks and reservoirs: windscreen washer .......................................... (current page)
JauneNoirNoir texte
4.5
ENG_UD23025_2
Niveaux (L38 électrique - Renault)
ENG_NU_914-4_L38e_Renault_4
brake fluid
windscreen washer reservoir
Windscreen washer reservoir
t opping up
Open cap 4 , fill until you can see the
fluid, then refit the cap.
Liquid
Screen wash product (product with
antifreeze in winter).
Jets
Use a tool such as a needle to adjust
the height of the windscreen washer
jets.
4
3
Brake fluid level
The level should be read with the engine
switched off and on level ground. This
should be checked frequently, and im -
mediately if you notice even the slight-
est loss in braking efficiency.
Consult your approved dealer at
once if you notice an abnormal or
repeated drop in any of the fluid
levels.
t opping up
After any operation on the hydraulic cir-
cuit, a specialist must replace the fluid.
Only use fluids approved by our
Technical Department (and taken from
a sealed container).
Replacement intervals
Refer to the Maintenance Document for
your vehicle.
Level 3
It is normal for the level to drop as
the linings become worn, but it should
never drop below the MIn line.
If you wish to check the disc wear your-
self, you should obtain the document
explaining the checking procedure from
our network or from the manufacturer’s
website.
LeveLs (2/2)
The engine may be hot
when carrying out opera -
tions in close proximity. In
addition, the engine cooling
fan can come on at any moment.
Risk of injury.
Page 135 of 195

4.10
ENG_UD26559_3
Entretien de la carosserie (X61 - X38 - X61 électrique - L38 élec\
trique - X10 - Renault)
ENG_NU_914-4_L38e_Renault_4
Using a roller type car wash
Return the windscreen wiper stalk to
the Park position (refer to the informa-
tion on the “Windscreen washer, wiper”
in Section 1). Check the mounting of
external accessories, additional lights
and mirrors, and ensure that the wiper
blades are secured with adhesive tape.
Remove the radio aerial mast if your
vehicle is fitted with this equipment.
Remember to remove the tape and refit
the antenna after washing.
Observe the vehicle stopping distances
when driving on gravelled surfaces to
prevent paint damage.
Repair, or have repaired quickly, areas
where the paint has been damaged, to
prevent corrosion spreading.
Remember to visit the body shop pe
-
riodically in order to maintain your
anti-corrosion warranty. Refer to the
Maintenance Document.
Respect local regulations about wash -
ing vehicles (e.g. do not wash your ve-
hicle on a public highway).
If it is necessary to clean mechani -
cal components, hinges, etc., spray
them with products approved by our
Technical Department to protect them
after they have been cleaned.
BODyWORk MaIntenanCe (2/2)
Cleaning the headlights
As the headlights are made of plastic
“glass”, use a soft cloth or cotton wool
to clean them. If this does not clean
them properly, moisten the cloth with
soapy water, then wipe clean with a soft
damp cloth or cotton wool.
Finally, carefully dry off with a soft dry
cloth.
Cleaning products containing alco -
hol must not be used.
vehicles with a matte paint
finish
This type of paint requires certain pre-
cautions.
Do not do the following
– use wax-based products (polishing);
– rub too hard;
– wash the vehicle in a roller-type car
wash;
– wash the vehicle using a high-pres-
sure device;
– attach stickers to the paintwork (risk
of leaving marks).
y ou should do the following
Wash the vehicle by hand using plenty
of water, using a soft cloth or a gentle
sponge.
We have selected special products
to care for your vehicle and you can
obtain these from the manufactur -
er’s accessory outlets.
Washing the vehicle
Never wash the engine
compartment, the charging
connection or the traction
battery with a high-pressure jet.
This risks damaging the electric cir-
cuit.
Never wash the vehicle while it is
charging.
Risk of electric shock and a risk to
life.
Page 160 of 195

12 volt battery ....................................... (up to the end of the DU)
12 volt battery breakdown recovery ....................... (up to the end of the DU)
5.23
ENG_UD26165_2
Batterie : dépannage (L38 électrique - Renault)
ENG_NU_914-4_L38e_Renault_5
To avoid all risk of sparks:
– Switch off the vehicle ignition.
– Ensure that any electrical consumers
(courtesy lights, etc.) are switched
off before disconnecting or recon -
necting the battery.
– When charging, stop the charger
before connecting or disconnecting
the battery.
– Do not place metal objects on the
battery to avoid creating a short cir-
cuit between the terminals.
– Make sure that you reconnect the
battery terminals after refitting.
12 volt battery: troubleshooting
12 VOLT BATTEr Y: breakdown recovery (1/2)
Connecting a battery charger
The battery charger must be com -
patible with a battery with nominal
voltage of 12 volts.
Before disconnecting the battery, check
that:
– the ignition is switched off;
– the gear control should be in posi -
tion P (please refer to the information
on the “Gear control” in Section 2;
– the charging cable is disconnected.
Special procedures may be
required to charge some
batteries. Contact your ap -
proved dealer.
Avoid all risk of sparks which may
cause an immediate explosion, and
charge the battery in a well-venti -
lated area. Risk of serious injury.
Handle the battery with care
as it contains sulphuric acid,
which must not come into
contact with eyes or skin. If
it does, wash the affected area with
plenty of cold water. If necessary,
consult a doctor.
Ensure that naked flames, red hot
objects and sparks do not come into
contact with the battery as there is a
risk of explosion.
The engine may be hot when car -
rying out operations in close prox -
imity. In addition, the engine cooling
fan can come on at any moment.
Risk of injury.
Disconnect the leads connected to both
battery terminals, starting with the
negative terminal.
Follow the instructions given by the
manufacturer of the battery charger
you are using.
Do not work on the 12 volt
battery (charging, replac -
ing, etc.):
– without switching off the
ignition;
– if your traction battery is charg -
ing.
Please refer to the information
on “Electric vehicle: charging” in
Section 1.
Risk of serious injury.
Page 161 of 195

5.24
ENG_UD26165_2
Batterie : dépannage (L38 électrique - Renault)
ENG_NU_914-4_L38e_Renault_5
Attach positive lead A to mounting 1
attached to (+) terminal 2 then to
(+) terminal 3 of the battery supplying
the current.
Attach the negative lead B to the
(– ) terminal 4 of the battery supplying
the current, then to the (–) terminal 5
of the discharged battery.
starting the vehicle using the
battery from another vehicle
If you have to use the battery from an-
other vehicle to start, obtain suitable
jump leads (with a large cross section)
from an approved dealer or, if you al -
ready have jump leads, ensure that
they are in perfect condition.
The two batteries must have an iden-
tical nominal voltage of 12 volts. The
battery supplying the current should
have a capacity (amp-hours, Ah) which
is at least the same as that of the dis-
charged battery.
Switch off your vehicle ignition. Ensure
that there is no risk of contact between
the two vehicles (risk of short circuiting
when the positive terminals are con -
nected) and that the discharged battery
is properly connected.
Start the engine of the vehicle supply -
ing the current and run it at an interme-
diate engine speed.
12 VOLT BATTEr Y: breakdown recovery (2/2)
2
3
4
5
A
B1
Check that there is no con-
tact between leads A and B
and that the positive lead A
is not touching any metal
parts on the vehicle supplying the
current.
Risk of injury and/or damage to the
vehicle.
2
51
Do not use your electric vehicle to restart the 12 volt battery in a conventional
vehicle. The 12 volt electric power of an electric vehicle is not enough to perform
such an operation.
Risk of damage to vehicle
As soon as it starts, disconnect
cables A and B in reverse order (5 - 4
- 3 - 2).
Page 164 of 195

wiper blades ......................................... (up to the end of the DU)
wipers blades ............................................. (up to the end of the DU)
5.27
ENG_UD19300_1
Balais d’essuie-vitres (L38 - X38 - Renault)
ENG_NU_914-4_L38e_Renault_5
Wipers (replacing blades)
WINDsCrEEN WIPEr BLADEs
replacing wiper blades 1
With the ignition on and the engine
switched off, lower the windscreen
wiper stalk completely: they stop
slightly away from the bonnet.
Lift wiper arm 3 , pull tab 2 (move -
ment A) and push the blade upwards.
To refit
Slide the blade along the arm until it
clips on. Make sure that the blade is
correctly locked in position. Return the
windscreen wiper stalk to the park po-
sition.
1
2
3
Keep monitoring the condition of the
wiper blades. How long they last de-
pends on you:
– clean the blades and the wind -
screen regularly with soapy
water;
– do not use them when the wind-
screen is dry;
– free them from the windscreen
when they have not been used
for a long time.
A
– In frosty weather, make
sure that the wiper blades
are not stuck by ice (to
avoid the risk of the motor
overheating).
– Check the condition of the wiper
blades.
They should be replaced as soon
as they become less efficient: ap-
proximately once a year.
When changing the blade, when it
has been removed, do not let the
wiper arm fall against the window:
risk of breaking the window.
Page 169 of 195

5.32
ENG_UD29326_3
Anomalies de fonctionnement (L38 électrique - Renault)
ENG_NU_914-4_L38e_Renault_5
Jaune NoirNoir texte
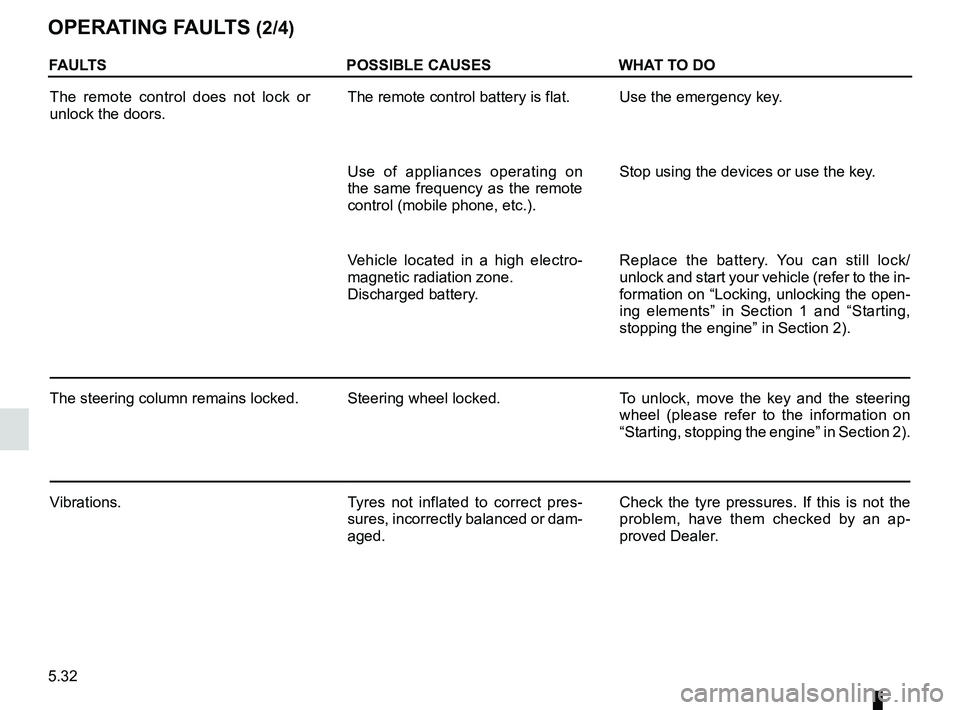
OPErATINg FAULTs (2/4)
FAULTs POssIBLE CAUsEsWHAT TO DO
The remote control does not lock or
unlock the doors. The remote control battery is flat.
Use the emergency key.
Use of appliances operating on
the same frequency as the remote
control (mobile phone, etc.). Stop using the devices or use the key.
Vehicle located in a high electro -
magnetic radiation zone.
Discharged battery. Replace the battery. You can still lock/
unlock and start your vehicle (refer to the in-
formation on “Locking, unlocking the open
-
ing elements” in Section 1 and “Starting,
stopping the engine” in Section 2).
The steering column remains locked. Steering wheel locked.To unlock, move the key and the steering
wheel (please refer to the information on
“Starting, stopping the engine” in Section 2).
Vibrations. Tyres not inflated to correct pres-
sures, incorrectly balanced or dam-
aged. Check the tyre pressures. If this is not the
problem, have them checked by an ap
-
proved Dealer.