warning light RENAULT KANGOO 2018 Owner's Manual
[x] Cancel search | Manufacturer: RENAULT, Model Year: 2018, Model line: KANGOO, Model: RENAULT KANGOO 2018Pages: 264, PDF Size: 7.09 MB
Page 70 of 264

1.64
TRIP COMPUTER AND WARNING SYSTEM: journey parameters (2/4)
Examples of selectionsInterpreting the display selected
CURRENT
Current fuel consumption
This value is displayed after a speed of approximately 20 mph
(30 km/h) is reached.
8.6 L/100
RANGE Estimated range with remaining fuel
This range takes into account the average fuel consumption
since the last time the reset button was pressed.
The value is displayed after driving 400 metres.
Several minutes after the reserve light has come on (refer to the
information on the “Instrument panel”), the estimated range will \
no longer be displayed.
402.0 KM
DISTANCE
Distance travelled since the last reset.
430.0 KM
AVERAGE
Average speed
since the last reset.
The value is displayed after driving 400 metres.
109.2 KM/H
The display of information shown below DEPENDS ON THE VEHICLE EQUIPMENT \
AND COUNTRY.
Page 71 of 264

1.65
TRIP COMPUTER AND WARNING SYSTEM: journey parameters (3/4)
Examples of selectionsInterpreting the display selected
c) Mileage before service Distance remaining until the next service (displayed in kilometres),
then when the service nears, several scenarios are possible:
– distance/time less than 1,800 miles (3,000 km) or two months:
the message “SERVICE DUE ” is displayed;
– mileage before service equal to 0 miles (0 km) or service date
reached: the message “SERVICE PROMPTLY” is displayed
when the selected display is “mileage before service”, along
with the symbol
9 and the warning light ©.
The vehicle requires a service as soon as possible.
SERVICE IN
137.7 KM
Note: depending on the vehicle, the mileage before service changes according \
to the driving style (frequent driving at low
speeds, door-to-door, prolonged periods at idle speed, towing a trailer, etc.). The distance remaining until the next service c
an
therefore, in some cases, be less than the actual distance remaining.
Resetting the display after the service in accordance with the maintenan\
ce schedule.
The mileage before service must only be reset after a service which comp\
lies with the recommendations in the Maintenance
Document.
If you decide to change the oil more frequently, do not reset this data each time the oil is changed to avoid exceeding\
the re-
placement intervals for other parts in the maintenance schedule.
Special features: to reset the mileage before service value, go to the service page (see\
image above) and press and hold one
of the display’s reset buttons for at least 10 seconds until the mileage before service\
value is displayed continuously. Refer to
the information on the “Trip computer and warning system: general information” in Section 2.
The display of information shown below DEPENDS ON THE VEHICLE EQUIPMENT \
AND COUNTRY.
Page 73 of 264
1.67
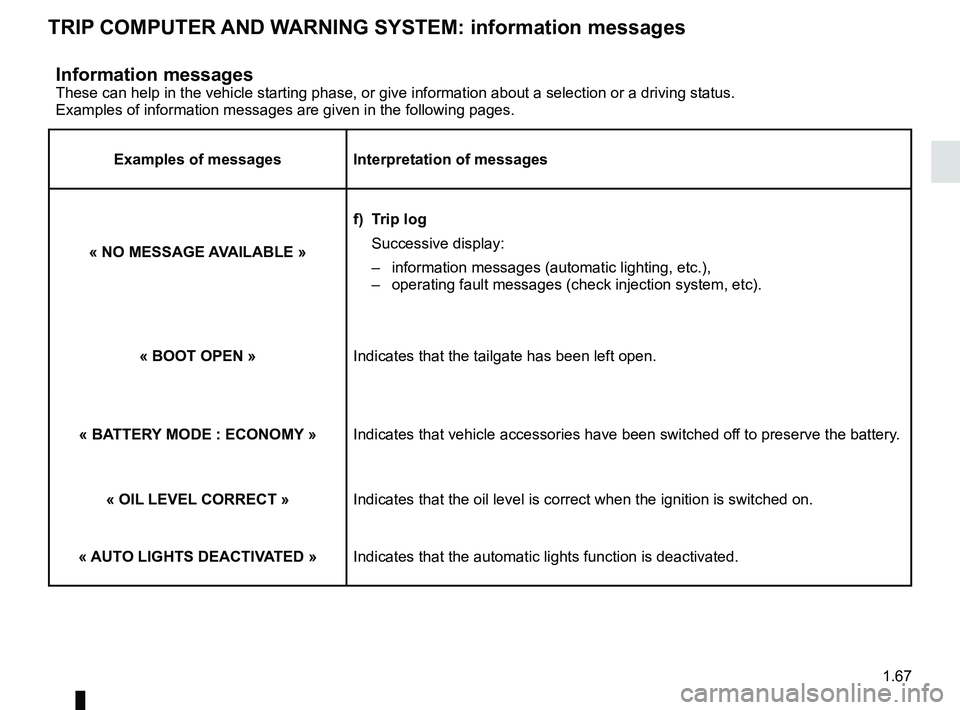
Information messagesThese can help in the vehicle starting phase, or give information about \
a selection or a driving status.
Examples of information messages are given in the following pages.Examples of messages Interpretation of messages
« NO MESSAGE AVAILABLE » f) Trip log
Successive display:
– information messages (automatic lighting, etc.),
– operating fault messages (check injection system, etc).
« BOOT OPEN » Indicates that the tailgate has been left open.
« BATTERY MODE : ECONOMY » Indicates that vehicle accessories have been switched off to preserve the battery. « OIL LEVEL CORRECT » Indicates that the oil level is correct when the ignition is switched on\
.
« AUTO LIGHTS DEACTIVATED » Indicates that the automatic lights function is deactivated.
TRIP COMPUTER AND WARNING SYSTEM: information messages
Page 74 of 264

1.68
These appear with the © warning light and mean that you should drive very carefully to an approv\
ed Dealer as
soon as possible. If you fail to follow this recommendation, you risk da\
maging your vehicle.
They disappear when the display selection key is pressed or after severa\
l seconds and are stored in the computer log. The
© warning light stays on. Examples of operating fault messages are given \
on the following pages .
Examples of messages Interpretation of messages « CHECK ESC » Indicates a fault in the Electronic Stability Program and the traction c\
ontrol system
(see “Driver correction devices and aids” in Section 2).
« CHECK FUEL FILTER » Indicates that there is water present in the diesel fuel.
Contact an approved Dealer as soon as possible.
« CHECK GEARBOX » Indicates that a fault has occurred in the gearbox; contact an approved \
Dealer as
soon as possible.
« CHECK AUTO LIGHTS » Indicates an automatic lighting operating fault; contact an approved Dea\
ler.
« CHECK STEERING » Indicates a power-assisted steering system operating fault.
TRIP COMPUTER AND WARNING SYSTEM: operating fault messages
Page 75 of 264
1.69
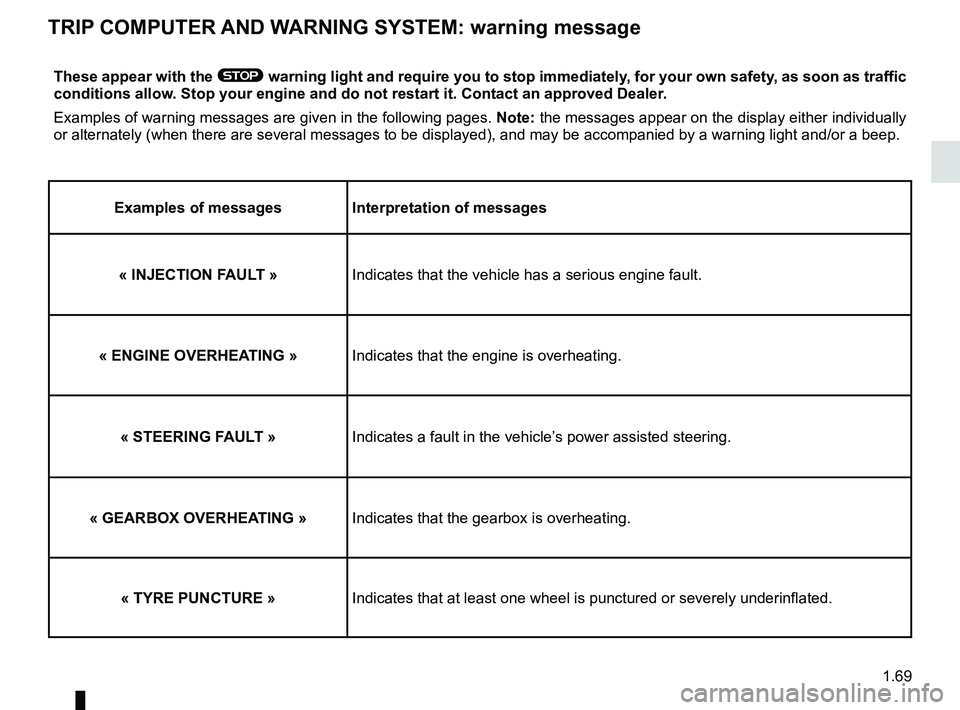
These appear with the ® warning light and require you to stop immediately, for your own safety, as soon as traffic
conditions allow. Stop your engine and do not restart it. Contact an approved Dealer.
Examples of warning messages are given in the following pages. Note: the messages appear on the display either individually
or alternately (when there are several messages to be displayed), and \
may be accompanied by a warning light and/or a beep.
Examples of messages Interpretation of messages« INJECTION FAULT » Indicates that the vehicle has a serious engine fault.
« ENGINE OVERHEATING » Indicates that the engine is overheating.
« STEERING FAULT » Indicates a fault in the vehicle’s power assisted steering.
« GEARBOX OVERHEATING » Indicates that the gearbox is overheating. « TYRE PUNCTURE » Indicates that at least one wheel is punctured or severely underinflated\
.
TRIP COMPUTER AND WARNING SYSTEM: warning message
Page 80 of 264

1.74
AUDIBLE AND VISUAL SIGNALS
2
1
0
1
3
éHazard warning lights
Pressing switch 3 illuminates
all four direction indicators and the
side-mounted indicator lights simul-
taneously. It must only be used in an
emergency to warn other drivers that
you have had to stop in an area where
stopping is prohibited or unexpected, or
that you are obliged to drive under spe-
cial conditions.
Depending on the vehicle, the hazard
warning lights may come on automati-
cally under heavy deceleration. You can
switch them off by pressing switch 3.
Horn
Press one of points 2.
Direction indicators
Move stalk 1 parallel to the steering
wheel and in the direction you are going
to turn.
When driving on the motorway, the
steering wheel is not often turned
enough to return the stalk automatically
to 0. There is an intermediate position in
which the switch may be held when
changing lanes.
You can also briefly place stalk
1 in the
intermediate position, causing the indi-
cator light to flash three times.
When the stalk is released, it automati-
cally returns to 0.
Headlight flasher
Pull stalk 1 towards you to flash the
headlights.
Page 83 of 264
1.77
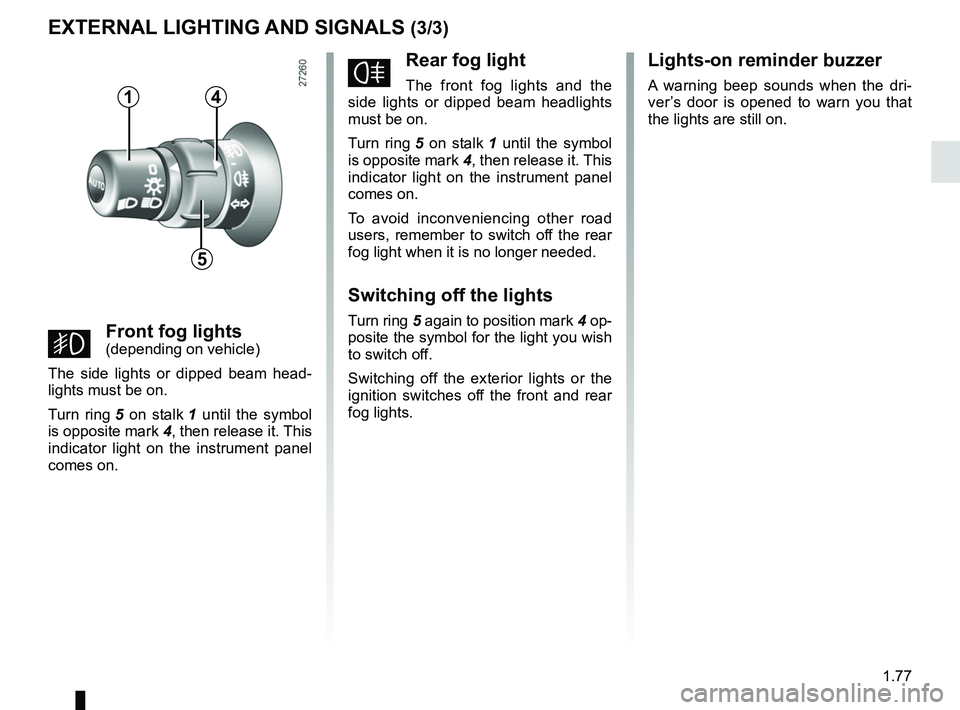
fRear fog light
The front fog lights and the
side lights or dipped beam headlights
must be on.
Turn ring 5 on stalk 1 until the symbol
is opposite mark 4, then release it. This
indicator light on the instrument panel
comes on.
To avoid inconveniencing other road
users, remember to switch off the rear
fog light when it is no longer needed.
Switching off the lights
Turn ring 5 again to position mark 4 op-
posite the symbol for the light you wish
to switch off.
Switching off the exterior lights or the
ignition switches off the front and rear
fog lights.
gFront fog lights(depending on vehicle)
The side lights or dipped beam head-
lights must be on.
Turn ring 5 on stalk 1 until the symbol
is opposite mark 4, then release it. This
indicator light on the instrument panel
comes on.
EXTERNAL LIGHTING AND SIGNALS (3/3)
1
5
4
Lights-on reminder buzzer
A warning beep sounds when the dri-
ver’s door is opened to warn you that
the lights are still on.
Page 90 of 264
1.84
No modifications what-
soever are permitted on
any part of the fuel supply
system (electronic unit,
wiring, fuel circuit, injector, protec-
tive covers, etc.) as this may be
dangerous (unless undertaken by
qualified Network personnel).
Filling with fuel
With the ignition off, insert the nozzle
so that the valve opens and then fully
insert it before beginning to fill the tank
(risk of splashback).
Keep the nozzle in this position through-
out the entire filling operation.
When the pump cuts out automatically
at the end of the filling procedure, a
maximum of two further filling attempts
may be made so as to leave sufficient
room for expansion.
Petrol versions
Using leaded petrol will damage the
antipollution system and may lead to a
loss of warranty.
To ensure that the fuel tank is not filled
with leaded petrol, the fuel tank filler
neck consists of a restrictor fitted with
a foolproof system which only allows
a nozzle for unleaded petrol to be
used (at the pump).
FUEL TANK (2/3)
Persistent smell of
fuel
If you notice a persistent
smell of fuel you should:
– stop the vehicle when traffic con-
ditions allow it and switch off the
ignition;
– switch on the hazard warning lights and ask your passengers
to leave the vehicle and to keep
away from the traffic;
– contact an approved Dealer.
Petrol versions
It is essential to use unleaded petrol.
The octane rating (RON) should match
the information given on the label A lo-
cated inside the fuel filler flap. Please
refer to the information on “Engine
specifications” in Section 6.
Vehicles running on ethanol-based
fuel
It is essential to use unleaded petrol or
fuel containing a maximum of 85% eth-
anol (E85).
In very cold conditions, it may be very
difficult or even impossible to start the
engine. To avoid this problem you can
use unleaded petrol, or you can use
the heater that is integrated into the
engine (on vehicles that are equipped):
Connect the end piece of the extension
provided to the socket fitted in the grille,
and the other end piece to a 220 V
socket for at least 6 hours before start-
ing the vehicle.
NB: you may notice an increase in fuel
consumption with this type of fuel.
Page 96 of 264
2.4
STOP AND START function (1/3)
Warning light is displayed on the
instrument panel. This notifies you that
the engine is on standby.
The vehicle equipment remain opera-
tional while the engine is stopped.
The engine will restart as soon as you
press the clutch pedal and move into
gear.
This system enables a reduced fuel
consumption and lower greenhouse
gas emissions.
The system is activated automatically
when the vehicle is started.
While driving, the system stops the
engine (standby) when the vehicle is
at a standstill (traffic jam, traffic lights,
etc).
System operating conditionsEngine standby is activated if:
– the vehicle has been driven since its last stop;
– the gearbox is in neutral;
– the clutch pedal is released;
and
– the vehicle is travelling at less than 3 km/h. Special feature of the automatic
engine re-start
Under certain conditions, the engine
can restart on its own in order to guar-
antee your safety and comfort.
This can occur especially when:
– the outdoor temperature is too low or
too high (less than around 0 °C or
higher than around 35 °C);
– the “Clear View” function is acti- vated if fitted on the vehicle (please
see “Automatic Climate Control” in
Section 3);
– the battery is not sufficiently charged;
– the vehicle speed is above 7 km/h (downhill slope, etc.);
– repeated pressing on the brake pedal or braking system require-
ment;
– on vehicles fitted with a manual gear- box, engine restarting may be inter-
rupted if the clutch pedal is released
too quickly while a gear is engaged;
– ...
Do not drive off when the
engine is on standby (warn-
ing light
is displayed
on the instrument panel).
The ignition must be
switched off before leav-
ing the vehicle (please see
the information on “Starting,
stopping the engine” in Section 2).
If you get out of the vehicle, a beep
notifies you that the engine is on
standby and has not been switched
off.
Page 97 of 264
2.5
STOP AND START function (2/3)
Special cases
In the event of the engine stalling, if the
system is operational, press down the
clutch pedal as far as it will go to restart.
Deactivate the Stop and
Start function for any opera-
tion performed in the engine
compartment.
Conditions preventing the
standby of the engine
Certain conditions prevent the system
from using the engine standby function,
including when:
– after having come out of reverse gear;
– the bonnet is not locked;
– the outdoor temperature is too low or too high (less than around 0 °C or
higher than around 35 °C);
– the battery is not sufficiently charged;
– the difference between the vehicle interior temperature and the auto-
matic climate control instruction is
too high;
– the “Clear View” function is acti- vated if fitted on the vehicle (please
see “Automatic Climate Control” in
Section 3); – the engine coolant temperature is
too low;
– automatic particle filter cleaning is underway;
or
– ...
The warning light
on the instru-
ment panel indicates that the engine is
on standby.
With the vehicle stopped, gear lever en-
gaged and clutch pedal depressed, the
warning light
flashes to tell you
the engine can be put on standby.
In order to fill-up with fuel, the engine
must be stopped (NOT in standby):
You must stop the engine (Please
see “Starting, stopping the engine”
in section 2).