Air RENAULT TALISMAN 2016 1.G Repair Manual
[x] Cancel search | Manufacturer: RENAULT, Model Year: 2016, Model line: TALISMAN, Model: RENAULT TALISMAN 2016 1.GPages: 328, PDF Size: 3.39 MB
Page 266 of 328
5.6
Precautions when using the
kit
The kit should not be operated for more
than 15 consecutive minutes.
The container must be replaced after
the first use even if liquid remains
inside.
TYRE INFLATION KIT (4/4)
Following repair with the kit,
do not travel further than
120 miles (200 km). In addi-
tion, reduce your speed and
under no circumstances exceed
48 mph (80 km/h). The sticker,
which you must affix in a prominent
position on the dashboard, reminds
you of this.
Depending on the country or local
legislation, a tyre repaired with the
inflation kit may need to be replaced.
Please be aware that a
poorly tightened or miss-
ing valve cap can make the
tyres less airtight and lead
to pressure loss.
Always use valve caps identical to
those fitted originally and tighten
them fully.
Page 268 of 328

5.8
TOOLS (2/2)/WHEEL TRIM
A
BC
D
Wheel trim
Remove using the hubcap tool 6 by
connecting the hook in the recess pro-
vided next to the valve 8 (to secure the
metal clip).
To refit the wheel trim, align it with
valve 8. Push the retaining hooks in
fully, starting with side A near the valve,
followed by B and C, finishing at D op-
posite the valve.
Note: if you are using anti-theft bolts,
refer to the information on “Changing a
wheel”.
Do not leave the tools un-
secured inside the vehicle
as they may come loose
under braking. After use,
check that all the tools are correctly
clipped into the tool kit, then posi-
tion it correctly in its housing: risk of
injury.
If wheel bolts are supplied in the
tool kit, only use these bolts for the
emergency spare wheel: refer to the
label affixed to the emergency spare
wheel.
The jack is designed for wheel
changing purposes only. Under no
circumstances should it be used for
carrying out repairs underneath the
vehicle or to gain access to the un-
derside of the vehicle.
6
8
Page 270 of 328
5.10
Undo the bolts and take off the wheel.
Fit the emergency spare wheel onto
the hub and rotate it until the mounting
holes in the wheel coincide with those
of the hub.
If bolts are supplied with the emergency
spare wheel, only use these bolts for
the emergency spare wheel. Tighten
the bolts, checking that the wheel is
correctly positioned on its hub and un-
screw the jack.
With the wheel on the ground, tighten
the bolts fully and have the tightness of
the bolts checked and the emergency
spare wheel pressure checked as soon
as possible.
Anti-theft bolt
If you use anti-theft bolts, fit these
nearest the valve (wheel embel-
lisher may not be able to fit).
If you have a puncture, re-
place the wheel as soon as
possible.
A tyre which has been punc-
tured should always be inspected
(and repaired, where possible) by a
specialist.
CHANGING A WHEEL (2/2)
Page 272 of 328
5.12
TYRES (2/3)
Tyre pressures
Adhere to the tyre pressures (including
the emergency spare wheel). The tyre
pressures should be checked at least
once a month and additionally before
any long journey (refer to the label af-
fixed to the edge of the driver’s door).The pressures should be checked cold:
ignore higher pressures which may be
reached in hot weather or following a
high speed journey.
If the tyre pressures cannot be checked
when the tyres are
cold, increase the
pressures from 0.2 to 0.3 bar (or 3 PSI).
Never deflate a hot tyre.
Special note
Depending on the vehicle, there may
be an adapter which needs to be posi-
tioned on the valve before air is added. Vehicle fitted with a tyre pressure
monitoring system
In cases of under-inflation (puncture,
low pressure, etc.), warning light
lights up on the instrument panel.
Please refer to the information on the
«Tyre pressure monitoring system» in
Section 2.
Emergency spare wheel
Refer to the information on “Puncture”
and “Changing a wheel” in Section 5.
Incorrect tyre pressures
lead to abnormal tyre wear
and unusually hot running.
These are factors which
may seriously affect safety and lead
to:
– poor road holding,
– risk of bursting or tread separa- tion.
The pressure depends on the load
and the speed of use. Adjust the
pressure according to the condi-
tions of use (refer to the label affixed
to the edge of the driver’s door).
Please be aware that a
poorly tightened or missing
valve cap can make the
tyres less airtight and lead
to pressure loss.
Always use valve caps identical to
those fitted originally and tighten
them fully.
Page 301 of 328
6.1
Section 6: Technical specifications
Vehicle identification plates . . . . . . . . . . . . . . . . . . . . . . . . . . . . . . . . . . . . \
. . . . . . . . . . . . . . . . . . . . 6.2
Engine identification plates . . . . . . . . . . . . . . . . . . . . . . . . . . . . . . . . . . . .\
. . . . . . . . . . . . . . . . . . . . 6.3
Dimensions . . . . . . . . . . . . . . . . . . . . . . . . . . . . . . . . . . . .\
. . . . . . . . . . . . . . . . . . . . . . . . . . . . . . . . 6.4
Engine specifications . . . . . . . . . . . . . . . . . . . . . . . . . . . . . . . . . . . . \
. . . . . . . . . . . . . . . . . . . . . . . . . 6.6
Weights . . . . . . . . . . . . . . . . . . . . . . . . . . . . . . . . . . . .\
. . . . . . . . . . . . . . . . . . . . . . . . . . . . . . . . . . . 6.7
Towing weights . . . . . . . . . . . . . . . . . . . . . . . . . . . . . . . . . . . .\
. . . . . . . . . . . . . . . . . . . . . . . . . . . . . 6.7
Replacement parts and repairs . . . . . . . . . . . . . . . . . . . . . . . . . . . . . . . . . . . . \
. . . . . . . . . . . . . . . . . 6.8
Service sheets . . . . . . . . . . . . . . . . . . . . . . . . . . . . . . . . . . . . \
. . . . . . . . . . . . . . . . . . . . . . . . . . . . . . 6.9
Anti-corrosion check . . . . . . . . . . . . . . . . . . . . . . . . . . . . . . . . . . . .\
. . . . . . . . . . . . . . . . . . . . . . . . . 6.15
Page 308 of 328
6.8
Original parts are based on strict specifications and are subject to hig\
hly-specialised tests. Therefore, they are of at least the same
level of quality as the parts fitted originally.
If you always fit genuine replacement parts to your vehicle, you will en\
sure that it performs well. Furthermore, repairs carried out
within the manufacturer’s Network using original parts are guaranteed according to the condition\
s set out on the reverse of the
repair order.
REPLACEMENT PARTS AND REPAIRS
Page 315 of 328
6.15
ANTICORROSION CHECK (1/5)
If the continuation of the warranty is subject to repair, it is indicated below.
VIN: ..........................................................
Corrosion repair operation to be carried
out:
Stamp
Date of repair:
Repair to be carried out:
Stamp
Date of repair:
Repair to be carried out:
Stamp
Date of repair:
Page 316 of 328
6.16
ANTICORROSION CHECK (2/5)
If the continuation of the warranty is subject to repair, it is indicated below.
VIN: ..........................................................
Corrosion repair operation to be carried
out:
Stamp
Date of repair:
Repair to be carried out:
Stamp
Date of repair:
Repair to be carried out:
Stamp
Date of repair:
Page 317 of 328
6.17
ANTICORROSION CHECK (3/5)
If the continuation of the warranty is subject to repair, it is indicated below.
VIN: ..........................................................
Corrosion repair operation to be carried
out:
Stamp
Date of repair:
Repair to be carried out:
Stamp
Date of repair:
Repair to be carried out:
Stamp
Date of repair:
Page 318 of 328
6.18
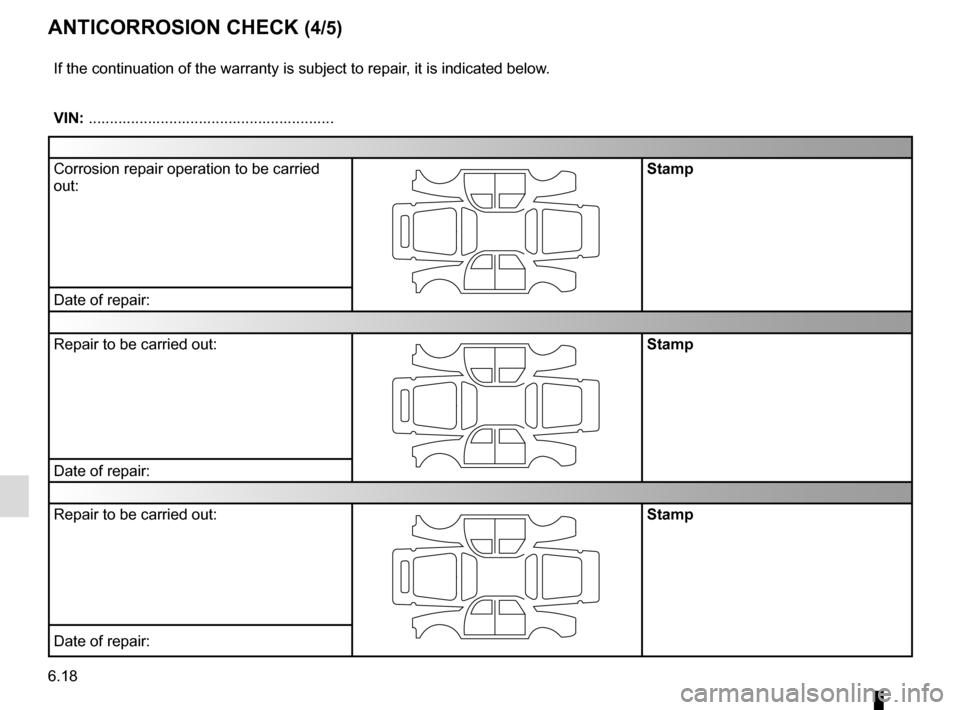
ANTICORROSION CHECK (4/5)
If the continuation of the warranty is subject to repair, it is indicated below.
VIN: ..........................................................
Corrosion repair operation to be carried
out:
Stamp
Date of repair:
Repair to be carried out:
Stamp
Date of repair:
Repair to be carried out:
Stamp
Date of repair: