RENAULT TWINGO 2009 2.G Electrical Equipment - Petrol Injection Workshop Manual
Manufacturer: RENAULT, Model Year: 2009, Model line: TWINGO, Model: RENAULT TWINGO 2009 2.GPages: 348
Page 131 of 348
17B-131V7 MR-413-X44-17B000$133.mif
PETROL INJECTION
Fault finding – Interpretation of faults17B
SIM 32 Injection
Program no.: D3
Vdiag No.: 44, 4C, 50
and 54
DF232
PRESENT
OR
STOREDREFRIGERANT PRESSURE SENSOR CIRCUIT
1.DEF: Abnormal voltage
NOTESPriorities when dealing with a number of faults:
Deal first with fault DF011 Sensor feed voltage no. 1 if it is present or stored.
Conditions for applying the fault finding procedure to stored faults:
The fault is declared present when the ignition is switched on.
Special notes:
If the fault is present or stored, parameter PR037 Refrigerant pressure displays a safe
value of 0 bar, and the air conditioning no longer operates.
Use the Wiring Diagrams Technical Note for NEW TWINGO, E33, CLIO III,
or MODUS.
Check the condition of the refrigerant pressure sensor connector (component code 1202) and the engine
management computer connector (component code 120).
If the connectors are faulty and if there is a repair procedure (see Technical Note 6015A, Repairing electrical
wiring, Wiring: Precautions for repair), repair the connector, otherwise replace the wiring.
Use the universal bornier to check the insulation and continuity of the following connections:
●38U between components 120 and 1202,
●38X between components 120 and 1202,
●38Y between components 120 and 1202.
If the connection or connections are faulty and there is a repair procedure (see Technical Note 6015A, Electrical
wiring repair, Wiring: Precautions for repair), repair the wiring, otherwise replace it.
If the fault is still present, replace the refrigerant sensor.
SIM32_V44_DF232/SIM32_V4C_DF232/SIM32_V50_DF232/SIM32_V54_DF232
AFTER REPAIRFollow the instructions to confirm repair:
–If the fault is present, continue to deal with the fault.
–If the fault is stored, ignore it.
Deal with any other faults.
Clear the stored faults.
Page 132 of 348
17B-132V7 MR-413-X44-17B000$133.mif
PETROL INJECTION
Fault finding – Interpretation of faults17B
SIM 32 Injection
Program no.: D3
Vdiag No.: 44, 4C, 50
and 54
DF234
PRESENT
OR
STOREDAFTER-SALES TOOTH SIGNAL SENSOR CIRCUIT
1.DEF: Tooth lost
NOTESConditions for applying the fault finding procedure to stored faults:
The fault is declared present with the engine running.
Special notes:
This fault enables a possible cause for engine bucking to be detected.
DF154/2.DEF enables the defect modes related to this fault to be managed.
DF234 and DF154/2.DEF relate to the same fault but have a different function.
Use the Wiring Diagrams Technical Note for NEW TWINGO, E33, CLIO III,
or MODUS.
Check the mounting and positioning of the flywheel signal sensor.
Repair if necessary.
Manipulate the wiring harness between the injection computer and the flywheel signal sensor in order to produce
a change in fault status (from present to stored).
Look for possible damage to the wiring harness.
Check the condition of the flywheel signal sensor connector (component code 149) and the engine management
computer connector (component code 120).
If the connectors are faulty and if there is a repair procedure (see Technical Note 6015A, Repairing electrical
wiring, Wiring: Precautions for repair), repair the connector, otherwise replace the wiring.
SIM32_V44_DF234/SIM32_V4C_DF234/SIM32_V50_DF234/SIM32_V54_DF234
AFTER REPAIRFollow the instructions to confirm repair:
–If the fault is present, continue to deal with the fault.
–If the fault is stored, ignore it.
Deal with any other faults.
Clear the stored faults.
Page 133 of 348
17B-133V7 MR-413-X44-17B000$133.mif
PETROL INJECTION
Fault finding – Interpretation of faults17B
SIM 32 Injection
Program no.: D3
Vdiag No.: 44, 4C, 50
and 54
DF234
CONTINUED
Use the universal bornier to check the insulation and continuity of the following connections:
●3BL between components 120 and 149,
●3BG between components 120 and 149.
If the connection or connections are faulty and there is a repair procedure (see Technical Note 6015A, Electrical
wiring repair, Wiring: Precautions for repair), repair the wiring, otherwise replace it.
Measure the resistance of the flywheel signal sensor between connections 3BL and 3BG:
If the resistance of the flywheel signal sensor is not between:
●200 Ω < X < 270 Ω at 23˚C, replace the sensor.
Disconnect the computer, use the universal bornier to check the signal from the flywheel signal sensor.
If it is fitted, use the Clip oscilloscope and make sure the square pulse signal of the sensor is not faulty (interference,
tooth missing, etc.).
If there is interference in the signal, check the air gap of the neutral sensor.
If the fault is still present, contact the Techline.
AFTER REPAIRFollow the instructions to confirm repair:
–If the fault is present, continue to deal with the fault.
–If the fault is stored, ignore it.
Deal with any other faults.
Clear the stored faults.
Page 134 of 348
17B-134V7 MR-413-X44-17B000$133.mif
PETROL INJECTION
Fault finding – Interpretation of faults17B
SIM 32 Injection
Program no.: D3
Vdiag No.: 44, 4C, 50
and 54
DF330
PRESENT
OR
STOREDPINKING SENSOR CIRCUIT
1.DEF: Abnormal voltage
2.DEF: EOBD
NOTESConditions for applying the fault finding procedure to stored faults:
The fault is declared present with the engine running with an engine coolant
temperature above 75˚C and the engine speed above 1500 rpm.
Special notes:
1.DEF: The wiring harness connecting the injection computer to the sensor is shielded.
Because of this, a short circuit to + 12 V is unlikely.
Use the Wiring Diagrams Technical Note for NEW TWINGO, E33, CLIO III,
or MODUS.
Check the condition of the pinking sensor connector (component code 146) and the engine management computer
connector (component code 120).
If the connectors are faulty and if there is a repair procedure (see Technical Note 6015A, Repairing electrical
wiring, Wiring: Precautions for repair), repair the connector, otherwise replace the wiring.
Check the tightening of the pinking sensor (tightening must be: X = 20 Nm).
Repair if necessary.
Measure the resistance of the pinking sensor between connections 3S and 3DQ:
The resistance should be greater than 20 MΩ.
If the pinking sensor resistance is not correct, replace the sensor.
SIM32_V44_DF330/SIM32_V4C_DF330/SIM32_V50_DF330/SIM32_V54_DF330
AFTER REPAIRFollow the instructions to confirm repair:
–If the fault is present, continue to deal with the fault.
–If the fault is stored, ignore it.
Deal with any other faults.
Clear the stored faults.
Page 135 of 348
17B-135V7 MR-413-X44-17B000$133.mif
PETROL INJECTION
Fault finding – Interpretation of faults17B
SIM 32 Injection
Program no.: D3
Vdiag No.: 44, 4C, 50
and 54
DF330
CONTINUEDPINKING SENSOR CIRCUIT1.DEF: Abnormal voltage
2.DEF: EOBD
Use the universal bornier to check the insulation and continuity of the following connections:
●3S between components 120 and 146,
●3DQ between components 120 and 146.
If the connection or connections are faulty and there is a repair procedure (see Technical Note 6015A, Electrical
wiring repair, Wiring: Precautions for repair), repair the wiring, otherwise replace it.
Check the conformity of the fuel in the tank, apply test 1 Petrol conformity check.
Check that the spark plugs are correct.
Repair if necessary.
AFTER REPAIRFollow the instructions to confirm repair:
–If the fault is present, continue to deal with the fault.
–If the fault is stored, ignore it.
Deal with any other faults.
Clear the stored faults.
Page 136 of 348
17B-136V7 MR-413-X44-17B000$133.mif
PETROL INJECTION
Fault finding – Interpretation of faults17B
SIM 32 Injection
Program no.: D3
Vdiag No.: 44, 4C, 50
and 54
DF361
PRESENT
OR
STOREDIGNITION COIL 1 - 4 CIRCUIT
CC.1: Short circuit to + 12 V
CO.0: Open circuit or short circuit to earth
1.DEF: EOBD
NOTESPriorities when dealing with a number of faults:
Firstly, deal with the following faults:
–DF046 Battery voltage,
–DF084 Actuator relay control circuit,
–DF085 Fuel pump relay control circuit,
if they are present or stored.
Conditions for applying the fault finding procedure to stored faults:
The fault is declared present after the starter has been in operation for 10 seconds or
after the engine has been running for 10 seconds.
Special notes:
If a fault is present, injectors 1 and 4 are switched off after 60 seconds at
600 rpm or 6 seconds at 6000 rpm, until the ignition is switched off.
Use the Wiring Diagrams Technical Note for NEW TWINGO, E33, CLIO III,
or MODUS.
Disconnect the quadruple ignition coil module connector and check the cleanliness and condition of its connections
(component code 108) and of the engine management computer connector (component code 120).
If the connectors are faulty and if there is a repair procedure (see Technical Note 6015A, Repairing electrical
wiring, Wiring: Precautions for repair), repair the connector, otherwise replace the wiring.
Use the universal bornier to check the insulation and continuity of the following connection:
●3CV between components 120 and 108.
If the connection is faulty and if there is a repair procedure (see Technical Note 6015A, Electrical wiring repair,
Wiring: Precautions for repair), repair the wiring, otherwise replace it.
With the ignition on, check for + 12 V on connection 3N of the ignition quadruple coil module.
If there is no + 12 V:
Disconnect the battery and apply the following steps, depending on the vehicle.
SIM32_V44_DF361/SIM32_V4C_DF361/SIM32_V50_DF361/SIM32_V54_DF361
AFTER REPAIRFollow the instructions to confirm repair:
–If the fault is present, continue to deal with the fault.
–If the fault is stored, ignore it.
Deal with any other faults.
Clear the stored faults.
Page 137 of 348
17B-137V7 MR-413-X44-17B000$133.mif
PETROL INJECTION
Fault finding – Interpretation of faults17B
SIM 32 Injection
Program no.: D3
Vdiag No.: 44, 4C, 50
and 54
DF361
CONTINUED 1
For NEW TWINGO or E33:
–Check the condition of the fuel pump relay connector (component code 236).
If the connectors are faulty and if there is a repair procedure (see Technical Note 6015A, Repairing electrical
wiring, Wiring: Precautions for repair), repair the connector, otherwise replace the wiring.
Use the "universal bornier" to check the insulation and continuity of the following connection:
●3N between components 236 and 108,
If the connection or connections are faulty and there is a repair procedure (see Technical Note 6015A, Electrical
wiring repair, Wiring: Precautions for repair), repair the wiring, otherwise replace it.
Carry out a fault finding procedure on the engine fuse and relay box to check the continuity of the following
connection:
●BP17 between components 120 and 597,
●BP17 between components 238 and 597.
If the connection is faulty and if there is a repair procedure (see Technical Note 6015A, Electrical wiring repair,
Wiring: Precautions for repair), repair the wiring, otherwise replace it.
If the fault is still present, check the battery and run fault finding on the charging circuit (see Technical Note 6014A,
Checking the charging circuit).
–Clean the battery terminals and all connections to + and to Earth.
–Check the battery voltage.
–Check the charging circuit.
AFTER REPAIRFollow the instructions to confirm repair:
–If the fault is present, continue to deal with the fault.
–If the fault is stored, ignore it.
Deal with any other faults.
Clear the stored faults.
Page 138 of 348
17B-138V7 MR-413-X44-17B000$133.mif
PETROL INJECTION
Fault finding – Interpretation of faults17B
SIM 32 Injection
Program no.: D3
Vdiag No.: 44, 4C, 50
and 54
DF361
CONTINUED 2
For CLIO III or MODUS:
–In the Protection and Switching Unit, disconnect the connector marked MN.
–Check the condition of the Protection and Switching Unit connector (component code 1337).
If the connectors are faulty and if there is a repair procedure (see Technical Note 6015A, Repairing electrical
wiring, Wiring: Precautions for repair), repair the connector, otherwise replace the wiring.
Use the "Universal bornier" to check the insulation and continuity of the following connection:
●3N between components 1337 and 108.
If the connection or connections are faulty and there is a repair procedure (see Technical Note 6015A, Electrical
wiring repair, Wiring: Precautions for repair), repair the wiring, otherwise replace it.
Reconnect the Protection and Switching Unit connector and reconnect the battery.
With the ignition on, if there is no + 12 V on the connector of the quadruple ignition coil module, there is a fault in
the Protection and Switching Unit (see 87G, Engine Compartment Connection Unit).
If the fault is still present, replace the ignition quadruple coil module.
If not, contact the Techline.
AFTER REPAIRFollow the instructions to confirm repair:
–If the fault is present, continue to deal with the fault.
–If the fault is stored, ignore it.
Deal with any other faults.
Clear the stored faults.
Page 139 of 348
17B-139V7 MR-413-X44-17B000$133.mif
PETROL INJECTION
Fault finding – Interpretation of faults17B
SIM 32 Injection
Program no.: D3
Vdiag No.: 44, 4C, 50
and 54
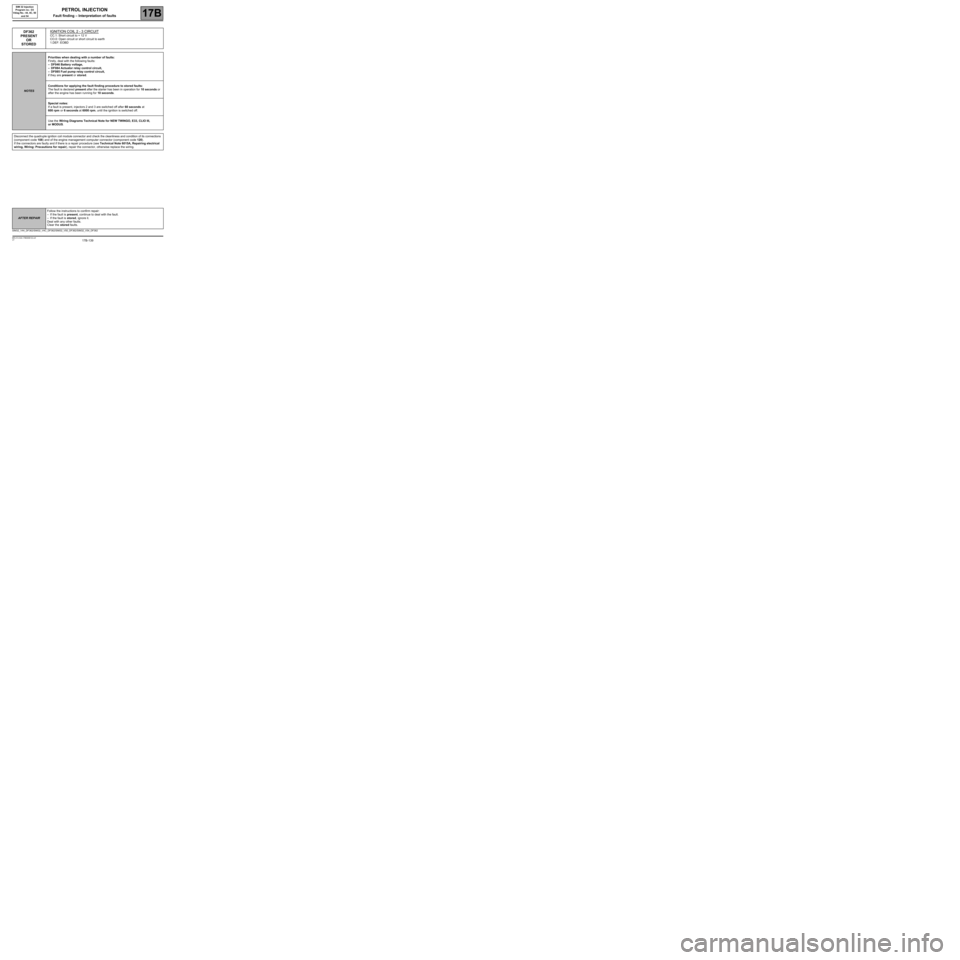
DF362
PRESENT
OR
STOREDIGNITION COIL 2 - 3 CIRCUIT
CC.1: Short circuit to + 12 V
CO.0: Open circuit or short circuit to earth
1.DEF: EOBD
NOTESPriorities when dealing with a number of faults:
Firstly, deal with the following faults:
–DF046 Battery voltage,
–DF084 Actuator relay control circuit,
–DF085 Fuel pump relay control circuit,
if they are present or stored.
Conditions for applying the fault finding procedure to stored faults:
The fault is declared present after the starter has been in operation for 10 seconds or
after the engine has been running for 10 seconds.
Special notes:
If a fault is present, injectors 2 and 3 are switched off after 60 seconds at
600 rpm or 6 seconds at 6000 rpm, until the ignition is switched off.
Use the Wiring Diagrams Technical Note for NEW TWINGO, E33, CLIO III,
or MODUS.
Disconnect the quadruple ignition coil module connector and check the cleanliness and condition of its connections
(component code 108) and of the engine management computer connector (component code 120).
If the connectors are faulty and if there is a repair procedure (see Technical Note 6015A, Repairing electrical
wiring, Wiring: Precautions for repair), repair the connector, otherwise replace the wiring.
SIM32_V44_DF362/SIM32_V4C_DF362/SIM32_V50_DF362/SIM32_V54_DF362
AFTER REPAIRFollow the instructions to confirm repair:
–If the fault is present, continue to deal with the fault.
–If the fault is stored, ignore it.
Deal with any other faults.
Clear the stored faults.
Page 140 of 348
17B-140V7 MR-413-X44-17B000$133.mif
PETROL INJECTION
Fault finding – Interpretation of faults17B
SIM 32 Injection
Program no.: D3
Vdiag No.: 44, 4C, 50
and 54
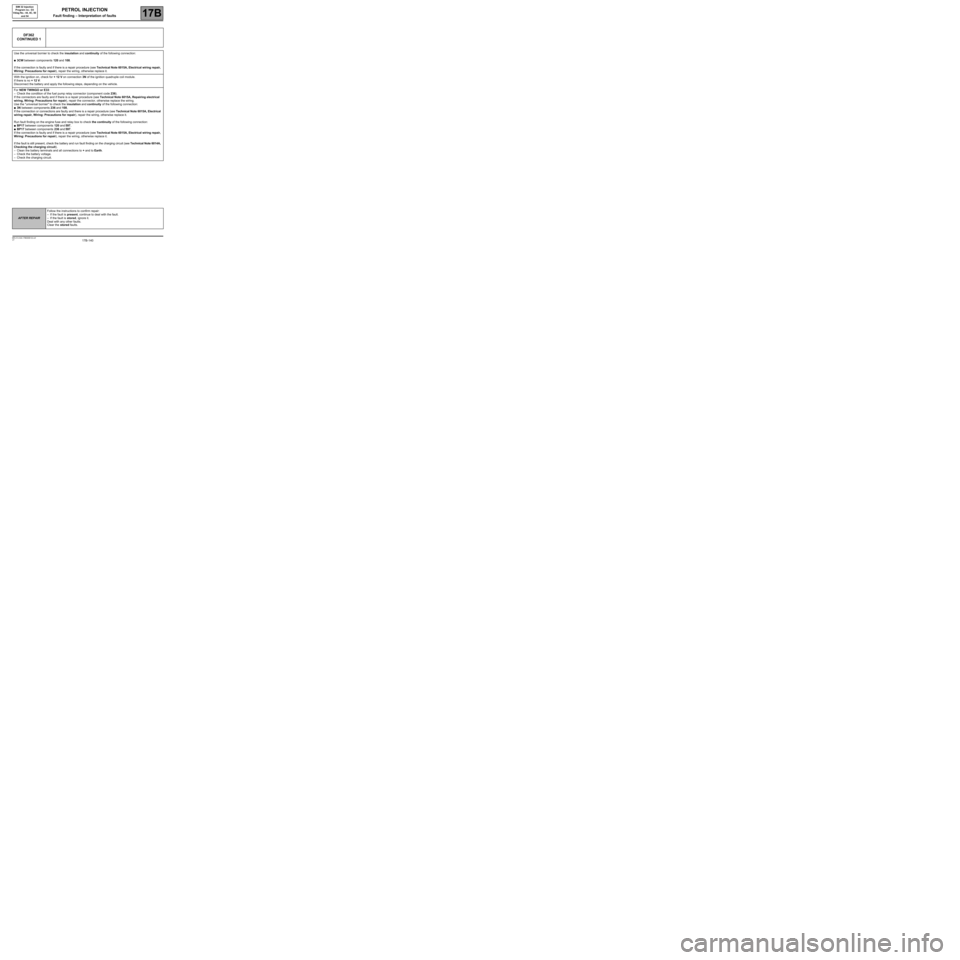
DF362
CONTINUED 1
Use the universal bornier to check the insulation and continuity of the following connection:
●3CW between components 120 and 108.
If the connection is faulty and if there is a repair procedure (see Technical Note 6015A, Electrical wiring repair,
Wiring: Precautions for repair), repair the wiring, otherwise replace it.
With the ignition on, check for + 12 V on connection 3N of the ignition quadruple coil module.
If there is no + 12 V:
Disconnect the battery and apply the following steps, depending on the vehicle.
For NEW TWINGO or E33:
–Check the condition of the fuel pump relay connector (component code 236).
If the connectors are faulty and if there is a repair procedure (see Technical Note 6015A, Repairing electrical
wiring, Wiring: Precautions for repair), repair the connector, otherwise replace the wiring.
Use the "universal bornier" to check the insulation and continuity of the following connection:
●3N between components 236 and 108,
If the connection or connections are faulty and there is a repair procedure (see Technical Note 6015A, Electrical
wiring repair, Wiring: Precautions for repair), repair the wiring, otherwise replace it.
Run fault finding on the engine fuse and relay box to check the continuity of the following connection:
●BP17 between components 120 and 597,
●BP17 between components 236 and 597.
If the connection is faulty and if there is a repair procedure (see Technical Note 6015A, Electrical wiring repair,
Wiring: Precautions for repair), repair the wiring, otherwise replace it.
If the fault is still present, check the battery and run fault finding on the charging circuit (see Technical Note 6014A,
Checking the charging circuit).
–Clean the battery terminals and all connections to + and to Earth.
–Check the battery voltage.
–Check the charging circuit.
AFTER REPAIRFollow the instructions to confirm repair:
–If the fault is present, continue to deal with the fault.
–If the fault is stored, ignore it.
Deal with any other faults.
Clear the stored faults.