mirror RENAULT TWINGO 2009 2.G Mechanism And Accessories Workshop Manual
[x] Cancel search | Manufacturer: RENAULT, Model Year: 2009, Model line: TWINGO, Model: RENAULT TWINGO 2009 2.GPages: 95
Page 3 of 95
Contents
55A EXTERIOR PROTECTION
Front bumper: Removal -
Refitting 55A-1
Front bumper: Stripping -
Rebuilding 55A-3
Rear bumper : Removal -
Refitting 55A-10
Rear bumper : Stripping -
Rebuilding 55A-13
Rear bumper : Conversion 55A-14
Front side door protective
strip: Removal - Refitting 55A-15
Rear wing protective strip:
Removal - Refitting 55A-16
Roof protection strip:
Removal - Refitting 55A-17
Front wheel arch liner:
Removal - Refitting 55A-18
56A EXTERIOR EQUIPMENT
Scuttle panel gr ille: Removal
- Refitting 56A-1
Tailgate spoiler: Removal -
Refitting 56A-3
Scoop under the scuttle
panel grille: Removal -
Refitting 56A-6
Door mirror: Removal -
Refitting 56A-8
Door mirror casing: Removal
- Refitting 56A-9
Door mirror glass: Removal -
Refitting 56A-10
Side decorative strips:
Removal - Refitting 56A-11
Sill panel extension:
Removal - Refitting 56A-13
Rear wing extension:
Removal - Refitting 56A-1557A INTERIOR EQUIPMENT
Dashboard: Removal -
Refitting 57A-1
Dashboard: Conversion 57A-4
Dashboard side air vent:
Removal - Refitting 57A-6
Centre front panel: Removal
- Refitting 57A-7
Glovebox: Removal -
Refitting 57A-9
Dashboard storage
compar tment: Removal -
Refitting 57A-11
Centre console: Removal -
Refitting 57A-12
Interior rear-view mirror:
Removal - Refitting 57A-14
Sun visor: Removal -
Refitting 57A-16
59A SAFETY ACCESSORIES
Front seat belt: Removal -
Refitting 59A-1
Rear seat belt: Removal -
Refitting 59A-3
Rear seat belt buckle:
Removal - Refitting 59A-5
Page 31 of 95
54A-1
WINDOWS
Windscreen: Removal - Refitting
54A
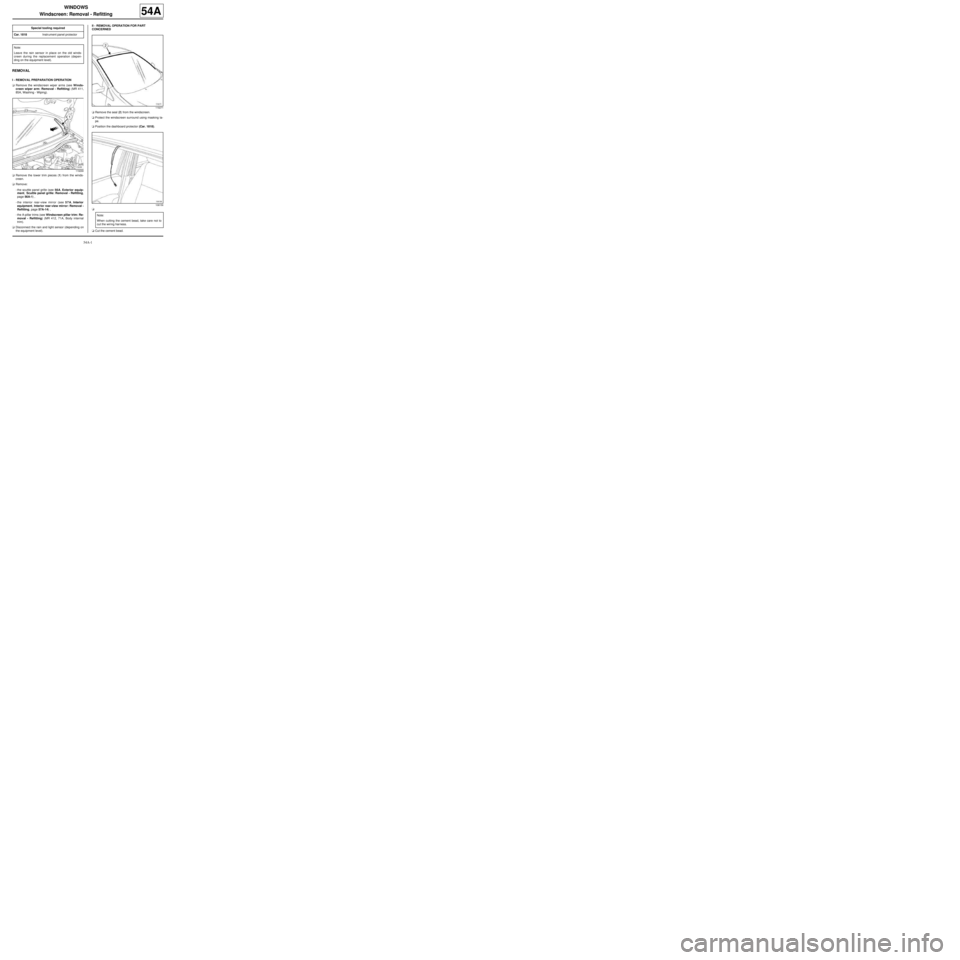
REMOVAL
I - REMOVAL PREPARATION OPERATION
aRemove the windscreen wiper arms (see Winds-
creen wiper arm: Removal - Refitting) (MR 411,
85A, Washing - Wiping).
aRemove the lower trim pieces (1) from the winds-
creen.
aRemove:
-the scuttle panel grille (see 56A, Exterior equip-
ment, Scuttle panel grille: Removal - Refitting,
page 56A-1) ,
-the interior rear-view mirror (see 57A, Interior
equipment, Interior rear-view mirror: Removal -
Refitting, page 57A-14) ,
-the A-pillar trims (see Windscreen pillar trim: Re-
moval - Refitting) (MR 412, 71A, Body internal
trim).
aDisconnect the rain and light sensor (depending on
the equipment level).II - REMOVAL OPERATION FOR PART
CONCERNED
aRemove the seal (2) from the windscreen.
aProtect the windscreen surround using masking ta-
pe.
aPosition the dashboard protector (Car. 1818).
a
aCut the cement bead. Special tooling required
Car. 1818Instr ument panel protector
Note:
Leave the rain sensor in place on the old winds-
creen during the replacement operation (depen-
ding on the equipment level).
119268
119271
108156
Note:
When cutting the cement bead, take care not to
cut the wiring harness.
Page 32 of 95
54A-2
WINDOWS
Windscreen: Removal - Refitting
54A
REFITTING
I - REFITTING PREPARATIONS OPERATION
aPosition the retaining shims and stops.
aPosition the seal (2) on the windscreen.
aFor preparation and bonding (see Technical Note
560A).
II - REFITTING OPERATION FOR PART
CONCERNED
aBond the windscreen (this operation requires two
people).
aRespect the following clearances and flush fitting:
- « Windscreen - Roof » ,
- « Windscreen - A-pillar » .
aHold the windscreen in position with masking tape.
III - FINAL OPERATION.
aReplace the rain and light sensor adhesive base
(depending on the equipment level) (see Rain and
light sensor: Removal - Refitting) (MR 411, 85A,
Wiping - Washing).
aConnect the rain and light sensor (depending on the
equipment level).
aRefit:
-the A-pillar trims (see Windscreen pillar trim: Re-
moval - Refitting) (MR 412, 71A, Body internal
trim),
-the interior rear-view mirror (see 57A, Interior
equipment, Interior rear-view mirror: Removal -
Refitting, page 57A-14) ,
-the scuttle panel grille (see 56A, Exterior equip-
ment, Scuttle panel grille: Removal - Refitting,
page 56A-1) ,
-the lower windscreen trims (1) ,
-the windscreen wiper arms (see Windscreen wi-
per arm: Removal - Refitting) (MR 411, 85A, Wi-
pers - Washers).
Page 65 of 95
56A-8
EXTERIOR EQUIPMENT
Door mirror: Removal - Refitting
56A
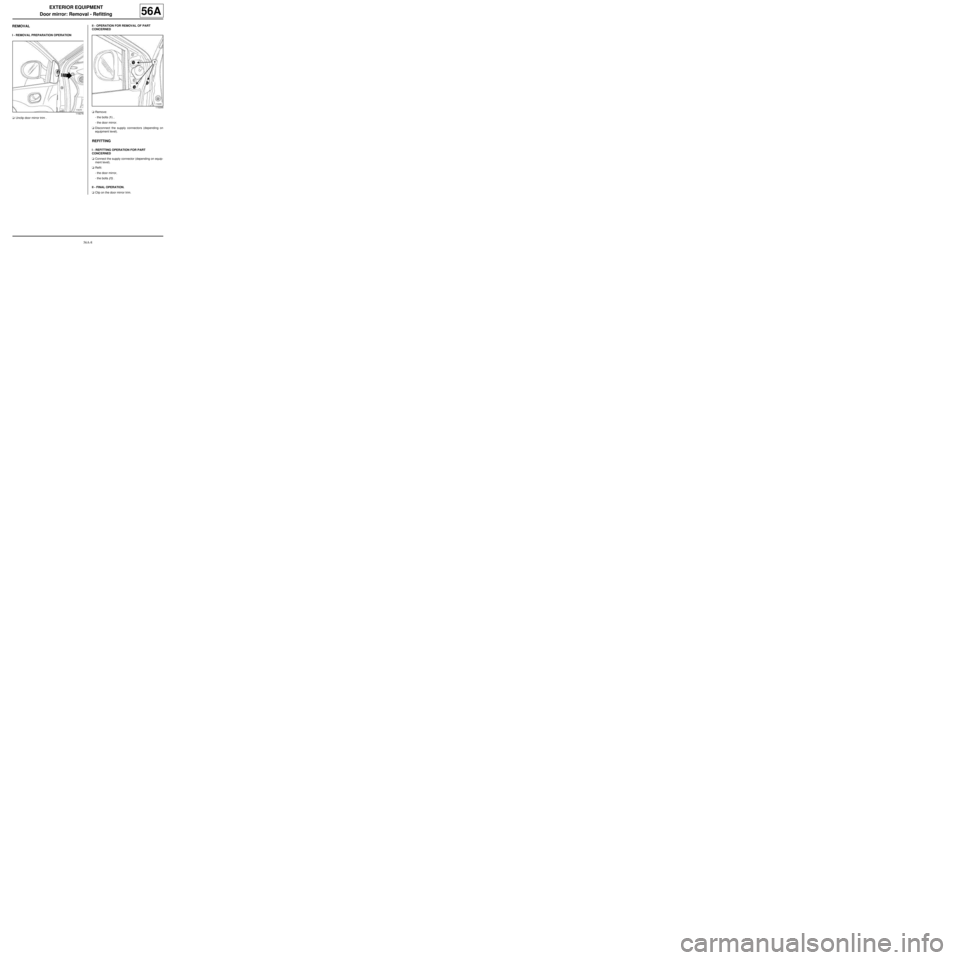
REMOVAL
I - REMOVAL PREPARATION OPERATION
aUnclip door mirror trim .II - OPERATION FOR REMOVAL OF PART
CONCERNED
aRemove:
-the bolts (1) ,
-the door mirror.
aDisconnect the supply connectors (depending on
equipment level).
REFITTING
I - REFITTING OPERATION FOR PART
CONCERNED
aConnect the supply connector (depending on equip-
ment level).
aRefit:
-the door mirror,
-the bolts (1) .
II - FINAL OPERATION.
aClip on the door mirror trim.
119276
119266
Page 66 of 95
56A-9
EXTERIOR EQUIPMENT
Door mirror casing: Removal - Refitting
56A
REMOVAL
I - REMOVAL PREPARATION OPERATION
aRemove the door mirror glass (see 56A, Exterior
equipment, Door mirror glass: Removal - Refit-
ting, page 56A-10) .
II - OPERATION FOR REMOVAL OF PART
CONCERNED
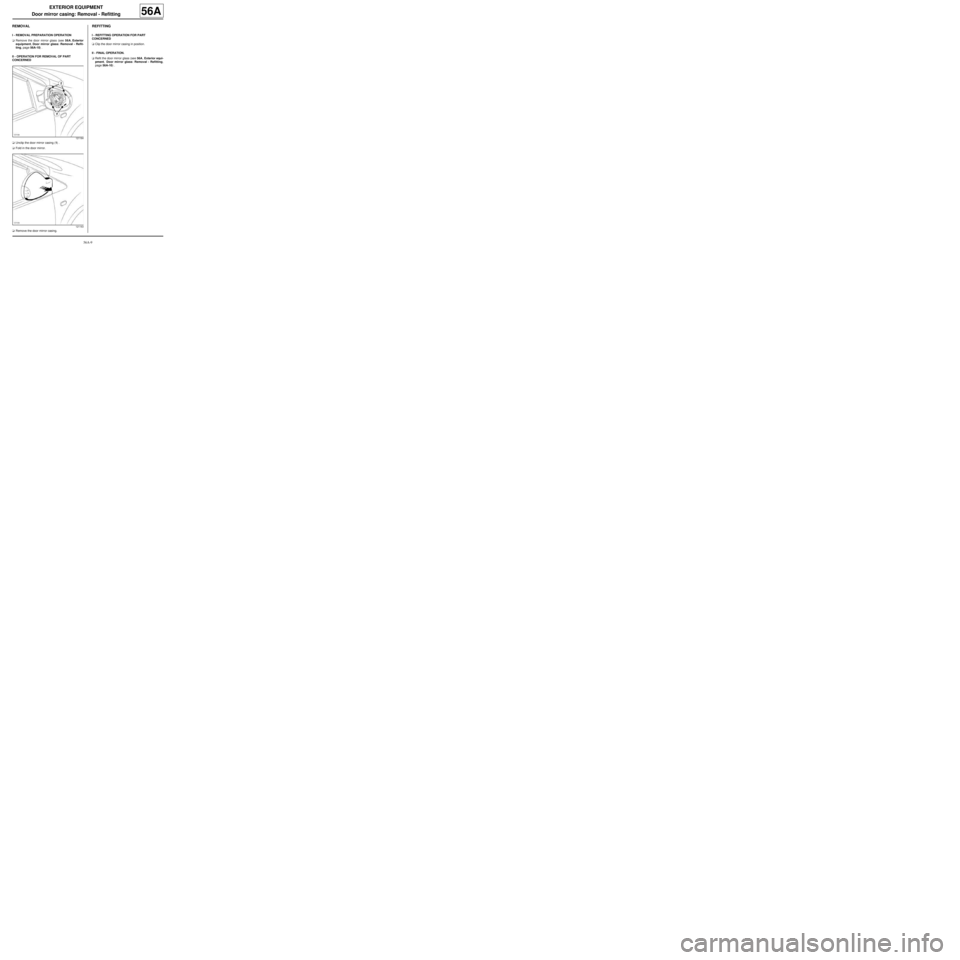
aUnclip the door mirror casing (1) .
aFold in the door mirror.
aRemove the door mirror casing.
REFITTING
I - REFITTING OPERATION FOR PART
CONCERNED
aClip the door mirror casing in position.
II - FINAL OPERATION.
aRefit the door mirror glass (see 56A, Exterior equi-
pment, Door mirror glass: Removal - Refitting,
page 56A-10) .
121164
121163
Page 67 of 95
56A-10
EXTERIOR EQUIPMENT
Door mirror glass: Removal - Refitting
56A
REMOVAL
OPERATION FOR REMOVAL OF PART
CONCERNED
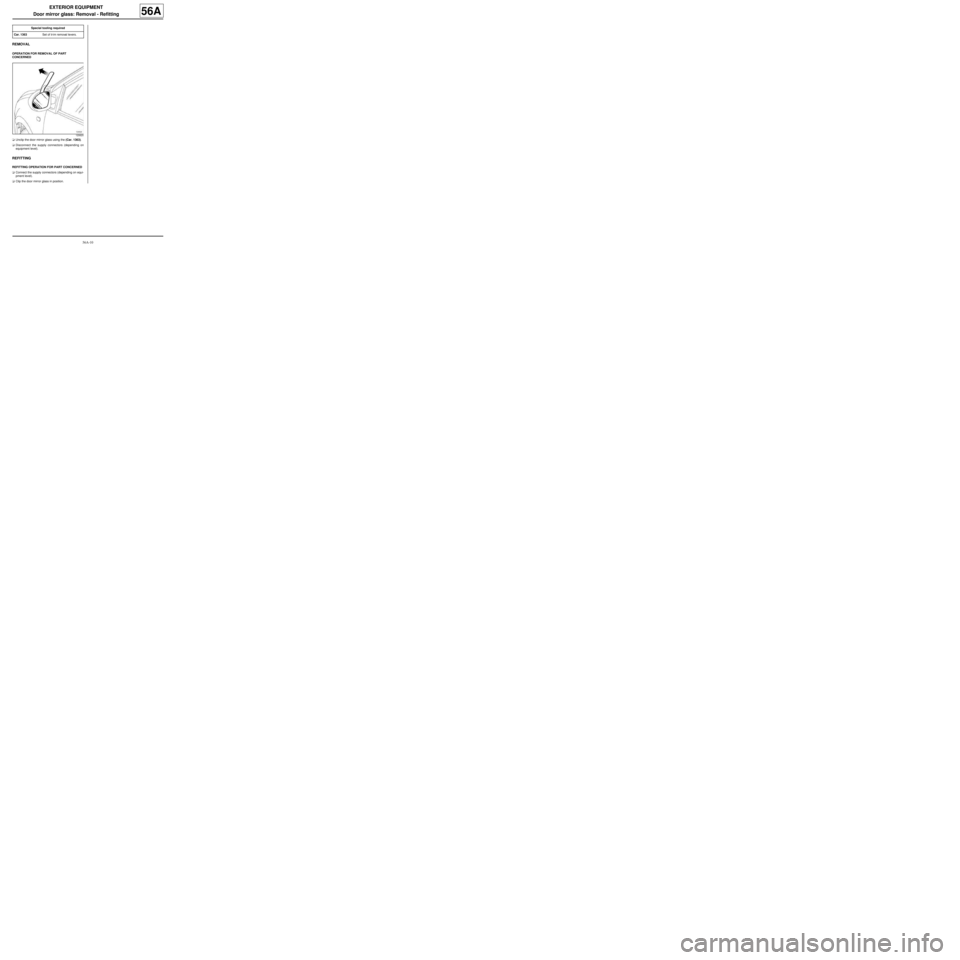
aUnclip the door mirror glass using the (Car. 1363).
aDisconnect the supply connectors (depending on
equipment level).
REFITTING
REFITTING OPERATION FOR PART CONCERNED
aConnect the supply connectors (depending on equi-
pment level).
aClip the door mirror glass in position.Special tooling required
Car. 1363Set of tr im removal levers.
120620
Page 87 of 95
57A-14
INTERIOR EQUIPMENT
Interior rear-view mirror: Removal - Refitting
57A
REMOVAL
OPERATION FOR REMOVAL OF PART
CONCERNED
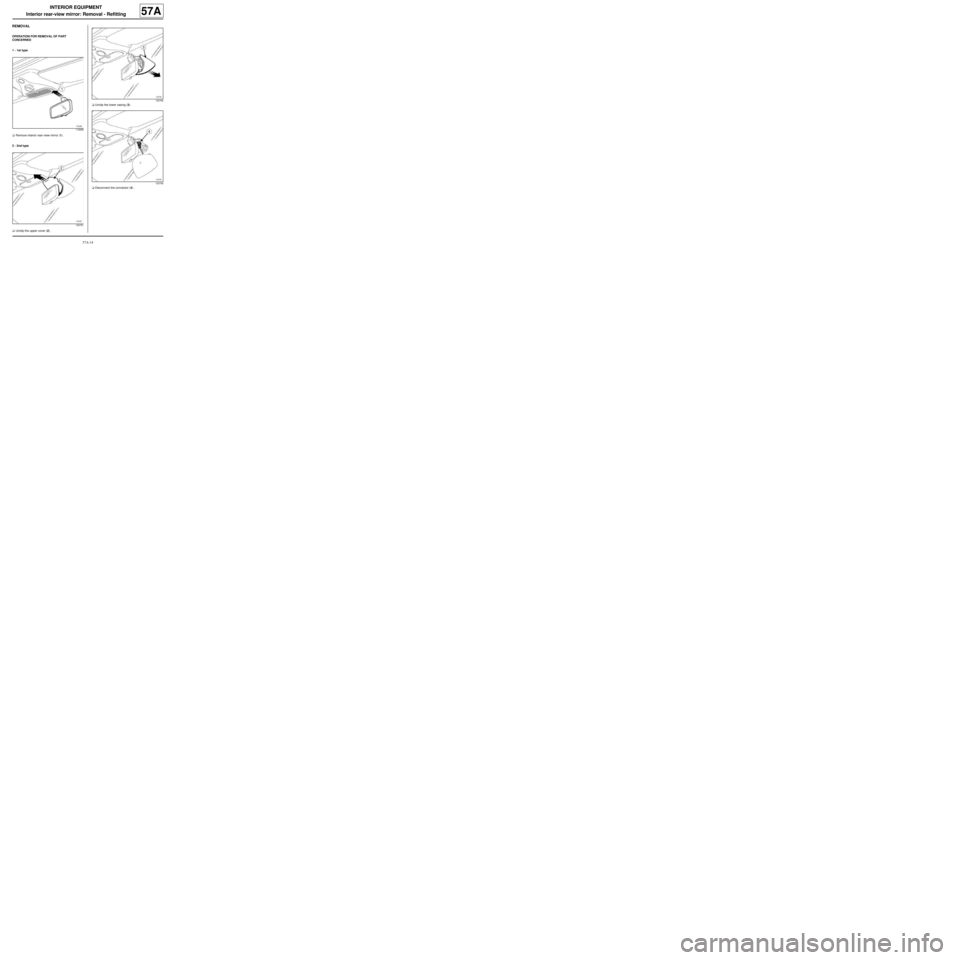
1 - 1st type
aRemove interior rear-view mirror (1) .
2 - 2nd type
aUnclip the upper cover (2) .aUnclip the lower casing (3) .
aDisconnect the connector (4) .
119299
120791
120792
120793
Page 88 of 95
57A-15
INTERIOR EQUIPMENT
Interior rear-view mirror: Removal - Refitting
57A
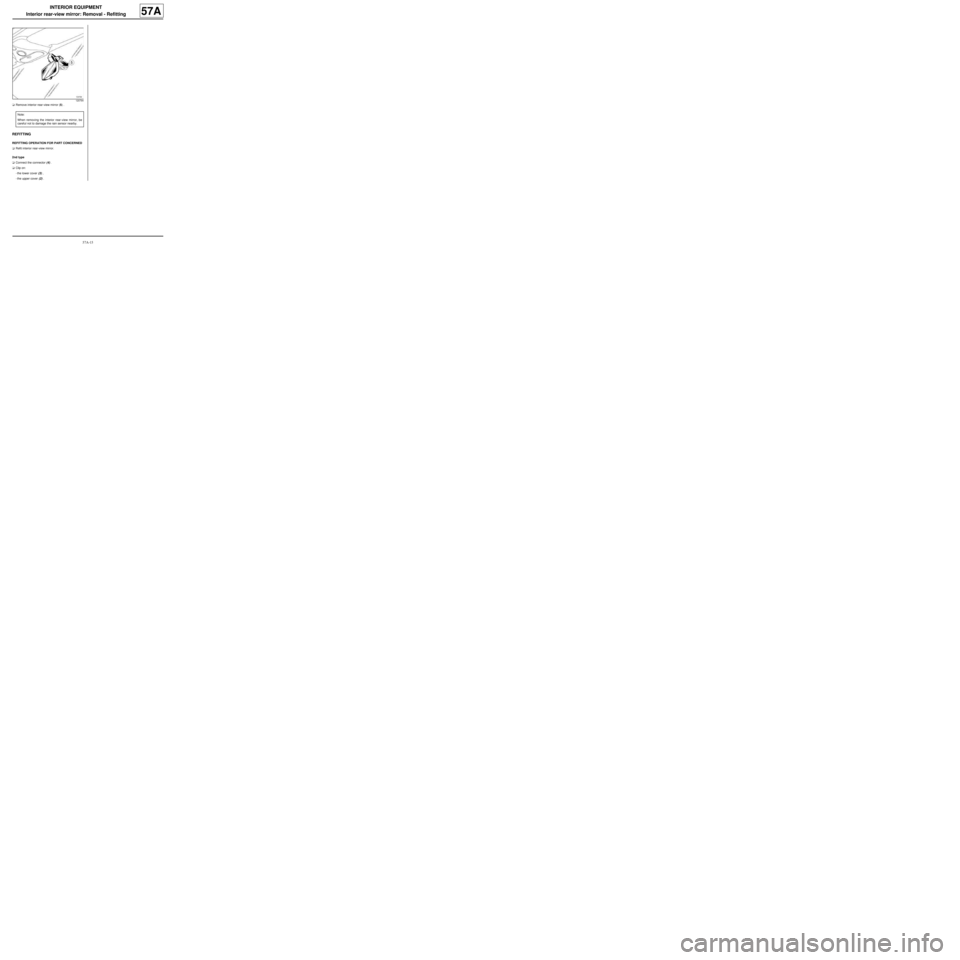
aRemove interior rear-view mirror (5) .
REFITTING
REFITTING OPERATION FOR PART CONCERNED
aRefit interior rear-view mirror.
2nd type
aConnect the connector (4) .
aClip on:
-the lower cover (3) ,
-the upper cover (2) .
120794
Note:
When removing the interior rear-view mirror, be
careful not to damage the rain sensor nearby.