tow RENAULT TWINGO 2009 2.G Mechanism And Accessories Workshop Manual
[x] Cancel search | Manufacturer: RENAULT, Model Year: 2009, Model line: TWINGO, Model: RENAULT TWINGO 2009 2.GPages: 95
Page 28 of 95
52A-14
NON-SIDE OPENING ELEMENT MECHANISMS
Sunroof deflector: Removal - Refitting
52A
REMOVAL
I - REMOVAL PREPARATION OPERATION
aOpen the sunroof mobile panel.
II - OPERATION FOR REMOVAL OF PART
CONCERNED
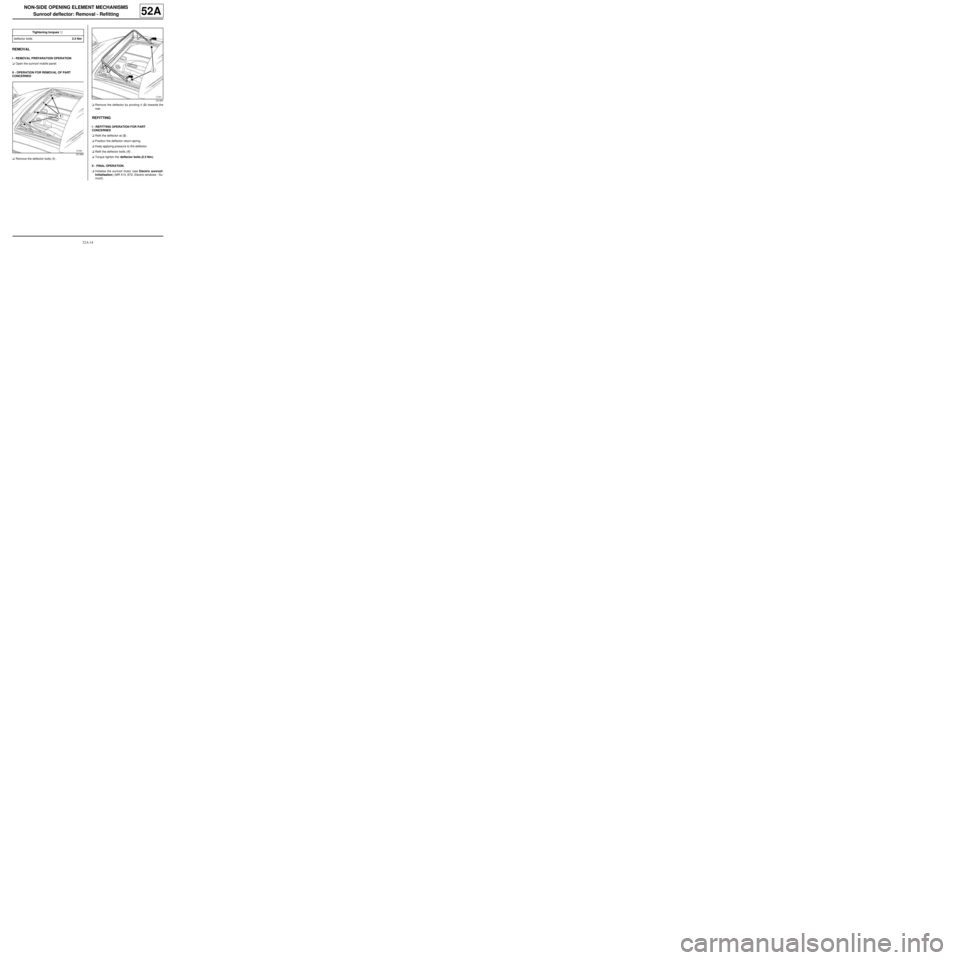
aRemove the deflector bolts (1) .aRemove the deflector by pivoting it (2) towards the
rear.
REFITTING
I - REFITTING OPERATION FOR PART
CONCERNED
aRefit the deflector at (2) .
aPosition the deflector return spring.
aKeep applying pressure to the deflector.
aRefit the deflector bolts (1) .
aTorque tighten the deflector bolts (2.5 Nm).
II - FINAL OPERATION.
aInitialise the sunroof motor (see Electric sunroof:
Initialisation) (MR 413, 87D, Electric windows - Su-
nroof). Tightening torquesm
deflector bolts2.5 Nm
121490
121491
Page 39 of 95
55A-1
EXTERIOR PROTECTION
Front bumper: Removal - Refitting
55A
REMOVAL
I - REMOVAL PREPARATION OPERATION
aPosition the vehicle on a two-post lift (see Vehicle:
Towing and lifting) (MR 412, 02A, Lifting equip-
ment).
aRemove:
-the front wheels (see Wheel: Removal - Refitting)
(MR 411, 35A, Wheels and tyres),
-the front wheel arch liners (see 55A, Exterior pro-
tection, Front wheel arch liner: Removal - Refit-
ting, page 55A-18) .
II - OPERATION FOR REMOVAL OF PART
CONCERNED
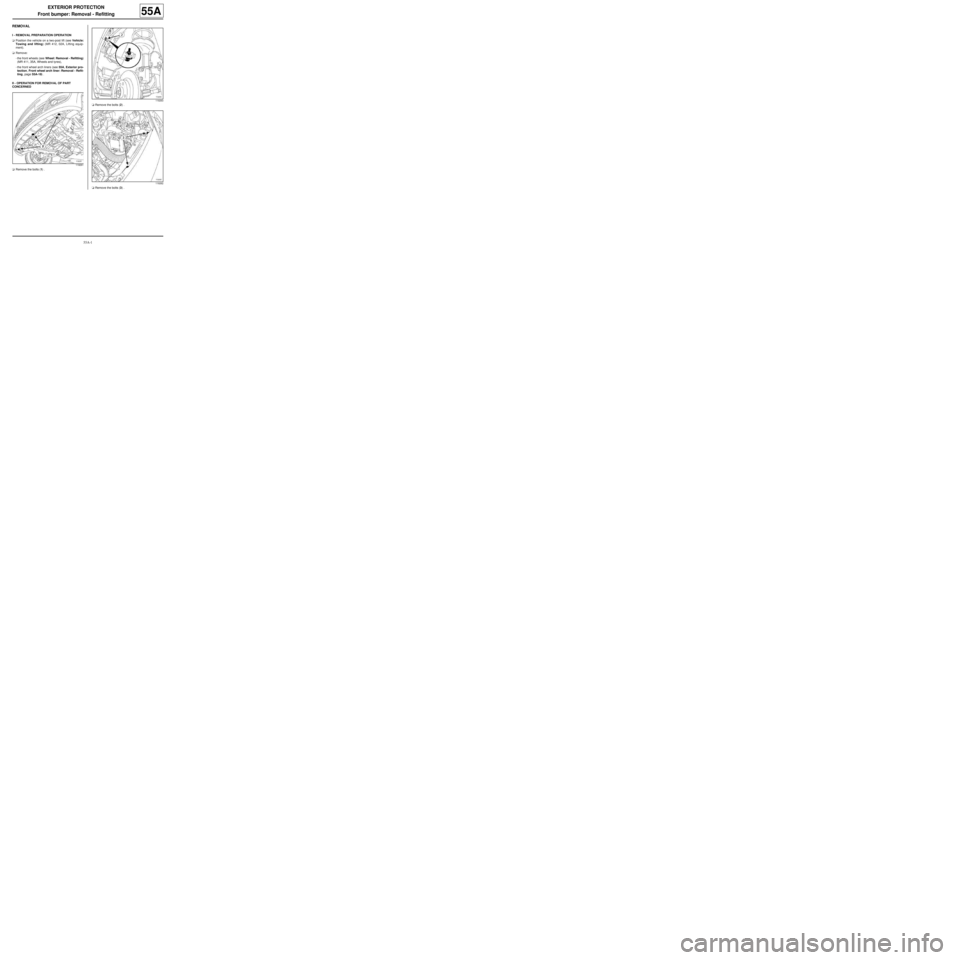
aRemove the bolts (1) .aRemove the bolts (2) .
aRemove the bolts (3) .
119261
119263
119262
Page 48 of 95
55A-10
EXTERIOR PROTECTION
Rear bumper: Removal - Refitting
55A
REMOVAL
I - REMOVAL PREPARATION OPERATION
aPosition the vehicle on a two-post lift (see Vehicle:
Towing and lifting) (02A, Lifting equipment).
aRemove the rear lights (see Rear wing light: Re-
moval - Refitting) (81A, Rear lighting).
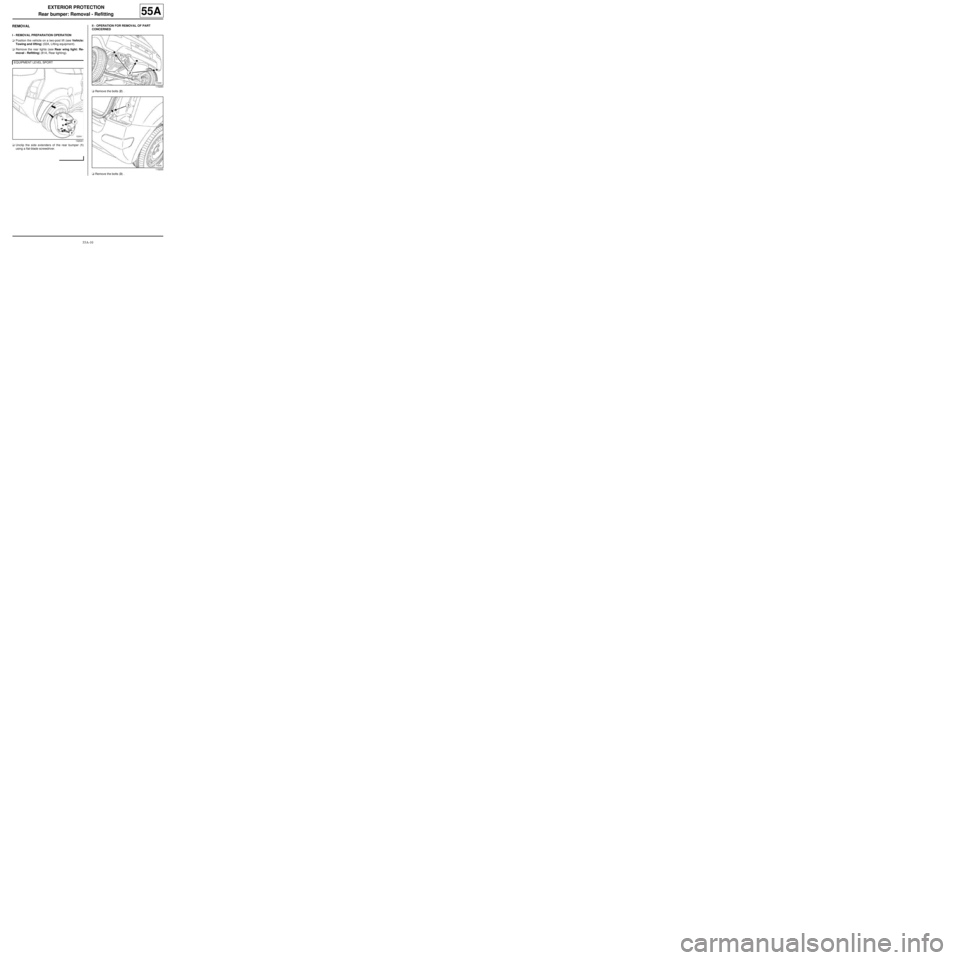
aUnclip the side extenders of the rear bumper (1)
using a flat-blade screwdriver.II - OPERATION FOR REMOVAL OF PART
CONCERNED
aRemove the bolts (2) .
aRemove the bolts (3) . EQ UIPMENT LEVEL SPORT
132041
119260
119255
Page 53 of 95
55A-15
EXTERIOR PROTECTION
Front side door protective strip: Removal - Refitting
55A
REMOVAL
OPERATION FOR REMOVAL OF PART
CONCERNED
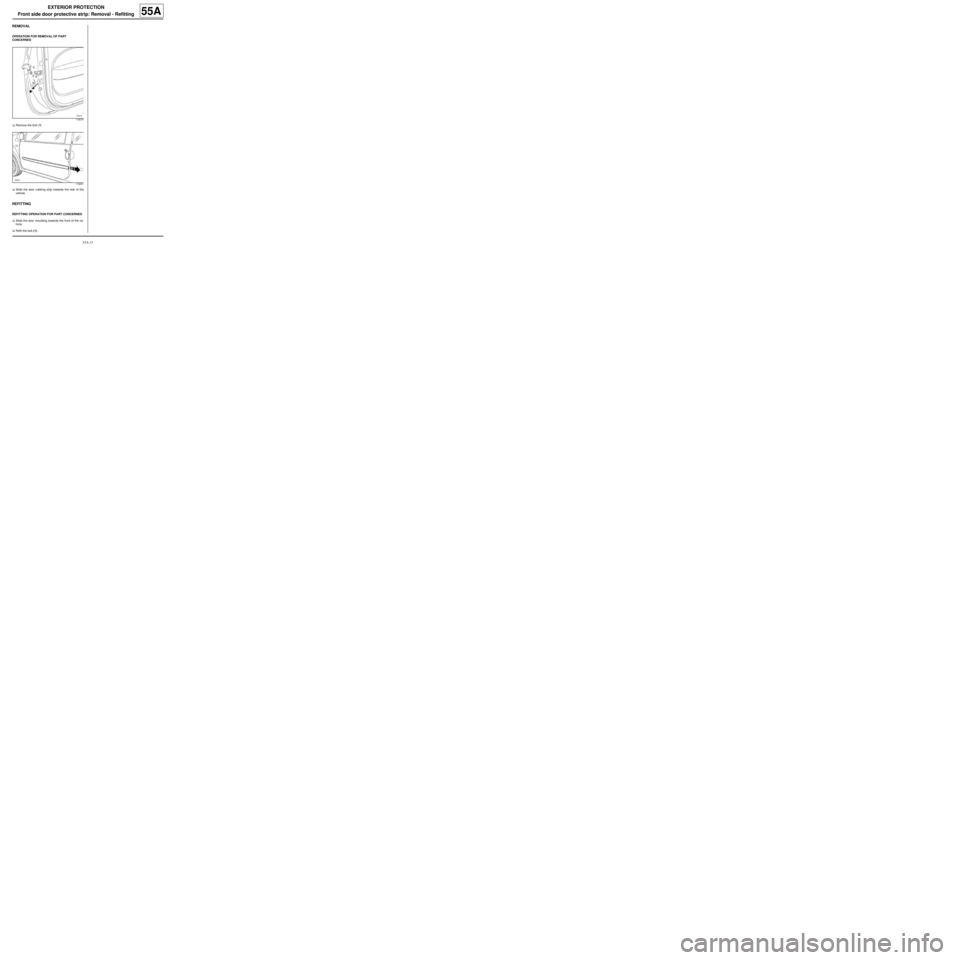
aRemove the bolt (1) .
aSlide the door rubbing strip towards the rear of the
vehicle.
REFITTING
REFITTING OPERATION FOR PART CONCERNED
aSlide the door moulding towards the front of the ve-
hicle.
aRefit the bolt (1) .
119275
119291
Page 54 of 95
55A-16
EXTERIOR PROTECTION
Rear wing protective strip: Removal - Refitting
55A
REMOVAL
OPERATION FOR REMOVAL OF PART
CONCERNED
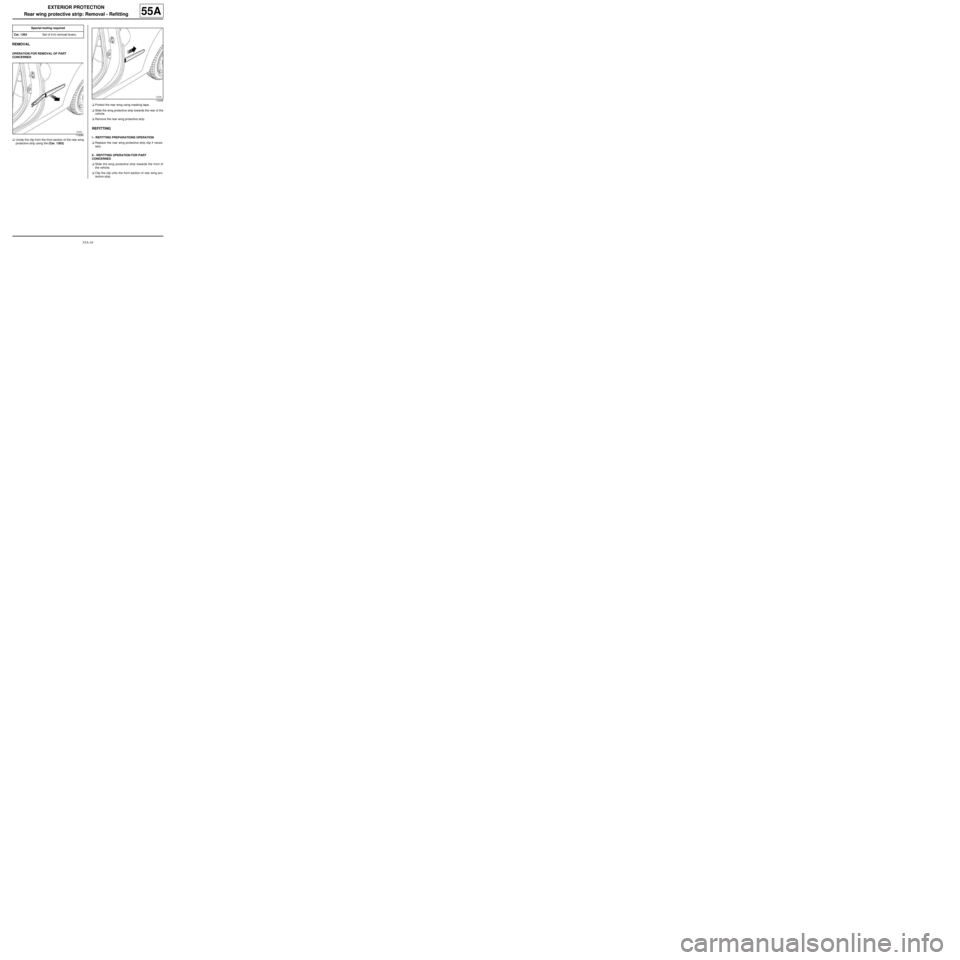
aUnclip the clip from the front section of the rear wing
protective strip using the (Car. 1363).aProtect the rear wing using masking tape.
aSlide the wing protective strip towards the rear of the
vehicle.
aRemove the rear wing protective strip.
REFITTING
I - REFITTING PREPARATIONS OPERATION
aReplace the rear wing protective strip clip if neces-
sary.
II - REFITTING OPERATION FOR PART
CONCERNED
aSlide the wing protective strip towards the front of
the vehicle.
aClip the clip onto the front section of rear wing pro-
tective strip. Special tooling required
Car. 1363Set of tr im removal levers.119284
119285
Page 56 of 95
55A-18
EXTERIOR PROTECTION
Front wheel arch liner: Removal - Refitting
55A
REMOVAL
I - REMOVAL PREPARATION OPERATION
aPosition the vehicle on a two-post lift (see Vehicle:
Towing and lifting) (MR 411, 02A, Lifting equip-
ment).
aRemove the front wheels (see Wheel: Removal -
Refitting) (MR 411, 35A, Wheels and tyres).II - OPERATION FOR REMOVAL OF PART
CONCERNED
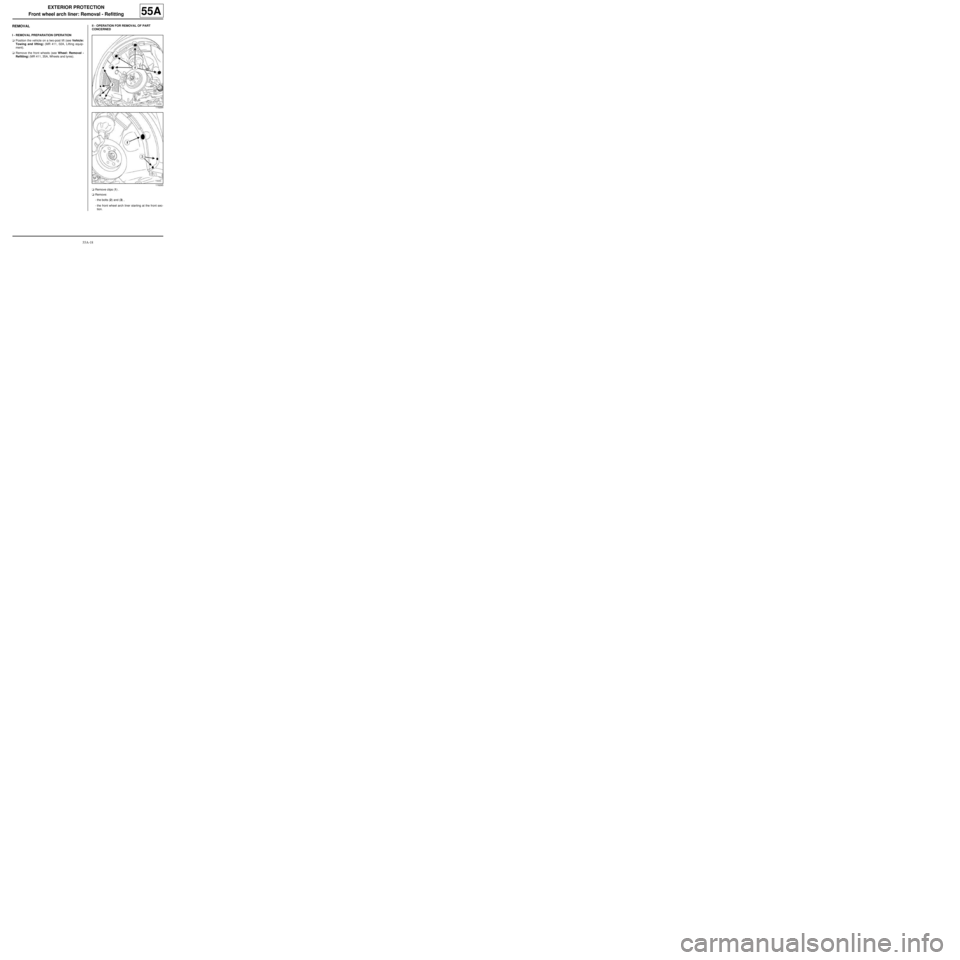
aRemove clips (1) .
aRemove:
-the bolts (2) and (3) ,
-the front wheel arch liner starting at the front sec-
tion.
119264
119265
Page 73 of 95
56A-16
EXTERIOR EQUIPMENT
Rear wing extension: Removal - Refitting
C44, and EQUIPMENT LEVEL SPORT
56A
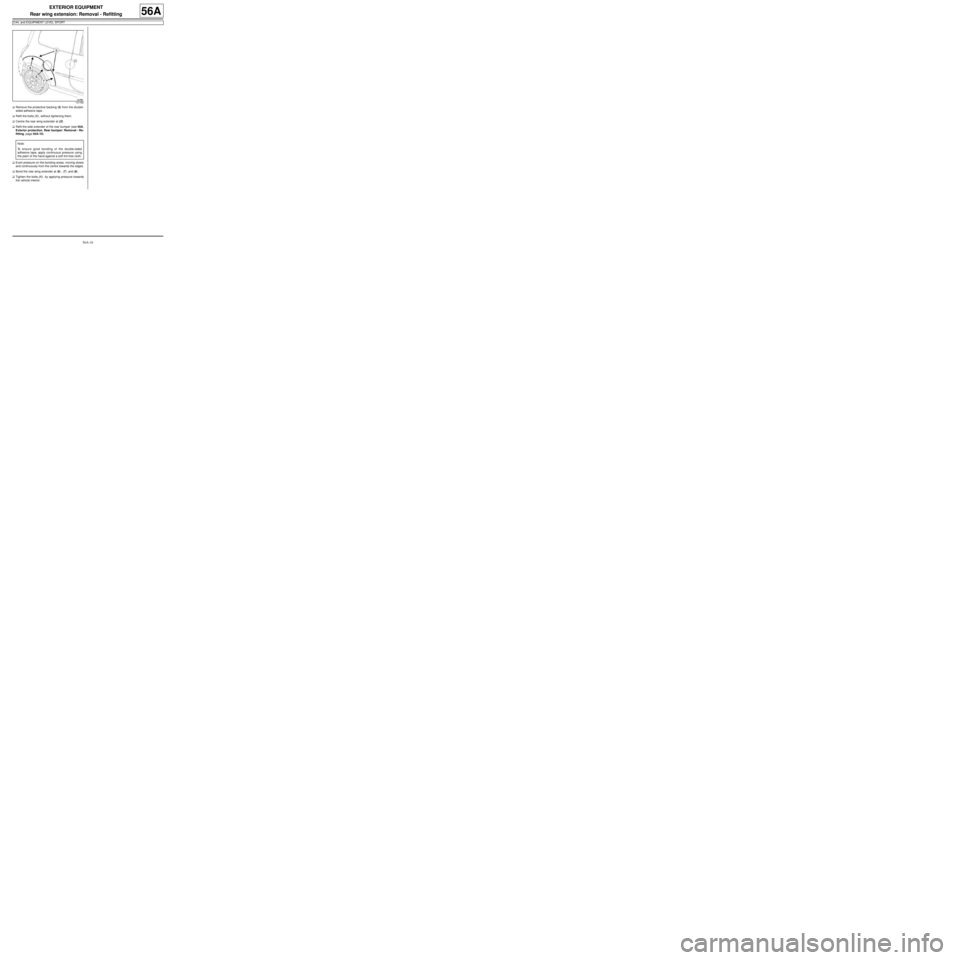
aRemove the protective backing (5) from the double-
sided adhesive tape.
aRefit the bolts (1) , without tightening them.
aCentre the rear wing extender at (3) .
aRefit the side extender of the rear bumper (see 55A,
Exterior protection, Rear bumper: Removal - Re-
fitting, page 55A-10) .
aExert pressure on the bonding areas, moving slowly
and continuously from the centre towards the edges.
aBond the rear wing extender at (6) , (7) ,and (8) .
aTighten the bolts (1) , by applying pressure towards
the vehicle interior.
131785
Note:
To ensure good bonding of the double-sided
adhesive tape, apply continuous pressure using
the palm of the hand against a soft lint-free cloth.