wiring RENAULT TWINGO RS 2009 2.G Electrical Equipment - Parking Distance Control Owner's Manual
[x] Cancel search | Manufacturer: RENAULT, Model Year: 2009, Model line: TWINGO RS, Model: RENAULT TWINGO RS 2009 2.GPages: 43, PDF Size: 0.18 MB
Page 38 of 43

PARKING DISTANCE CONTROL
Fault finding - Fault Finding Chart
87F
87F - 38V2 MR-413-X44-87F000$924_eng.mif
Vdiag No.: 04 08PARKING DISTANCE CONTROL
Fault finding - Fault Finding Chart
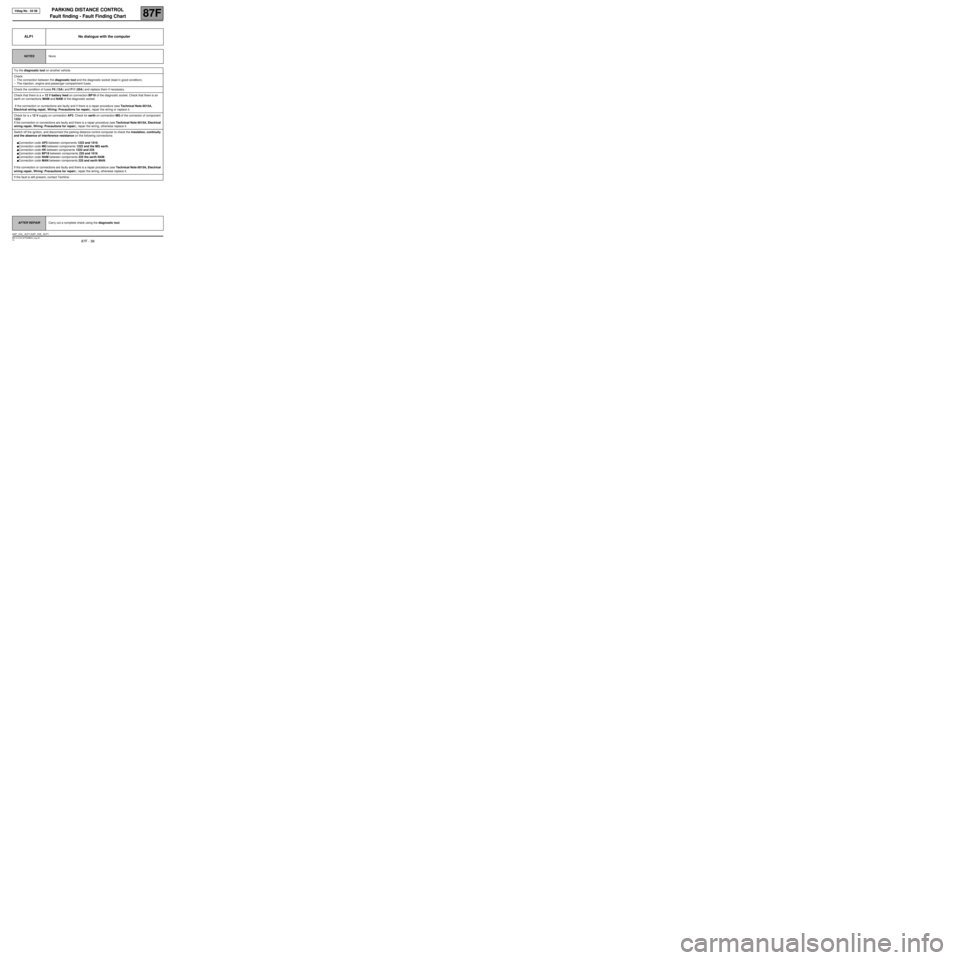
ALP1 No dialogue with the computer
NOTESNone
Try the diagnostic tool on another vehicle.
Check:
–The connection between the diagnostic tool and the diagnostic socket (lead in good condition).
–The injection, engine and passenger compartment fuses.
Check the condition of fuses F6 (15A) and F11 (20A) and replace them if necessary.
Check that there is a + 12 V battery feed on connection BP19 of the diagnostic socket. Check that there is an
earth on connections MAM and NAM of the diagnostic socket.
If the connection or connections are faulty and if there is a repair procedure (see Technical Note 6015A,
Electrical wiring repair, Wiring: Precautions for repair), repair the wiring or replace it.
Check for a + 12 V supply on connection AP3. Check for earth on connection MG of the connector of component
1222.
If the connection or connections are faulty and there is a repair procedure (see Technical Note 6015A, Electrical
wiring repair, Wiring: Precautions for repair), repair the wiring, otherwise replace it.
Switch off the ignition, and disconnect the parking distance control computer to check the insulation, continuity
and the absence of interference resistance on the following connections:
●Connection code AP3 between components 1222 and 1016.
●Connection code MG between components 1222 and the MG earth.
●Connection code HK between components 1222 and 225.
●Connection code BP19 between components 225 and 1016.
●Connection code NAM between components 225 the earth NAM.
●Connection code MAN between components 225 and earth MAN.
If the connection or connections are faulty and there is a repair procedure (see Technical Note 6015A, Electrical
wiring repair, Wiring: Precautions for repair), repair the wiring, otherwise replace it.
If the fault is still present, contact Techline.
AFTER REPAIRCarry out a complete check using the diagnostic tool.
AAP_V04_ ALP1/AAP_V08_ ALP1
MR-413-X44-87F000$924_eng.mif
Page 41 of 43

PARKING DISTANCE CONTROL
Fault finding - Fault Finding Chart
87F
87F - 41V2 MR-413-X44-87F000$924_eng.mif
Vdiag No.: 04 08
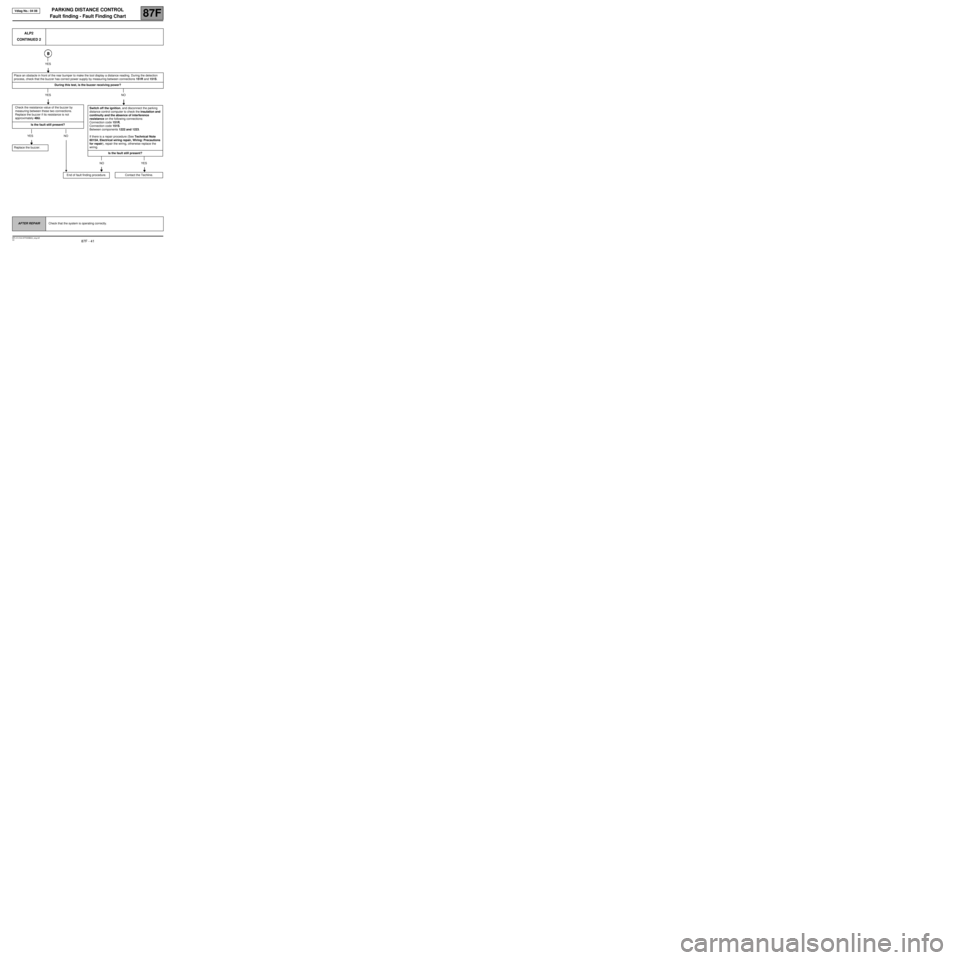
ALP2
CONTINUED 2
YES
Place an obstacle in front of the rear bumper to make the tool display a distance reading. During the detection
process, check that the buzzer has correct power supply by measuring between connections 151R and 151S.
During this test, is the buzzer receiving power?
YES NO
Check the resistance value of the buzzer by
measuring between these two connections.
Replace the buzzer if its resistance is not
approximately 48ΩΩ Ω Ω
.
Is the fault still present?
YES NO
Replace the buzzer.
Switch off the ignition, and disconnect the parking
distance control computer to check the insulation and
continuity and the absence of interference
resistance on the following connections:
Connection code 151R,
Connection code 151S.
Between components 1222 and 1223.
If there is a repair procedure (See Technical Note
6015A, Electrical wiring repair, Wiring: Precautions
for repair), repair the wiring, otherwise replace the
wiring.
Is the fault still present?
NO YES
Contact the Techline.
End of fault finding procedure.
AFTER REPAIRCheck that the system is operating correctly.
Page 42 of 43

PARKING DISTANCE CONTROL
Fault finding - Fault Finding Chart
87F
87F - 42V2 MR-413-X44-87F000$924_eng.mif
Vdiag No.: 04 08
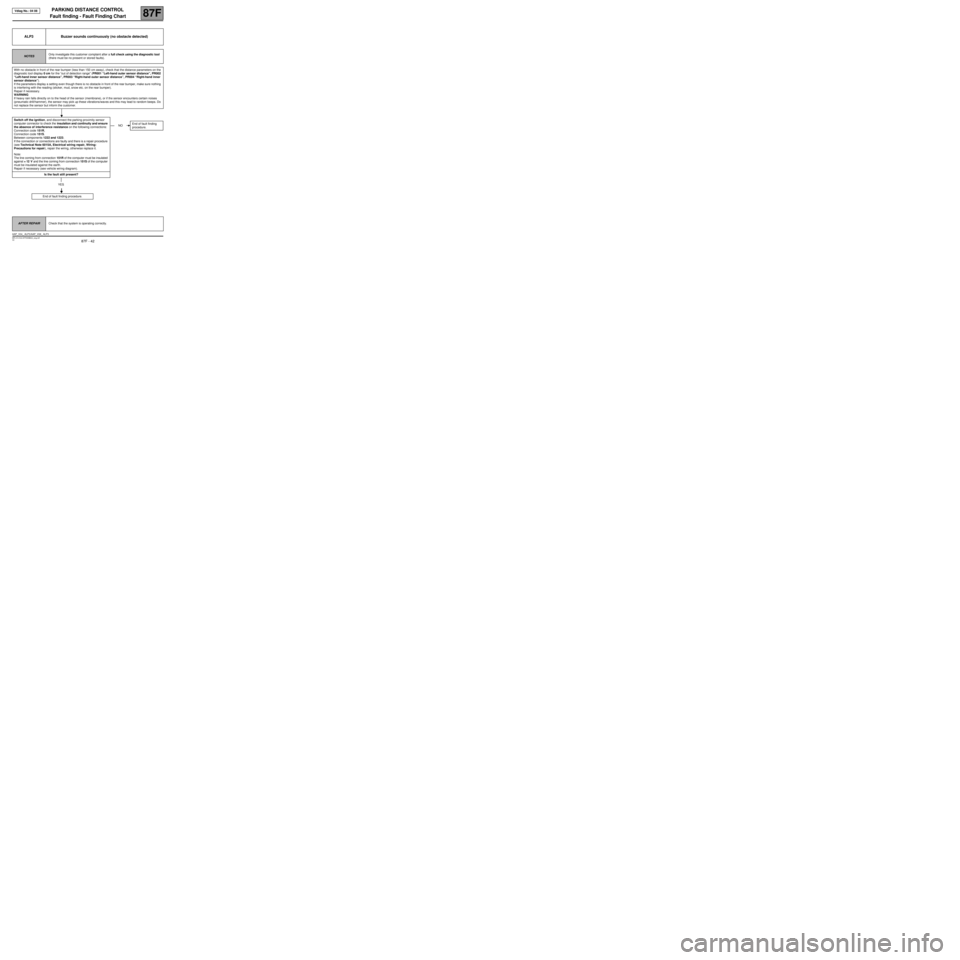
ALP3 Buzzer sounds continuously (no obstacle detected)
NOTESOnly investigate this customer complaint after a full check using the diagnostic tool
(there must be no present or stored faults).
With no obstacle in front of the rear bumper (less than 150 cm away), check that the distance parameters on the
diagnostic tool display 0 cm for the “out of detection range” (PR001 “Left-hand outer sensor distance”, PR002
“Left-hand inner sensor distance”, PR003 “Right-hand outer sensor distance”, PR004 “Right-hand inner
sensor distance”).
If the parameters display a setting even though there is no obstacle in front of the rear bumper, make sure nothing
is interfering with the reading (sticker, mud, snow etc. on the rear bumper).
Repair if necessary.
WARNING
If heavy rain falls directly on to the head of the sensor (membrane), or if the sensor encounters certain noises
(pneumatic drill/hammer), the sensor may pick up these vibrations/waves and this may lead to random beeps. Do
not replace the sensor but inform the customer.
Switch off the ignition, and disconnect the parking proximity sensor
computer connector to check the insulation and continuity and ensure
the absence of interference resistance on the following connections:
Connection code 151R,
Connection code 151S.
Between components 1222 and 1223.
If the connection or connections are faulty and there is a repair procedure
(see Technical Note 6015A, Electrical wiring repair, Wiring:
Precautions for repair), repair the wiring, otherwise replace it.
Note:
The line coming from connection 151R of the computer must be insulated
against + 12 V and the line coming from connection 151S of the computer
must be insulated against the earth.
Repair if necessary (see vehicle wiring diagram).
Is the fault still present?
YES
End of fault finding procedure.
NOEnd of fault finding
procedure.
AFTER REPAIRCheck that the system is operating correctly.
AAP_V04_ ALP3/AAP_V08_ ALP3