alternator RENAULT TWINGO RS 2009 2.G Engine And Peripherals Workshop Manual
[x] Cancel search | Manufacturer: RENAULT, Model Year: 2009, Model line: TWINGO RS, Model: RENAULT TWINGO RS 2009 2.GPages: 652
Page 5 of 652
Contents
13C PREHEATING
Pre-postheating unit:
Removal - Refitting 13C-1
Heater plugs: Removal -
Refitting 13C-2
14A ANTIPOLLUTION
Oil vapour rebreathing
circuit: Descriptions 14A-1
Fuel vapour recirculation
circuit: Operating diagram 14A-2
Fuel vapour recirculation
circuit: Check 14A-3
Fuel vapour absorber:
Removal - Refitting 14A-4
Fuel vapour absorber: Check 14A-7
Fuel vapour absorber bleed
solenoid valve: Removal -
Refitting 14A-8
Exhaust gas recirculation
solenoid valve: Removal -
Refitting 14A-10
Exhaust gas cooler: Removal
- Refitting 14A-11
Exhaust gas recirculation
assembly: Removal -
Refitting 14A-15
Exhaust gas recirculation
rigid pipe: Removal -
Refitting 14A-19
16A STARTING - CHARGING
Alternator: Removal -
Refitting 16A-1
Star ter: Removal - Refitting 16A-10
Alternator pulley: Removal -
Refitting 16A-1717A IGNITION
Coils: Removal - Refitting 17A-1
Plugs: Removal - Refitting 17A-12
17B PETROL INJECTION
Petrol injection: List and
location of components 17B-1
Oxygen sensors: Removal -
Refitting 17B-13
Petrol injection computer:
Removal - Refitting 17B-20
Pinking sensor: Removal -
Refitting 17B-23
Crankshaft position sensor:
Removal - Refitting 17B-25
Injector rail - Injectors:
Removal - Refitting 17B-27
19A COOLING
Engine cooling system:
Specifications 19A-1
Engine cooling system:
Check 19A-2
Engine cooling circuit: List
and location of components 19A-4
Engine cooling system:
Operating diagram 19A-5
Cooling system: Draining -
Refilling 19A-9
Cooling radiator: Removal -
Refitting 19A-12
Coolant pump: Removal -
Refitting 19A-24
Thermostat: Removal -
Refitting 19A-34
Water chamber: Removal -
Refitting 19A-40
Page 54 of 652
10A-48
ENGINE AND CYLINDER BLOCK ASSEMBLY
Oil pressure sensor: Removal - Refitting
K4M
10A
REMOVAL
I - REMOVAL PREPARATION OPERATION
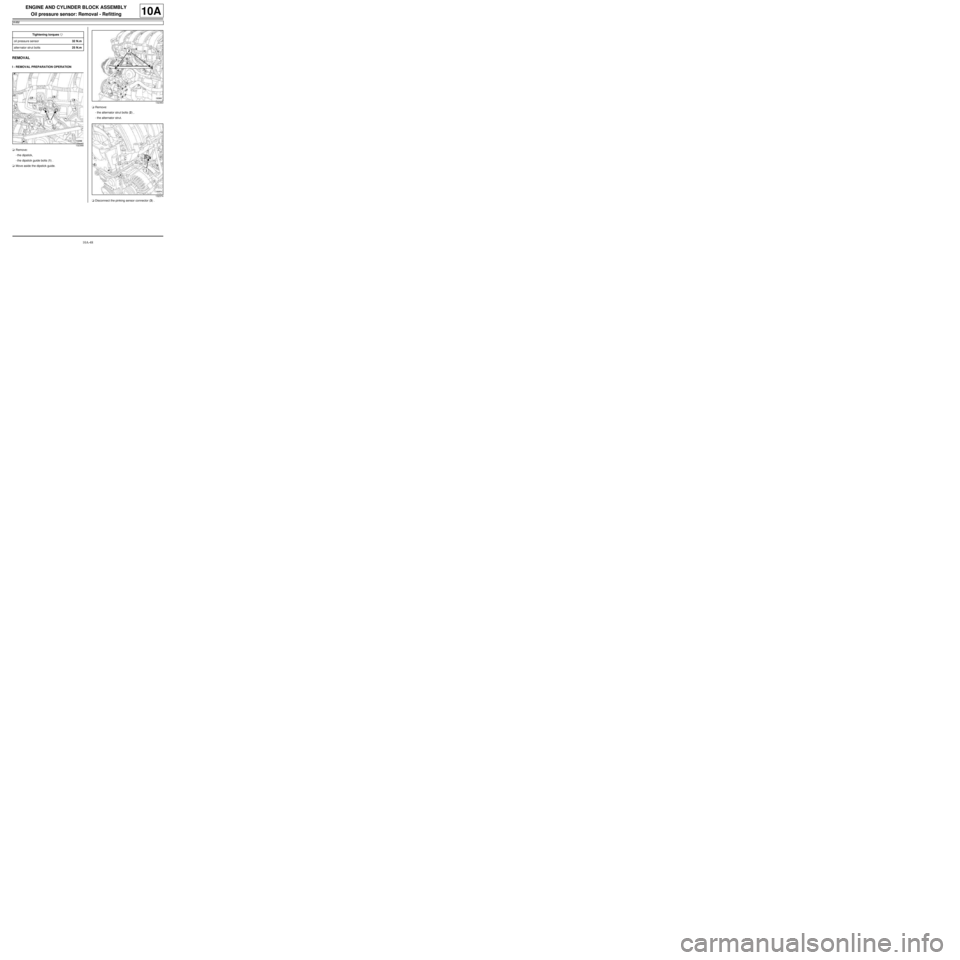
aRemove:
-the dipstick,
-the dipstick guide bolts (1) .
aMove aside the dipstick guide.aRemove:
-the alternator strut bolts (2) ,
-the alternator strut.
aDisconnect the pinking sensor connector (3) . Tightening torquesm
oil pressure sensor32 N.m
alter nator strut bolts25 N.m
132368
132363
132374
Page 55 of 652
10A-49
ENGINE AND CYLINDER BLOCK ASSEMBLY
Oil pressure sensor: Removal - Refitting
K4M
10A
II - REMOVAL OPERATION
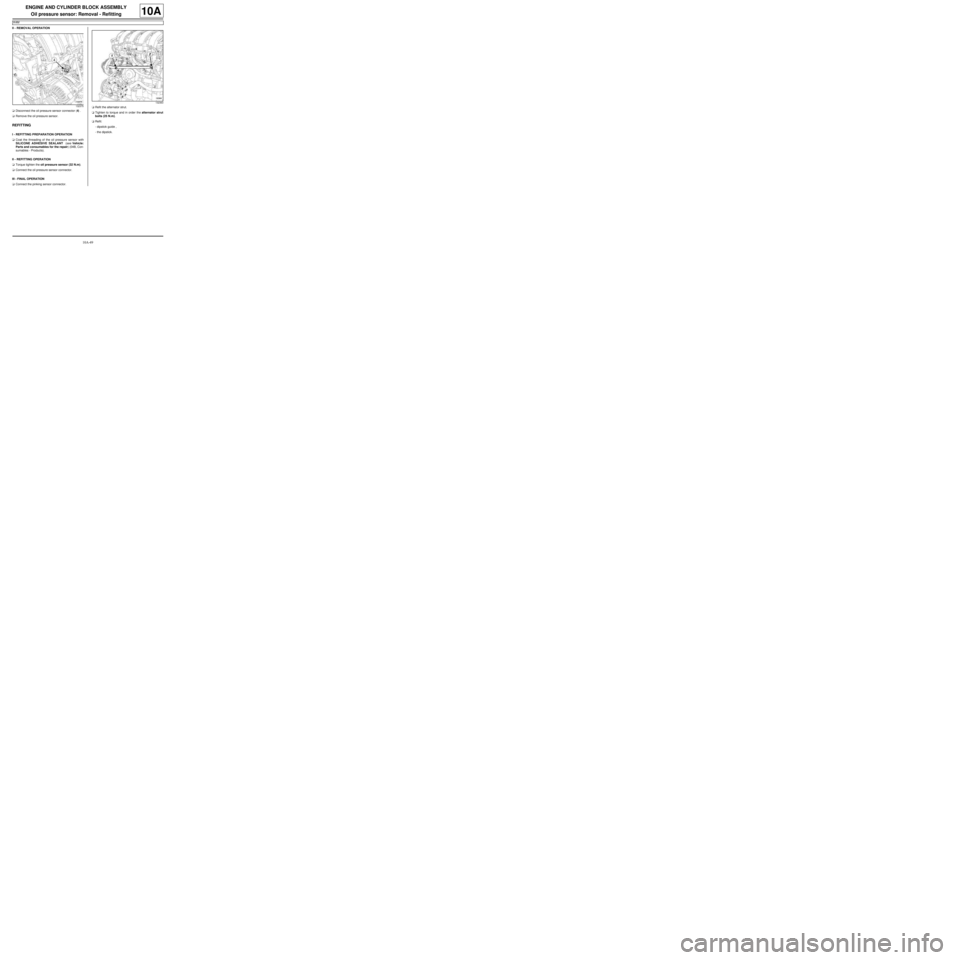
aDisconnect the oil pressure sensor connector (4) .
aRemove the oil pressure sensor.
REFITTING
I - REFITTING PREPARATION OPERATION
aCoat the threading of the oil pressure sensor with
SILICONE ADHESIVE SEALANT (see Vehicle:
Parts and consumables for the repair) (04B, Con-
sumables - Products).
II - REFITTING OPERATION
aTorque tighten the oil pressure sensor (32 N.m).
aConnect the oil pressure sensor connector.
III - FINAL OPERATION
aConnect the pinking sensor connector.aRefit the alternator strut.
aTighten to torque and in order the alternator strut
bolts (25 N.m).
aRefit:
-dipstick guide ,
-the dipstick.
132375
132363
Page 72 of 652
10A-66
ENGINE AND CYLINDER BLOCK ASSEMBLY
Multifunction support: Removal - Refitting
D4F, and 772, and STANDARD HEATING – D7F, and STANDARD HEATING
10A
REMOVAL
I - REMOVAL PREPARATION OPERATION
aDisconnect the battery (see Battery: Removal - Re-
fitting) (80A, Battery).
aRemove:
-the accessories belt (see 11A, Top and front of
engine, Accessories belt: Removal - Refitting,
page 11A-3) ,
-the alternator (see 16A, Starting - Charging, Al-
ternator: Removal - Refitting, page 16A-1) .
II - OPERATION FOR REMOVAL OF PART
CONCERNED
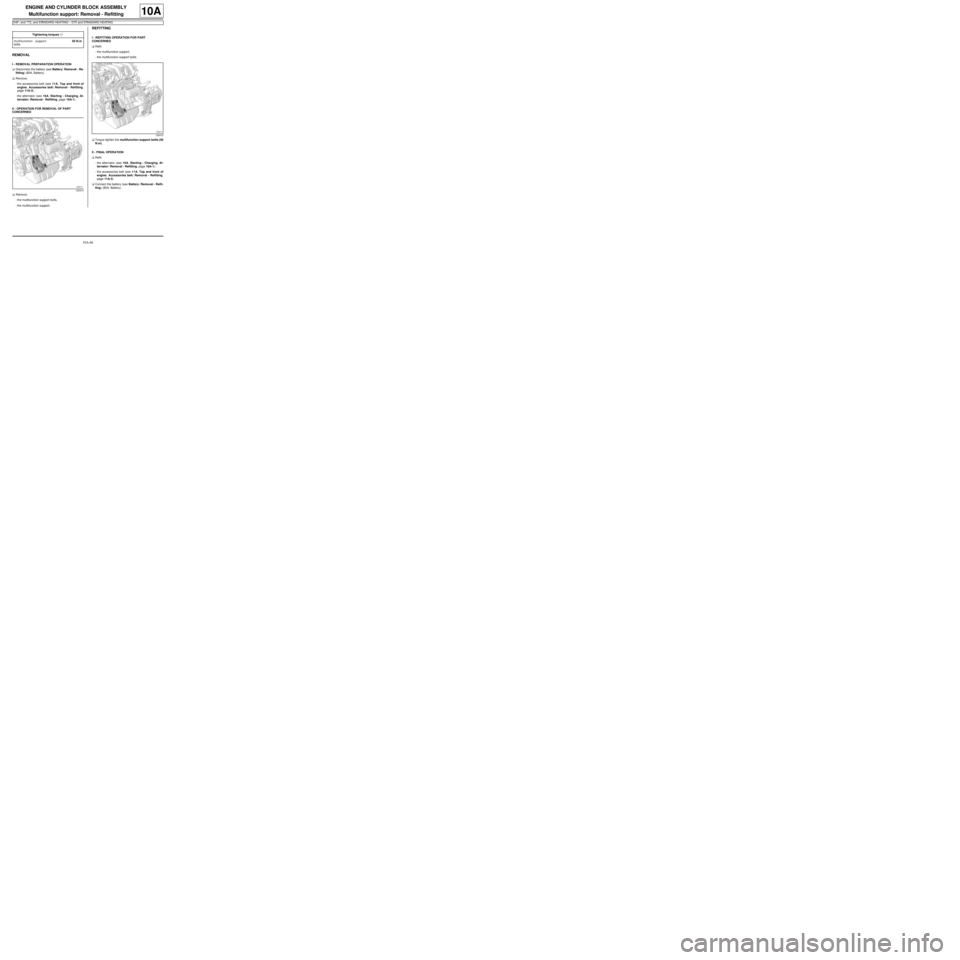
aRemove:
-the multifunction support bolts,
-the multifunction support.
REFITTING
I - REFITTING OPERATION FOR PART
CONCERNED
aRefit:
-the multifunction support,
-the multifunction support bolts.
aTorque tighten the multifunction support bolts (50
N.m).
II - FINAL OPERATION
aRefit:
-the alternator (see 16A, Starting - Charging, Al-
ternator: Removal - Refitting, page 16A-1) ,
-the accessories belt (see 11A, Top and front of
engine, Accessories belt: Removal - Refitting,
page 11A-3) .
aConnect the battery (see Battery: Removal - Refit-
ting) (80A, Battery). Tightening torquesm
multifunction support
bolts50 N.m
120410
120410
Page 73 of 652
10A-67
ENGINE AND CYLINDER BLOCK ASSEMBLY
Multifunction support: Removal - Refitting
D4F, and 772, and AIR CONDITIONING – D7F, and AIR CONDITIONING
10A
REMOVAL
I - REMOVAL PREPARATION OPERATION
aPosition the vehicle on a two-post lift (see Vehicle:
Towing and lifting) (02A, Lifting equipment).
aDisconnect the battery (see Battery: Removal - Re-
fitting) (80A, Battery).
aRemove:
-the front right-hand wheel (see Wheel: Removal -
Refitting) (35A, Wheels and tyres),
-the accessories belt (see 11A, Top and front of
engine, Accessories belt: Removal - Refitting,
page 11A-3) ,
-the alternator (see 16A, Starting - Charging, Al-
ternator: Removal - Refitting, page 16A-1) ,
-the air conditioning compressor (see Compressor:
Removal - Refitting) (62A, Air conditioning).
II - OPERATION FOR REMOVAL OF PART
CONCERNED
aRemove:
-the multifunction support bolts,-the coolant pump inlet pipe bolt,
-the multifunction support.
REFITTING
I - REFITTING OPERATION FOR PART
CONCERNED
aRefit:
-the multifunction support,
-the multifunction support bolts.
aTorque tighten the multifunction support bolts (50
N.m).
aRefit the coolant pump inlet pipe bolt.
II - FINAL OPERATION
aRefit:
-the air conditioning compressor (see Compressor:
Removal - Refitting) (62A, Air conditioning),
-the alternator (see 16A, Starting - Charging, Al-
ternator: Removal - Refitting, page 16A-1) ,
-the accessories belt (see 11A, Top and front of
engine, Accessories belt: Removal - Refitting,
page 11A-3) ,
-the front right-hand wheel (see Wheel: Removal -
Refitting) (35A, Wheels and tyres).
aConnect the battery (see Battery: Removal - Refit-
ting) (80A, Battery). Tightening torquesm
multifunction support
bolts50 N.m
120517
Page 75 of 652
10A-69
ENGINE AND CYLINDER BLOCK ASSEMBLY
Multifunction support: Removal - Refitting
D4F, and 780 or 782
10A
REMOVAL
I - REMOVAL PREPARATION OPERATION
aPosition the vehicle on a two-post lift (see Vehicle:
Towing and lifting) (02A, Lifting equipment).
aDisconnect the battery (see ) (80A, Battery).
aRemove:
-the front right-hand wheel (see Wheel: Removal -
Refitting) (35A, Wheels and tyres),
-the front right-hand wheel arch liner (see Front
wheel arch liner: Removal - Refitting) (55A, Ex-
terior protection),
-the accessories belt (see 11A, Top and front of
engine, Accessories belt: Removal - Refitting,
page 11A-3) ,
-the alternator (see 16A, Starting - Charging, Al-
ternator: Removal - Refitting, page 16A-1) .
aRemove the air conditioning compressor (see Com-
pressor: Removal - Refitting) (62A, Air condition-
ing).II - OPERATION FOR REMOVAL OF PART
CONCERNED
aRemove:
-the bolt of the coolant-oil heat exchanger cooling
pipes support from the multifunction support,
-the bolts (4) from the coolant pump inlet pipe,
-the multifunction support bolts (3) ,
-the multifunction support.
REFITTING
I - REFITTING OPERATION FOR PART
CONCERNED
aRefit:
-the multifunction support,
-the multifunction support bolts,
-the coolant pump inlet pipe bolts,
-the bolt of the coolant-oil heat exchanger cooling
pipes support on the multifunction support.
aTorque tighten:
-the multifunction support bolts (50 N.m),
-the coolant pump inlet pipe bolts (10 N.m). Tightening torquesm
multifunction support
bolts50 N.m
coolant pump inlet pipe
bolts10 N.m
AIR CONDITIONING
120956
Page 76 of 652
10A-70
ENGINE AND CYLINDER BLOCK ASSEMBLY
Multifunction support: Removal - Refitting
D4F, and 780 or 782
10A
II - FINAL OPERATION
aRefit the air conditioning compressor (see Com-
pressor: Removal - Refitting) (62A, Air condition-
ing).
aRefit:
-the alternator (see 16A, Starting - Charging, Al-
ternator: Removal - Refitting, page 16A-1) ,
-the accessories belt (see 11A, Top and front of
engine, Accessories belt: Removal - Refitting,
page 11A-3) ,
-the front right-hand wheel arch liner (see Front
wheel arch liner: Removal - Refitting) (55A, Ex-
terior protection).
-the front right-hand wheel (see Wheel: Removal -
Refitting) (35A, Wheels and tyres).
aConnect the battery (see ) (80A, Battery). AIR CONDITIONING
Page 77 of 652
10A-71
ENGINE AND CYLINDER BLOCK ASSEMBLY
Multifunction support: Removal - Refitting
K4M
10A
REMOVAL
I - REMOVAL PREPARATION OPERATION
aPosition the vehicle on a two-post lift (see Vehicle:
Towing and lifting) (02A, Lifting equipment).
aDisconnect the battery (see Battery: Removal - Re-
fitting) (80A, Battery).
aRemove the engine undertray.
aDrain the refrigerant circuit using a refrigerant
charging station (see Refrigerant circuit: Drain-
ing - Filling) (62A, Air conditioning).
aRemove:
-the front right-hand wheel (see Wheel: Removal -
Refitting) (35A, Wheels and tyres),
-the front right-hand wheel arch liner (see Front
wheel arch liner: Removal - Refitting) (55A, Ex-
terior protection),
-the front bumper (see Front bumper: Removal -
Refitting) (55A, Exterior protection),
-the headlights (see Halogen headlight: Removal
- Refitting) (80B, Headlights),
-the bonnet catch (see Bonnet lock: Removal -
Refitting) (52A, Non-side opening element mecha-
nisms),-the front upper cross member (see Front upper
cross member: Removal - Refitting) (42A, Upper
front structure),
-the accessories belt (see 11A, Top and front of
engine, Accessories belt: Removal - Refitting,
page 11A-3) ,
-the alternator (see 16A, Starting - Charging, Al-
ternator: Removal - Refitting, page 16A-1) ,
-the air conditioning compressor (see Compressor:
Removal - Refitting) (62A, Air conditioning). Equipment required
refrigerant charging station
Tightening torquesm
multifunction support
bolts 1 and 2 (initial
torque)5 N.m
multifunction support
bolt 7 on the cylinder
block (initial torque)5 N.m
multifunction support
bolts 6, 5, 4 and 35 N.m
multifunction support
bolts44 N.m
multifunction support
bolt on the cylinder
block25 N.m
Page 79 of 652
10A-73
ENGINE AND CYLINDER BLOCK ASSEMBLY
Multifunction support: Removal - Refitting
K4M
10A
REFITTING
I - REFITTING OPERATION
aRefit the multifunction support.
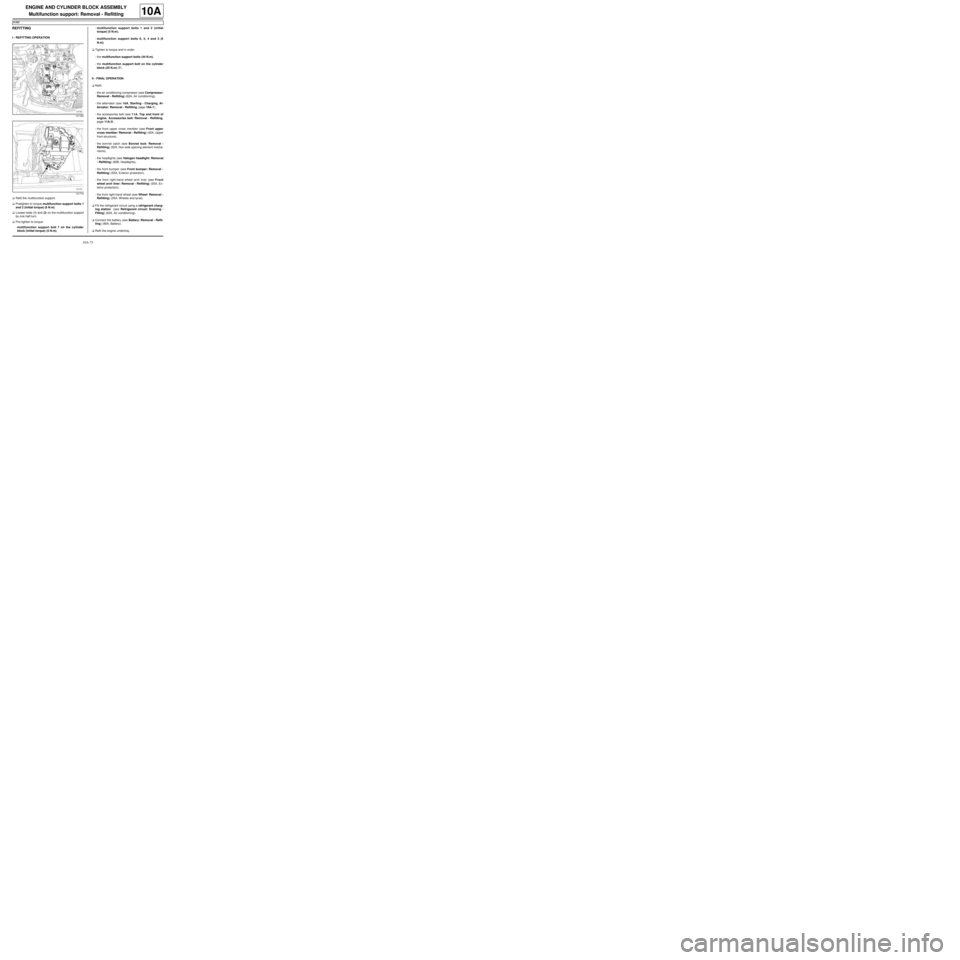
aPretighten to torque multifunction support bolts 1
and 2 (initial torque) (5 N.m).
aLoosen bolts (1) and (2) on the multifunction support
by one half-turn.
aPre-tighten to torque:
-multifunction support bolt 7 on the cylinder
block (initial torque) (5 N.m),-multifunction support bolts 1 and 2 (initial
torque) (5 N.m),
-multifunction support bolts 6, 5, 4 and 3 (5
N.m).
aTighten to torque and in order:
-the multifunction support bolts (44 N.m),
-the multifunction support bolt on the cylinder
block (25 N.m) (7) .
II - FINAL OPERATION
aRefit:
-the air conditioning compressor (see Compressor:
Removal - Refitting) (62A, Air conditioning),
-the alternator (see 16A, Starting - Charging, Al-
ternator: Removal - Refitting, page 16A-1) ,
-the accessories belt (see 11A, Top and front of
engine, Accessories belt: Removal - Refitting,
page 11A-3) ,
-the front upper cross member (see Front upper
cross member: Removal - Refitting) (42A, Upper
front structure),
-the bonnet catch (see Bonnet lock: Removal -
Refitting) (52A, Non-side opening element mecha-
nisms),
-the headlights (see Halogen headlight: Removal
- Refitting) (80B, Headlights),
-the front bumper (see Front bumper: Removal -
Refitting) (55A, Exterior protection),
-the front right-hand wheel arch liner (see Front
wheel arch liner: Removal - Refitting) (55A, Ex-
terior protection),
-the front right-hand wheel (see Wheel: Removal -
Refitting) (35A, Wheels and tyres).
aFill the refrigerant circuit using a refrigerant charg-
ing station (see Refrigerant circuit: Draining -
Filling) (62A, Air conditioning).
aConnect the battery (see Battery: Removal - Refit-
ting) (80A, Battery).
aRefit the engine undertray.
131780
131779
Page 120 of 652
11A-3
TOP AND FRONT OF ENGINE
Accessories belt: Removal - Refitting
D4F, and 772, and STANDARD HEATING – D7F, and STANDARD HEATING
11A
REMOVAL
I - REMOVAL PREPARATION OPERATION
aDisconnect the battery (see Battery: Removal - Re-
fitting) (80A, Battery).
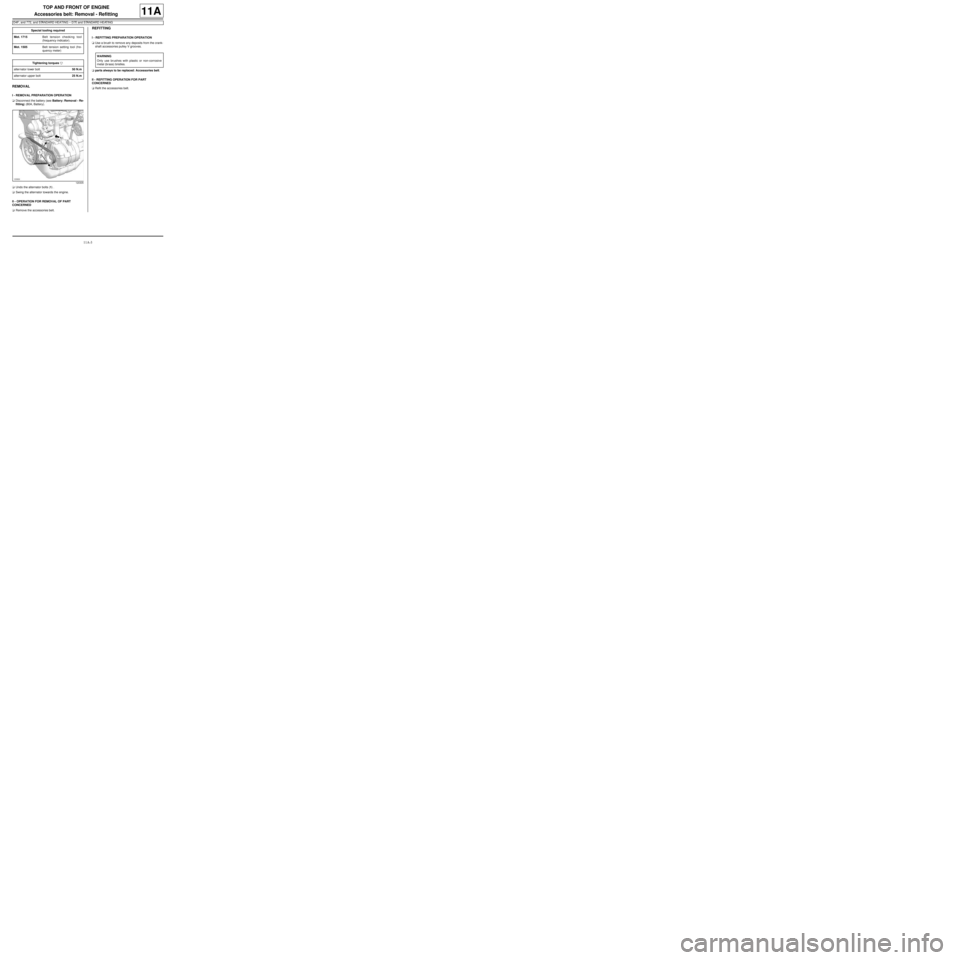
aUndo the alternator bolts (1) .
aSwing the alternator towards the engine.
II - OPERATION FOR REMOVAL OF PART
CONCERNED
aRemove the accessories belt.
REFITTING
I - REFITTING PREPARATION OPERATION
aUse a brush to remove any deposits from the crank-
shaft accessories pulley V grooves.
aparts always to be replaced: Accessories belt.
II - REFITTING OPERATION FOR PART
CONCERNED
aRefit the accessories belt. Special tooling required
Mot. 1715Belt tension checking tool
(frequency indicator).
Mot. 1505Belt tension setting tool (fre-
quency meter)
Tightening torquesm
alter nator lower bolt50 N.m
alter nator upper bolt25 N.m
120305
WARNING
Only use brushes with plastic or non-corrosive
metal (br ass) bristles.