air condition RENAULT TWINGO RS 2009 2.G Engine Diesel Injection Repair Manual
[x] Cancel search | Manufacturer: RENAULT, Model Year: 2009, Model line: TWINGO RS, Model: RENAULT TWINGO RS 2009 2.GPages: 269
Page 93 of 269

13B-93
AFTER REPAIRDeal with any faults displayed by the diagnostic tool.
Clear the computer fault memory.
Carry out a road test followed by another check with the diagnostic tool.
V6 MR-413-X44-13B000$110.mif
DIESEL INJECTION
Fault finding – Interpretation of faults13B
DCM 1.2 Injection
Program No.: 4D
Vdiag No.: 48, 4C, 50,
54, 58, 5C
DF062
PRESENT
OR
STOREDMISFIRING ON CYLINDER 4
NOTESSpecial notes:
If fault DF062 is present: there is engine noise and jerking, the engine runs on three
cylinders, the engine speed is held at 1000 rpm, the engine performance is reduced to
75%, and the level 1 warning light illuminates.
Conditions for applying fault finding procedures to stored faults:
The fault is present with the engine idling.
Priorities when dealing with a number of faults:
–DF029 Cylinder 4 injector control circuit (CC or CO),
–DF053 Rail pressure regulation function.
Check the presence and conformity of the fuel. Run TEST 13: Diesel fuel conformity check.
Run TEST 3 Injector check.
Run TEST 7 High pressure circuit sealing check.
Check the engine compression.
Repair if necessary.
Check the valve clearance and adjust if necessary.
Check the inlet ducts, as well as the EGR valve, and clean them if necessary (see Technical Note 3916 Cleaning
the EGR solenoid valve).
If the fault is still present, replace the injector, component code 196 (see MR 364 (Mégane II), MR 370 (Scénic II),
MR 385 (Modus), MR 392 (Clio III), MR 411 (New Twingo), MR 417 (Kangoo 2), Mechanical, 13B, Diesel
injection, Diesel injector: Removal - Refitting).
DCM1.2_V48_DF062/DCM1.2_V4C_DF062/DCM1.2_V50_DF062/DCM1.2_V54_DF062/DCM1.2_V58_DF062/DCM1.2_V5C_DF062
Page 94 of 269
13B-94
AFTER REPAIRDeal with any faults displayed by the diagnostic tool.
Clear the computer fault memory.
Carry out a road test followed by another check with the diagnostic tool.
V6 MR-413-X44-13B000$110.mif
DIESEL INJECTION
Fault finding – Interpretation of faults13B
DCM 1.2 Injection
Program No.: 4D
Vdiag No.: 48, 4C, 50,
54, 58, 5C
DF089
PRESENT
OR
STOREDINLET MANIFOLD PRESSURE SENSOR CIRCUIT1.DEF: Permanent low level
2.DEF: Permanent high level
3.DEF: Below minimum threshold
4.DEF: Above maximum threshold
5.DEF: Inconsistency
6.DEF: At maximum stop
7.DEF: At minimum stop
NOTESPriority in dealing with a number of faults:
–DF113 Sensor supply voltage.
Special notes:
The level 1 warning light illuminates accompanied by the message Check
injection.
See Technical Note Wiring Diagrams of the vehicle concerned.
1.DEF
2.DEF
3.DEF
4.DEF
NOTESNone.
Check the connection and condition of the inlet pressure sensor connector, component code 1071.
Check the connection and condition of connector B (brown 48-track) of the injection computer, component
code 120.
If the connector(s) is faulty and if there is a repair procedure (see Technical Note 6015A, Repairing electrical
wiring, Wiring: Precautions for repair), repair the connector, otherwise replace the wiring.
Check for + 5 V on connection 3LQ of component 1071 (or 1474 for the K9K750).
Check for earth on connection 3LN of component 1071 (or 1474 for the K9K750).
Check the insulation, the continuity and the absence of interference resistance on the following connections:
–3LQ between components 120 and 1071 (or 1474 for the K9K750).
–3LP between components 120 and 1071 (or 1474 for the K9K750).
–3LN between components 120 and 1071 (or 1474 for the K9K750).
If the connection or connections are faulty and there is a repair procedure (see Technical Note 6015A, Electrical
wiring repair, Wiring: Precautions for repair), repair the wiring, otherwise replace the wiring.
If the fault is still present, contact the Techline.
DCM1.2_V48_DF089/DCM1.2_V4C_DF089/DCM1.2_V50_DF089/DCM1.2_V54_DF089/DCM1.2_V58_DF089/DCM1.2_V5C_DF089
Page 96 of 269
13B-96
AFTER REPAIRDeal with any faults displayed by the diagnostic tool.
Clear the computer fault memory.
Carry out a road test followed by another check with the diagnostic tool.
V6 MR-413-X44-13B000$110.mif
DIESEL INJECTION
Fault finding – Interpretation of faults13B
DCM 1.2 Injection
Program No.: 4D
Vdiag No.: 48, 4C, 50,
54, 58, 5C
DF098
PRESENT
OR
STOREDFUEL TEMPERATURE SENSOR CIRCUIT
CO.1: Open circuit or short circuit to + 12 V
CC.0: Short circuit to earth
NOTESNone.
See Technical Note Wiring Diagrams of the vehicle concerned.
Check the connection and condition of the fuel temperature sensor connector, component code 1066.
Check the connection and condition of connector B (brown 48-track) of the injection computer, component
code 120.
If the connector(s) is faulty and if there is a repair procedure (see Technical Note 6015A, Repairing electrical
wiring, Wiring: Precautions for repair), repair the connector, otherwise replace the wiring.
Check the insulation, the continuity and the absence of interference resistance on the following connections:
–3FAB between components 1066 and 120,
–3LD between components 1066 and 120.
If the connection or connections are faulty and there is a repair procedure (see Technical Note 6015A, Electrical
wiring repair, Wiring: Precautions for repair), repair the wiring, otherwise replace the wiring.
Measure the resistance at the fuel temperature sensor terminals.
If the resistance of the fuel temperature sensor is not approximately 2.2 kΩ at 25
°C, replace the fuel temperature
sensor, component code 1066 (see MR 364 (Mégane II), MR 370 (Scénic II), MR 385 (Modus), MR 392 (Clio III),
MR 411 (Nouvelle Twingo), MR 417 (Kangoo 2), Mechanical, 13B, Diesel injection, Fuel temperature sensor,
Removal - Refitting).
DCM1.2_V48_DF098/DCM1.2_V4C_DF098/DCM1.2_V50_DF098/DCM1.2_V54_DF098/DCM1.2_V58_DF098/DCM1.2_V5C_DF098
Page 97 of 269
13B-97
AFTER REPAIRDeal with any faults displayed by the diagnostic tool.
Clear the computer fault memory.
Carry out a road test followed by another check with the diagnostic tool.
V6 MR-413-X44-13B000$110.mif
DIESEL INJECTION
Fault finding – Interpretation of faults13B
DCM 1.2 Injection
Program No.: 4D
Vdiag No.: 48, 4C, 50
DF099
PRESENT
OR
STOREDAUTOMATIC TRANSMISSION OR SEQUENTIAL GEARBOX
CONNECTION VIA THE MULTIPLEX NETWORK
1.DEF: No signal
NOTESSpecial notes:
–Gearbox does not change gear in automatic mode.
–OBD warning light illuminated.
See Technical Note Wiring Diagrams of the vehicle concerned.
Run a multiplex network test (see 88B, Multiplex).
Check the connection and condition of connector A (black 52-track) of the sequential gearbox computer,
component code 119.
Check the connection and condition of connector C (brown 48-track) of the injection computer, component
code 120.
If the connector(s) is faulty and if there is a repair procedure (see Technical Note 6015A, Repairing electrical
wiring, Wiring: Precautions for repair), repair the connector, otherwise replace the wiring.
Check the insulation, the continuity and the absence of interference resistance on the following connections:
–3MT between components 119 and 120,
–3MS between components 119 and 120.
If the connection or connections are faulty and there is a repair procedure (see Technical Note 6015A, Electrical
wiring repair, Wiring: Precautions for repair), repair the wiring, otherwise replace the wiring.
DCM1.2_V48_DF099/DCM1.2_V4C_DF099/DCM1.2_V50_DF099
Page 98 of 269
13B-98
AFTER REPAIRDeal with any faults displayed by the diagnostic tool.
Clear the computer fault memory.
Carry out a road test followed by another check with the diagnostic tool.
V6 MR-413-X44-13B000$110.mif
DIESEL INJECTION
Fault finding – Interpretation of faults13B
DCM 1.2 Injection
Program No.: 4D
Vdiag No.: 48, 4C, 50,
54, 58, 5C
* C2I: Individual injector correction
DF107
PRESENT
OR
STOREDCOMPUTER MEMORY
NOTESConditions for applying fault finding procedures to stored faults:
The fault is present with the engine running.
Special notes:
If fault DF107 is present: the engine stops and cannot be restarted and the level 2
warning light illuminates, with the message Faulty injection displayed on
the instrument panel.
Enter the individual injector corrections (C2I*) using the diagnostic tool (command SC002 Enter injector
codes).
If the fault is still present, contact the Techline.
DCM1.2_V48_DF107/DCM1.2_V4C_DF107/DCM1.2_V50_DF107/DCM1.2_V54_DF107/DCM1.2_V58_DF107/DCM1.2_V5C_DF107
Page 99 of 269
13B-99
AFTER REPAIRDeal with any faults displayed by the diagnostic tool.
Clear the computer fault memory.
Carry out a road test followed by another check with the diagnostic tool.
V6 MR-413-X44-13B000$110.mif
DIESEL INJECTION
Fault finding – Interpretation of faults13B
DCM 1.2 Injection
Program No.: 4D
Vdiag No.: 48, 4C, 50,
54, 58, 5C
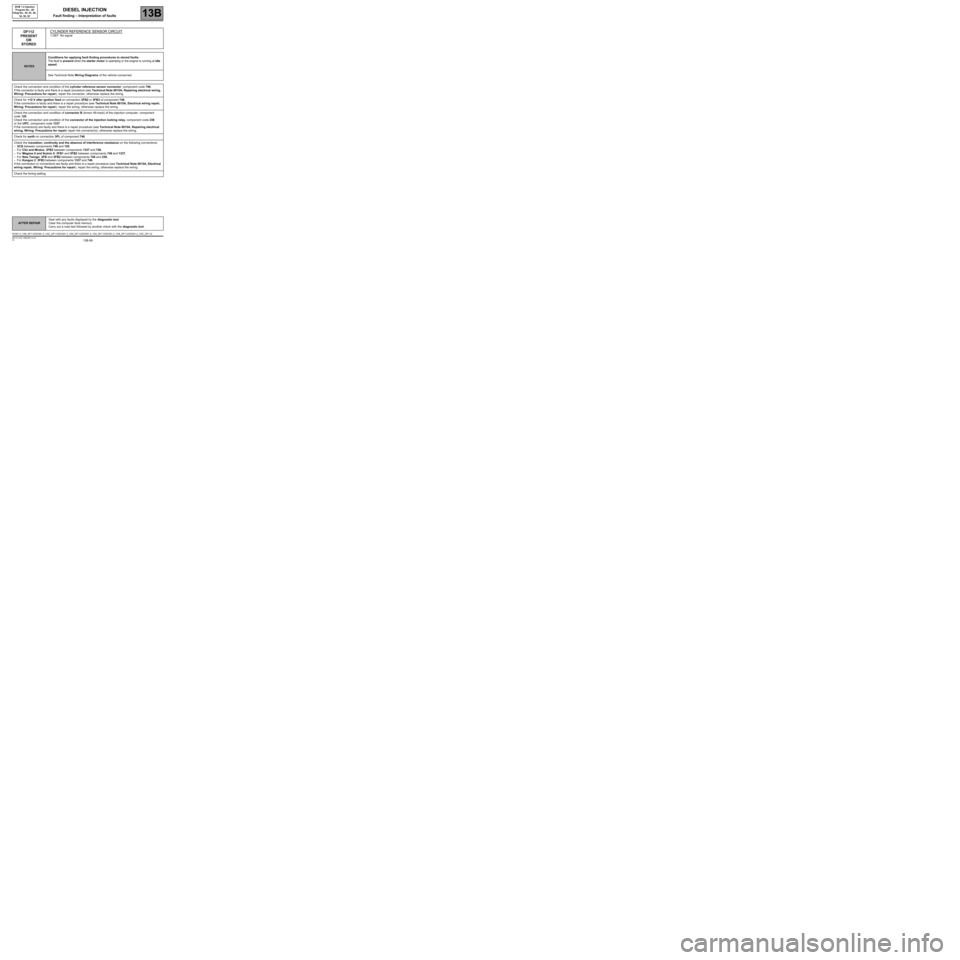
DF112
PRESENT
OR
STOREDCYLINDER REFERENCE SENSOR CIRCUIT
1.DEF: No signal
NOTESConditions for applying fault finding procedures to stored faults:
The fault is present when the starter motor is operating or the engine is running at idle
speed.
See Technical Note Wiring Diagrams of the vehicle concerned.
Check the connection and condition of the cylinder reference sensor connector, component code 746.
If the connector is faulty and there is a repair procedure (see Technical Note 6015A, Repairing electrical wiring,
Wiring: Precautions for repair), repair the connector, otherwise replace the wiring.
Check for +12 V after ignition feed on connection 3FB2 or 3FB3 of component 746.
If the connection is faulty and there is a repair procedure (see Technical Note 6015A, Electrical wiring repair,
Wiring: Precautions for repair), repair the wiring, otherwise replace the wiring.
Check the connection and condition of connector B (brown 48-track) of the injection computer, component
code 120.
Check the connection and condition of the connector of the injection locking relay, component code 238
or the UPC, component code 1337.
If the connector(s) are faulty and there is a repair procedure (see Technical Note 6015A, Repairing electrical
wiring, Wiring: Precautions for repair) repair the connector(s), otherwise replace the wiring.
Check for earth on connection 3PL of component 746.
Check the insulation, continuity and the absence of interference resistance on the following connections:
–3CQ between components 746 and 120,
–For Clio and Modus: 3FB2 between components 1337 and 746,
–For Mégane II and Scénic II: 3FB1 and 3FB2 between components 746 and 1337,
–For New Twingo: 3FB and 3FB2 between components 746 and 238,
–For Kangoo 2: 3FB3 between components 1337 and 746.
If the connection or connections are faulty and there is a repair procedure (see Technical Note 6015A, Electrical
wiring repair, Wiring: Precautions for repair), repair the wiring, otherwise replace the wiring.
Check the timing setting.
DCM1.2_V48_DF112/DCM1.2_V4C_DF112/DCM1.2_V50_DF112/DCM1.2_V54_DF112/DCM1.2_V58_DF112/DCM1.2_V5C_DF112
Page 100 of 269

13B-100
AFTER REPAIRDeal with any faults displayed by the diagnostic tool.
Clear the computer fault memory.
Carry out a road test followed by another check with the diagnostic tool.
V6 MR-413-X44-13B000$110.mif
DIESEL INJECTION
Fault finding – Interpretation of faults13B
DCM 1.2 Injection
Program No.: 4D
Vdiag No.: 48, 4C, 50,
54, 58, 5C
DF113
PRESENT
OR
STOREDSENSOR SUPPLY VOLTAGE
1.DEF: At minimum limit
2.DEF: At maximum limit
NOTESSpecial notes:
If fault DF113 is present: the engine stops immediately and cannot be restarted.
The level 2 warning light illuminates with the message Faulty injection displayed on
the instrument panel.
See Technical Note Wiring Diagrams of the vehicle concerned.
Check the condition and connection of the connectors on all sensors with a + 5 V supply.
–Refrigerant pressure sensor.
–Cylinder reference sensor.
–Turbocharger inlet pressure sensor.
–Rail pressure sensor.
–Pedal sensor, gangs 1 and 2.
–EGR valve position sensor.
–Flow sensor.
If the connector(s) are faulty and there is a repair procedure (see Technical Note 6015A, Repairing electrical
wiring, Wiring: Precautions for repair) repair the connector(s), otherwise replace the wiring.
Check the condition and connection of the injection computer connectors, component code 120.
If the connector(s) are faulty and there is a repair procedure (see Technical Note 6015A, Repairing electrical
wiring, Wiring: Precautions for repair) repair the connector(s), otherwise replace the wiring.
To locate a possible internal fault on one of the sensors with a + 5 V supply (short circuit), disconnect each of
the sensors on the above list in turn, checking after each disconnection whether the fault changes status from
present to stored.
If the faulty sensor is located, check its connections and that it is in order.
If necessary replace the sensor.
DCM1.2_V48_DF113/DCM1.2_V4C_DF113/DCM1.2_V50_DF113/DCM1.2_V54_DF113/DCM1.2_V58_DF113/DCM1.2_V5C_DF113
Page 102 of 269
13B-102
AFTER REPAIRDeal with any faults displayed by the diagnostic tool.
Clear the computer fault memory.
Carry out a road test followed by another check with the diagnostic tool.
V6 MR-413-X44-13B000$110.mif
DIESEL INJECTION
Fault finding – Interpretation of faults13B
DCM 1.2 Injection
Program No.: 4D
Vdiag No.: 48, 4C, 50,
54, 58, 5C
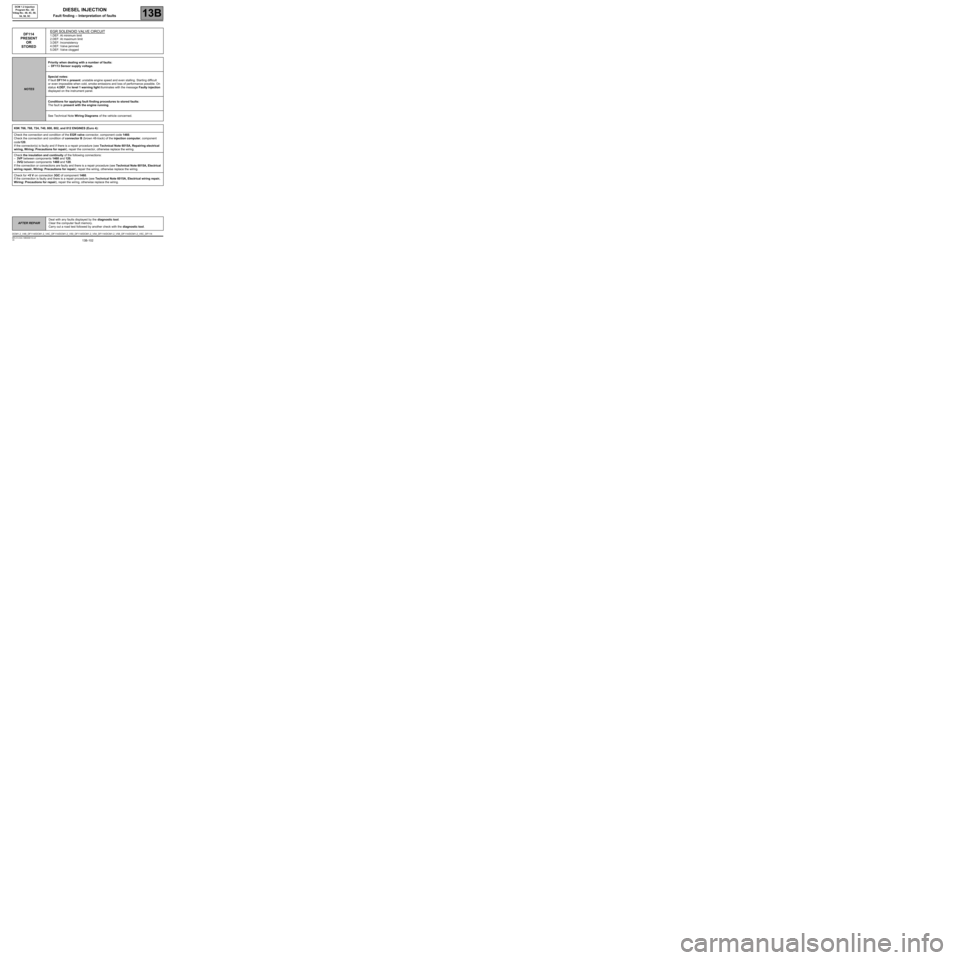
DF114
PRESENT
OR
STOREDEGR SOLENOID VALVE CIRCUIT1.DEF: At minimum limit
2.DEF: At maximum limit
3.DEF: Inconsistency
4.DEF: Valve jammed
5.DEF: Valve clogged
NOTESPriority when dealing with a number of faults:
–DF113 Sensor supply voltage.
Special notes:
If fault DF114 is present: unstable engine speed and even stalling. Starting difficult
or even impossible when cold, smoke emissions and loss of performance possible. On
status 4.DEF, the level 1 warning light illuminates with the message Faulty injection
displayed on the instrument panel.
Conditions for applying fault finding procedures to stored faults:
The fault is present with the engine running.
See Technical Note Wiring Diagrams of the vehicle concerned.
K9K 766, 768, 724, 740, 800, 802, and 812 ENGINES (Euro 4):
Check the connection and condition of the EGR valve connector, component code 1460.
Check the connection and condition of connector B (brown 48-track) of the injection computer, component
code120.
If the connector(s) is faulty and if there is a repair procedure (see Technical Note 6015A, Repairing electrical
wiring, Wiring: Precautions for repair), repair the connector, otherwise replace the wiring.
Check the insulation and continuity of the following connections:
–3VP between components 1460 and 120,
–3VQ between components 1460 and 120.
If the connection or connections are faulty and there is a repair procedure (see Technical Note 6015A, Electrical
wiring repair, Wiring: Precautions for repair), repair the wiring, otherwise replace the wiring.
Check for +5 V on connection 3GC of component 1460.
If the connection is faulty and there is a repair procedure (see Technical Note 6015A, Electrical wiring repair,
Wiring: Precautions for repair), repair the wiring, otherwise replace the wiring.
DCM1.2_V48_DF114/DCM1.2_V4C_DF114/DCM1.2_V50_DF114/DCM1.2_V54_DF114/DCM1.2_V58_DF114/DCM1.2_V5C_DF114
Page 104 of 269
13B-104
AFTER REPAIRDeal with any faults displayed by the diagnostic tool.
Clear the computer fault memory.
Carry out a road test followed by another check with the diagnostic tool.
V6 MR-413-X44-13B000$110.mif
DIESEL INJECTION
Fault finding – Interpretation of faults13B
DCM 1.2 Injection
Program No.: 4D
Vdiag No.: 48, 4C, 50,
54, 58, 5C
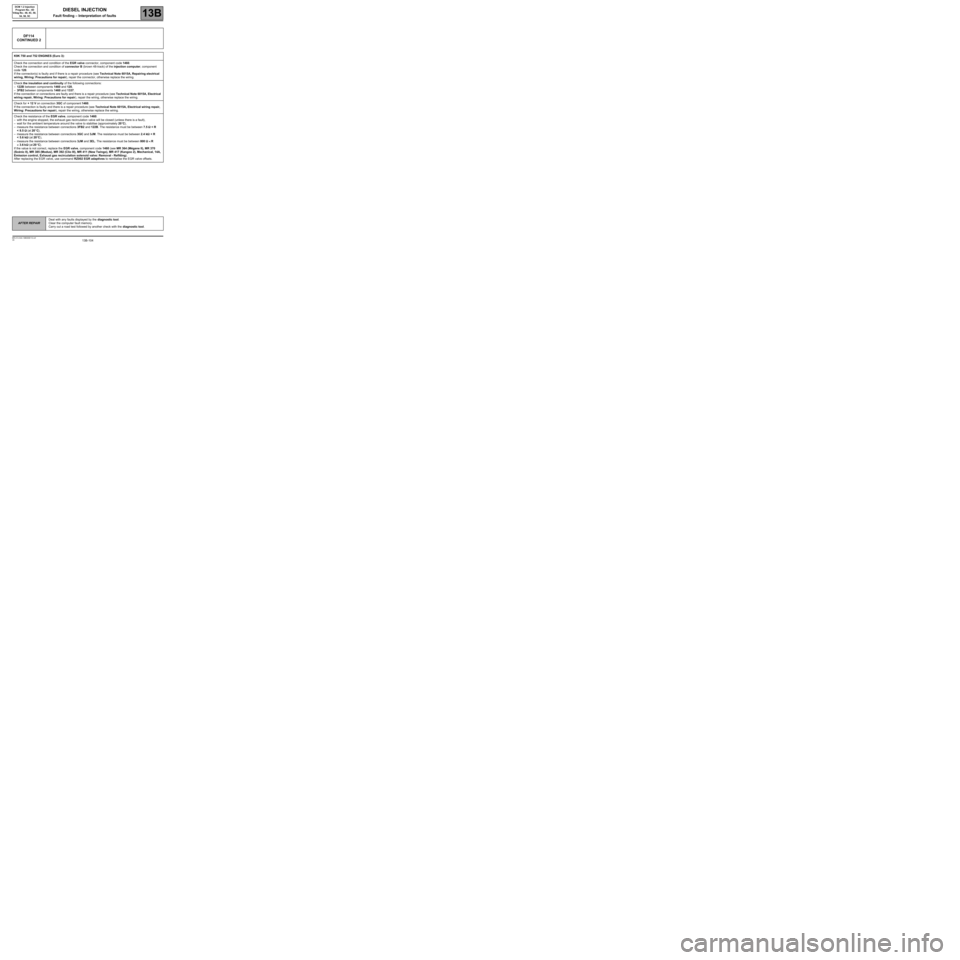
DF114
CONTINUED 2
K9K 750 and 752 ENGINES (Euro 3):
Check the connection and condition of the EGR valve connector, component code 1460.
Check the connection and condition of connector B (brown 48-track) of the injection computer, component
code 120.
If the connector(s) is faulty and if there is a repair procedure (see Technical Note 6015A, Repairing electrical
wiring, Wiring: Precautions for repair), repair the connector, otherwise replace the wiring.
Check the insulation and continuity of the following connections:
–122B between components 1460 and 120,
–3FB2 between components 1460 and 1337.
If the connection or connections are faulty and there is a repair procedure (see Technical Note 6015A, Electrical
wiring repair, Wiring: Precautions for repair), repair the wiring, otherwise replace the wiring.
Check for + 12 V on connection 3GC of component 1460.
If the connection is faulty and there is a repair procedure (see Technical Note 6015A, Electrical wiring repair,
Wiring: Precautions for repair), repair the wiring, otherwise replace the wiring.
Check the resistance of the EGR valve, component code 1460:
–with the engine stopped, the exhaust gas recirculation valve will be closed (unless there is a fault),
–wait for the ambient temperature around the valve to stabilise (approximately 20
°C),
–measure the resistance between connections 3FB2 and 122B. The resistance must be between 7.5 ΩΩ Ω Ω
< R
< 8.5 ΩΩ Ω Ω
(at 20
°C),
–measure the resistance between connections 3GC and 3JM. The resistance must be between 2.4 kΩΩ Ω Ω
< R
< 5.6 kΩΩ Ω Ω
(at 20
°C),
–measure the resistance between connections 3JM and 3EL. The resistance must be between 800 ΩΩ Ω Ω
<< < <
R
<< < <
3.6 kΩΩ Ω Ω
(at 20
°C).
If the value is not correct, replace the EGR valve, component code 1460 (see MR 364 (Mégane II), MR 370
(Scénic II), MR 385 (Modus), MR 392 (Clio III), MR 411 (New Twingo), MR 417 (Kangoo 2), Mechanical, 14A,
Emission control, Exhaust gas recirculation solenoid valve: Removal - Refitting).
After replacing the EGR valve, use command RZ002 EGR adaptives to reinitialise the EGR valve offsets.
Page 106 of 269
13B-106
AFTER REPAIRDeal with any faults displayed by the diagnostic tool.
Clear the computer fault memory.
Carry out a road test followed by another check with the diagnostic tool.
V6 MR-413-X44-13B000$120.mif
13B
DCM 1.2 Injection
Program No.: 4D
Vdiag No.: 48, 4C, 50,
54, 58, 5C
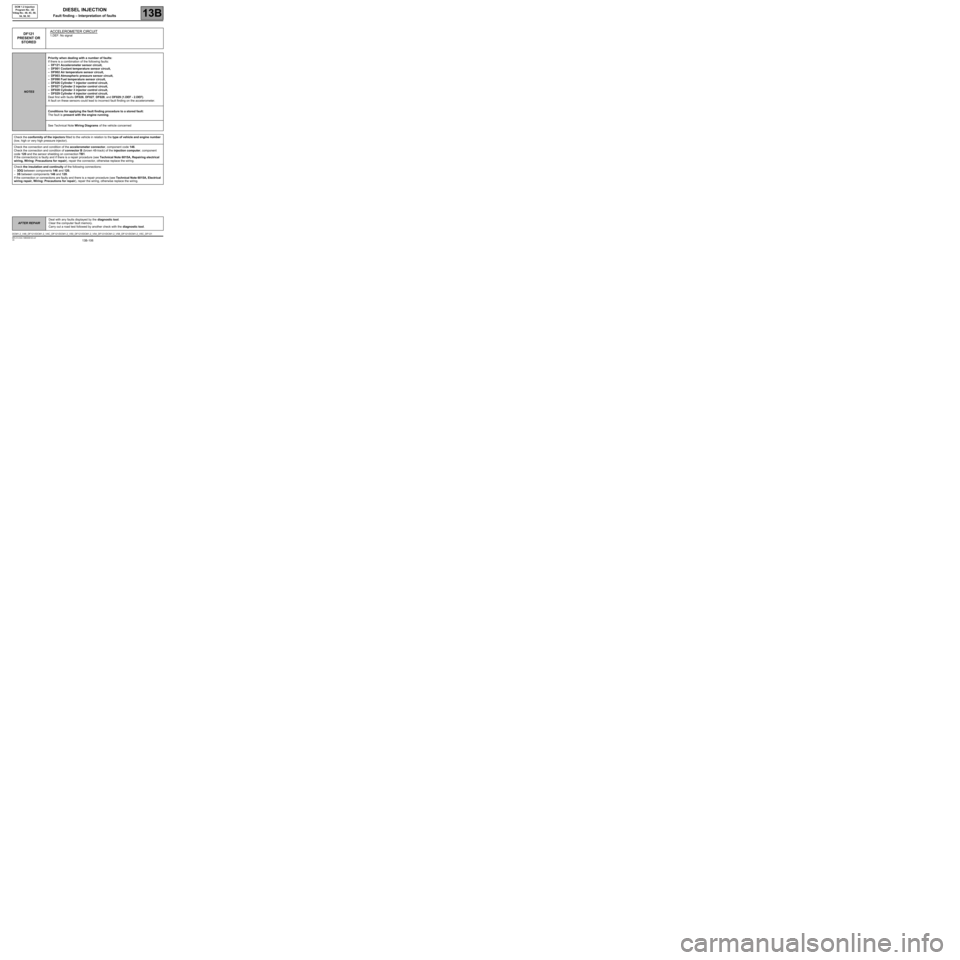
DF121
PRESENT OR
STOREDACCELEROMETER CIRCUIT1.DEF: No signal
NOTESPriority when dealing with a number of faults:
If there is a combination of the following faults:
–DF121 Accelerometer sensor circuit,
–DF001 Coolant temperature sensor circuit,
–DF002 Air temperature sensor circuit,
–DF003 Atmospheric pressure sensor circuit,
–DF098 Fuel temperature sensor circuit,
–DF026 Cylinder 1 injector control circuit,
–DF027 Cylinder 2 injector control circuit,
–DF028 Cylinder 3 injector control circuit,
–DF029 Cylinder 4 injector control circuit,
Deal first with faults DF026, DF027, DF028, and DF029 (1.DEF - 2.DEF).
A fault on these sensors could lead to incorrect fault finding on the accelerometer.
Conditions for applying the fault finding procedure to a stored fault:
The fault is present with the engine running.
See Technical Note Wiring Diagrams of the vehicle concerned
Check the conformity of the injectors fitted to the vehicle in relation to the type of vehicle and engine number
(low, high or very high pressure injector).
Check the connection and condition of the accelerometer connector, component code 146.
Check the connection and condition of connector B (brown 48-track) of the injection computer, component
code 120 and the sensor shielding on connection TB1.
If the connector(s) is faulty and if there is a repair procedure (see Technical Note 6015A, Repairing electrical
wiring, Wiring: Precautions for repair), repair the connector, otherwise replace the wiring.
Check the insulation and continuity of the following connections:
–3DQ between components 146 and 120,
–3S between components 146 and 120.
If the connection or connections are faulty and there is a repair procedure (see Technical Note 6015A, Electrical
wiring repair, Wiring: Precautions for repair), repair the wiring, otherwise replace the wiring.
DCM1.2_V48_DF121/DCM1.2_V4C_DF121/DCM1.2_V50_DF121/DCM1.2_V54_DF121/DCM1.2_V58_DF121/DCM1.2_V5C_DF121
DIESEL INJECTION
Fault finding – Interpretation of faults