radio RENAULT TWINGO RS 2009 2.G Engine Diesel Injection Workshop Manual
[x] Cancel search | Manufacturer: RENAULT, Model Year: 2009, Model line: TWINGO RS, Model: RENAULT TWINGO RS 2009 2.GPages: 269
Page 2 of 269

13B-2V6 MR-413-X44-13B000$010.mif
13B
DCM 1.2 Injection
Program No.: 4D
Vdiag No.: 48, 4C, 50,
54, 58, 5C
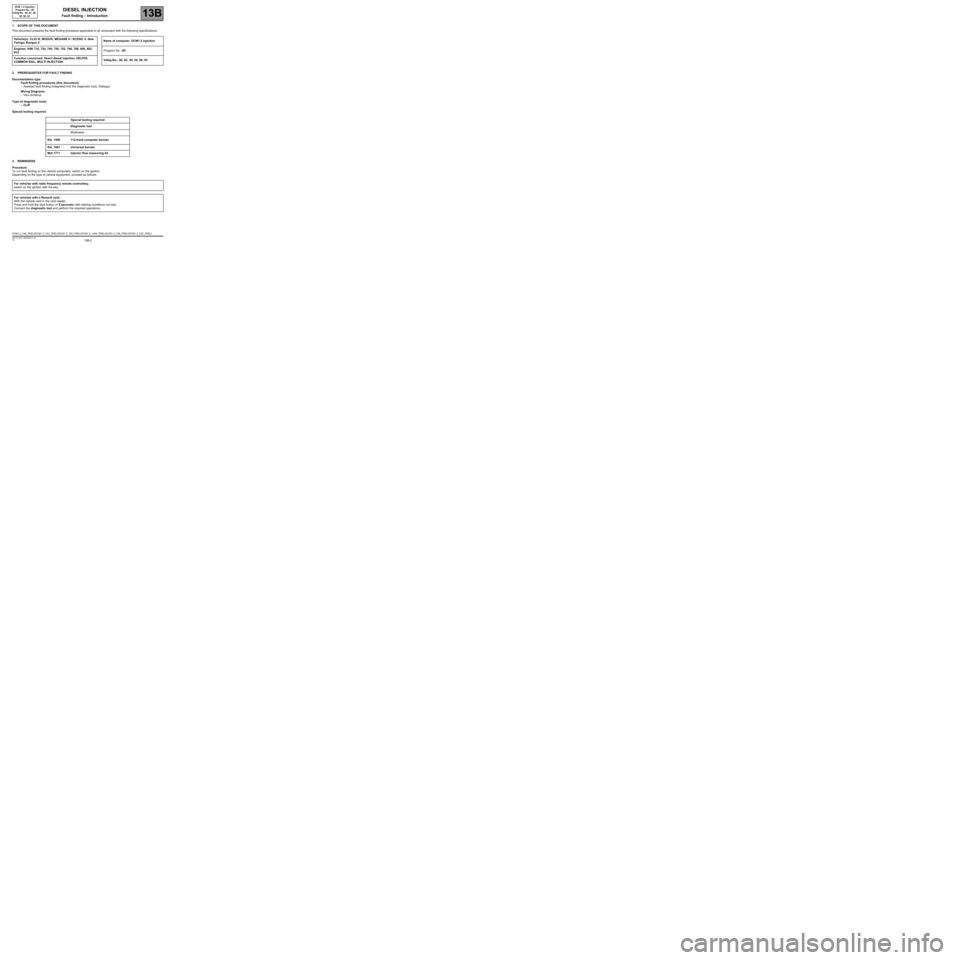
1. SCOPE OF THIS DOCUMENT
This document presents the fault finding procedure applicable to all computers with the following specifications:
2. PREREQUISITES FOR FAULT FINDING
Documentation type
Fault finding procedures (this document):
–Assisted fault finding (integrated into the diagnostic tool), Dialogys.
Wiring Diagrams:
–Visu-Schéma.
Type of diagnostic tools
–CLIP
Special tooling required
3. REMINDERS
Procedure
To run fault finding on the vehicle computers, switch on the ignition.
Depending on the type of vehicle equipment, proceed as follows:Vehicle(s): CLIO III, MODUS, MEGANE II / SCENIC II, New
Twingo, Kangoo 2.Name of computer: DCM1.2 injection
Engines: K9K 718, 724, 740, 750, 752, 766, 768, 800, 802,
812Program No.: 4D
Function concerned: Direct diesel injection, DELPHI,
COMMON RAIL, MULTI INJECTION.Vdiag No.: 48, 4C, 50, 54, 58, 5C
Special tooling required
Diagnostic tool
Multimeter
Elé. 1590 112-track computer bornier
Elé. 1681 Universal bornier
Mot 1711 Injector flow measuring kit
For vehicles with radio frequency remote control/key,
switch on the ignition with the key.
For vehicles with a Renault card,
With the vehicle card in the card reader,
Press and hold the start button (+ 5 seconds) with starting conditions not met,
Connect the diagnostic tool and perform the required operations.
DCM1.2_V48_PRELI/DCM1.2_V4C_PRELI/DCM1.2_V50_PRELI/DCM1.2_V454_PRELI/DCM1.2_V58_PRELI/DCM1.2_V5C_PRELI
DIESEL INJECTION
Fault finding – Introduction
Page 3 of 269

13B-3V6 MR-413-X44-13B000$010.mif
DIESEL INJECTION
Fault finding – Introduction13B
DCM 1.2 Injection
Program No.: 4D
Vdiag No.: 48, 4C, 50,
54, 58, 5C
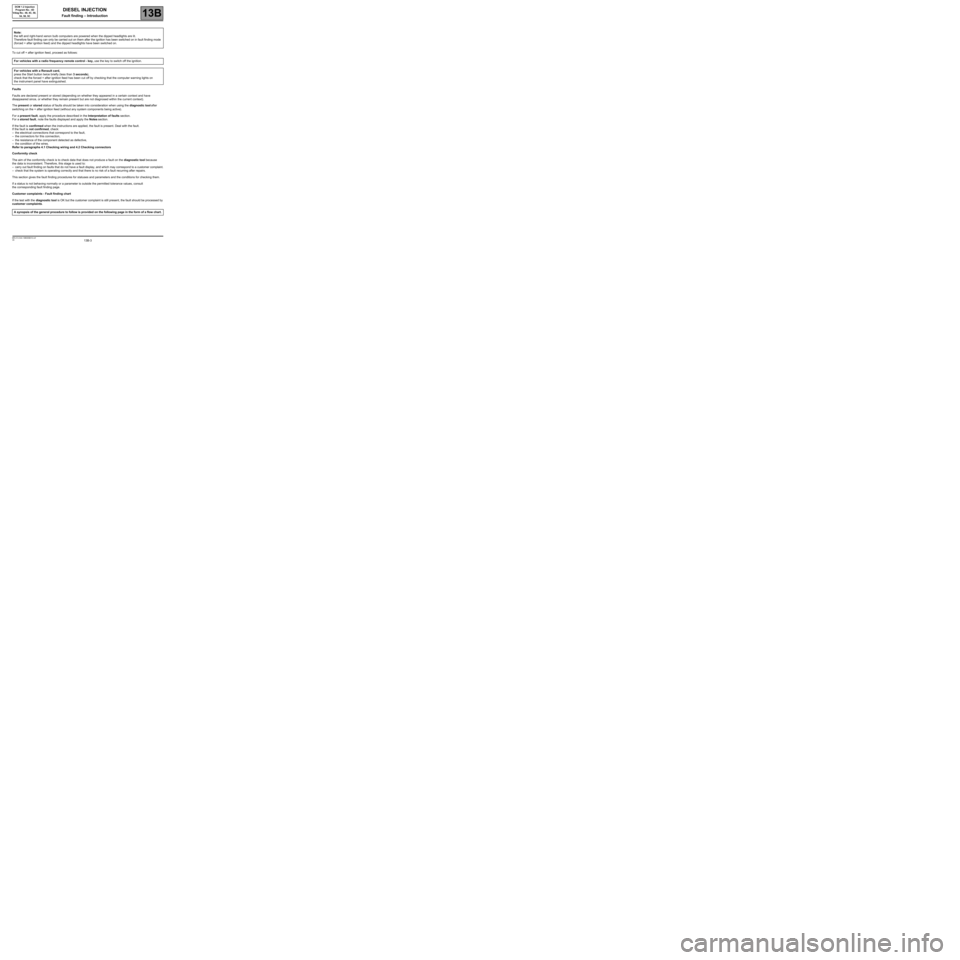
To cut off + after ignition feed, proceed as follows:
Faults
Faults are declared present or stored (depending on whether they appeared in a certain context and have
disappeared since, or whether they remain present but are not diagnosed within the current context).
The present or stored status of faults should be taken into consideration when using the diagnostic tool after
switching on the + after ignition feed (without any system components being active).
For a present fault, apply the procedure described in the Interpretation of faults section.
For a stored fault, note the faults displayed and apply the Notes section.
If the fault is confirmed when the instructions are applied, the fault is present. Deal with the fault.
If the fault is not confirmed, check:
–the electrical connections that correspond to the fault,
–the connectors for this connection,
–the resistance of the component detected as defective,
–the condition of the wires.
Refer to paragraphs 4.1 Checking wiring and 4.2 Checking connectors
Conformity check
The aim of the conformity check is to check data that does not produce a fault on the diagnostic tool because
the data is inconsistent. Therefore, this stage is used to:
–carry out fault finding on faults that do not have a fault display, and which may correspond to a customer complaint.
–check that the system is operating correctly and that there is no risk of a fault recurring after repairs.
This section gives the fault finding procedures for statuses and parameters and the conditions for checking them.
If a status is not behaving normally or a parameter is outside the permitted tolerance values, consult
the corresponding fault finding page.
Customer complaints - Fault finding chart
If the test with the diagnostic tool is OK but the customer complaint is still present, the fault should be processed by
customer complaints. Note:
the left and right-hand xenon bulb computers are powered when the dipped headlights are lit.
Therefore fault finding can only be carried out on them after the ignition has been switched on in fault finding mode
(forced + after ignition feed) and the dipped headlights have been switched on.
For vehicles with a radio frequency remote control - key, use the key to switch off the ignition.
For vehicles with a Renault card,
press the Start button twice briefly (less than 3 seconds),
check that the forced + after ignition feed has been cut off by checking that the computer warning lights on
the instrument panel have extinguished.
A synopsis of the general procedure to follow is provided on the following page in the form of a flow chart.
Page 23 of 269

13B-23V6 MR-413-X44-13B000$060.mif
13B
DCM 1.2 Injection
Program No.: 4D
Vdiag No.: 48, 4C, 50,
54, 58, 5C
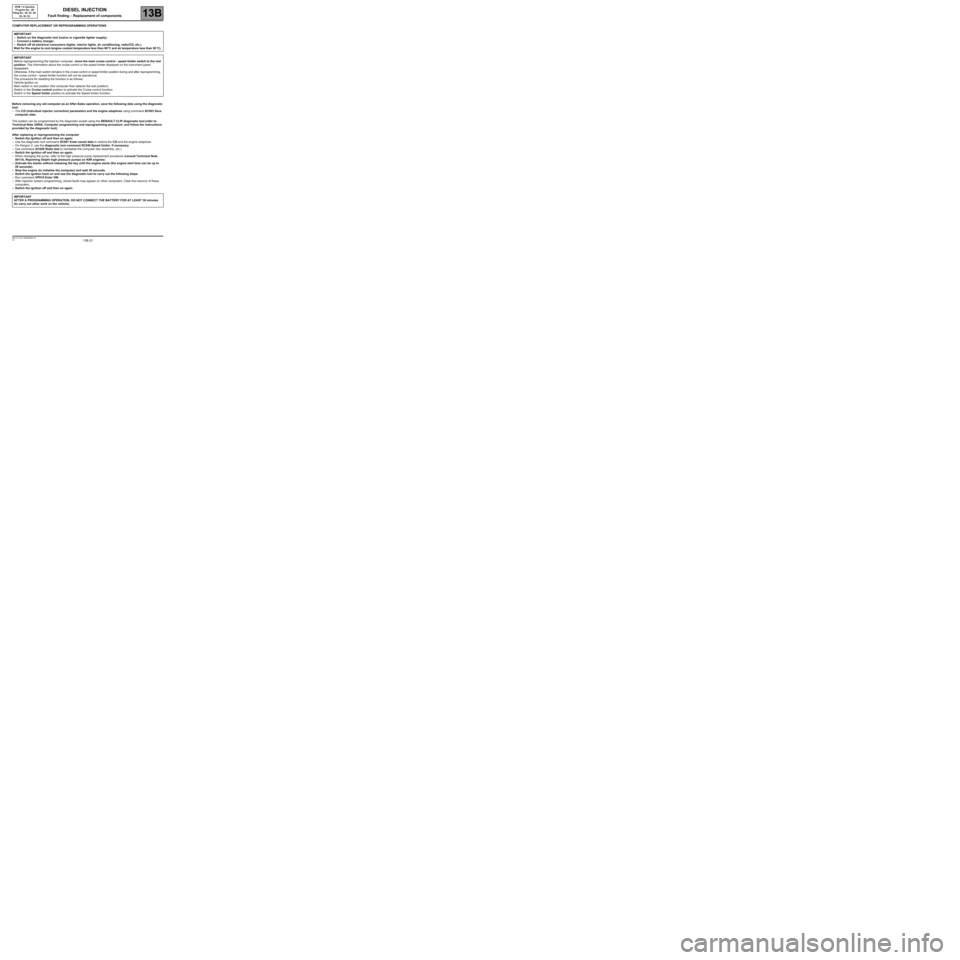
COMPUTER REPLACEMENT OR REPROGRAMMING OPERATIONS
Before removing any old computer as an After-Sales operation, save the following data using the diagnostic
tool:
–The C2I (individual injector correction) parameters and the engine adaptives using command SC003 Save
computer data.
The system can be programmed by the diagnostic socket using the RENAULT CLIP diagnostic tool (refer to
Technical Note 3585A, Computer programming and reprogramming procedure, and follow the instructions
provided by the diagnostic tool).
After replacing or reprogramming the computer
–Switch the ignition off and then on again.
–Use the diagnostic tool command SC001 Enter saved data to restore the C2I and the engine adaptives.
–On Kangoo 2, use the diagnostic tool command SC040 Speed limiter, if necessary.
–Use command AC028 Static test to reinitialise the computer (fan assembly, etc.).
–Switch the ignition off and then on again.
–When changing the pump, refer to the high pressure pump replacement procedure (consult Technical Note
5011A, Repriming Delphi high pressure pumps on K9K engines).
–Activate the starter without releasing the key until the engine starts (the engine start time can be up to
20 seconds).
–Stop the engine (to initialise the computer) and wait 30 seconds.
–Switch the ignition back on and use the diagnostic tool to carry out the following steps:
–Run command VP010 Enter VIN.
–After injection system programming, stored faults may appear on other computers. Clear the memory of these
computers.
–Switch the ignition off and then on again. IMPORTANT
–Switch on the diagnostic tool (mains or cigarette lighter supply).
–Connect a battery charger.
–Switch off all electrical consumers (lights, interior lights, air conditioning, radio/CD, etc.).
Wait for the engine to cool (engine coolant temperature less than 60
°C and air temperature less than 50°C).
IMPORTANT
Before reprogramming the injection computer, move the main cruise control - speed limiter switch to the rest
position. The information about the cruise control or the speed limiter displayed on the instrument panel
disappears.
Otherwise, if the main switch remains in the cruise control or speed limiter position during and after reprogramming,
the cruise control - speed limiter function will not be operational.
The procedure for resetting the function is as follows:
Vehicle ignition on.
Main switch in rest position (the computer then detects the rest position).
Switch in the Cruise control position to activate the Cruise control function.
Switch in the Speed limiter position to activate the Speed limiter function.
IMPORTANT
AFTER A PROGRAMMING OPERATION, DO NOT CONNECT THE BATTERY FOR AT LEAST 30 minutes
(to carry out other work on the vehicle).
DIESEL INJECTION
Fault finding – Replacement of components
Page 185 of 269

13B-185
AFTER REPAIRDeal with any faults displayed by the diagnostic tool. Clear the computer fault
memory.
Carry out a road test followed by another check with the diagnostic tool.
V6 MR-413-X44-13B000$170.mif
DIESEL INJECTION
Fault finding – Interpretation of parameters13B
DCM 1.2 Injection
Program No.: 4D
Vdiag No.: 48, 4C, 50,
54, 58, 5C
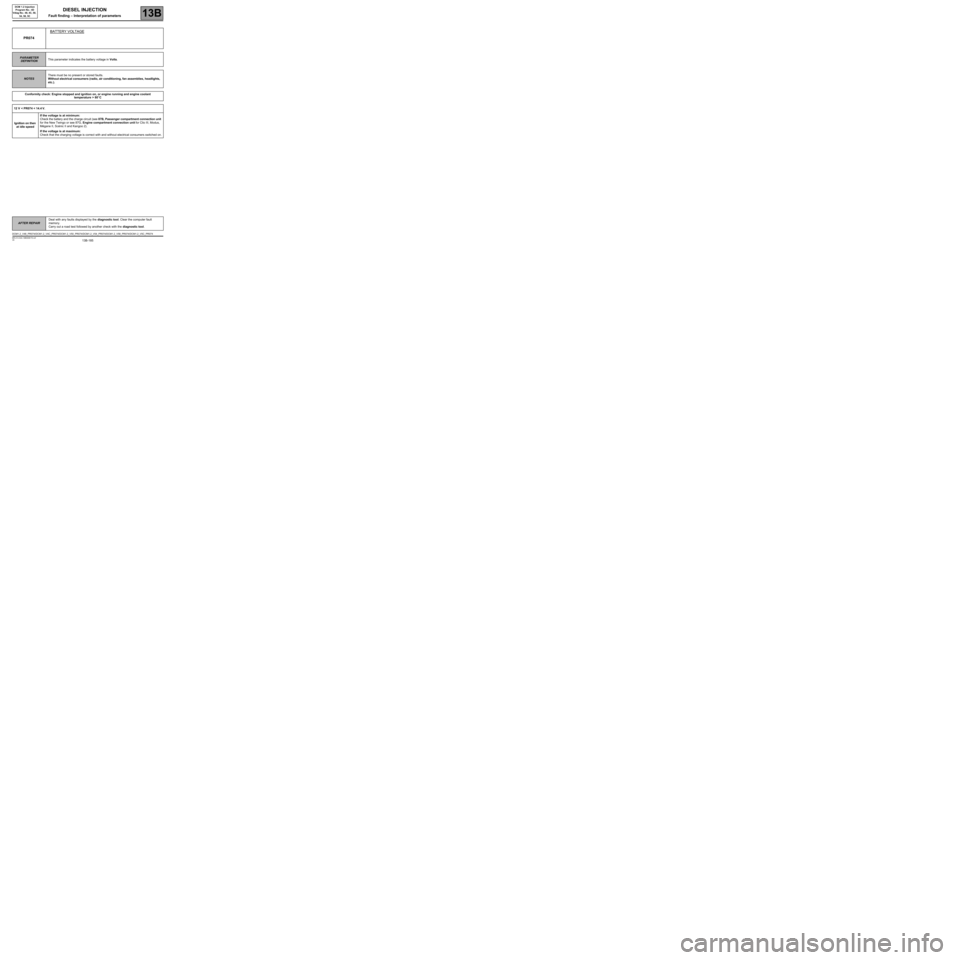
PR074BATTERY VOLTAGE
PARAMETER
DEFINITIONThis parameter indicates the battery voltage in Volts.
NOTESThere must be no present or stored faults.
Without electrical consumers (radio, air conditioning, fan assemblies, headlights,
etc.).
Conformity check: Engine stopped and ignition on, or engine running and engine coolant
temperature > 80
°C
12 V < PR074 < 14.4 V.
Ignition on then
at idle speedIf the voltage is at minimum:
Check the battery and the charge circuit (see 87B, Passenger compartment connection unit
for the New Twingo or see 87G, Engine compartment connection unit for Clio III, Modus,
Mégane II, Scénic II and Kangoo 2).
If the voltage is at maximum:
Check that the charging voltage is correct with and without electrical consumers switched on.
DCM1.2_V48_PR074/DCM1.2_V4C_PR074/DCM1.2_V50_PR074/DCM1.2_V54_PR074/DCM1.2_V58_PR074/DCM1.2_V5C_PR074