diagnostic menu RENAULT TWINGO RS 2009 2.G Heating And Air Conditioning - Manual Air Conditioning Workshop Manual
[x] Cancel search | Manufacturer: RENAULT, Model Year: 2009, Model line: TWINGO RS, Model: RENAULT TWINGO RS 2009 2.GPages: 63
Page 53 of 63

62C-53
MR-413-X44-62C000$819_eng.mif
V1
MANUAL AIR CONDITIONING
Fault finding - Fault finding charts62C
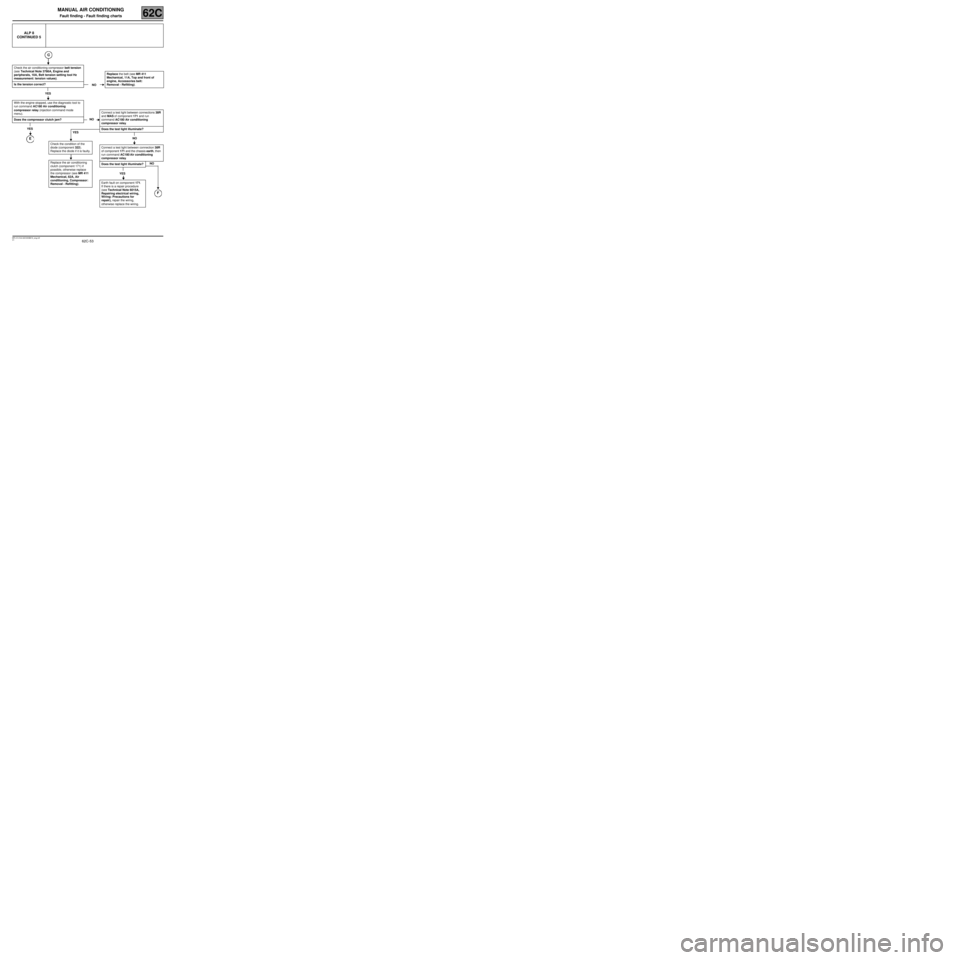
ALP 8
CONTINUED 5
Check the air conditioning compressor belt tension
(see Technical Note 3786A, Engine and
peripherals, 10A, Belt tension setting tool Hz
measurement: tension values).
Is the tension correct?
YES
With the engine stopped, use the diagnostic tool to
run command AC180 Air conditioning
compressor relay (injection command mode
menu).
Does the compressor clutch jam?
YES
E
NOReplace the belt (see MR 411
Mechanical, 11A, Top and front of
engine, Accessories belt:
Removal - Refitting).
NO
YESConnect a test light between connections 38R
and MAS of component 171 and run
command AC180 Air conditioning
compressor relay.
Does the test light illuminate?
NO
Connect a test light between connection 38R
of component 171 and the chassis earth, then
run command AC180 Air conditioning
compressor relay.
Does the test light illuminate?
YES
Earth fault on component 171.
If there is a repair procedure
(see Technical Note 6015A,
Repairing electrical wiring,
Wiring: Precautions for
repair), repair the wiring,
otherwise replace the wiring.
Check the condition of the
diode (component 322).
Replace the diode if it is faulty.
Replace the air conditioning
clutch (component 171) if
possible, otherwise replace
the compressor (see MR 411
Mechanical, 62A, Air
conditioning, Compressor:
Removal - Refitting).
NO
F
Page 56 of 63

62C-56
MR-413-X44-62C000$910_eng.mif
V1
62C
MANUAL AIR CONDITIONING
Fault finding - Fault finding charts
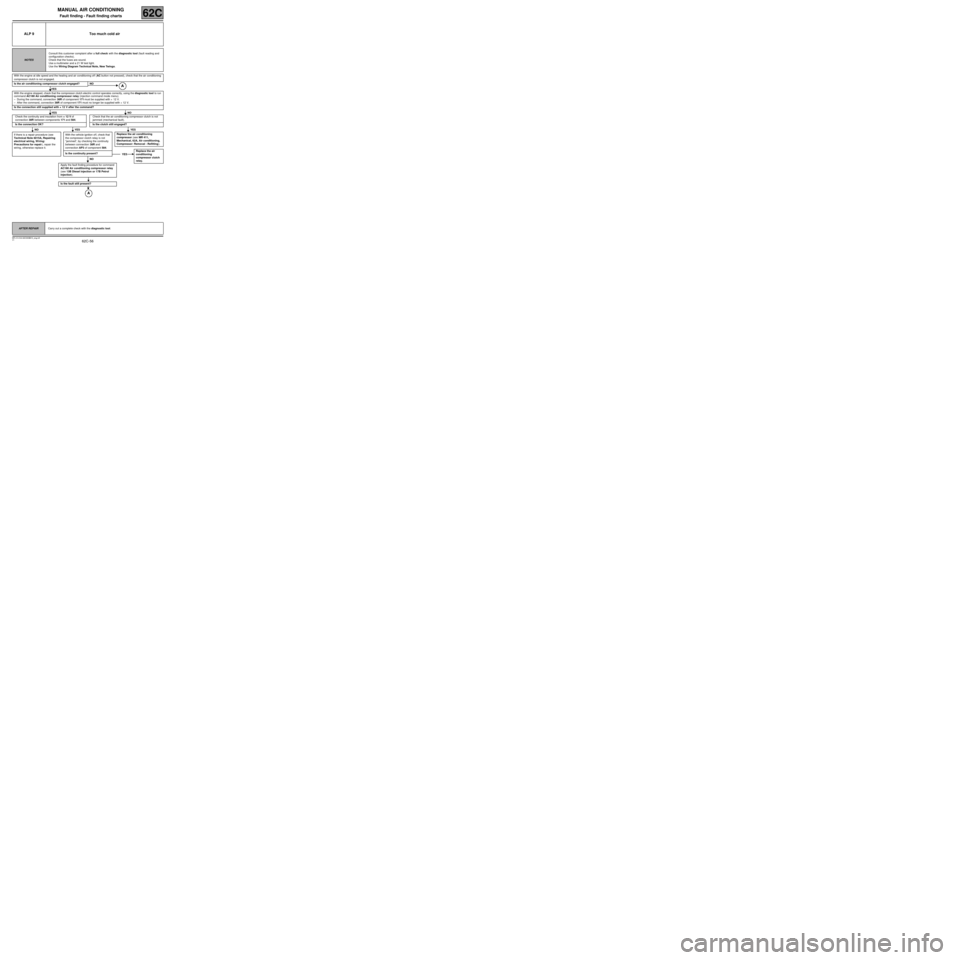
ALP 9 Too much cold air
NOTESConsult this customer complaint after a full check with the diagnostic tool (fault reading and
configuration checks).
Check that the fuses are sound.
Use a multimeter and a 21 W test light.
Use the Wiring Diagram Technical Note, New Twingo.
With the engine at idle speed and the heating and air conditioning off (AC button not pressed), check that the air conditioning
compressor clutch is not engaged.
Is the air conditioning compressor clutch engaged? NO
YES
With the engine stopped, check that the compressor clutch electric control operates correctly, using the diagnostic tool to run
command AC180 Air conditioning compressor relay (injection command mode menu).
–During the command, connection 38R of component 171 must be supplied with + 12 V.
–After the command, connection 38R of component 171 must no longer be supplied with + 12 V.
Is the connection still supplied with + 12 V after the command?
YES NO
Check the continuity and insulation from + 12 V of
connection 38R between components 171 and 584.Check that the air conditioning compressor clutch is not
jammed (mechanical fault).
Is the connection OK? Is the clutch still engaged?
NO YES YES
If there is a repair procedure (see
Technical Note 6015A, Repairing
electrical wiring, W iring:
Precautions for repair), repair the
wiring, otherwise replace it.With the vehicle ignition of f, check that
the compressor clutch relay is not
“jammed”, by checking the continuity
between connection 38R and
connection AP3 of component 584.
Is the continuity present?
NO
Apply the fault finding procedure for command
AC180 Air conditioning compressor relay
(see 13B Diesel injection or 17B Petrol
injection).
Is the fault still present?
Replace the air conditioning
compressor (see MR 411,
Mechanical, 62A, Air conditioning,
Compressor: Removal - Refitting).
YESReplace the air
conditioning
compressor clutch
relay.
AFTER REPAIRCarry out a complete check with the diagnostic tool.
MR-413-X44-62C000$910_eng.mif
Page 59 of 63

62C-59
MR-413-X44-62C000$910_eng.mif
V1
MANUAL AIR CONDITIONING
Fault finding - Fault finding charts62C
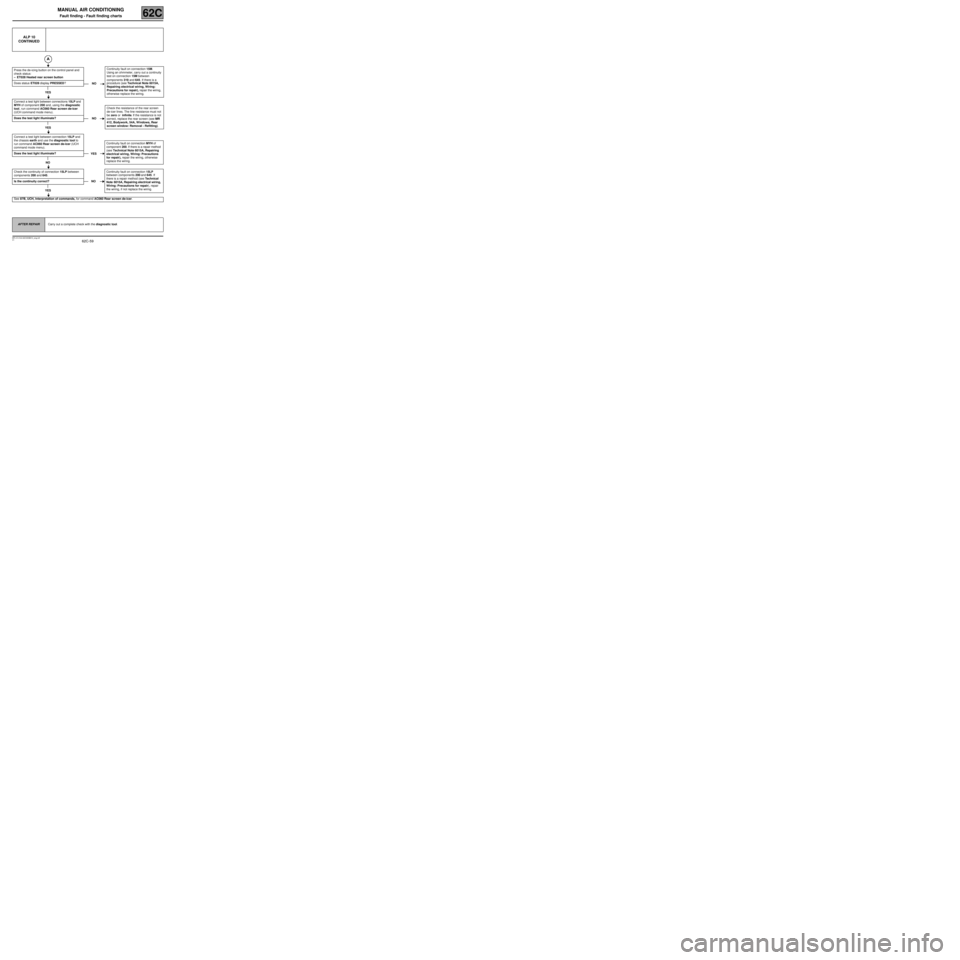
ALP 10
CONTINUED
Press the de-icing button on the control panel and
check status:
–ET028 Heated rear screen button
Does status ET028 display PRESSED?
YES
Connect a test light between connections 15LP and
MYH of component 200 and, using the diagnostic
tool, run command AC060 Rear screen de-icer
(UCH command mode menu).
Does the test light illuminate?
YES
Connect a test light between connection 15LP and
the chassis earth and use the diagnostic tool to
run command AC060 Rear screen de-icer (UCH
command mode menu).
Does the test light illuminate?
NO
Check the continuity of connection 15LP between
components 200 and 645.
Is the continuity correct?
YES
See 87B, UCH, Interpretation of commands, for command AC060 Rear screen de-icer.
NOContinuity fault on connection 15M.
Using an ohmmeter, carry out a continuity
test on connection 15M between
components 319 and 645. If there is a
procedure (see Technical Note 6015A,
Repairing electrical wiring, Wiring:
Precautions for repair), repair the wiring,
otherwise replace the wiring.
NOCheck the resistance of the rear screen
de-icer lines. The line resistance must not
be zero or infinite. If the resistance is not
correct, replace the rear screen (see MR
412, Bodywork, 54A, W indows, Rear
screen window: Removal - Refitting).
YESContinuity fault on connection MYH of
component 200. If there is a repair method
(see Technical Note 6015A, Repairing
electrical wiring, Wiring: Precautions
for repair), repair the wiring, otherwise
replace the wiring.
NOContinuity fault on connection 15LP
between components 200 and 645. If
there is a repair method (see Technical
Note 6015A, Repairing electrical wiring,
Wiring: Precautions for repair), repair
the wiring, if not replace the wiring.
AFTER REPAIRCarry out a complete check with the diagnostic tool.