belt RENAULT TWINGO RS 2009 2.G Mechanism And Accessories Workshop Manual
[x] Cancel search | Manufacturer: RENAULT, Model Year: 2009, Model line: TWINGO RS, Model: RENAULT TWINGO RS 2009 2.GPages: 95
Page 3 of 95
Contents
55A EXTERIOR PROTECTION
Front bumper: Removal -
Refitting 55A-1
Front bumper: Stripping -
Rebuilding 55A-3
Rear bumper : Removal -
Refitting 55A-10
Rear bumper : Stripping -
Rebuilding 55A-13
Rear bumper : Conversion 55A-14
Front side door protective
strip: Removal - Refitting 55A-15
Rear wing protective strip:
Removal - Refitting 55A-16
Roof protection strip:
Removal - Refitting 55A-17
Front wheel arch liner:
Removal - Refitting 55A-18
56A EXTERIOR EQUIPMENT
Scuttle panel gr ille: Removal
- Refitting 56A-1
Tailgate spoiler: Removal -
Refitting 56A-3
Scoop under the scuttle
panel grille: Removal -
Refitting 56A-6
Door mirror: Removal -
Refitting 56A-8
Door mirror casing: Removal
- Refitting 56A-9
Door mirror glass: Removal -
Refitting 56A-10
Side decorative strips:
Removal - Refitting 56A-11
Sill panel extension:
Removal - Refitting 56A-13
Rear wing extension:
Removal - Refitting 56A-1557A INTERIOR EQUIPMENT
Dashboard: Removal -
Refitting 57A-1
Dashboard: Conversion 57A-4
Dashboard side air vent:
Removal - Refitting 57A-6
Centre front panel: Removal
- Refitting 57A-7
Glovebox: Removal -
Refitting 57A-9
Dashboard storage
compar tment: Removal -
Refitting 57A-11
Centre console: Removal -
Refitting 57A-12
Interior rear-view mirror:
Removal - Refitting 57A-14
Sun visor: Removal -
Refitting 57A-16
59A SAFETY ACCESSORIES
Front seat belt: Removal -
Refitting 59A-1
Rear seat belt: Removal -
Refitting 59A-3
Rear seat belt buckle:
Removal - Refitting 59A-5
Page 20 of 95
52A-6
NON-SIDE OPENING ELEMENT MECHANISMS
Sunroof operating mechanism: Removal - Refitting
52A
REMOVAL
I - REMOVAL PREPARATION OPERATION
aPartially open the sunroof mobile panel.
aLock the airbag computer using the Diagnostic tool
(see Fault finding - Replacement of components)
(MR 413, 88C, Airbags and seat belt pretensioners).
aDisconnect the battery (see Battery: Removal - Re-
fitting) (MR 411, 80A, Battery).
aRemove:
-the sunroof console (see Sunroof switch: Remo-
val - Refitting) (MR 411, 87D, Electric window win-
ders - Sunroof),
-the sun visors (see 57A, Interior equipment, Sun
visor: Removal - Refitting, page 57A-16) ,
-the A-pillar trims (see Windscreen pillar trim: Re-
moval - Refitting) (MR 412, 71A, Body internal
trim),
-the rear bench seatback (depending on equipment
level) (see Rear bench seatback: Removal - Re-
fitting) (MR 412, 76A, Rear seat frames and run-
ners),
-the rear parcel shelf side trim panels (see Rear
parcel shelf side trim: Removal - Refitting) (MR
412, 71A, Body internal trim),-the rear panel trims (see Rear panel lining: Re-
moval - Refitting) (MR 412, 71A, Body internal
trim),
-the B-pillar upper trims (see B-pillar upper trim:
Removal - Refitting) (MR 412, 71A, Body internal
trim),
-the rear quarter panel trims (see Quarter panel
trim: Removal - Refitting) (MR 412, 71A, Body in-
ternal trim),
-the headlining (see Headlining: Removal - Refit-
ting) (MR 412, 71A, Body internal trim),
-the cross member mounting of the sunroof sun vi-
sor (see 52A, Non-side opening element mecha-
nisms, Sunroof sun visors: Removal - Refitting,
page 52A-15) ,
-the roof protection strips (see 55A, Exterior pro-
tection, Roof protection strip: Removal - Refit-
ting, page 55A-17) .
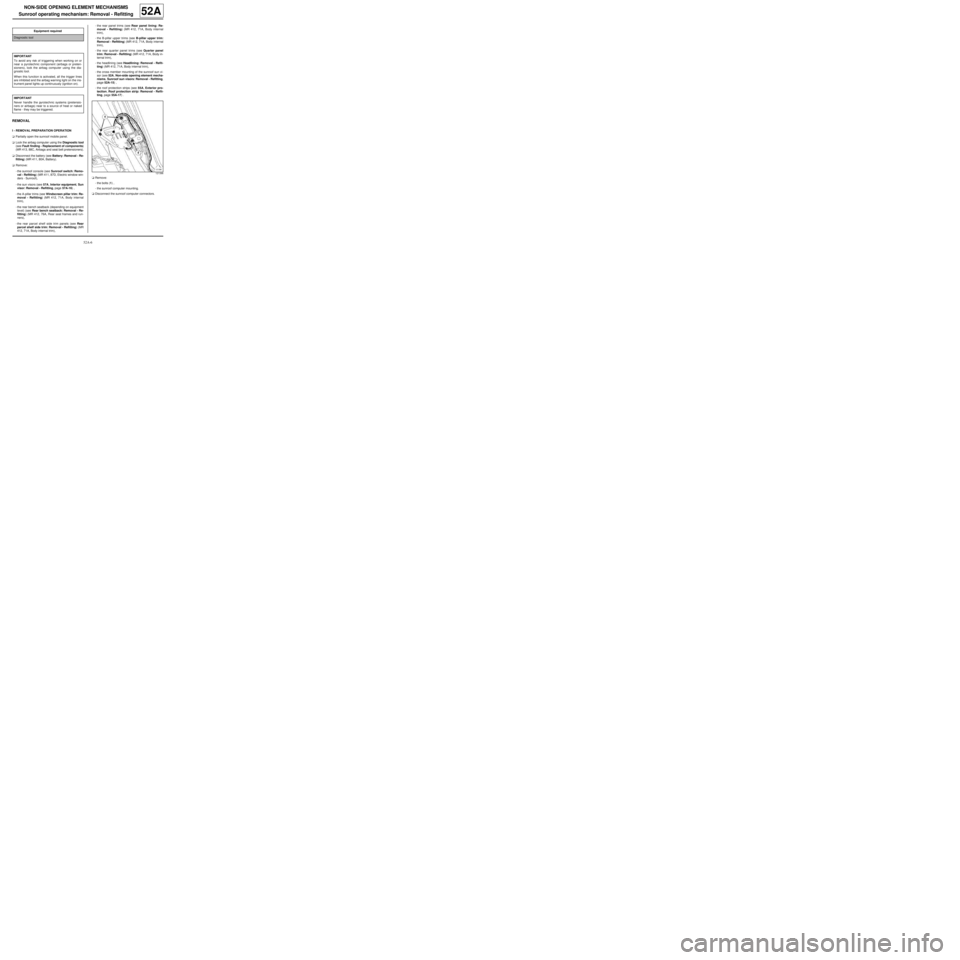
aRemove:
-the bolts (1) ,
-the sunroof computer mounting.
aDisconnect the sunroof computer connectors. Equipment required
Diagnostic tool
IMPORTANT
To avoid any risk of triggering when working on or
near a pyrotechnic component (airbags or preten-
sioners), lock the airbag computer using the dia-
gnostic tool.
When this function is activated, all the trigger lines
are inhibited and the airbag warning light on the ins-
trument panel lights up contin uously (ignition on).
IMPORTANT
Never handle the pyrotechnic systems (pretensio-
ners or airbags) near to a source of heat or naked
flame - they may be triggered.
121396
Page 22 of 95
52A-8
NON-SIDE OPENING ELEMENT MECHANISMS
Sunroof operating mechanism: Removal - Refitting
52A
-the B-pillar upper trims (see B-pillar upper trim:
Removal - Refitting) (MR 412, 71A, Body internal
trim),
-the rear panel trims (see Rear panel lining: Re-
moval - Refitting) (MR 412, 71A, Body internal
trim),
-the rear parcel shelf side trim panels (see Rear
parcel shelf side trim: Removal - Refitting) (MR
412, 71A, Body internal trim),
-the rear bench seatback (depending on equipment
level) (see Rear bench seatback: Removal - Re-
fitting) (MR 412, 76A, Rear seat frames and run-
ners),
-the A-pillar trims (see Windscreen pillar trim: Re-
moval - Refitting) (MR 412, 71A, Body internal
trim),
-the sunroof console (see Sunroof switch: Remo-
val - Refitting) (MR 411, 87D, Electric window win-
ders - Sunroof),
-the sun visors (see 57A, Interior equipment, Sun
visor: Removal - Refitting, page 57A-16) .
aConnect the battery (see Battery: Removal - Refit-
ting) (MR 411, 80A, Battery).
aUnlock the airbag computer using the Diagnostic
tool (see Fault finding - Replacement of compo-
nents) (MR 413, 88C, Airbags and seat belt preten-
sioners).
aInitialise the sunroof motor (see Electric sunroof:
Initialisation) (MR 413, 87D, Electric windows - Su-
nroof).
Page 37 of 95
54A-7
WINDOWS
Sunroof fixed window: Removal - Refitting
54A
REMOVAL
I - REMOVAL PREPARATION OPERATION
aLock the airbag computer using the Diagnostic tool
(see Fault finding - Replacement of components)
(MR 413, 88C, Airbags and seat belt pretensioners).
aDisconnect the battery (see Battery: Removal - Re-
fitting) (MR 411, 80A, Battery).
aRemove:
-the headlining (see Headlining: Removal - Refit-
ting) (MR 412, 71A, Body internal trim),
-the roof protection strips (see 55A, Exterior pro-
tection, Roof protection strip: Removal - Refit-
ting, page 55A-17) .
aProtect:
-the sunroof's fixed window surround and the rear
section of the roof using masking tape,
-the inside of the vehicle.II - REMOVAL OPERATION FOR PART
CONCERNED
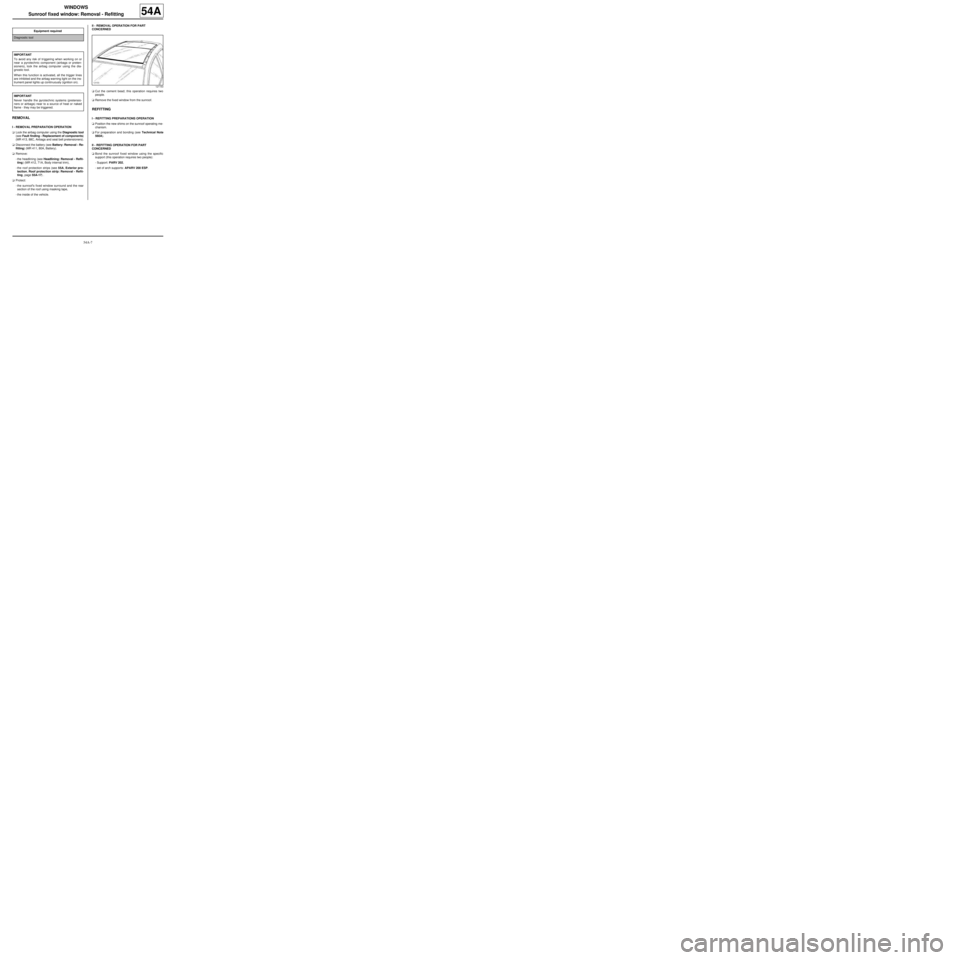
aCut the cement bead; this operation requires two
people.
aRemove the fixed window from the sunroof.
REFITTING
I - REFITTING PREPARATIONS OPERATION
aPosition the new shims on the sunroof operating me-
chanism.
aFor preparation and bonding (see Technical Note
560A).
II - REFITTING OPERATION FOR PART
CONCERNED
aBond the sunroof fixed window using the specific
support (this operation requires two people):
-Support: PARV 202,
-set of arch supports: APARV 200 ESP. Equipment required
Diagnostic tool
IMPORTANT
To avoid any risk of triggering when working on or
near a pyrotechnic component (airbags or preten-
sioners), lock the airbag computer using the dia-
gnostic tool.
When this function is activated, all the trigger lines
are inhibited and the airbag warning light on the ins-
trument panel lights up contin uously (ignition on).
IMPORTANT
Never handle the pyrotechnic systems (pretensio-
ners or airbags) near to a source of heat or naked
flame - they may be triggered.
121153
Page 90 of 95
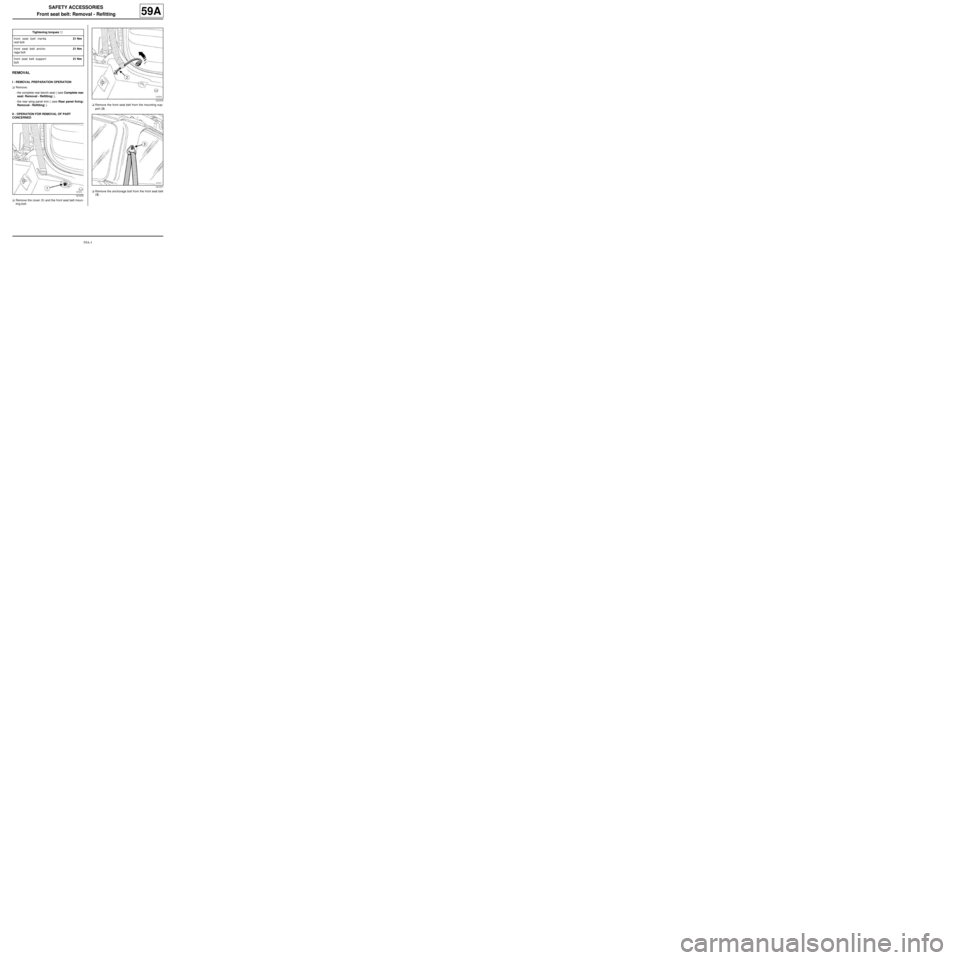
59A-1
SAFETY ACCESSORIES
Front seat belt: Removal - Refitting
59A
REMOVAL
I - REMOVAL PREPARATION OPERATION
aRemove:
-the complete rear bench seat ( (see Complete rear
seat: Removal - Refitting) ),
-the rear wing panel trim ( (see Rear panel lining:
Removal - Refitting) ).
II - OPERATION FOR REMOVAL OF PART
CONCERNED
aRemove the cover (1) and the front seat belt moun-
ting bolt.aRemove the front seat belt from the mounting sup-
port (2) .
aRemove the anchorage bolt from the front seat belt
(3) . Tightening torquesm
front seat belt inertia
reel bolt21 Nm
front seat belt ancho-
rage bolt21 Nm
front seat belt support
bolt21 Nm
121072
121074
121071
Page 91 of 95
59A-2
SAFETY ACCESSORIES
Front seat belt: Removal - Refitting
59A
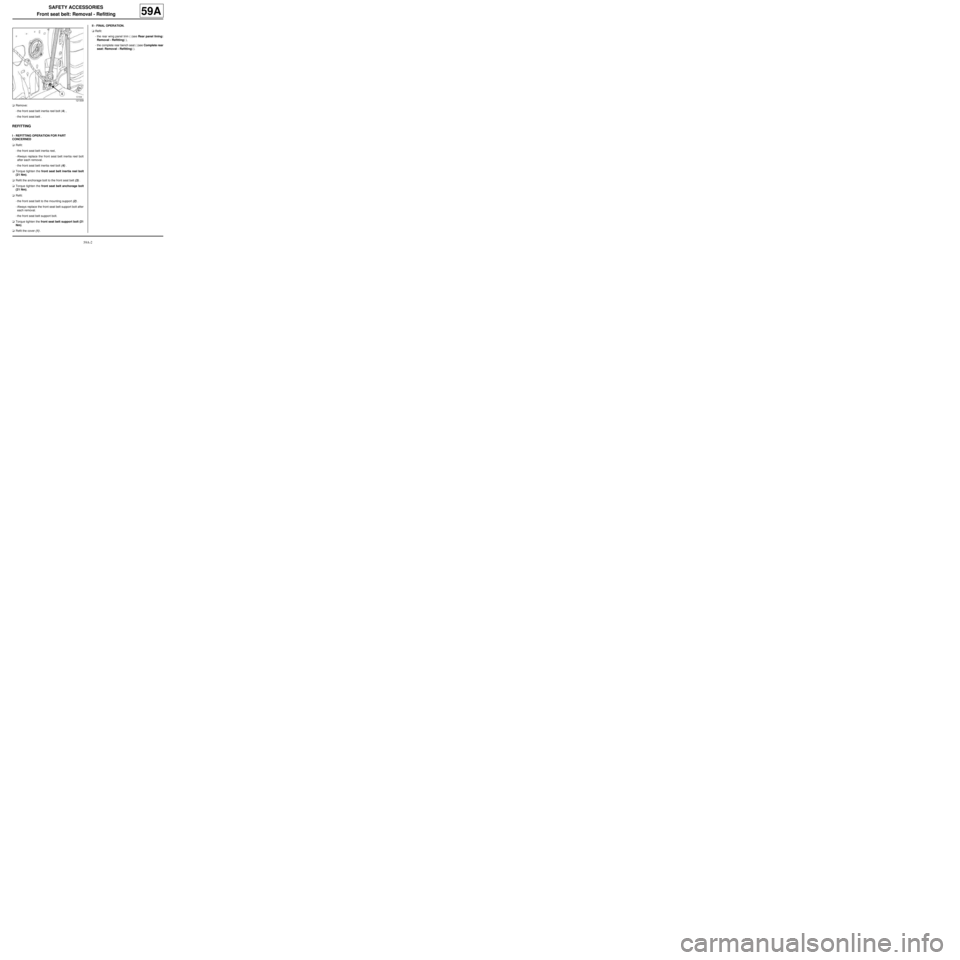
aRemove:
-the front seat belt inertia reel bolt (4) ,
-the front seat belt .
REFITTING
I - REFITTING OPERATION FOR PART
CONCERNED
aRefit:
-the front seat belt inertia reel,
-Always replace the front seat belt inertia reel bolt
after each removal.
-the front seat belt inertia reel bolt (4) .
aTorque tighten the front seat belt inertia reel bolt
(21 Nm).
aRefit the anchorage bolt to the front seat belt (3) .
aTorque tighten the front seat belt anchorage bolt
(21 Nm).
aRefit:
-the front seat belt to the mounting support (2) .
-Always replace the front seat belt support bolt after
each removal.
-the front seat belt support bolt.
aTorque tighten the front seat belt support bolt (21
Nm).
aRefit the cover (1) .II - FINAL OPERATION.
aRefit:
-the rear wing panel trim ( (see Rear panel lining:
Removal - Refitting) ),
-the complete rear bench seat ( (see Complete rear
seat: Removal - Refitting) ).
121309
Page 92 of 95
59A-3
SAFETY ACCESSORIES
Rear seat belt: Removal - Refitting
59A
REMOVAL
I - REMOVAL PREPARATION OPERATION
aTilt the rear bench seat base or the complete rear
seat (depending on the equipment level).
aRemove:
-the rear parcel shelf side trim ( (see Rear parcel
shelf side trim: Removal - Refitting) ),
-the rear wheel arch trim ( (see Rear wheel arch
trim: Removal - Refitting) ).
II - OPERATION FOR REMOVAL OF PART
CONCERNED
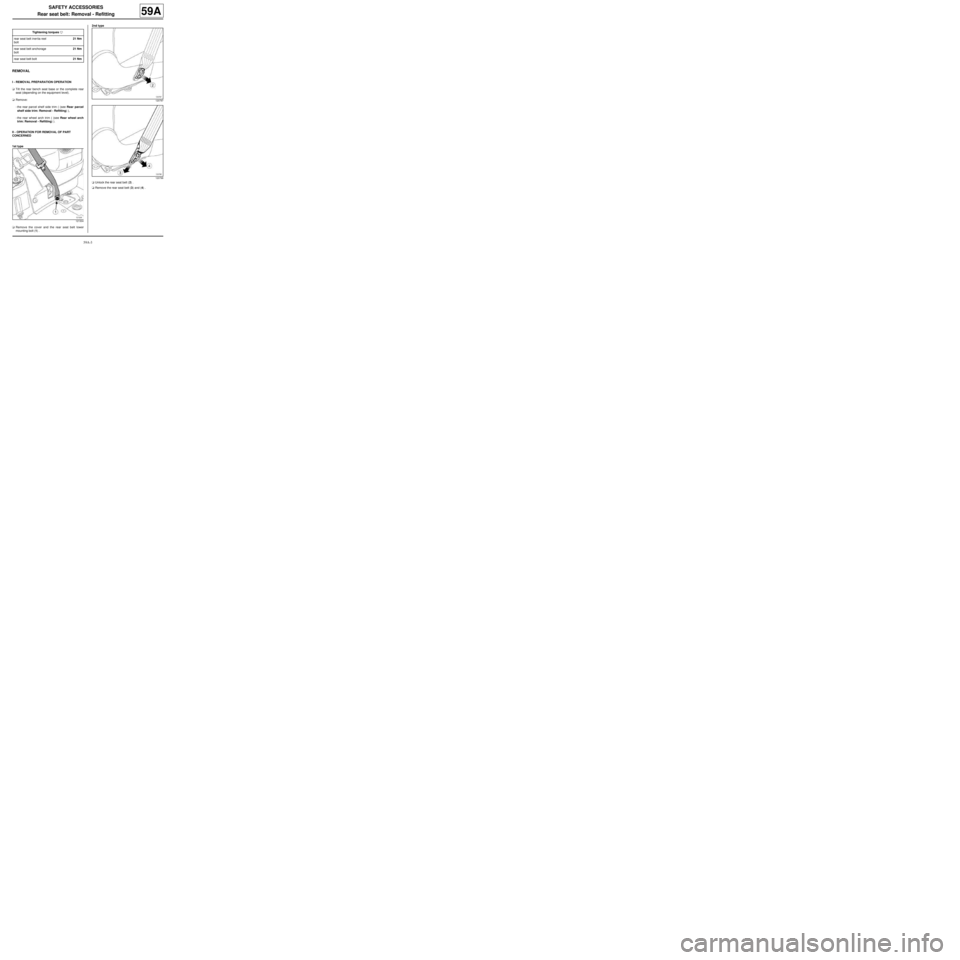
1st type
aRemove the cover and the rear seat belt lower
mounting bolt (1) .2nd type
aUnlock the rear seat belt (2) .
aRemove the rear seat belt (3) and (4) . Tightening torquesm
rear seat belt iner tia reel
bolt21 Nm
rear seat belt anchorage
bolt21 Nm
rear seat belt bolt21 Nm
121304
120797
120796
Page 93 of 95
59A-4
SAFETY ACCESSORIES
Rear seat belt: Removal - Refitting
59A
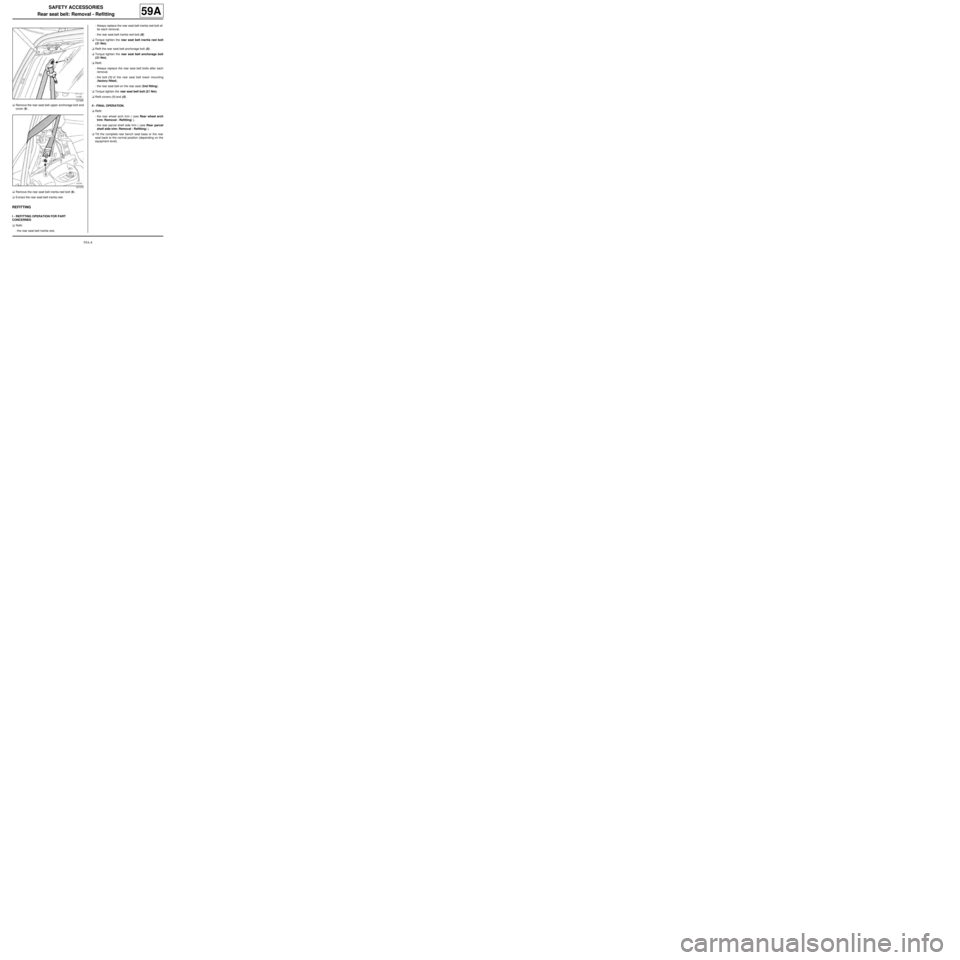
aRemove the rear seat belt upper anchorage bolt and
cover (5) .
aRemove the rear seat belt inertia reel bolt (6) .
aExtract the rear seat belt inertia reel.
REFITTING
I - REFITTING OPERATION FOR PART
CONCERNED
aRefit:
-the rear seat belt inertia reel,-Always replace the rear seat belt inertia reel bolt af-
ter each removal.
-the rear seat belt inertia reel bolt (6) .
aTorque tighten the rear seat belt inertia reel bolt
(21 Nm).
aRefit the rear seat belt anchorage bolt (5) .
aTorque tighten the rear seat belt anchorage bolt
(21 Nm).
aRefit:
-Always replace the rear seat belt bolts after each
removal.
-the bolt (1) of the rear seat belt lower mounting
(factory fitted),
-the rear seat belt on the rear seat (2nd fitting).
aTorque tighten the rear seat belt bolt (21 Nm).
aRefit covers (1) and (5) .
II - FINAL OPERATION.
aRefit:
-the rear wheel arch trim ( (see Rear wheel arch
trim: Removal - Refitting) ),
-the rear parcel shelf side trim ( (see Rear parcel
shelf side trim: Removal - Refitting) ).
aTilt the complete rear bench seat base or the rear
seat back to the normal position (depending on the
equipment level).
121065
121070
Page 94 of 95
59A-5
SAFETY ACCESSORIES
Rear seat belt buckle: Removal - Refitting
59A
REMOVAL
I - REMOVAL PREPARATION OPERATION
aTilt the rear bench seat base or the rear seat (depen-
ding on the equipment level).
II - OPERATION FOR REMOVAL OF PART
CONCERNED
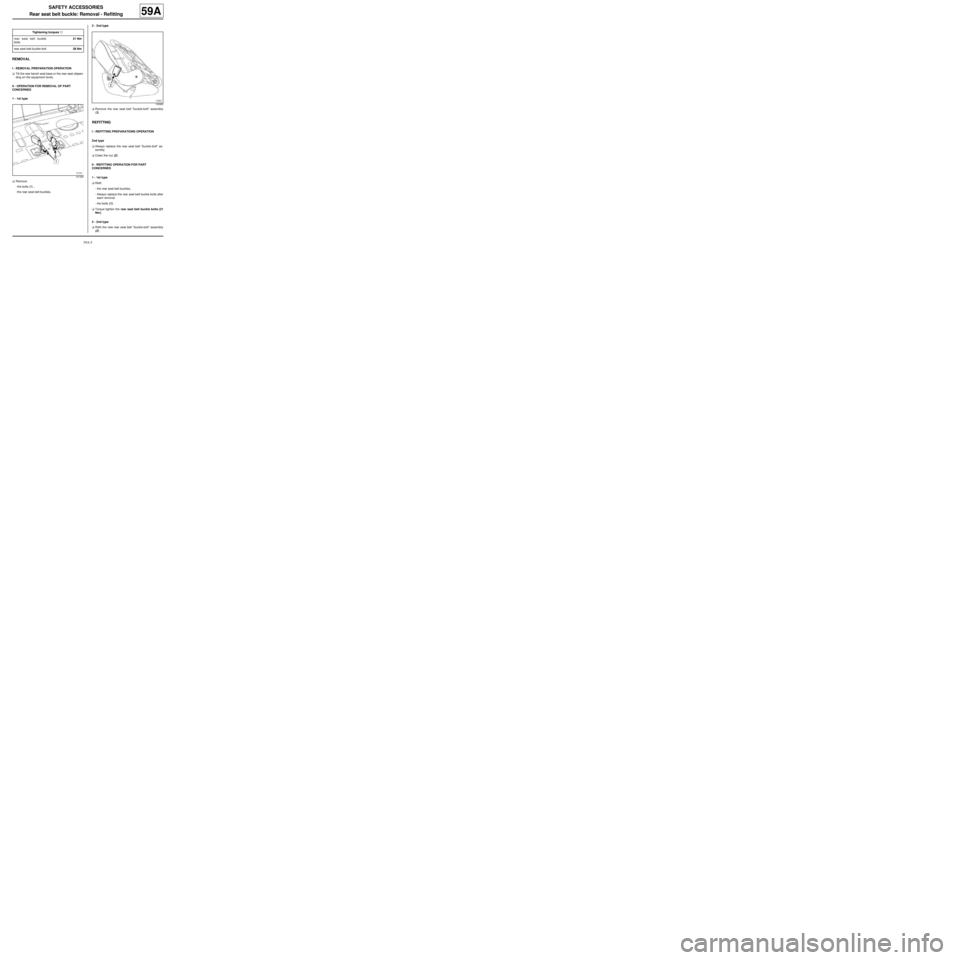
1 - 1st type
aRemove:
-the bolts (1) ,
-the rear seat belt buckles.2 - 2nd type
aRemove the rear seat belt "buckle-bolt" assembly
(2) .
REFITTING
I - REFITTING PREPARATIONS OPERATION
2nd type
aAlways replace the rear seat belt "buckle-bolt" as-
sembly.
aClean the nut (2) .
II - REFITTING OPERATION FOR PART
CONCERNED
1 - 1st type
aRefit:
-the rear seat belt buckles,
-Always replace the rear seat belt buckle bolts after
each removal.
-the bolts (1) .
aTorque tighten the rear seat belt buckle bolts (21
Nm ).
2 - 2nd type
aRefit the new rear seat belt "buckle-bolt" assembly
(2) . Tightening torquesm
rear seat belt buckle
bolts21 Nm
rear seat belt buckle bolt28 Nm
121305
120883
Page 95 of 95
59A-6
SAFETY ACCESSORIES
Rear seat belt buckle: Removal - Refitting
59A
aTorque tighten the rear seat belt buckle bolt (28
Nm).
III - FINAL OPERATION.
aTilt the rear bench seat base or the rear seat back to
the normal position (depending on the equipment le-
vel).Note:
It is necessary to wait 6 hours before applying
any force to the rear seat belt buckle after it has
been torque tightened.