glove box RENAULT TWINGO RS 2009 2.G Mechanism And Accessories Workshop Manual
[x] Cancel search | Manufacturer: RENAULT, Model Year: 2009, Model line: TWINGO RS, Model: RENAULT TWINGO RS 2009 2.GPages: 95
Page 3 of 95

Contents
55A EXTERIOR PROTECTION
Front bumper: Removal -
Refitting 55A-1
Front bumper: Stripping -
Rebuilding 55A-3
Rear bumper : Removal -
Refitting 55A-10
Rear bumper : Stripping -
Rebuilding 55A-13
Rear bumper : Conversion 55A-14
Front side door protective
strip: Removal - Refitting 55A-15
Rear wing protective strip:
Removal - Refitting 55A-16
Roof protection strip:
Removal - Refitting 55A-17
Front wheel arch liner:
Removal - Refitting 55A-18
56A EXTERIOR EQUIPMENT
Scuttle panel gr ille: Removal
- Refitting 56A-1
Tailgate spoiler: Removal -
Refitting 56A-3
Scoop under the scuttle
panel grille: Removal -
Refitting 56A-6
Door mirror: Removal -
Refitting 56A-8
Door mirror casing: Removal
- Refitting 56A-9
Door mirror glass: Removal -
Refitting 56A-10
Side decorative strips:
Removal - Refitting 56A-11
Sill panel extension:
Removal - Refitting 56A-13
Rear wing extension:
Removal - Refitting 56A-1557A INTERIOR EQUIPMENT
Dashboard: Removal -
Refitting 57A-1
Dashboard: Conversion 57A-4
Dashboard side air vent:
Removal - Refitting 57A-6
Centre front panel: Removal
- Refitting 57A-7
Glovebox: Removal -
Refitting 57A-9
Dashboard storage
compar tment: Removal -
Refitting 57A-11
Centre console: Removal -
Refitting 57A-12
Interior rear-view mirror:
Removal - Refitting 57A-14
Sun visor: Removal -
Refitting 57A-16
59A SAFETY ACCESSORIES
Front seat belt: Removal -
Refitting 59A-1
Rear seat belt: Removal -
Refitting 59A-3
Rear seat belt buckle:
Removal - Refitting 59A-5
Page 78 of 95

57A-5
INTERIOR EQUIPMENT
Dashboard: Conversion
57A
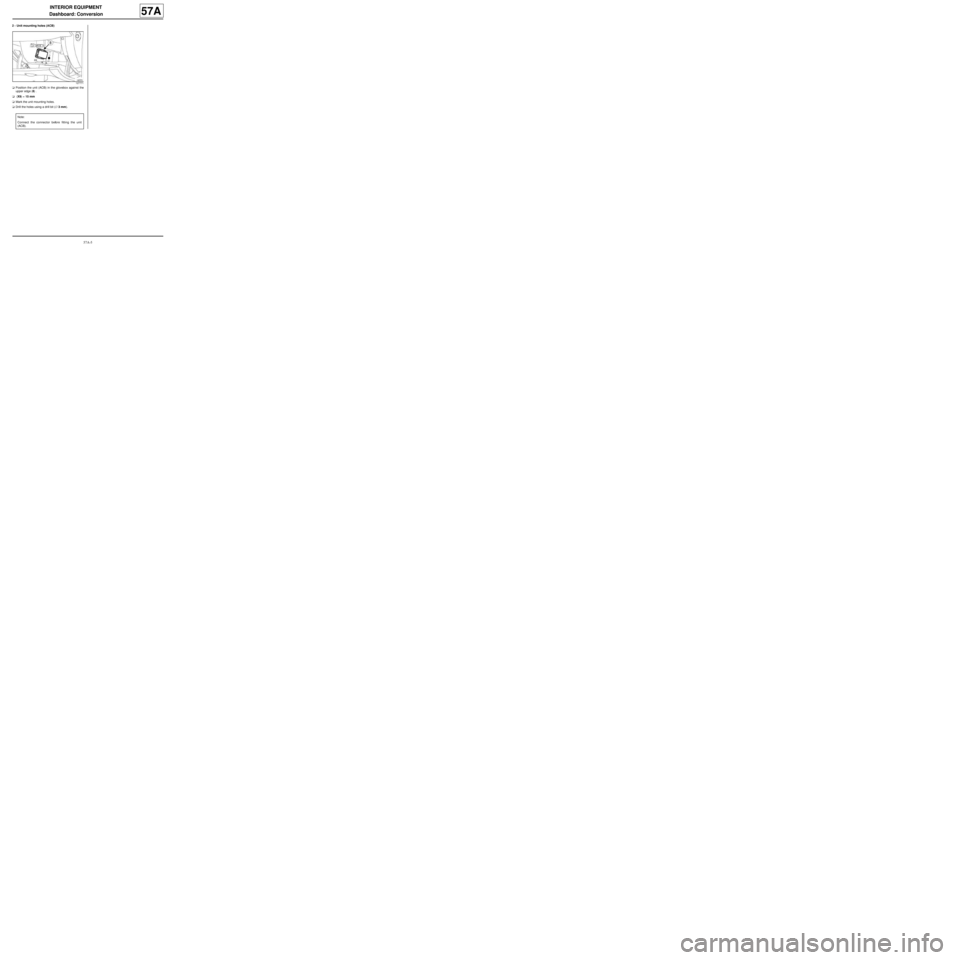
2 - Unit mounting holes (ACB)
aPosition the unit (ACB) in the glovebox against the
upper edge (8) .
a (X9) = 15 mm
aMark the unit mounting holes.
aDrill the holes using a drill bit (∅ 3 mm).
127771
Note:
Connect the connector before fitting the unit
(ACB).
Page 82 of 95

57A-9
INTERIOR EQUIPMENT
Glovebox: Removal - Refitting
57A
REMOVAL
I - REMOVAL PREPARATION OPERATION
aLock the airbag computer using the Diagnostic tool
(see Fault finding - Replacement of components)
(MR 413, 88C, Airbags and pretensioners).
aDisconnect the battery (see Battery: Removal - Re-
fitting) (MR 411, 80A, Battery).
aRemove the dashboard (see 57A, Interior equip-
ment, Dashboard: Removal - Refitting, page 57A-
1) .II - OPERATION FOR REMOVAL OF PART
CONCERNED
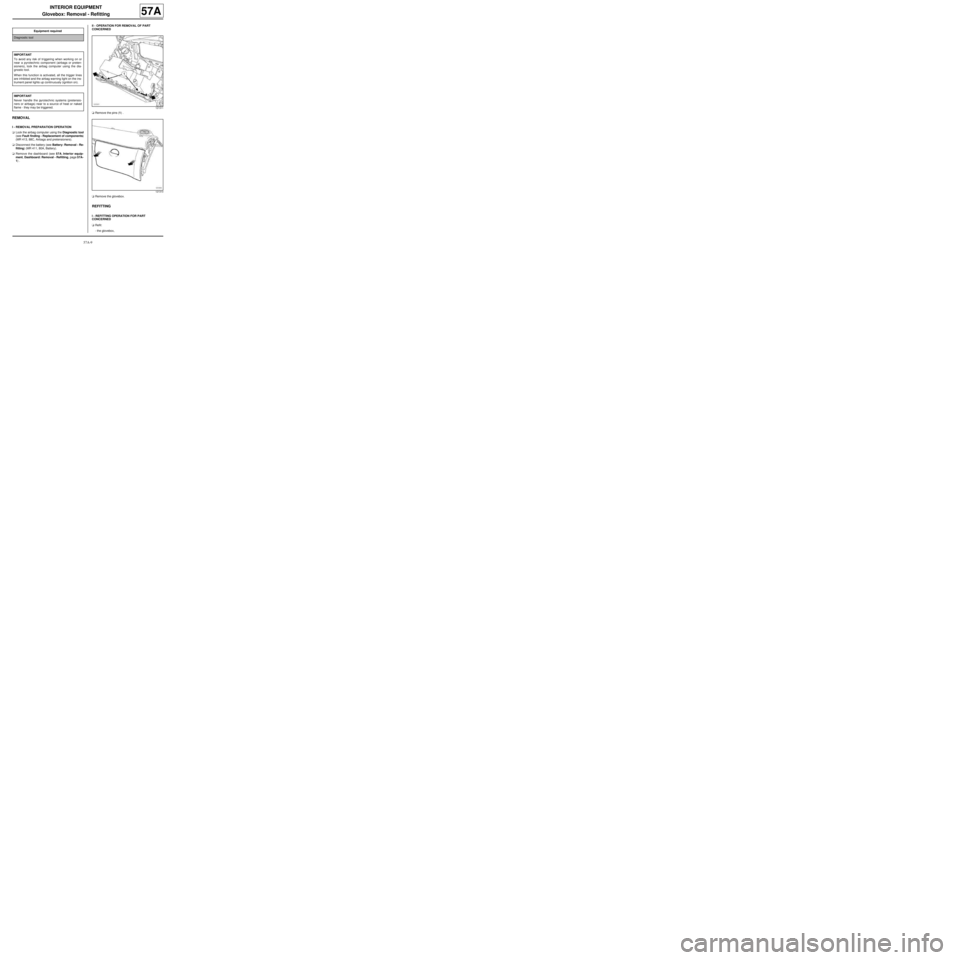
aRemove the pins (1) .
aRemove the glovebox.
REFITTING
I - REFITTING OPERATION FOR PART
CONCERNED
aRefit:
-the glovebox, Equipment required
Diagnostic tool
IMPORTANT
To avoid any risk of triggering when working on or
near a pyrotechnic component (airbags or preten-
sioners), lock the airbag computer using the dia-
gnostic tool.
When this function is activated, all the trigger lines
are inhibited and the airbag warning light on the ins-
trument panel lights up contin uously (ignition on).
IMPORTANT
Never handle the pyrotechnic systems (pretensio-
ners or airbags) near to a source of heat or naked
flame - they may be triggered.
121311
121310
Page 83 of 95

57A-10
INTERIOR EQUIPMENT
Glovebox: Removal - Refitting
57A
-the pins (1) .
II - FINAL OPERATION.
aRefit the dashboard (see 57A, Interior equipment,
Dashboard: Removal - Refitting, page 57A-1) .
aConnect the battery (see Battery: Removal - Refit-
ting) (MR 411, 80A, Battery).
aUnlock the airbag computer using the Diagnostic
tool (see Fault finding - Replacement of compo-
nents) (MR 413, 88C, Airbags and pretensioners).