SAAB 9-5 2009 Owners Manual
Manufacturer: SAAB, Model Year: 2009, Model line: 9-5, Model: SAAB 9-5 2009Pages: 272, PDF Size: 21.53 MB
Page 231 of 272
231 Car care and technical information
Steps for Determining Correct
Load Limit1 Locate the statement “The
combined weight of occupants and
cargo should never exceed
XXX pounds” on your vehicle´s
label.
2 Determine the combined weight of
the driver and passengers that will
be riding in your vehicle.
3 Subtract the combined weight of the
driver and passengers from
XXX kilograms or XXX pounds.
4 The resulting figure equals the avail-
able amount of cargo and luggage
load capacity. For example, if the
“XXX” amount equals 1400 lbs. and
there will be five 150 lb. passengers
in your vehicle, the amount of avail-
able cargo and luggage load capac-
ity is 650 lbs. (1400–750 (5x150) =
650 lbs.).5 Determine the combined weight of
luggage and cargo being loaded on
the vehicle. That weight may not
safely exceed the available cargo
and luggage load capacity calcu-
lated in Step 4.
6 If your vehicle will be towing a trailer,
load from your trailer will be trans-
ferred to your vehicle. Consult this
manual to determine how this
reduces the available cargo and
luggage load capacity of your vehi-
cle.
Winter tiresWinter (snow) tires are recommended for
winter climates where the majority of your
driving will be done on snow and ice. Winter
tires should be fitted to all four wheels to
maintain a proper balance. Your Saab
dealer can advise you of to the correct size
tire for your car (if different from the original
size) and also supply Saab approved winter
tires pre-mounted on steel or alloy rims.
Winter tires normally use a different speed
rating compared to summer/all season tires.
Make sure not to exceed the stated speed
rating on the tires you use.
Make sure that wheels with sensors for tire
pressure monitoring are fitted during
replacement if the car has automatic tire
pressure monitoring.
Tire date codeTires should be regarded as perishable
goods. As the tires age, the rubber becomes
progressively harder, and the roadholding
ability of the tires diminishes. This is partic-
ularly true on winter tires.
Tires now have a date-code marking for the
year of manufacture. The first two digits
denote the week number and the two last
digits the year followed by a filled triangle.Tire direction of rotationThe direction of rotation is important for the
majority of tires. These tires have a marking
on the side of the tire. The marking may
state "Tire rotation" together with an arrow
or the text "Facing out". The tire must rotate
in the same direction for its entire service
life.
95_US_MY09.book Page 231 Tuesday, April 15, 2008 11:03 AM
ProCarManuals.com
Page 232 of 272
232 Car care and technical informationAutomatic tire pressure
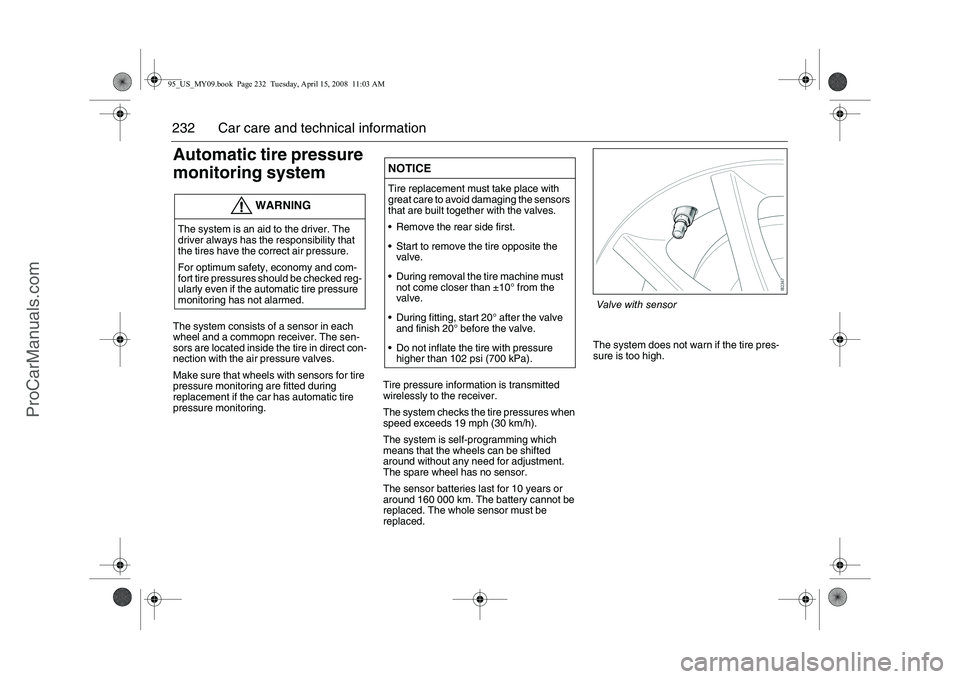
monitoring systemThe system consists of a sensor in each
wheel and a commopn receiver. The sen-
sors are located inside the tire in direct con-
nection with the air pressure valves.
Make sure that wheels with sensors for tire
pressure monitoring are fitted during
replacement if the car has automatic tire
pressure monitoring.Tire pressure information is transmitted
wirelessly to the receiver.
The system checks the tire pressures when
speed exceeds 19 mph (30 km/h).
The system is self-programming which
means that the wheels can be shifted
around without any need for adjustment.
The spare wheel has no sensor.
The sensor batteries last for 10 years or
around 160 000 km. The battery cannot be
replaced. The whole sensor must be
replaced.The system does not warn if the tire pres-
sure is too high.
WARNING
The system is an aid to the driver. The
driver always has the responsibility that
the tires have the correct air pressure.
For optimum safety, economy and com-
fort tire pressures should be checked reg-
ularly even if the automatic tire pressure
monitoring has not alarmed.
NOTICETire replacement must take place with
great care to avoid damaging the sensors
that are built together with the valves.
Remove the rear side first.
Start to remove the tire opposite the
valve.
During removal the tire machine must
not come closer than ±10° from the
valve.
During fitting, start 20° after the valve
and finish 20° before the valve.
Do not inflate the tire with pressure
higher than 102 psi (700 kPa).
Valve with sensor
95_US_MY09.book Page 232 Tuesday, April 15, 2008 11:03 AM
ProCarManuals.com
Page 233 of 272
233 Car care and technical information
If the tire pressure decreasesIf the tire pressure decreases to 0.4 bar
(6 psi) below the recommended pressure
then a warning is shown on the SID as to
which tires are affected.
Adjust the pressure as soon as possible.If the tire pressure continues to decrease
then an alarm is shown on the SID when the
pressure has decreased to 23 psi (159 kPa)
which is the lowest permitted pressure for
the tire.
An alarm is also received when leakage is
greater than 3 psi/min. (20 kPa/min.).
Reduce speed (avoid heavy braking and
significant steering wheel movement) and
stop the car as soon as possible at a suita-
ble location. Replace the defective wheel.
The fault message can remain for up to
10 minutes after restarting the car. Then it
disappears if the tire pressure is correct.
Check/adjust the pressure in the other tires
when a fault message is shown.Note that the tire pressure can decrease
without a puncture. The pressure could
decrease around 3 psi (20 kPa) during a
three month period.
The outside temperature could also affect
tire pressure.
The specified tyre pressures are valid for
cold tyres. The increased tyre pressure
resulting from extensive driving must not be
reduced. Tyre pressure table, see page
263.
If the system has triggerd a low pressure
warning or alarm then the tire pressure must
be adjusted to the recommended pressure
in order to put out the warning or alarm.
For further information on tire air pres-
sure, see page 220.
Allow 10 minutes for the system to recogn-
ise the wheel/sensors positions after fitting
a new set of tires. During this period no low
pressure warning or alarm can be triggered.
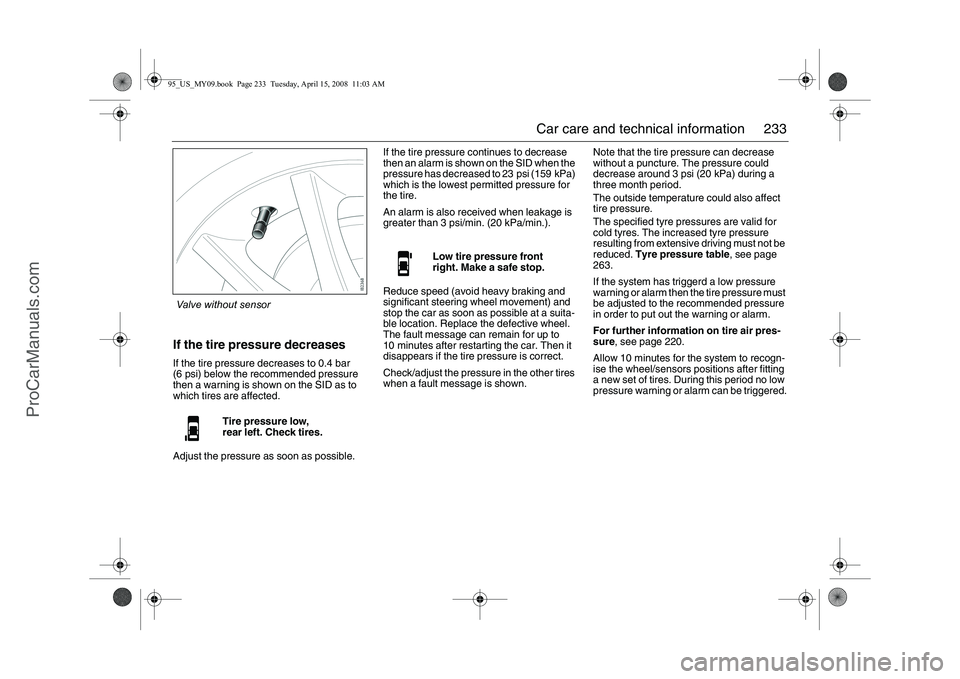
Tire pressure low,
rear left. Check tires.
Low tire pressure front
right. Make a safe stop.
Valve without sensor95_US_MY09.book Page 233 Tuesday, April 15, 2008 11:03 AM
ProCarManuals.com
Page 234 of 272
234 Car care and technical informationMalfunctionsThe above message is shown on the SID if:
a wheel without pressure sensor has
been fitted (e.g. spare wheel)
one or more pressure sensors are broken
or missing
a fault has arisen in the receiver
a system error has arisen.
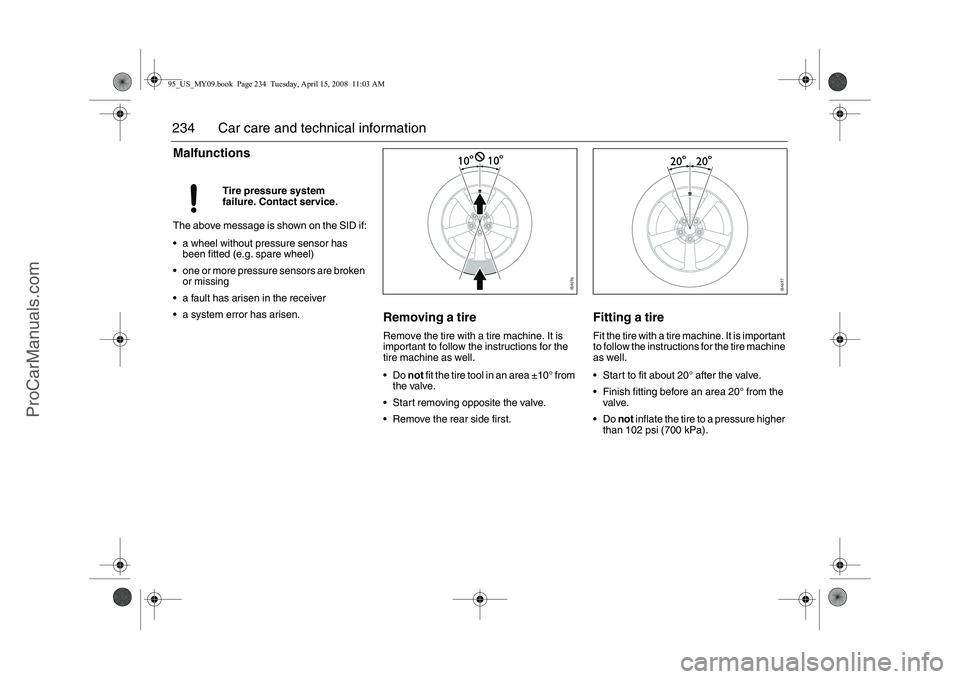
Removing a tireRemove the tire with a tire machine. It is
important to follow the instructions for the
tire machine as well.
Do not fit the tire tool in an area ±10° from
the valve.
Start removing opposite the valve.
Remove the rear side first.
Fitting a tireFit the tire with a tire machine. It is important
to follow the instructions for the tire machine
as well.
Start to fit about 20° after the valve.
Finish fitting before an area 20° from the
valve.
Do not inflate the tire to a pressure higher
than 102 psi (700 kPa). Tire pressure system
failure. Contact service.
95_US_MY09.book Page 234 Tuesday, April 15, 2008 11:03 AM
ProCarManuals.com
Page 235 of 272
235 Car care and technical information
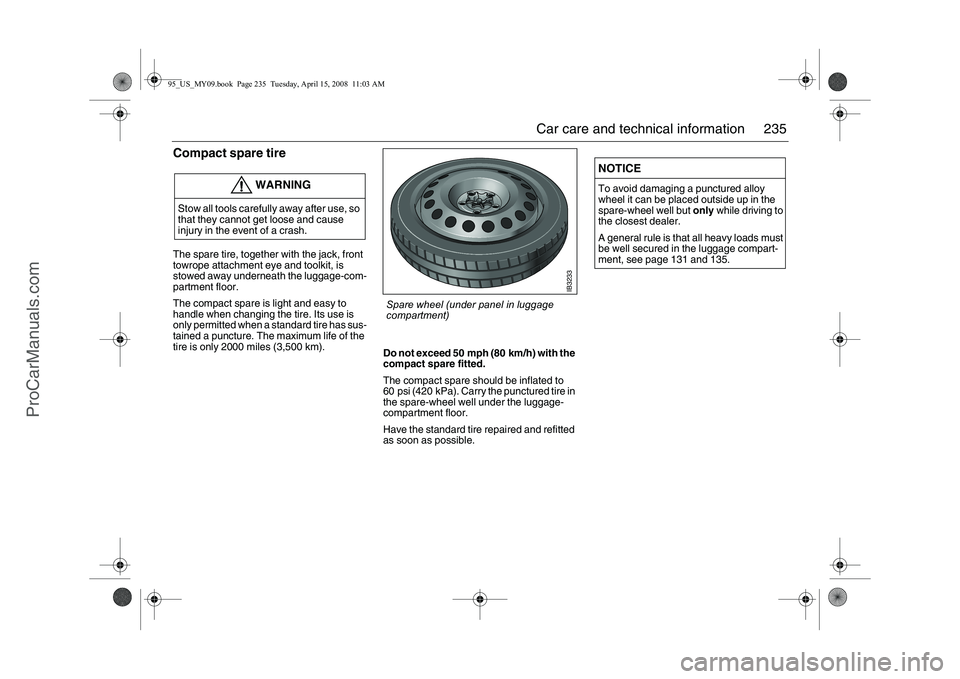
Compact spare tireThe spare tire, together with the jack, front
towrope attachment eye and toolkit, is
stowed away underneath the luggage-com-
partment floor.
The compact spare is light and easy to
handle when changing the tire. Its use is
only permitted when a standard tire has sus-
tained a puncture. The maximum life of the
tire is only 2000 miles (3,500 km).
Do not exceed 50 mph (80 km/h) with the
compact spare fitted.
The compact spare should be inflated to
60 psi (420 kPa). Carry the punctured tire in
the spare-wheel well under the luggage-
compartment floor.
Have the standard tire repaired and refitted
as soon as possible.
WARNING
Stow all tools carefully away after use, so
that they cannot get loose and cause
injury in the event of a crash.
NOTICETo avoid damaging a punctured alloy
wheel it can be placed outside up in the
spare-wheel well but only while driving to
the closest dealer.
A general rule is that all heavy loads must
be well secured in the luggage compart-
ment, see page 131 and 135.
IB3233
Spare wheel (under panel in luggage
compartment)
95_US_MY09.book Page 235 Tuesday, April 15, 2008 11:03 AM
ProCarManuals.com
Page 236 of 272
236 Car care and technical informationDriving considerations with
compact spare wheel/tire fitted
The following should be observed when the
compact spare wheel (T115/70 R16) is
fitted:
The compact spare is light and easy to
handle when changing the wheel.
Do not drive further than necessary with
the compact spare fitted – the maximum
life of the wheel is only just over
2000 miles (3,500 km).
Refit the standard tire as soon as possi-
ble.
Fitting a spare tire/wheel without pressure
sensor will trigger a malfunction
message, see page 234.
Important considerations when driving with
a compact spare tire:
The car’s ground clearance is reduced.
The car must not be driven with more than
one compact tire at a time.
Avoid driving against a curb.
Do not use snow chains.
Do not fit the wheel cover - this would
conceal the warning text.
WARNING
Do not exceed 50 mph (80 km/h) as
the tire can overheat and adversely
affect the handling of the car.
Tire pressure: refer to page 263.
The spare wheel or punctured tire
must be stowed under the trunk floor,
and secured in place with the retaining
nut.
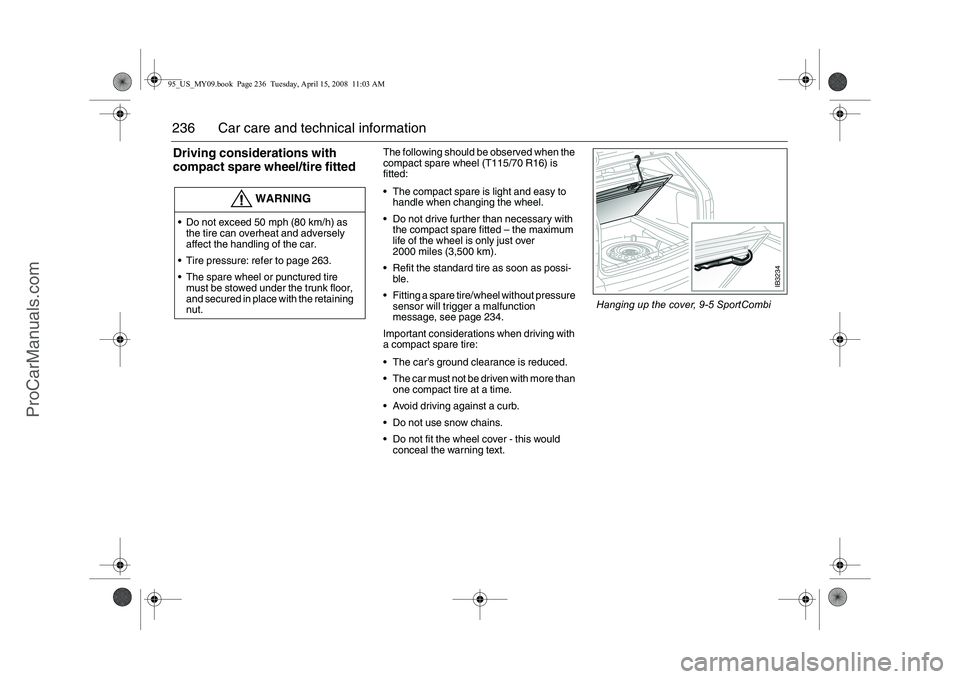
IB3234
Hanging up the cover, 9-5 SportCombi
95_US_MY09.book Page 236 Tuesday, April 15, 2008 11:03 AM
ProCarManuals.com
Page 237 of 272
237 Car care and technical information
Changing a wheel
WARNING
Lifting a vehicle and getting under it to do
maintenance or repairs is dangerous
without the appropriate safety equipment
and training. The jack provided with your
vehicle is designed only for changing a
flat tire. If it is used for anything else, you
or others could be badly injured or killed if
the vehicle slips off the jack. Use the jack
provided with your vehicle only for chang-
ing a flat tire.
Changing a tire can be dangerous. The
vehicle can slip off the jack and roll over
or fall on you or other people. You and
they could be badly injured or even killed.
Find a level place to change your tire. To
help prevent the vehicle from moving:
1 Set the parking brake firmly.
2 If you have an automatic transmis-
sion, put the shift lever in PARK (P).
For a manual transmission, leave the
car in gear (1st or REVERSE (R)).
3 Turn off the engine and do not restart
while the vehicle is raised.
4 Do not allow passengers to remain in
the vehicle.
To be even more certain the vehicle won't
move, you should put blocks at the front
and rear of the tire farthest away from the
one being changed. That would be the
tire, on the other side, at the opposite end
of the vehicle.
The car jack is designed solely for use
in changing a wheel or fitting snow
chains. It must not be used to sup-
port the car during repair work or
servicing.
Never crawl under a car that is
supported only by a jack.
Raising your vehicle too high or with
the jack improperly positioned can
damage the vehicle and even make
the vehicle fall. To help avoid personal
injury and vehicle damage, be sure to
fit the jack lift head into the proper
location before raising the vehicle, and
raise the vehicle only far enough off
the ground so there is enough room
for the spare tire to fit (no more than
25 mm or 1 inch clearance between
the ground and the bottom of the tire).
Switch on the hazard warning lights if
the car is on a road.
The jack should be stored correctly
under the carpeting in the trunk. If it
lies loose in the car, it could thrown for-
ward and cause personal injury in the
event of a crash or if the car rolls over.
Grit, salt and rust can clog the inner
threads of the wheel bolts if the car has
been driven for several years exclu-
sively with alloy wheels.
If steel wheels are being installed, the
bolt hole threads in the brake hubs
should be cleaned before the thinner
steel wheels are fitted. It may other-
wise not be possible to achieve the
correct clamping force, despite tight-
ening the wheel bolts to the correct
torque.
95_US_MY09.book Page 237 Tuesday, April 15, 2008 11:03 AM
ProCarManuals.com
Page 238 of 272

238 Car care and technical informationTo jack up the car, apply the jack to one of
the special jacking points under the sills.
If a floor jack is used, it can be applied to the
standard jacking points used by the dealer.
A floor jack can lift both front wheels or both
rear wheels off the ground simultaneously.
A jack stand must then be applied under-
neath the front of the engine subframe (at
the fixing point for the towrope-attachment
eye) or to the rear towrope-attachment eye
(or under the trailer hitch, if fitted).1 Put the car in 1st gear (automatic trans-
mission: move selector to the P position)
and apply the parking brake.
2 Wind the jack up to a suitable height
before placing it under the recess in the
sill.
Make sure that the jack fully engages
the recess in the sill and that the base of
the jack is steady and flat on the ground.3 Remove the wheel cover (where appli-
cable).
Remove the wheel bolt caps and loosen
the wheel bolts by half a turn.
4 Wind the jack to raise the wheel clear of
the ground. Remove the wheel bolts and
lift off the wheel.
NOTICEApply the jack only to the jacking points
indicated on the body.Position for jack
IB3917
IB1130
Jacking points for a floor jack 95_US_MY09.book Page 238 Tuesday, April 15, 2008 11:03 AM
ProCarManuals.com
Page 239 of 272

239 Car care and technical information
5 Clean any rust or dirt from the contact
surfaces between the wheel and brake
disc. Do not wipe away the grease in the
hub.
6 Fit the wheel and screw in the bolts in the
sequence shown (opposite pairs) - see
page 240.
Tighten the bolts enough for the bolts
and wheel to be seated correctly.7 Lower the car and tighten the wheel
bolts to the correct torque in the
sequence shown (opposite
pairs).Replace the wheel bolt caps.
Tightening torque
Light-alloy wheels: 80 ft.lbs. (110 Nm)
Steel wheels: 80 ft.lbs. (110 Nm).
Lubricate the wheel stud head with a
small amount of petroleum jelly or simi-
lar and reinstall the plastic covers on the
wheel studs. The petroleum jelly facilita-
tes removal.
NOTICE When refitting wheel covers (where
applicable), make sure that the valve
protrudes through the marked hole in
the wheel cover.
Do not overtighten the bolts using an
impact wrench: not only can this
damage the wheels but it can also
make it impossible to undo the bolts
using the wheel wrench in the car’s
toolkit.
Clean any rust or dirt from the contact sur-
faces between the wheel and brake disc
IB2428
Do not wipe away the grease in the hub.
IB4529
Removing the plastic wheel bolt caps95_US_MY09.book Page 239 Tuesday, April 15, 2008 11:03 AM
ProCarManuals.com
Page 240 of 272

240 Car care and technical information8 Check-tighten the wheel bolts after a few
miles.
Tightening torque
Light-alloy wheels: 80 ft.lbs. (110 Nm)
Steel wheels: 80 ft.lbs. (110 Nm)
Safety beltsRegularly check the function of the safety
belts as follows:
Hold the diagonal strap and pull it sharply.
The safety belt should lock and it should
not be possible to withdraw it further.
Check the anchorage points in the floor.
They must not have suffered rust damage.
There must be no frayed threads in the web-
bing.
Safety belts must not come into contact with
substances such as polishes, oils or other
chemicals. If the straps are dirty, wash them
with warm water and a detergent or have
them replaced.
WARNING
If the car is involved in a crash, the safety
belts, belt pretensioners and other com-
ponents must be inspected by a work-
shop. We recommend that you contact an
authorized Saab dealer.
Never make any alterations or repairs to
the safety belt yourself.
IB1800IB1800
Removing the wheel cover
IB539
Tightening sequence, wheel bolts
95_US_MY09.book Page 240 Tuesday, April 15, 2008 11:03 AM
ProCarManuals.com