start SAAB 9-7X 2005 Owner's Manual
[x] Cancel search | Manufacturer: SAAB, Model Year: 2005, Model line: 9-7X, Model: SAAB 9-7X 2005Pages: 398, PDF Size: 2.42 MB
Page 92 of 398
DRIVE (D):This position is for normal driving. If you
need more power for passing, and you are:
Going less than about 35 mph (55 km/h),
push the accelerator pedal about halfway down.
Going about 35 mph (55 km/h) or more,
push the accelerator all the way down.
You will shift down to the next gear and have
more power.
DRIVE (D) can be used when towing a trailer, carrying a
heavy load, driving on steep hills or for off-road driving.
You may want to shift the transmission to THIRD (3) or,
if necessary, a lower gear selection if the transmission
shifts too often.
THIRD (3):This position is also used for normal driving.
However, it offers more power and lower fuel economy
than DRIVE (D).SECOND (2):This position gives you more power but
lower fuel economy than THIRD (3). You can use
SECOND (2) on hills. It can help control your speed as
you go down steep mountain roads, but then you would
also want to use the brakes off and on.
You can also use SECOND (2) for starting the vehicle
from a stop on slippery road surfaces.
FIRST (1):This position gives you even more power but
lower fuel economy than SECOND (2). You can use it on
very steep hills, or in deep snow or mud. If the gear shift
lever is put in FIRST (1) while the vehicle is moving
forward, the transmission will not shift into �rst gear until
the vehicle is going slowly enough.
Notice:Spinning the tires or holding the vehicle in
one place on a hill using only the accelerator pedal
may damage the transmission. If you are stuck, do
not spin the tires. When stopping on a hill, use the
brakes to hold the vehicle in place.
2-26
2005 - Saab 97X Owner Manual
ProCarManuals.com
Page 104 of 398
Programming HomeLink®
Your vehicle’s engine should be turned off while
programming the transmitter. Follow these steps to
program up to three channels:
1. Press and hold down the two outside buttons,
releasing only when the indicator light begins to
�ash, after 20 seconds. Do not hold down the
buttons for longer than 30 seconds and do not
repeat this step to program a second and/or third
transmitter to the remaining two HomeLink
®buttons.
2. Position the end of your hand-held transmitter about
1 to 3 inches (3 to 8 cm) away from the HomeLink
®
buttons while keeping the indicator light in view.
3. Simultaneously press and hold both the desired
button on HomeLink
®and the hand-held transmitter
button. Do not release the buttons until Step 4
has been completed.
Some entry gates and garage door openers may
require you to substitute Step 3 with the procedure
noted in “Gate Operator and Canadian
Programming” later in this section.
4. The indicator light will �ash slowly at �rst and then
rapidly after HomeLink
®successfully receives the
frequency signal from the hand-held transmitter.
Release both buttons.5. Press and hold the newly-trained HomeLink
®button
and observe the indicator light.
If the indicator light stays on constantly, programming
is complete and your device should activate when the
HomeLink
®button is pressed and released.
To program the remaining two HomeLink®buttons,
begin with Step 2 under “Programming HomeLink®.”
Do not repeat Step 1 as this will erase all of the
programmed channels.
If the indicator light blinks rapidly for two seconds
and then turns to a constant light, continue with
Steps 6 through 8 following to complete the
programming of a rolling-code equipped device
(most commonly, a garage door opener).
6. Locate in the garage, the garage door opener
receiver (motor-head unit). Locate the “Learn”
or “Smart” button. This can usually be found
where the hanging antenna wire is attached
to the motor-head unit.
7. Firmly press and release the “Learn” or “Smart”
button. The name and color of the button may
vary by manufacturer.
You will have 30 seconds to start Step 8.
2-38
2005 - Saab 97X Owner Manual
ProCarManuals.com
Page 119 of 398

Turn Signal/Multifunction Lever
The lever on the left side of the steering column
includes the following:
GTurn and Lane-Change Signals. SeeTurn and
Lane-Change Signals on page 3-7.
OHeadlamps. SeeHeadlamps on page 3-14.
3Headlamp High/Low Beam-Changer. See
Headlamp High/Low-Beam Changer on page 3-8.
Flash-To-Pass Feature. SeeFlash-to-Pass
on page 3-8.
-Fog Lamps. SeeFog Lamps on page 3-17.
ICruise Control. SeeCruise Control on
page 3-11.
Turn and Lane-Change Signals
The turn signal has two upward (for right) and
two downward (for left) positions. These positions allow
you to signal a turn or a lane change.
To signal a turn, move the lever all the way up or down.
When the turn is �nished, the lever will return
automatically.
An arrow on the instrument
panel cluster will �ash in
the direction of the
turn or lane change.
To signal a lane change, just raise or lower the lever
until the arrow starts to �ash. Hold it there until you
complete your lane change. The lever will return by itself
when you release it. The bottom of the outside
rearview mirrors may also be equipped with lane change
indicators.
As you signal a turn or a lane change, if the arrows
�ash more quickly than normal, a signal bulb may
be burned out and other drivers won’t see your
turn signal.
3-7
2005 - Saab 97X Owner Manual
ProCarManuals.com
Page 124 of 398
If you apply your brakes, the cruise control will shut off.
{CAUTION:
Cruise control can be dangerous where you
cannot drive safely at a steady speed. So, do
not use your cruise control on winding roads
or in heavy traffic.
Cruise control can be dangerous on slippery
roads. On such roads, fast changes in tire
traction can cause needless wheel spinning,
and you could lose control. Do not use cruise
control on slippery roads.
Setting Cruise Control
{CAUTION:
If you leave your cruise control on when you
are not using cruise, you might hit a button
and go into cruise when you do not want to.
You could be startled and even lose control.
Keep the cruise control switch off until you
want to use cruise control.
1. Move the cruise control switch to on.
2. Get up to the speed you want.
3. Press in the set button at the end of the lever and
release it.
4. Take your foot off the accelerator pedal.
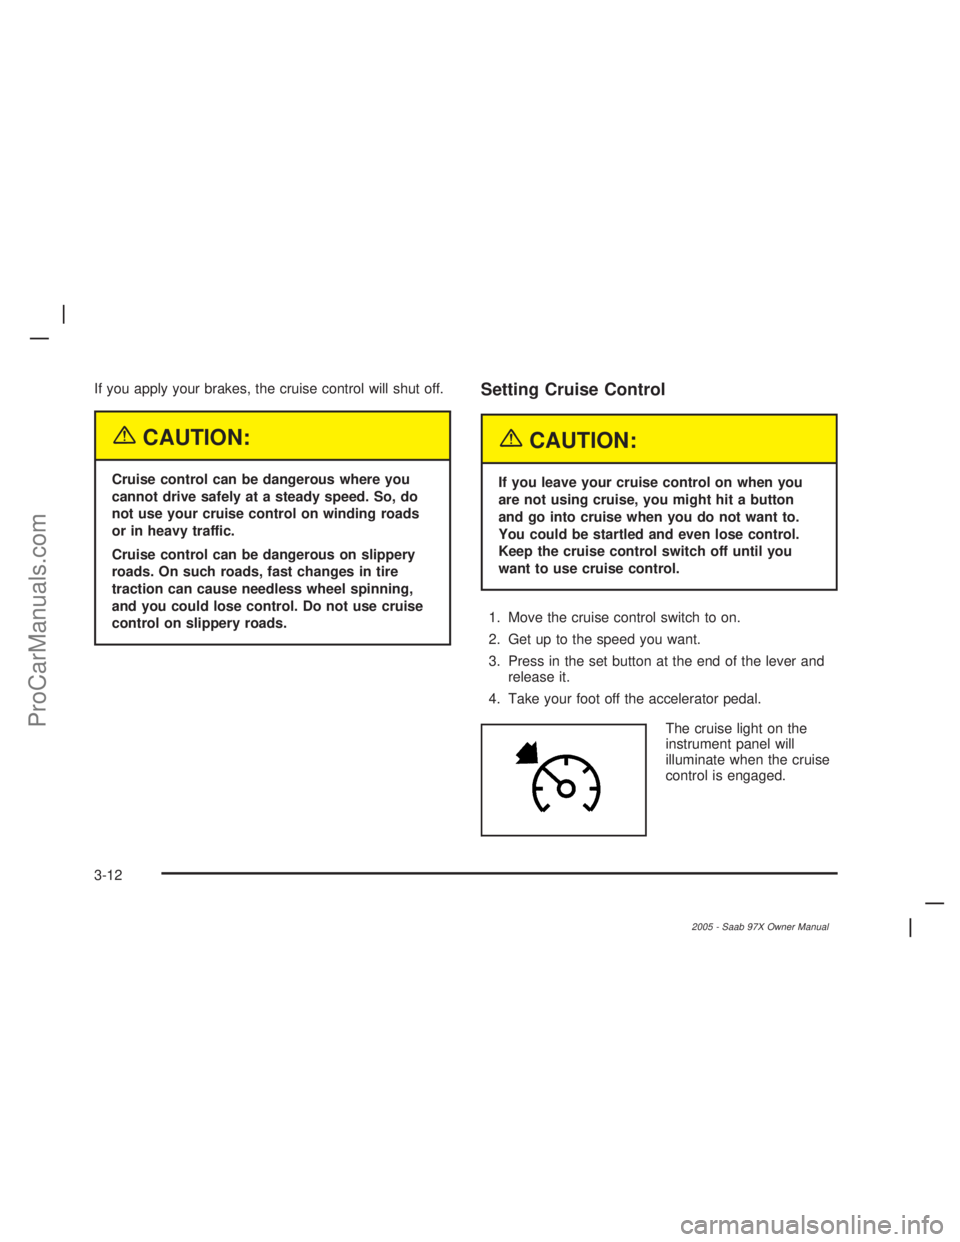
The cruise light on the
instrument panel will
illuminate when the cruise
control is engaged.
3-12
2005 - Saab 97X Owner Manual
ProCarManuals.com
Page 128 of 398

Automatic Headlamp System
When it is dark enough outside, your Automatic
Headlamp System will turn on your headlamps at the
normal brightness along with other lamps such as
the taillamps, sidemarker, parking lamps and the
instrument panel lights. The radio lights will also be on.
Your vehicle is equipped with a light sensor on the
top of the instrument panel. Be sure it is not covered or
the system will be on whenever the ignition is on.
The system may also turn on your lights when driving
through a parking garage, heavy overcast weather
or a tunnel. This is normal.
There is a delay in the transition between the daytime
and nighttime operation of the Daytime Running
Lamps (DRL) and the automatic headlamp systems, so
that driving under bridges or bright overhead street
lights does not affect the system. The DRL and
automatic headlamp system will only be affected when
the light sensor sees a change in lighting lasting
longer than the delay.If you start your vehicle in a dark garage, the automatic
headlamp system will come on immediately. Once
you leave the garage, it will take about one minute for
the automatic headlamp system to change to DRL if it is
light outside. During that delay, your instrument panel
cluster may not be as bright as usual. Make sure
your instrument panel brightness control is in the full
bright position.
To idle your vehicle with the automatic headlamp
system off, start your vehicle and turn the headlamp
switch to the off position. The switch will automatically
return to the AUTO position. The automatic headlamp
system will stay off until you turn the switch to the
off position again as explained in “Headlamps”. See
Headlamps on page 3-14. This feature is not available
for vehicles �rst sold in Canada.
3-16
2005 - Saab 97X Owner Manual
ProCarManuals.com
Page 131 of 398

Battery Run-Down Protection
This feature shuts off the dome, courtesy and vanity
lamps if they are left on for more than 10 minutes when
the ignition is off. This will keep your battery from
running down.
If the battery run-down protection shuts off the interior
lamps, it may be necessary to do one of the following to
return to normal operation:
Shut off all lamps and close all doors.
Turn the ignition key to RUN.
This feature will also turn off the parking lamps and
headlamps under most conditions, if they are left on.
To turn them back on, turn the exterior lamps knob.
After turning them back on, the lights will not turn
off again unless the vehicle has been started.
Accessory Power Outlets
With the accessory power outlets, you can plug in
auxiliary electrical equipment such as a cellular
telephone or CB radio.
The outlet can accept electrical equipment rated at a
maximum of 20 Amps.
There are two outlets to the right of the cupholder on
the �oor console.To use the outlet, remove the cover. Replace the cover
when not in use.
Certain electrical accessories may not be compatible
with the accessory power outlet and could result
in blown vehicle or adaptor fuses. If you experience a
problem, see your dealer for additional information
on the accessory power outlets.
Notice:Adding any electrical equipment to your
vehicle may damage it or keep other components
from working as they should. The repairs would not
be covered by your warranty. Do not use equipment
exceeding maximum amperage rating. Check
with your dealer before adding electrical equipment.
When adding electrical equipment, be sure to follow
the proper installation instructions included with
the equipment.
Notice:Improper use of the power outlet can cause
damage not covered by your warranty. Do not
hang any type of accessory or accessory bracket
from the plug because the power outlets are
designed for accessory power plugs only.
3-19
2005 - Saab 97X Owner Manual
ProCarManuals.com
Page 132 of 398

Climate Controls
Dual Automatic Climate Control
System
With this system you can control the heating, cooling
and ventilation for your vehicle. When your vehicle
is �rst started and the climate control system is on, or if
the climate control system has been turned on, the
display will show the driver’s temperature setting for
�ve seconds. Then it will show the outside temperature.
9(Off):Press this button to turn off the entire climate
control system. Outside air will still enter the vehicle,
and will be directed to the �oor. Press the AUTO button,
the mode button, the fan arrows, or either temperature
knob to turn the system on.
C(Mode):Press this button to manually select the air
delivery mode to the �oor, instrument panel, or
windshield outlets. The system will stay in the selected
mode until the mode button is pressed again or the
AUTO button is pressed.
Driver’s Side Temperature Knob:Turn this knob
clockwise or counterclockwise to raise or lower
the temperature on the driver’s side of the vehicle.
The display will show the temperature setting decreasing
or increasing and an arrow pointing toward the driver.
This knob can also adjust the passenger’s side
temperature setting if the two are linked.
3-20
2005 - Saab 97X Owner Manual
ProCarManuals.com
Page 133 of 398
Passenger’s Side Temperature Knob:Turn this knob
clockwise or counterclockwise to manually raise or lower
the temperature on the passenger’s side of the vehicle.
The display will show the temperature setting decreasing
or increasing and an arrow pointing toward the
passenger. The passenger’s temperature setting can be
set to match and link to the driver’s temperature setting
by pressing and holding the AUTO button for three
seconds. When adjusting the driver’s side temperature
setting, the passenger’s side temperature setting will
follow and both arrows will appear on the display. The
passenger’s side temperature setting also resets and
relinks to the driver’s side temperature setting if the
vehicle has been off for more than three hours.
Outside Air Temperature Display
A new outside temperature reading will be displayed if
the vehicle has been off for more than three hours. If the
vehicle has been off for less than three hours, the old
temperature reading may be displayed because
underhood heat is affecting the true outside temperature.
Underhood heat can also affect the outside temperature
while the engine is running. It may also take several
minutes of driving before the display updates to
the actual outside temperature.
Automatic Operation
AUTO (Automatic):When automatic operation is
active, the system will control the inside temperature,
the air delivery mode, and the fan speed.
Use the steps below to place the entire system in
automatic mode:
1. Press the AUTO button.
When AUTO is selected, the air conditioning
operation and air outlet mode will be automatically
controlled. The air conditioning compressor will
run continuously when the outside temperature is
over approximately 40°F (4°C). The air inlet
will normally be set to outside air. If it’s hot outside,
the air inlet will automatically switch to recirculate
inside air to help quickly cool down your vehicle.
2. Set the driver’s and passenger’s temperature.
To �nd your comfort setting, start with a 72°F (22°C)
temperature setting and allow about 20 minutes
for the system to adjust. Turn the driver’s or
passenger’s side temperature knob to adjust the
temperature setting as necessary. If you choose the
temperature setting of 60°F (15°C), the system
will remain at the maximum cooling setting. If you
choose the temperature setting of 90°F (32°C),
the system will remain at the maximum heat setting.
Choosing either maximum setting may not cause
the vehicle to heat or cool any faster.
3-21
2005 - Saab 97X Owner Manual
ProCarManuals.com
Page 134 of 398
Manual Operation
To change the current setting, select one of the
following:
w9x(Fan):This button allows you to manually
adjust the fan speed. Press the up arrow to increase fan
speed and the down arrow to decrease fan speed. The
display will change to show you the selected fan speed
and the driver’s side temperature setting for �ve seconds.
C(Mode):Press this button to manually change the
direction of the air�ow in your vehicle. Keep pressing the
button until the desired mode appears on the display.
The display will change to show you the selected
air delivery mode and the driver’s temperature setting
for �ve seconds.
H(Vent):This mode directs air to the instrument
panel outlets.
)(Bi-Level):This mode directs approximately half of
the air to the instrument panel outlets, then directs
the remaining air to the �oor outlets. A little air is
directed toward the windshield and the side window
outlets. Cooler air is directed to the upper outlets and
warmer air to the �oor outlets.
6(Floor):This mode directs most of the air to the
�oor outlets. Some air also comes out of the defroster
and side window outlets. The recirculation button cannot
be selected in �oor mode.
@(Recirculation):Press this button to turn
recirculation mode on or off. When this button is pressed,
an indicator light in the button will also come on to let you
know that it is activated. Recirculation mode is used to
recirculate the air inside of your vehicle. Use this mode to
help prevent outside odors and/or dust from entering your
vehicle or to help cool the air inside of your vehicle more
quickly. Recirculation mode can be used with vent and
bi-level modes, but it cannot be used with �oor, defog or
defrost modes. Defog and defrost modes are described
later in this section.
If recirculation mode is selected with �oor, defog, or
defrost modes, the indicator will �ash three times and
then turn off indicating the selection is not available.
You may also notice that the air conditioning compressor
will run while in recirculation mode. This is normal and will
help to prevent fogging.
If the weather is cold and damp, the system may cause
the windows to fog while using recirculation mode. If the
windows do start to fog, select defog or defrost mode.
Recirculation mode, if selected, will be cleared when the
engine is turned off.
3-22
2005 - Saab 97X Owner Manual
ProCarManuals.com
Page 137 of 398
Warning Lights, Gages, and
Indicators
This part describes the warning lights and gages that
may be on your vehicle. The pictures will help you
locate them.
Warning lights and gages can signal that something is
wrong before it becomes serious enough to cause
an expensive repair or replacement. Paying attention to
your warning lights and gages could also save you
or others from injury.
Warning lights come on when there may be or is a
problem with one of your vehicle’s functions. As you will
see in the details on the next few pages, some
warning lights come on brie�y when you start the
engine just to let you know they are working. If you are
familiar with this section, you should not be alarmed
when this happens.Gages can indicate when there may be or is a problem
with one of your vehicle’s functions. Often gages
and warning lights work together to let you know when
there is a problem with your vehicle.
When one of the warning lights comes on and stays on
when you are driving, or when one of the gages
shows there may be a problem, check the section that
tells you what to do about it. Please follow this
manual’s advice.
Waiting to do repairs can be costly—and even
dangerous. So please get to know your warning lights
and gages. They are a big help.
Your vehicle has a Driver Information Center (DIC) that
works along with the warning lights and gages. See
Driver Information Center (DIC) on page 3-43.
3-25
2005 - Saab 97X Owner Manual
ProCarManuals.com