air condition SATURN AURA 2010 Owner's Guide
[x] Cancel search | Manufacturer: SATURN, Model Year: 2010, Model line: AURA, Model: SATURN AURA 2010Pages: 428, PDF Size: 2.78 MB
Page 304 of 428

What to Add
Use only new DOT 3 brake fluid from a sealed container.
SeeRecommended Fluids and Lubricants on page 7-10.
Always clean the brake fluid reservoir cap and the
area around the cap before removing it. This helps keep
dirt from entering the reservoir.
{WARNING:
With the wrong kind of fluid in the brake hydraulic
system, the brakes might not work well. This could
cause a crash. Always use the proper brake fluid.
Notice:
Using the wrong �uid can badly damage brake
hydraulic system parts. For example, just a
few drops of mineral-based oil, such as engine
oil, in the brake hydraulic system can damage
brake hydraulic system parts so badly that they
will have to be replaced. Do not let someone
put in the wrong kind of �uid.
If brake �uid is spilled on the vehicle’s painted
surfaces, the paint �nish can be damaged. Be
careful not to spill brake �uid on the vehicle.
If you do, wash it off immediately. SeeWashing
Your Vehicle on page 6-92.
Brake Wear
This vehicle has disc brakes. Disc brake pads have
built-in wear indicators that make a high-pitched warning
sound when the brake pads are worn and new pads
are needed. The sound can come and go or be heard all
the time the vehicle is moving, except when applying
the brake pedal firmly.
{WARNING:
The brake wear warning sound means that soon
the brakes will not work well. That could lead to an
accident. When the brake wear warning sound is
heard, have the vehicle serviced.
Notice:Continuing to drive with worn-out brake
pads could result in costly brake repair.
Some driving conditions or climates can cause a brake
squeal when the brakes are first applied or lightly
applied. This does not mean something is wrong with
the brakes.
6-34
ProCarManuals.com
Page 318 of 428

(C) Aspect Ratio:A two-digit number that
indicates the tire height-to-width measurements.
For example, if the tire size aspect ratio is 60, as
shown in item C of the illustration, it would mean
that the tire’s sidewall is 60 percent as high as it
is wide.
(D) Construction Code
:A letter code is used to
indicate the type of ply construction in the tire.
The letter R means radial ply construction;
the letter D means diagonal or bias ply
construction; and the letter B means belted-bias
ply construction.
(E) Rim Diameter
:Diameter of the wheel in
inches.
(F) Service Description
:These characters
represent the load index and speed rating of the
tire. The load index represents the load carry
capacity a tire is certified to carry. The speed
rating is the maximum speed a tire is certified to
carry a load.
Tire Terminology and De�nitions
Air Pressure:The amount of air inside the
tire pressing outward on each square inch of the
tire. Air pressure is expressed in pounds per
square inch (psi) or kilopascal (kPa).
Accessory Weight
:This means the combined
weight of optional accessories. Some examples of
optional accessories are, automatic transmission,
power steering, power brakes, power windows,
power seats, and air conditioning.
Aspect Ratio
:The relationship of a tire’s height
to its width.
Belt
:A rubber coated layer of cords that is
located between the plies and the tread. Cords
may be made from steel or other reinforcing
materials.
Bead
:The tire bead contains steel wires wrapped
by steel cords that hold the tire onto the rim.
6-48
ProCarManuals.com
Page 322 of 428
When to Check
Check your tires once a month or more. Do not
forget to check the compact spare tire, it should be
at 60 psi (420 kPa). For additional information
regarding the compact spare tire, seeCompact
Spare Tire on page 6-88.
How to Check
Use a good quality pocket-type gage to check tire
pressure. You cannot tell if your tires are
properly inflated simply by looking at them. Radial
tires may look properly inflated even when they
are under-inflated. Check the tire’s inflation
pressure when the tires are cold. Cold means your
vehicle has been sitting for at least three hours
or driven no more than 1 mile (1.6 km).
Remove the valve cap from the tire valve stem.
Press the tire gage firmly onto the valve to
get a pressure measurement. If the cold tire
inflation pressure matches the recommended
pressure on the Tire and Loading Information
label, no further adjustment is necessary. If the
inflation pressure is low, add air until you reach the
recommended amount.
If you overfill the tire, release air by pushing on
the metal stem in the center of the tire valve.
Re-check the tire pressure with the tire gage.Be sure to put the valve caps back on the valve
stems. They help prevent leaks by keeping out dirt
and moisture.
High-Speed Operation
{WARNING:
Driving at high speeds, 160 km/h (100 mph) or
higher, puts an additional strain on tires. Sustained
high-speed driving causes excessive heat build up
and can cause sudden tire failure. You could have
a crash and you or others could be killed. Some
high-speed rated tires require inflation pressure
adjustment for high speed operation. When speed
limits and road conditions are such that a vehicle
can be driven at high speeds, make sure the tires
are rated for high speed operation, in excellent
condition, and set to the correct cold tire inflation
pressure for the vehicle load.
Set the cold tire inflation pressure to the maximum
inflation pressure shown on the tire’s sidewall, or 41 psi
(282 kPa), whichever is lower. The tire’s maximum
load and inflation pressure is molded on the tire’s
6-52
ProCarManuals.com
Page 324 of 428
When the malfunction indicator is illuminated, the
system may not be able to detect or signal low tire
pressure as intended. TPMS malfunctions may occur for
a variety of reasons, including the installation of
replacement or alternate tires or wheels on the vehicle
that prevent the TPMS from functioning properly.
Always check the TPMS malfunction telltale after
replacing one or more tires or wheels on your vehicle to
ensure that the replacement or alternate tires and
wheels allow the TPMS to continue to function properly.
SeeTire Pressure Monitor Operation on page 6-54
for additional information.
Federal Communications Commission
(FCC) and Industry and Science
Canada
SeeRadio Frequency Statement on page 8-17for
information regarding Part 15 of the Federal
Communications Commission (FCC) Rules and
RSS-210/211 of Industry and Science Canada.
Tire Pressure Monitor Operation
This vehicle may have a Tire Pressure Monitor System
(TPMS). The TPMS is designed to warn the driver
when a low tire pressure condition exists. TPMS sensors
are mounted onto each tire and wheel assembly,
excluding the spare tire and wheel assembly. The TPMS
sensors monitor the air pressure in the vehicle’s tires
and transmits the tire pressure readings to a receiver
located in the vehicle.
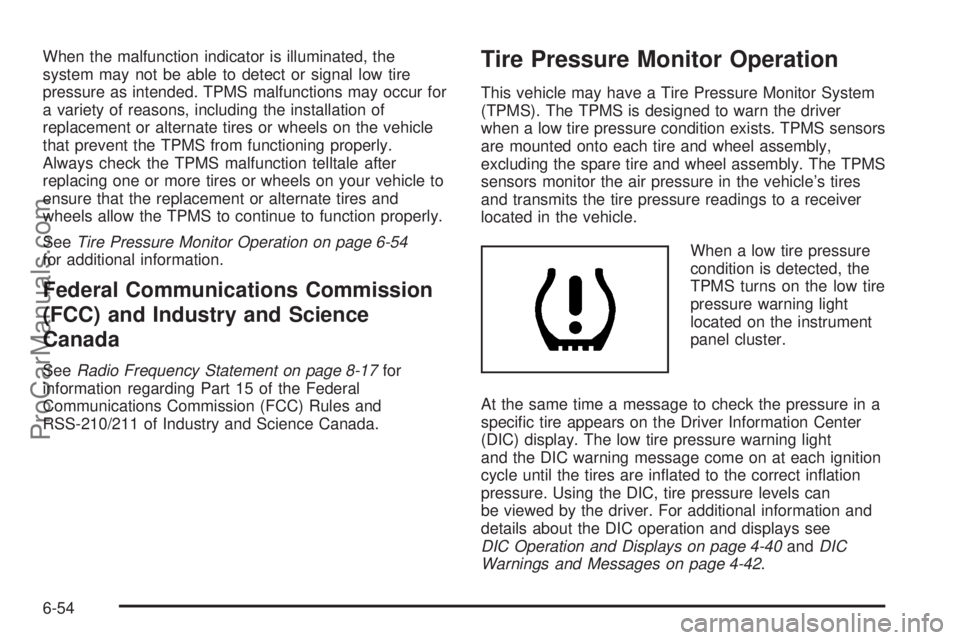
When a low tire pressure
condition is detected, the
TPMS turns on the low tire
pressure warning light
located on the instrument
panel cluster.
At the same time a message to check the pressure in a
specific tire appears on the Driver Information Center
(DIC) display. The low tire pressure warning light
and the DIC warning message come on at each ignition
cycle until the tires are inflated to the correct inflation
pressure. Using the DIC, tire pressure levels can
be viewed by the driver. For additional information and
details about the DIC operation and displays see
DIC Operation and Displays on page 4-40andDIC
Warnings and Messages on page 4-42.
6-54
ProCarManuals.com
Page 325 of 428

The low tire pressure warning light may come on in cool
weather when the vehicle is first started, and then
turn off as you start to drive. This could be an early
indicator that the air pressure in the tire(s) are getting
low and need to be inflated to the proper pressure.
A Tire and Loading Information label shows the size of
your vehicle’s original equipment tires and the correct
inflation pressure for your vehicle’s tires when they are
cold. SeeLoading the Vehicle on page 5-19, for an
example of the Tire and Loading Information label and
its location on your vehicle. Also seeIn�ation - Tire
Pressure on page 6-51.
Your vehicle’s TPMS system can warn you about a low
tire pressure condition but it does not replace normal
tire maintenance. SeeTire Inspection and Rotation
on page 6-57andTires on page 6-44.
Notice:Using non-approved tire sealants could
damage the Tire Pressure Monitor System (TPMS)
sensors. TPMS sensor damage caused by using
an incorrect tire sealant is not covered by the
vehicle warranty. Always use the GM approved tire
sealant available through your dealer/retailer.
Factory-installed Tire Inflator Kits use a GM approved
liquid tire sealant. Using non-approved tire sealants
could damage the TPMS sensors. SeeTire Sealant and
Compressor Kit on page 6-67for information regarding
the inflator kit materials and instructions.TPMS Malfunction Light and Message
The TPMS will not function properly if one or more of the
TPMS sensors are missing or inoperable. When the
system detects a malfunction, the low tire warning light
flashes for about one minute and then stays on for
the remainder of the ignition cycle. A DIC warning
message is also displayed. The low tire warning light
and DIC warning message come on at each ignition
cycle until the problem is corrected. Some of the
conditions that can cause the malfunction light and DIC
message to come on are:
•One of the road tires has been replaced with the
spare tire. The spare tire does not have a TPMS
sensor. The TPMS malfunction light and DIC
message should go off once you re-install the road
tire containing the TPMS sensor.
•The TPMS sensor matching process was started
but not completed or not completed successfully
after rotating the vehicle’s tires. The DIC message
and TPMS malfunction light should go off once
the TPMS sensor matching process is performed
successfully. See “TPMS Sensor Matching Process”
later in this section.
6-55
ProCarManuals.com
Page 326 of 428
•One or more TPMS sensors are missing or
damaged. The DIC message and the TPMS
malfunction light should go off when the TPMS
sensors are installed and the sensor matching
process is performed successfully. See your
dealer/retailer for service.
•Replacement tires or wheels do not match your
vehicle’s original equipment tires or wheels.
Tires and wheels other than those recommended
for your vehicle could prevent the TPMS from
functioning properly. SeeBuying New Tires on
page 6-60.
•Operating electronic devices or being near facilities
using radio wave frequencies similar to the TPMS
could cause the TPMS sensors to malfunction.
If the TPMS is not functioning it cannot detect or signal
a low tire condition. See your dealer/retailer for
service if the TPMS malfunction light and DIC message
comes on and stays on.
TPMS Sensor Matching Process
Each TPMS sensor has a unique identification code.
Any time you replace one or more of the TPMS sensors
or rotate the vehicle’s tires, the identification codes
need to be matched to the new tire/wheel location. The
sensors are matched, to the tire/wheel locations, in
the following order: driver side front tire, passenger sidefront tire, passenger side rear tire, and driver side rear
tire using a TPMS diagnostic tool. See your
dealer/retailer for service.
The TPMS sensors can also be matched to each
tire/wheel position by increasing or decreasing the tire’s
air pressure. When increasing the tire’s pressure, do
not exceed the maximum inflation pressure indicated on
the tire’s sidewall. To decrease the tire’s air-pressure
use the pointed end of the valve cap, a pencil-style
air pressure gage, or a key.
You have two minutes to match each tire and wheel
position. If it takes longer than two minutes to match any
tire and wheel position, the matching process stops
and you need to start over.
The TPMS matching process is outlined below:
1. Set the parking brake.
2. Turn the ignition switch to ON/RUN with the
engine off.
3. Press and hold the Remote Keyless Entry (RKE)
transmitter’s LOCK and UNLOCK buttons, at the
same time, for about five seconds to start the TPMS
learn mode. The horn sounds twice indicating the
TPMS receiver is ready and in learn mode.
4. Start with the driver side front tire. The driver side
front turn signal also comes on to indicate that
corner’s sensor is ready to be learned.
6-56
ProCarManuals.com
Page 329 of 428
When It Is Time for New Tires
Various factors, such as maintenance, temperatures,
driving speeds, vehicle loading, and road conditions
influence when you need new tires.
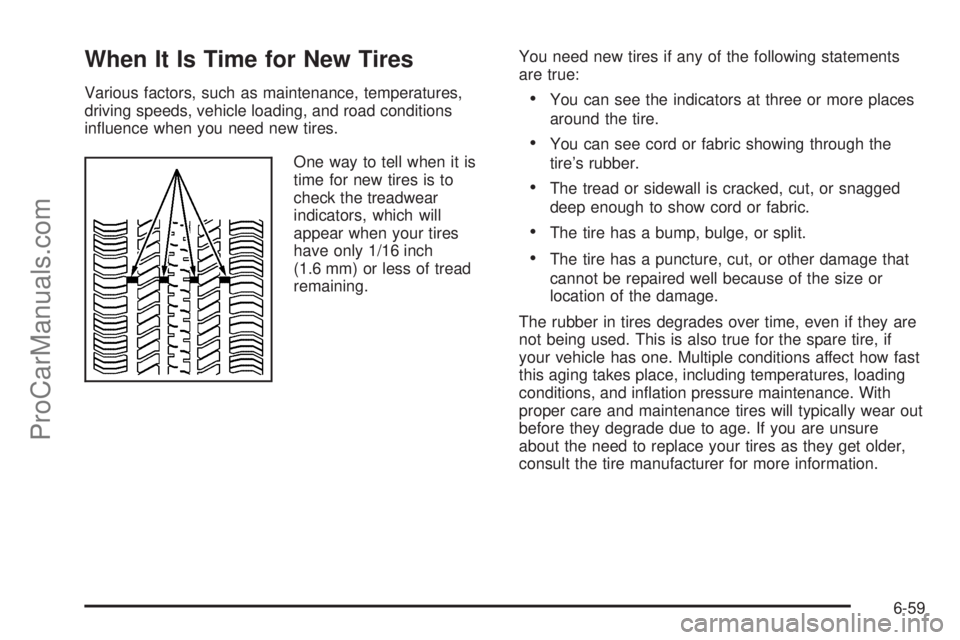
One way to tell when it is
time for new tires is to
check the treadwear
indicators, which will
appear when your tires
have only 1/16 inch
(1.6 mm) or less of tread
remaining.You need new tires if any of the following statements
are true:•You can see the indicators at three or more places
around the tire.
•You can see cord or fabric showing through the
tire’s rubber.
•The tread or sidewall is cracked, cut, or snagged
deep enough to show cord or fabric.
•The tire has a bump, bulge, or split.
•The tire has a puncture, cut, or other damage that
cannot be repaired well because of the size or
location of the damage.
The rubber in tires degrades over time, even if they are
not being used. This is also true for the spare tire, if
your vehicle has one. Multiple conditions affect how fast
this aging takes place, including temperatures, loading
conditions, and inflation pressure maintenance. With
proper care and maintenance tires will typically wear out
before they degrade due to age. If you are unsure
about the need to replace your tires as they get older,
consult the tire manufacturer for more information.
6-59
ProCarManuals.com
Page 334 of 428

Wheel Replacement
Replace any wheel that is bent, cracked or badly rusted
or corroded. If wheel nuts keep coming loose, the
wheel, wheel bolts and wheel nuts should be replaced.
If the wheel leaks air, replace it (except some
aluminum wheels, which can sometimes be repaired).
See your dealer/retailer if any of these conditions exist.
Your dealer/retailer will know the kind of wheel
you need.
Each new wheel should have the same load-carrying
capacity, diameter, width, offset and be mounted
the same way as the one it replaces.
If you need to replace any of your wheels, wheel bolts
or wheel nuts, replace them only with new Saturn
original equipment parts. This way, you will be sure to
have the right wheel, wheel bolts and wheel nuts
for your vehicle.{WARNING:
Using the wrong replacement wheels, wheel bolts,
or wheel nuts on your vehicle can be dangerous. It
could affect the braking and handling of your
vehicle, make your tires lose air and make you
lose control. You could have a collision in which
you or others could be injured. Always use the
correct wheel, wheel bolts, and wheel nuts for
replacement.
Notice:The wrong wheel can also cause problems
with bearing life, brake cooling, speedometer or
odometer calibration, headlamp aim, bumper height,
vehicle ground clearance, and tire or tire chain
clearance to the body and chassis.
SeeChanging a Flat Tire on page 6-74for more
information.
6-64
ProCarManuals.com
Page 364 of 428
Aluminum Wheels
Notice:Chrome wheels and other chrome trim may
be damaged if the vehicle is not washed after
driving on roads that have been sprayed with
magnesium, calcium or sodium chloride. These
chlorides are used on roads for conditions such as
ice and dust. Always wash the vehicle’s chrome
with soap and water after exposure.
Notice:Using strong soaps, chemicals, abrasive
polishes, cleaners, brushes, or cleaners that contain
acid on aluminum or chrome-plated wheels, could
damage the surface of the wheel(s). The repairs
would not be covered by the vehicle warranty. Use
only approved cleaners on aluminum or
chrome-plated wheels.
Keep the wheels clean using a soft clean cloth with mild
soap and water. Rinse with clean water. After rinsing
thoroughly, dry with a soft clean towel. A wax may then
be applied.
Notice:Using chrome polish on aluminum wheels
could damage the wheels. The repairs would not
be covered by the vehicle warranty. Use chrome
polish on chrome wheels only.
The surface of these wheels is similar to the painted
surface of the vehicle. Do not use strong soaps,
chemicals, abrasive polishes, abrasive cleaners,cleaners with acid, or abrasive cleaning brushes on
them because the surface could be damaged. Do not
use chrome polish on aluminum wheels.
Notice:Driving the vehicle through an automatic
car wash that has silicone carbide tire cleaning
brushes, could damage the aluminum or
chrome-plated wheels. The repairs would not be
covered by the vehicle warranty. Never drive
a vehicle that has aluminum or chrome-plated
wheels through an automatic car wash that uses
silicone carbide tire cleaning brushes.
Tires
To clean the tires, use a stiff brush with tire cleaner.
Notice:Using petroleum-based tire dressing
products on the vehicle may damage the paint �nish
and/or tires. When applying a tire dressing, always
wipe off any overspray from all painted surfaces
on the vehicle.
Sheet Metal Damage
If the vehicle is damaged and requires sheet metal
repair or replacement, make sure the body repair shop
applies anti-corrosion material to parts repaired or
replaced to restore corrosion protection.
6-94
ProCarManuals.com
Page 365 of 428
Original manufacturer replacement parts will provide the
corrosion protection while maintaining the vehicle
warranty.
Finish Damage
Any stone chips, fractures or deep scratches in the finish
should be repaired right away. Bare metal will corrode
quickly and may develop into major repair expense.
Minor chips and scratches can be repaired with touch-up
materials available from your dealer/retailer. Larger
areas of finish damage can be corrected in your
dealer’s/retailer’s body and paint shop.
Underbody Maintenance
Chemicals used for ice and snow removal and dust
control can collect on the underbody. If these are not
removed, corrosion and rust can develop on the
underbody parts such as fuel lines, frame, floor pan,
and exhaust system even though they have corrosion
protection.
At least every spring, flush these materials from the
underbody with plain water. Clean any areas where mud
and debris can collect. Dirt packed in close areas of
the frame should be loosened before being flushed.
Your dealer/retailer or an underbody car washing system
can do this.
Chemical Paint Spotting
Some weather and atmospheric conditions can create a
chemical fallout. Airborne pollutants can fall upon and
attack painted surfaces on the vehicle. This damage can
take two forms: blotchy, ring-shaped discolorations,
and small, irregular dark spots etched into the
paint surface.
Although no defect in the paint job causes this, we will
repair, at no charge to the owner, the surfaces of
new vehicles damaged by this fallout condition within
12 months or 12,000 miles (20 000 km) of purchase,
whichever occurs first.
Vehicle Identi�cation
Vehicle Identi�cation Number (VIN)
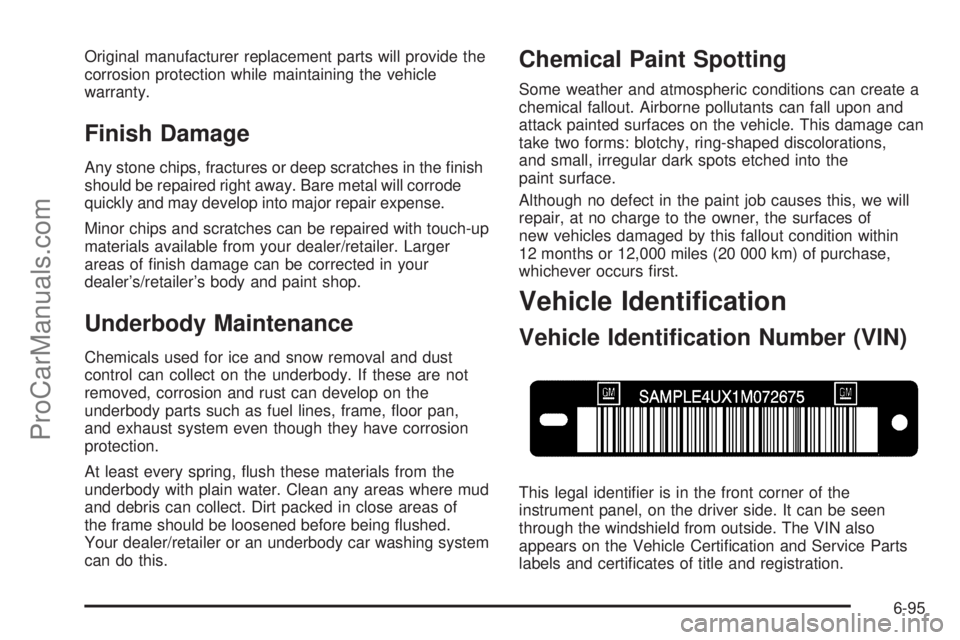
This legal identifier is in the front corner of the
instrument panel, on the driver side. It can be seen
through the windshield from outside. The VIN also
appears on the Vehicle Certification and Service Parts
labels and certificates of title and registration.
6-95
ProCarManuals.com