change time SATURN AURA 2010 Owners Manual
[x] Cancel search | Manufacturer: SATURN, Model Year: 2010, Model line: AURA, Model: SATURN AURA 2010Pages: 428, PDF Size: 2.78 MB
Page 22 of 428

f:Select radio stations.
©¨:Seek or scan stations.
4:For vehicles with XM, MP3, WMA, or RDS features,
press to display additional text information related to
the current FM-RDS or XM station; or CD, MP3, WMA
song. Song title information will be displayed on the
top line of the display while the artist information will
be displayed on the bottom line, if the information
is available during XM, CD, MP3, or WMA playback.
When information is not available, “No Info” displays.
For more information about these and other radio
features, seeAudio System(s) on page 4-50and
Radio(s) on page 4-52.
Storing a Favorite Station
A maximum of 36 stations can be stored as favorites
using the six softkeys located below the radio station
frequency tabs and by using the radio FAV button. Press
FAV to go through up to six pages of favorites, each
having six favorite stations available per page. Each page
of favorites can contain any combination of AM, FM, or
XM stations.
SeeRadio(s) on page 4-52.
Setting the Clock
1. Turn the ignition key to ACC/ACCESSORY or
ON/RUN.
2. Press
Oto turn the radio on.
3. Press
Hand the HR, MIN, MM, DD, YYYY
(hour, minute, month, day, and year) displays.
4. Press the softkey located below any one of the tabs
that you want to change.
5. Increase or decrease the time or date by
turning
fclockwise or counterclockwise.
For detailed instructions on setting the clock for your
specific audio system, seeSetting the Clock on
page 4-51.
1-16
ProCarManuals.com
Page 67 of 428
Infants and Young Children
Everyone in a vehicle needs protection! This includes
infants and all other children. Neither the distance
traveled nor the age and size of the traveler changes
the need, for everyone, to use safety restraints. In fact,
the law in every state in the United States and in
every Canadian province says children up to some age
must be restrained while in a vehicle.
{WARNING:
Children can be seriously injured or strangled if a
shoulder belt is wrapped around their neck and
the safety belt continues to tighten. Never leave
children unattended in a vehicle and never allow
children to play with the safety belts.Airbags plus lap-shoulder belts offer protection for
adults and older children, but not for young children and
infants. Neither the vehicle’s safety belt system nor
its airbag system is designed for them. Every time
infants and young children ride in vehicles, they should
have the protection provided by appropriate child
restraints.
Children who are not restrained properly can strike
other people, or can be thrown out of the vehicle.
2-35
ProCarManuals.com
Page 129 of 428
Starting Procedure
1. With your foot off the accelerator pedal, turn the
ignition to START. When the engine starts, let go
of the key. The idle speed will slow down as
the engine warms. Do not race the engine
immediately after starting it. Operate the engine and
transmission gently to allow the oil to warm up
and lubricate all moving parts.
The vehicle has a Computer-Controlled Cranking
System. This feature assists in starting the
engine and protects components. If the ignition key
is turned to the START position, and then
released when the engine begins cranking, the
engine will continue cranking for a few seconds or
until the vehicle starts. If the engine does not
start and the key is held in START, cranking will be
stopped after 15 seconds to prevent cranking
motor damage. To prevent gear damage, this
system also prevents cranking if the engine
is already running. Engine cranking can be stopped
by turning the ignition switch to the
ACC/ACCESSORY or LOCK/OFF position.
Notice:Cranking the engine for long periods of
time, by returning the key to the START position
immediately after cranking has ended, can overheat
and damage the cranking motor, and drain the
battery. Wait at least 15 seconds between each try,
to let the cranking motor cool down.2. If the engine does not start after 5-10 seconds,
especially in very cold weather (below 0°F or
−18°C), it could be flooded with too much gasoline.
Try pushing the accelerator pedal all the way to
the floor and holding it there as you hold the key in
START for up to a maximum of 15 seconds.
Wait at least 15 seconds between each try, to allow
the cranking motor to cool down. When the
engine starts, let go of the key and accelerator. If
the vehicle starts briefly but then stops again, repeat
these steps. This clears the extra gasoline from
the engine. Do not race the engine immediately
after starting it. Operate the engine and
transmission gently until the oil warms up and
lubricates all moving parts.
Notice:The engine is designed to work with the
electronics in the vehicle. If you add electrical parts
or accessories, you could change the way the
engine operates. Before adding electrical equipment,
check with your dealer/retailer. If you do not, the
engine might not perform properly. Any resulting
damage would not be covered by the vehicle
warranty.
3-21
ProCarManuals.com
Page 153 of 428

Instrument Panel Overview...............................4-3
Hazard Warning Flashers................................4-3
Horn .............................................................4-3
Tilt and Telescopic Steering Wheel...................4-3
Turn Signal/Multifunction Lever.........................4-4
Turn and Lane-Change Signals........................4-4
Headlamp High/Low-Beam Changer..................4-5
Flash-to-Pass.................................................4-5
Windshield Wipers..........................................4-5
Windshield Washer.........................................4-6
Cruise Control................................................4-7
Headlamps..................................................4-10
Headlamps on Reminder................................4-10
Headlamps Off in Park..................................4-10
Delayed Headlamps......................................4-11
Daytime Running Lamps (DRL).......................4-11
Automatic Headlamp System..........................4-11
Fog Lamps ..................................................4-12
Instrument Panel Brightness...........................4-13
Dome Lamps ...............................................4-13
Entry/Exit Lighting.........................................4-13
Parade Dimming...........................................4-13
Reading Lamps............................................4-13Electric Power Management...........................4-14
Battery Run-Down Protection..........................4-14
Accessory Power Outlet(s).............................4-15
Climate Controls............................................4-16
Climate Control System.................................4-16
Automatic Climate Control System...................4-19
Outlet Adjustment.........................................4-23
Warning Lights, Gages, and Indicators............4-24
Instrument Panel Cluster................................4-25
Speedometer and Odometer...........................4-26
Trip Odometer..............................................4-26
Tachometer................................................
.4-26
Safety Belt Reminders...................................4-26
Airbag Readiness Light..................................4-28
Passenger Airbag Status Indicator...................4-29
Charging System Light..................................4-30
Brake System Warning Light..........................4-30
Antilock Brake System (ABS) Warning Light.....4-31
Electronic Stability Control (ESC)/Traction
Control System (TCS) Indicator/Warning
Light........................................................4-32
Engine Coolant Temperature Warning Light......4-33
Engine Coolant Temperature Gage..................4-33
Section 4 Instrument Panel
4-1
ProCarManuals.com
Page 157 of 428

Headlamp High/Low-Beam Changer
To change the headlamps from low beam to high
beam, push the turn signal/multifunction lever away
from you.
This instrument panel cluster light
3comes on if the
high beam lamps are turned on while the ignition is
in ON/RUN.
To change the headlamps from high beam to low beam,
pull the turn signal lever toward you.
Flash-to-Pass
This feature lets the high-beam headlamps be used to
signal a driver in front of you that you want to pass.
Pull the turn signal/multifunction lever toward you until
the high-beam headlamps come on, then release
the lever to turn them off.
Windshield Wipers
The windshield wiper lever is on the right side of the
steering column.
Move the lever to control the windshield wipers.
9(Off):Turns the windshield wipers off.
&(Intermittent; Speed Sensitive Wipers):For
intermittent or speed sensitive operation. The amount of
delay time varies between wiping cycles due to the
delay setting selected or the speed of the vehicle. As
vehicle speed is increased or decreased, the wiper
interval also increases or decreases.
4-5
ProCarManuals.com
Page 192 of 428
DIC Operation and Displays
The DIC comes on when the ignition is on. The DIC has
different modes which can be accessed by pressing
the DIC buttons. The button functions are detailed in the
following.
Information Modes
INFO (Information):Press this button to scroll through
the following vehicle information modes:
Outside Air Temperature
The outside air temperature will be displayed at the
same time as the Odometer and the Trip Odometer. The
temperature outside of the vehicle will be displayed in
either degrees Celsius (°C) or degrees Fahrenheit (°F).
The outside air temperature appears on the left side
of the DIC display and the odometer, or trip odometer,
appears on the right side of the display.
Odometer
Press the information button until the outside air
temperature and the odometer displays. This mode
shows the total distance the vehicle has been driven in
either kilometers (km) or miles (mi).
To change the DIC display to English or metric units,
see “UNITS” underDIC Vehicle Personalization on
page 4-46.
Trip Odometer
Press the information button until the outside air
temperature along with A or B displays. These modes
show the current distance traveled since the last reset for
each trip odometer in either kilometers (km) or miles (mi).
Both odometers can be used at the same time.
To reset the trip odometer to zero, press and hold the
reset button for a few seconds while the desired
trip odometer is displayed.
FUEL RANGE
Press the information button until FUEL RANGE
displays. This mode shows the remaining distance you
can drive without refueling in either kilometers (km)
or miles (mi). It is based on fuel economy and the fuel
remaining in the tank.
When the fuel level is low, FUEL RANGE LOW displays.
The fuel economy data used to determine fuel range
is an average of recent driving conditions. As your
driving conditions change, this data is gradually updated.
The FUEL RANGE mode cannot be reset.
4-40
ProCarManuals.com
Page 193 of 428
MPG (L/100 KM) AVG (Average)
Press the information button until MPG (L/100 KM) AVG
displays. This mode shows how many liters per
100 kilometers (L/100 km) or miles per gallon (mpg)
your vehicle is getting based on current and past driving
conditions.
To reset the average fuel economy, press and hold the
reset button while MPG (L/100 KM) AVG is displayed.
Average fuel economy is then calculated starting
from that point. If the average fuel economy is not reset,
it is continually updated each time you drive.
MPG (L/100 KM) INST (Instantaneous)
Press the information button until MPG (L/100 KM) INST
displays. This mode shows the current fuel economy
at a particular moment and changes frequently as
driving conditions change. This mode shows the
instantaneous fuel economy in liters per 100 kilometers
(L/100 km) or miles per gallon (mpg). Unlike average
fuel economy, this screen cannot be reset.
AV (Average) SPEED
Press the information button until AV SPEED displays.
This mode shows the vehicle’s average speed in
kilometers per hour (km/h) or miles per hour (mph).
To reset the average vehicle speed, press and hold the
reset button while AV SPEED is displayed.
OIL LIFE
Press the information button until OIL LIFE displays.
The engine oil life system shows an estimate of the oil’s
remaining useful life. It shows 100% when the system
is reset after an oil change. It alerts you to change the oil
on a schedule consistent with your driving conditions.
In addition to the engine oil life system monitoring the oil
life, additional maintenance is recommended in the
Maintenance Schedule in this manual. SeeEngine Oil
on page 6-17andScheduled Maintenance on page 7-3.
Always reset the engine oil life system after an oil
change. See “How to Reset the Engine Oil Life System”
underEngine Oil Life System on page 6-20.
Tire Pressure
On vehicles with the Tire Pressure Monitor System
(TPMS), the pressure for each tire can be viewed
in the DIC. The tire pressure is shown in either
kilopascals (kPa) or pounds per square inch (psi). Press
the information button until LF ## PSI (kPa) ## RF
displays for the front tires. Press the information button
again until LR ## PSI (kPa) ## RR displays for the
rear tires.
If a low tire pressure condition is detected by the
system while driving, a message advising you to add air
will appear in the display. SeeIn�ation - Tire Pressure
on page 6-51andDIC Warnings and Messages on
page 4-42for more information.
4-41
ProCarManuals.com
Page 194 of 428
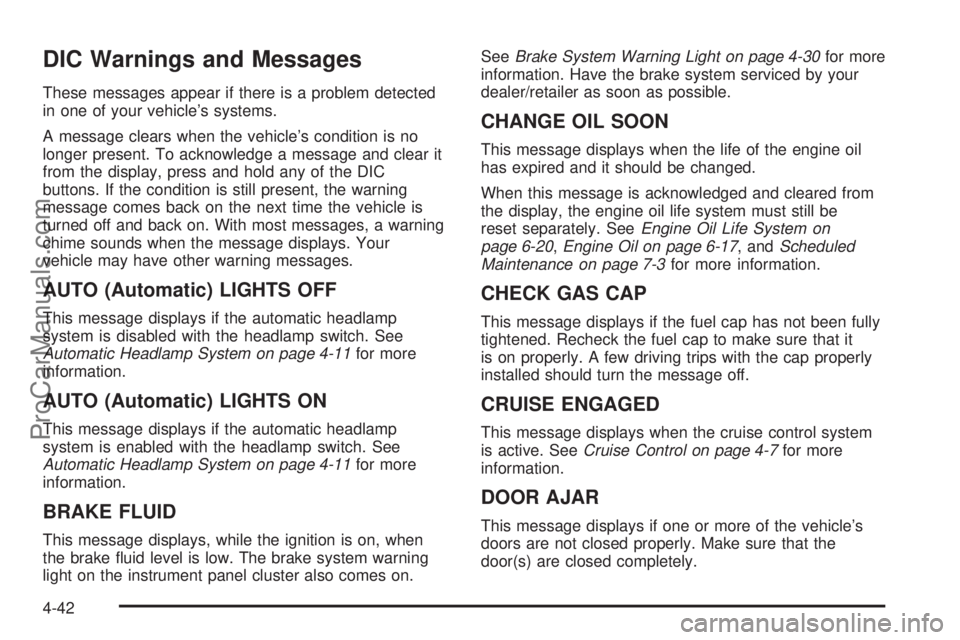
DIC Warnings and Messages
These messages appear if there is a problem detected
in one of your vehicle’s systems.
A message clears when the vehicle’s condition is no
longer present. To acknowledge a message and clear it
from the display, press and hold any of the DIC
buttons. If the condition is still present, the warning
message comes back on the next time the vehicle is
turned off and back on. With most messages, a warning
chime sounds when the message displays. Your
vehicle may have other warning messages.
AUTO (Automatic) LIGHTS OFF
This message displays if the automatic headlamp
system is disabled with the headlamp switch. See
Automatic Headlamp System on page 4-11for more
information.
AUTO (Automatic) LIGHTS ON
This message displays if the automatic headlamp
system is enabled with the headlamp switch. See
Automatic Headlamp System on page 4-11for more
information.
BRAKE FLUID
This message displays, while the ignition is on, when
the brake fluid level is low. The brake system warning
light on the instrument panel cluster also comes on.SeeBrake System Warning Light on page 4-30for more
information. Have the brake system serviced by your
dealer/retailer as soon as possible.
CHANGE OIL SOON
This message displays when the life of the engine oil
has expired and it should be changed.
When this message is acknowledged and cleared from
the display, the engine oil life system must still be
reset separately. SeeEngine Oil Life System on
page 6-20,Engine Oil on page 6-17, andScheduled
Maintenance on page 7-3for more information.
CHECK GAS CAP
This message displays if the fuel cap has not been fully
tightened. Recheck the fuel cap to make sure that it
is on properly. A few driving trips with the cap properly
installed should turn the message off.
CRUISE ENGAGED
This message displays when the cruise control system
is active. SeeCruise Control on page 4-7for more
information.
DOOR AJAR
This message displays if one or more of the vehicle’s
doors are not closed properly. Make sure that the
door(s) are closed completely.
4-42
ProCarManuals.com
Page 198 of 428
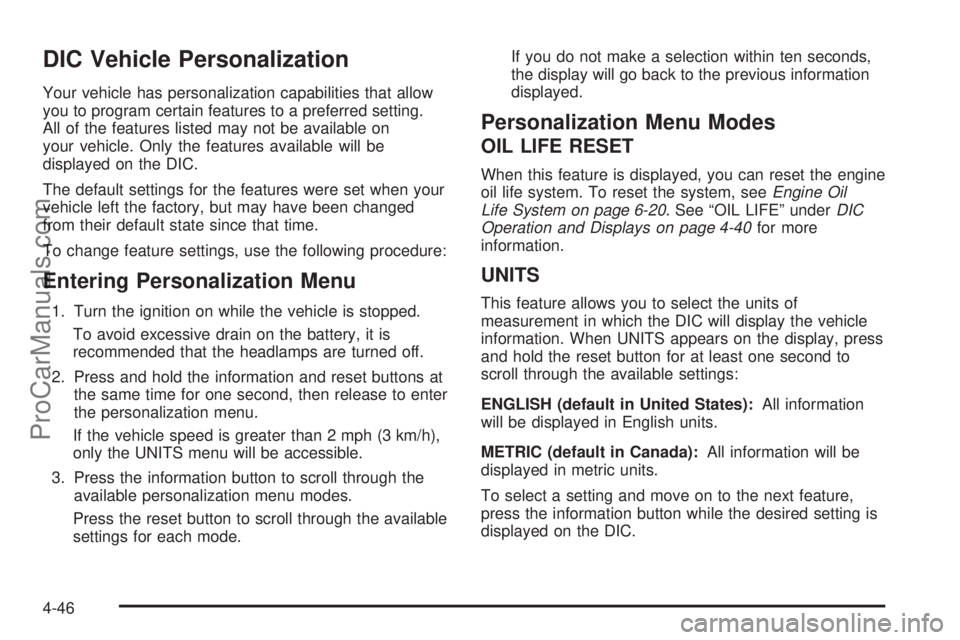
DIC Vehicle Personalization
Your vehicle has personalization capabilities that allow
you to program certain features to a preferred setting.
All of the features listed may not be available on
your vehicle. Only the features available will be
displayed on the DIC.
The default settings for the features were set when your
vehicle left the factory, but may have been changed
from their default state since that time.
To change feature settings, use the following procedure:
Entering Personalization Menu
1. Turn the ignition on while the vehicle is stopped.
To avoid excessive drain on the battery, it is
recommended that the headlamps are turned off.
2. Press and hold the information and reset buttons at
the same time for one second, then release to enter
the personalization menu.
If the vehicle speed is greater than 2 mph (3 km/h),
only the UNITS menu will be accessible.
3. Press the information button to scroll through the
available personalization menu modes.
Press the reset button to scroll through the available
settings for each mode.If you do not make a selection within ten seconds,
the display will go back to the previous information
displayed.
Personalization Menu Modes
OIL LIFE RESET
When this feature is displayed, you can reset the engine
oil life system. To reset the system, seeEngine Oil
Life System on page 6-20. See “OIL LIFE” underDIC
Operation and Displays on page 4-40for more
information.
UNITS
This feature allows you to select the units of
measurement in which the DIC will display the vehicle
information. When UNITS appears on the display, press
and hold the reset button for at least one second to
scroll through the available settings:
ENGLISH (default in United States):All information
will be displayed in English units.
METRIC (default in Canada):All information will be
displayed in metric units.
To select a setting and move on to the next feature,
press the information button while the desired setting is
displayed on the DIC.
4-46
ProCarManuals.com
Page 203 of 428

Notice:Contact your dealer/retailer before adding
any equipment.
Adding audio or communication equipment could
interfere with the operation of the vehicle’s engine,
radio, or other systems, and could damage them.
Follow federal rules covering mobile radio and
telephone equipment.
Notice:The chime signals related to safety belts,
parking brake, and other functions of your vehicle
operate through the radio/entertainment system.
If that equipment is replaced or additional equipment
is added to your vehicle, the chimes may not
work. Make sure that replacement or additional
equipment is compatible with your vehicle before
installing it. SeeAccessories and Modifications
on page 6-3.
The vehicle has Retained Accessory Power (RAP). With
RAP, the audio system can be played even after the
ignition is turned off. SeeRetained Accessory Power
(RAP) on page 3-20for more information.Setting the Clock
To set the time and date:
1. Turn the ignition key to ACC/ACCESSORY or
ON/RUN. Press
Oto turn the radio on.
2. Press
Hand the HR, MIN, MM, DD, YYYY (hour,
minute, month, day, and year) displays.
3. Press the softkey located below any one of the tabs
that you want to change.
4. To increase the time or date do one of the following:
•Press the softkey located below the selected tab.
•Press¨SEEK, or\FWD.
•Turnfclockwise.
5. To decrease the time or date do one of the
following:
•Press©SEEK orsREV.
•Turnfcounterclockwise.
The date does not automatically display. To see the
date press
Hwhile the radio is on. The date with display
times out after a few seconds and goes back to the
normal radio and time display.
4-51
ProCarManuals.com