maintenance schedule SATURN AURA HYBRID 2010 Owners Manual
[x] Cancel search | Manufacturer: SATURN, Model Year: 2010, Model line: AURA HYBRID, Model: SATURN AURA HYBRID 2010Pages: 400, PDF Size: 2.46 MB
Page 1 of 400

In Brief........................................................... 1-1
Instrument Panel
........................................ 1-2
Initial Drive Information
............................... 1-3
Vehicle Features......................................1-17
Hybrid Features
.......................................1-22
Performance and Maintenance
...................1-24
Seats and Restraint System............................. 2-1
Head Restraints
......................................... 2-2
Front Seats
............................................... 2-3
Rear Seats
............................................... 2-9
Safety Belts.............................................2-11
Child Restraints
.......................................2-30
Airbag System.........................................2-56
Restraint System Check
............................2-73
Features and Controls..................................... 3-1
Keys........................................................ 3-2
Doors and Locks
....................................... 3-9
Windows
.................................................3-14
Theft-Deterrent Systems
............................3-17
Starting and Operating Your Vehicle
...........3-21
Mirrors
....................................................3-35
Storage Areas
.........................................3-36
Sunroof..................................................3-37
Instrument Panel............................................. 4-1
Instrument Panel Overview
.......................... 4-3
Climate Controls......................................4-16Warning Lights, Gages, and Indicators
........4-21
Driver Information Center (DIC)
..................4-37
Audio System(s).......................................4-51
Driving Your Vehicle....................................... 5-1
Your Driving, the Road, and the Vehicle
....... 5-2
Towing
...................................................5-25
Service and Appearance Care.......................... 6-1
Service
..................................................... 6-3
Fuel
......................................................... 6-6
Checking Things Under the Hood
...............6-12
Headlamp Aiming
.....................................6-39
Bulb Replacement
....................................6-39
Windshield Wiper Blade Replacement
.........6-42
Tires
......................................................6-43
Appearance Care
.....................................6-73
Vehicle Identification
.................................6-81
Electrical System
......................................6-82
Capacities and Specifications
.....................6-92
Maintenance Schedule..................................... 7-1
Maintenance Schedule
................................ 7-2
Customer Assistance Information.................... 8-1
Customer Assistance and Information........... 8-2
Reporting Safety Defects
...........................8-14
Vehicle Data Recording and Privacy
...........8-16
Index................................................................ 1
2010 Saturn AURA Hybrid Owner ManualM
ProCarManuals.com
Page 31 of 400

Driving for Better Fuel Economy
Driving habits can affect fuel mileage. Here are some
driving tips to get the best fuel economy possible.
•Avoid fast starts and accelerate smoothly.
•Brake gradually and avoid abrupt stops.
•Avoid idling the engine for long periods of time.
•When road and weather conditions are appropriate,
use cruise control, if equipped.
•Always follow posted speed limits or drive more
slowly when conditions require.
•Keep vehicle tires properly inflated.
•Combine several trips into a single trip.
•Replace the vehicle’s tires with the same TPC
Spec number molded into the tire’s sidewall near
the size.
•Follow recommended scheduled maintenance.
Roadside Assistance Program
U.S.:1-800-553-6000
TTY Users:1-888-889-2438
Canada:1-800-268-6800
As the owner of a new Saturn, you are automatically
enrolled in the Roadside Assistance program. This
program provides technically trained advisors who are
available 24 hours a day, 365 days a year, minor repair
information or towing arrangements.
Roadside Assistance and OnStar
If you have a current OnStar subscription, press the
OnStar button and the current GPS location will be sent
to an OnStar Advisor who will assess your problem,
contact Roadside Assistance, and relay exact location to
get you the help you need.
Online Owner Center
The Online Owner Center is a complimentary service
that includes online service reminders, vehicle
maintenance tips, online owner manual, special
privileges and more.
Sign up today at:www.gmownercenter.com/saturn
(U.S.) orwww.gm.ca(Canada).
1-27
ProCarManuals.com
Page 107 of 400

Restraint System Check
Checking the Restraint Systems
Safety Belts
Now and then, check that the safety belt reminder light,
safety belts, buckles, latch plates, retractors, and
anchorages are all working properly.
Look for any other loose or damaged safety belt system
parts that might keep a safety belt system from doing
its job. See your dealer/retailer to have it repaired. Torn
or frayed safety belts may not protect you in a crash.
They can rip apart under impact forces. If a belt is torn
or frayed, get a new one right away.
Make sure the safety belt reminder light is working. See
Safety Belt Reminders on page 4-24for more
information.
Keep safety belts clean and dry. SeeCare of Safety
Belts on page 6-76.
Airbags
The airbag system does not need regularly scheduled
maintenance or replacement. Make sure the airbag
readiness light is working. SeeAirbag Readiness Light
on page 4-25for more information.
Notice:If an airbag covering is damaged, opened,
or broken, the airbag may not work properly. Do
not open or break the airbag coverings. If there are
any opened or broken airbag covers, have the
airbag covering and/or airbag module replaced. For
the location of the airbag modules, seeWhat
Makes an Airbag Inflate? on page 2-63. See your
dealer/retailer for service.
2-73
ProCarManuals.com
Page 179 of 400

Emissions Inspection and Maintenance
Programs
Some state/provincial and local governments have or
might begin programs to inspect the emission control
equipment on the vehicle. Failure to pass this inspection
could prevent getting a vehicle registration.
Here are some things to know to help the vehicle pass
an inspection:
•The vehicle will not pass this inspection if the check
engine light is on with the engine running, or if the
key is in the ON/RUN and the light is not on.
•The vehicle will not pass this inspection if the
OBD II (on-board diagnostic) system determines
that critical emission control systems have not been
completely diagnosed by the system. The vehicle
would be considered not ready for inspection.
This can happen if the battery has recently been
replaced or if the battery has run down. The
diagnostic system is designed to evaluate critical
emission control systems during normal driving. This
can take several days of routine driving. If this
has been done and the vehicle still does not pass
the inspection for lack of OBD II system readiness,
your dealer/retailer can prepare the vehicle for
inspection.
Oil Pressure Light
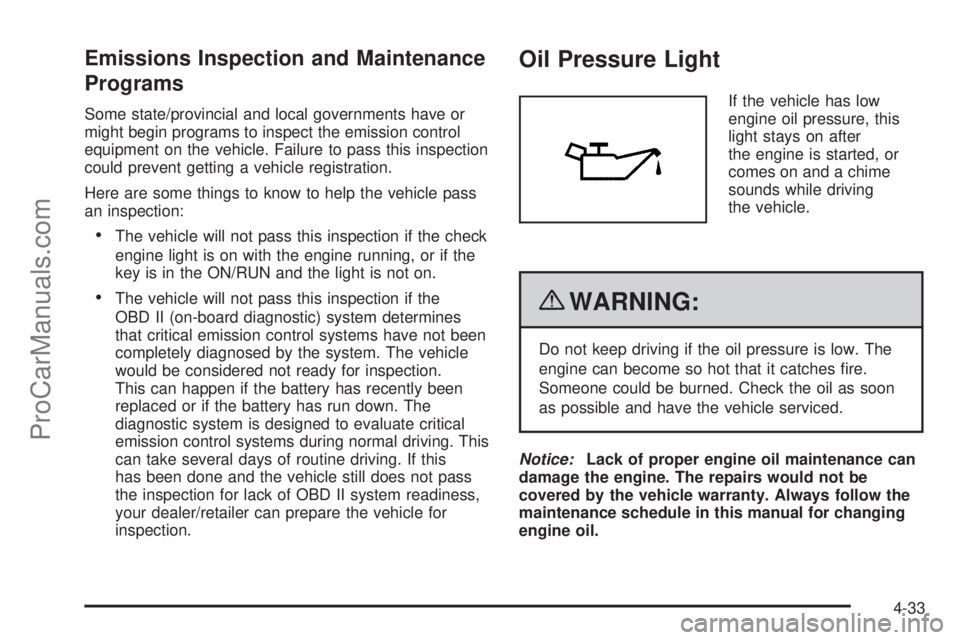
If the vehicle has low
engine oil pressure, this
light stays on after
the engine is started, or
comes on and a chime
sounds while driving
the vehicle.
{WARNING:
Do not keep driving if the oil pressure is low. The
engine can become so hot that it catches fire.
Someone could be burned. Check the oil as soon
as possible and have the vehicle serviced.
Notice:Lack of proper engine oil maintenance can
damage the engine. The repairs would not be
covered by the vehicle warranty. Always follow the
maintenance schedule in this manual for changing
engine oil.
4-33
ProCarManuals.com
Page 186 of 400

OIL LIFE
Press the information button until OIL LIFE displays.
The engine oil life system shows an estimate of the oil’s
remaining useful life. It shows 100% when the system
is reset after an oil change. It alerts you to change the oil
on a schedule consistent with your driving conditions.
In addition to the engine oil life system monitoring the oil
life, additional maintenance is recommended in the
Maintenance Schedule in this manual. SeeEngine Oil
on page 6-15andScheduled Maintenance on page 7-3.
Always reset the engine oil life system after an oil
change. See “How to Reset the Engine Oil Life System”
underEngine Oil Life System on page 6-18.
COOLANT
Press the information button until COOLANT displays.
This mode shows the temperature of the engine coolant
in either degrees Fahrenheit (°F) or degrees Celsius (°C).
Tire Pressure
On vehicles with the Tire Pressure Monitor System
(TPMS), the pressure for each tire can be viewed in the
DIC. The tire pressure is shown in either pounds per
square inch (psi) or kilopascals (kPa). Press the
information button until LF ## PSI (kPa) ## RF displays
for the front tires. Press the information button again
until LR ## PSI (kPa) ## RR displays for the rear tires.
If a low tire pressure condition is detected by the system
while driving, a message advising you to add air will
appear in the display. SeeIn�ation - Tire Pressure on
page 6-49andDIC Warnings and Messages on
page 4-41for more information.
4-40
ProCarManuals.com
Page 187 of 400

DIC Warnings and Messages
These messages appear if there is a problem detected
in one of your vehicle’s systems.
A message clears when the vehicle’s condition is no
longer present. To acknowledge a message and clear it
from the display, press and hold any of the DIC
buttons. If the condition is still present, the warning
message comes back on the next time the vehicle is
turned off and back on. With most messages, a warning
chime sounds when the message displays. Your
vehicle may have other warning messages.
AUTO (Automatic) LIGHTS OFF
This message displays if the automatic headlamp
system is disabled with the headlamp switch. See
Automatic Headlamp System on page 4-12for more
information.
AUTO (Automatic) LIGHTS ON
This message displays if the automatic headlamp
system is enabled with the headlamp switch. See
Automatic Headlamp System on page 4-12for more
information.
BRAKE FLUID
This message displays, while the ignition is on, when
the brake fluid level is low. The brake system warning
light on the instrument panel cluster also comes on. See
Brake System Warning Light on page 4-27for more
information. Have the brake system serviced by
your dealer/retailer as soon as possible.
CHANGE OIL SOON
This message displays when the life of the engine oil
has expired and it should be changed.
When this message is acknowledged and cleared from
the display, the engine oil life system must still be
reset separately. SeeEngine Oil Life System on
page 6-18andScheduled Maintenance on page 7-3for
more information.
CHECK GAS CAP
This message displays if the fuel cap has not been fully
tightened. Recheck the fuel cap to make sure that it
is on properly. A few driving trips with the cap properly
installed should turn the message off.
CRUISE ENGAGED
This message displays when the cruise control system
is active. SeeCruise Control on page 4-7for more
information.
4-41
ProCarManuals.com
Page 278 of 400

Engine Air Cleaner/Filter
SeeEngine Compartment Overview on page 6-14for
the location of the engine air cleaner/filter.
When to Inspect the Engine Air
Cleaner/Filter
Inspect the air cleaner/filter at the MaintenanceII
intervals and replace it at the first oil change after
each 50,000 mile (80 000 km) interval. SeeScheduled
Maintenance on page 7-3for more information. If you
are driving in dusty/dirty conditions, inspect the filter at
each engine oil change.
How to Inspect the Engine Air
Cleaner/Filter
To inspect the air cleaner/filter, remove the filter from the
vehicle and lightly shake the filter to release loose dust
and dirt. If the filter remains caked with dirt, a new filter is
required.To inspect or replace the engine air cleaner/filter, do the
following:
1. Remove the spring clamps that hold the cover on.
2. Lift off the cover.
6-20
ProCarManuals.com
Page 280 of 400

Automatic Transmission Fluid
It is not necessary to check the transmission fluid level.
A transmission fluid leak is the only reason for fluid loss.
If a leak occurs, take your vehicle to the dealer/retailer
and have it repaired as soon as possible.
Change the fluid and filter at the intervals listed in
Scheduled Maintenance on page 7-3, and be sure to
use the transmission fluid listed inRecommended Fluids
and Lubricants on page 7-10.
Notice:Use of the incorrect automatic transmission
�uid may damage the vehicle, and the damages may
not be covered by the vehicle’s warranty. Always
use the automatic transmission �uid listed in
Recommended Fluids and Lubricants on page 7-10.
Cooling System
The cooling system allows the engine to maintain the
correct working temperature.
A. Electric Engine Cooling Fans
B. Engine Coolant Surge Tank
C. Pressure Cap
6-22
ProCarManuals.com
Page 300 of 400

3. Turn the bulb socket counterclockwise and pull the
bulb straight out of the socket.
4. Push the new bulb in and turn it clockwise to install.
5. Replace the license plate lamp by pushing it
through the fascia opening.
6. Turn the two screws that hold the license plate
lamp clockwise to reinstall.
Replacement Bulbs
Exterior Lamp Bulb Number
Back-up Lamp 921
License Plate Lamp and Rear
Sidemarker Lamp168
Turn Signal Lamp 3156
For replacement bulbs not listed here, contact your
dealer/retailer.
Windshield Wiper Blade
Replacement
Inspect the windshield wiper blades for wear or cracking.
SeeScheduled Maintenance on page 7-3.
To remove the wiper blade:
1. Pull the windshield wiper arm connector away from
the windshield.
2. Push the release button.
3. Slide the blade forward.
4. Turn the blade toward you and continue to slide
forward to remove.
5. Install the new blade onto the arm connector and
make sure the grooved areas are fully set in the
locked position.
For the proper type and size, seeMaintenance
Replacement Parts on page 7-11.
6-42
ProCarManuals.com
Page 313 of 400

7. The passenger side rear turn signal comes on to
indicate that corner sensor is ready to be learned.
Proceed to the passenger side rear tire and
repeat the procedure in Step 5.
8. The driver side rear turn signal comes on to
indicate that corner sensor is ready to be learned.
Proceed to the driver side rear tire, and repeat
the procedure in Step 5.
9. After hearing the single horn chirp for the driver
side rear tire, two additional horn chirps sound
to indicate the tire learning process is done.
Turn the ignition switch to LOCK/OFF.
If no tires are learned after entering the TPMS learn
mode, or if communication with the receiver stops, or
if the time limit has expired, turn the ignition switch to
LOCK/OFF and start over beginning with Step 2.
10. Set all four tires to the recommended air pressure
level as indicated on the Tire and Loading
Information label.
11. Put the valve caps back on the valve stems.Tire Inspection and Rotation
We recommend that you regularly inspect your
vehicle’s tires for signs of wear or damage.
SeeWhen It Is Time for New Tires on page 6-57
for more information.
Tires should be rotated every 5,000 to 8,000 miles
(8 000 to 13 000 km). SeeScheduled Maintenance
on page 7-3.
The purpose of a regular tire rotation is to achieve
a uniform wear for all tires on the vehicle. This will
ensure that your vehicle continues to perform most
like it did when the tires were new.
Any time you notice unusual wear, rotate your tires
as soon as possible and check wheel alignment.
Also check for damaged tires or wheels. SeeWhen
It Is Time for New Tires on page 6-57andWheel
Replacement on page 6-62for more information.
6-55
ProCarManuals.com