fog light SATURN ION 2006 Owners Manual
[x] Cancel search | Manufacturer: SATURN, Model Year: 2006, Model line: ION, Model: SATURN ION 2006Pages: 392, PDF Size: 2.8 MB
Page 119 of 392

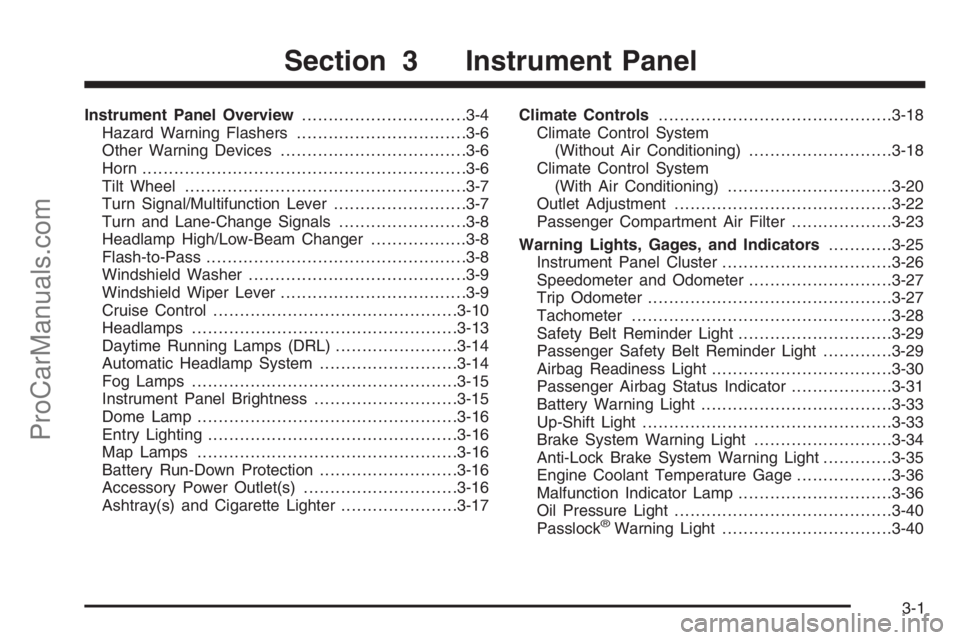
Instrument Panel Overview...............................3-4
Hazard Warning Flashers................................3-6
Other Warning Devices...................................3-6
Horn .............................................................3-6
Tilt Wheel.....................................................3-7
Turn Signal/Multifunction Lever.........................3-7
Turn and Lane-Change Signals........................3-8
Headlamp High/Low-Beam Changer..................3-8
Flash-to-Pass.................................................3-8
Windshield Washer.........................................3-9
Windshield Wiper Lever...................................3-9
Cruise Control..............................................3-10
Headlamps..................................................3-13
Daytime Running Lamps (DRL).......................3-14
Automatic Headlamp System..........................3-14
Fog Lamps ..................................................3-15
Instrument Panel Brightness...........................3-15
Dome Lamp .................................................3-16
Entry Lighting...............................................3-16
Map Lamps .................................................3-16
Battery Run-Down Protection..........................3-16
Accessory Power Outlet(s).............................3-16
Ashtray(s) and Cigarette Lighter......................3-17Climate Controls............................................3-18
Climate Control System
(Without Air Conditioning)...........................3-18
Climate Control System
(With Air Conditioning)...............................3-20
Outlet Adjustment.........................................3-22
Passenger Compartment Air Filter...................3-23
Warning Lights, Gages, and Indicators............3-25
Instrument Panel Cluster................................3-26
Speedometer and Odometer...........................3-27
Trip Odometer..............................................3-27
Tachometer.................................................3-28
Safety Belt Reminder Light.............................3-29
Passenger Safety Belt Reminder Light.............3-29
Airbag Readiness Light..................................3-30
Passenger Airbag Status Indicator...................3-31
Battery Warning Light....................................3-33
Up-Shift Light...............................................3-33
Brake System Warning Light..........................3-34
Anti-Lock Brake System Warning Light.............3-35
Engine Coolant Temperature Gage..................3-36
Malfunction Indicator Lamp.............................3-36
Oil Pressure Light.........................................3-40
Passlock
®Warning Light................................3-40
Section 3 Instrument Panel
3-1
ProCarManuals.com
Page 133 of 392

Fog Lamps
If your vehicle has this feature, use your fog lamps for
better visibility in foggy or misty conditions.
The button for your fog
lamps is located next to
the instrument panel
brightness control.
Push the button to turn the fog lamps on. Push the
button again to turn the fog lamps off.
When using fog lamps, the parking lamps or low-beam
headlamps must be on.
A light on the button will come on when the fog lamps
are on. The fog lamps will go off whenever the high-beam
headlamps come on. When the high-beam headlamps go
off, the fog lamps will come on again.
Some localities have laws that require the headlamps to
be on along with the fog lamps.
Instrument Panel Brightness
This feature controls the brightness of the instrument
panel lights.
The thumbwheel for this
feature is located on the
instrument panel to the left
of the steering column.
Turn the thumbwheel to the right to brighten the lights
or to the left to dim them.
3-15
ProCarManuals.com
Page 137 of 392

Defogging and Defrosting
Fog on the inside of windows is a result of high humidity
(moisture) condensing on the cool window glass. This
can be minimized if the climate control system is used
properly. There are two modes to clear fog or frost from
your windshield and side windows. Use the defog mode
to clear the windows of fog or moisture and warm the
passengers. Use the defrost mode to remove fog or frost
from the windshield more quickly. For best results, clear
all snow and ice from the windshield before defrosting.
Turn the left knob to select the defog or defrost mode.
-(Defog):This mode directs half of the air to the
windshield and the side window outlets and half to the
�oor outlets. To defog the windows faster, turn the
temperature control knob clockwise to the warmest
setting.
0(Defrost):This mode directs most of the air to the
windshield, with some air directed to the side window
outlets and the �oor outlets.
Rear Window Defogger
The rear window defogger uses a warming grid to
remove fog from the rear window.
The rear window defogger will only work when the
ignition is in RUN.
<(Rear):Press the button to turn the rear window
defogger on or off. Be sure to clear as much snow from
the rear window as possible. An indicator light above
the button will come on to let you know that the rear
window defogger is activated.
The rear window defogger will turn off approximately
15 minutes after the button is pressed. If turned on again,
the defogger will only run for approximately �ve minutes
before turning off. The defogger can also be turned off by
pressing the button again or by turning off the engine.
Notice:Do not use anything sharp on the inside of
the rear window. If you do, you could cut or damage
the warming grid, and the repairs would not be
covered by your warranty. Do not attach a temporary
vehicle license, tape, a decal or anything similar to
the defogger grid.
3-19
ProCarManuals.com
Page 138 of 392

Climate Control System
(With Air Conditioning)
With this system you can control the heating, cooling
and ventilation for your vehicle.
Operation
To change the current mode, select one of the following:
H(Vent):This mode directs air to the instrument
panel outlets.
)(Bi-Level):This mode directs approximately half of
the air to the instrument panel outlets, and then directs
the remaining air to the �oor outlets. Cooler air is directed
to the upper outlets and warmer air to the �oor outlets.
6(Floor):This mode directs most of the air to the
�oor outlets with some air directed to the windshield.
The left knob can also be used to select defog or defrost
mode. Information on defogging and defrosting can
be found later in this section.
A(Fan):Turn the center knob clockwise or
counterclockwise to increase or decrease the fan speed.
In any setting other than off, the fan will run continuously
with the ignition on. The fan must be turned on to run
the air conditioning compressor.
9(Off):To turn the fan off, turn the knob all the way
counterclockwise to the off position.
Temperature Control:Turn the right knob clockwise
or counterclockwise to increase or decrease the
temperature inside your vehicle.
>(Recirculate):This mode keeps outside air from
coming in the vehicle. It can be used to prevent outside
air and odors from entering your vehicle or to help heat or
cool the air inside your vehicle more quickly. An indicator
light will come on in this mode. The air-conditioning
compressor also comes on. Operation in this mode
during periods of high humidity and cool outside
temperatures may result in increased window fogging. If
window fogging is experienced, select the defrost mode.
3-20
ProCarManuals.com
Page 139 of 392

#(Air Conditioning):Press this button to turn the
air-conditioning system on or off. When this button is
pressed, an indicator light above the button will come
on to let you know the air conditioning is activated.
On hot days, open the windows to let hot inside air
escape; then close them. This helps to reduce the time
it takes for your vehicle to cool down. It also helps the
system to operate more efficiently.
For quick cool down on hot days:
1. Select the recirculation mode.
2. Select air conditioning.
3. Select the coolest temperature.
4. Select the highest fan speed.
Using these settings together for long periods of time may
cause the air inside of your vehicle to become too dry. To
prevent this from happening, after the air in your vehicle
has cooled, turn off the recirculation by pressing the
button again.
The air-conditioning system removes moisture from the
air, so you may sometimes notice a small amount of
water dripping underneath your vehicle while idling
or after turning off the engine. This is normal.Defogging and Defrosting
Fog on the inside of windows is a result of high humidity
(moisture) condensing on the cool window glass. This
can be minimized if the climate control system is used
properly. There are two modes to clear fog or frost from
your windshield and side windows. Use the defog mode
to clear the windows of fog or moisture and warm the
passengers. Use the defrost mode to remove fog or frost
from the windshield more quickly. For best results, clear
all snow and ice from the windshield before defrosting.
Turn the left knob to select the defog or defrost mode.
-(Defog):This mode directs half of the air to the
windshield and the side window outlets and half to the
�oor outlets. When you select this mode the system runs
the air-conditioning compressor. To defog the windows
faster, turn the temperature control knob clockwise
to the warmest setting.
0(Defrost):This mode directs most of the air to the
windshield, with some air directed to the side window
outlets and the �oor outlets. When you select this mode
the system runs the air-conditioning compressor.
3-21
ProCarManuals.com
Page 140 of 392

Rear Window Defogger
The rear window defogger uses a warming grid to
remove fog from the rear window.
The rear window defogger will only work when the
ignition is in RUN.
<(Rear):Press the button to turn the rear window
defogger on or off. Be sure to clear as much snow from
the rear window as possible. An indicator light above the
button will come on to let you know that the rear window
defogger is activated.
The rear window defogger will turn off approximately
15 minutes after the button is pressed. If turned on again,
the defogger will only run for approximately �ve minutes
before turning off. The defogger can also be turned off by
pressing the button again or by turning off the engine.
Notice:Do not use anything sharp on the inside of
the rear window. If you do, you could cut or damage
the warming grid, and the repairs would not be
covered by your warranty. Do not attach a temporary
vehicle license, tape, a decal or anything similar to
the defogger grid.
Outlet Adjustment
Use the louvers located on the air outlets to change the
direction of the air�ow.
Operation Tips
Clear away any ice, snow, or leaves from the air
inlets at the base of the vehicle that may block
the �ow of air into your vehicle.
Use of non-GM approved hood de�ectors may
adversely affect the performance of the system.
Keep the path under the front seats clear of objects
to help circulate the air inside of your vehicle more
effectively.
3-22
ProCarManuals.com
Page 383 of 392

E
Electrical System
Add-On Equipment......................................5-99
Engine Compartment Fuse Block.................5-102
Floor Console Fuse Block...........................5-100
Fuses and Circuit Breakers.........................5-100
Power Windows and Other Power Options.......5-100
Windshield Wiper Fuses.............................5-100
Engine
Air Cleaner/Filter.........................................5-22
Battery.......................................................5-42
Change Oil Message...................................3-45
Check and Service Engine Soon Light............3-36
Coolant......................................................5-25
Coolant Temperature Gage...........................3-36
Engine Compartment Overview......................5-12
Exhaust.....................................................2-30
Oil .............................................................5-15
Oil Life System...........................................5-20
Overheating................................................5-29
Reduced Power Light...................................3-41
Starting......................................................2-20
Enhanced Traction System (ETS)........................ 4-9
Entry Lighting.................................................3-16
Error Message................................................3-47
Event Data Recorders (EDR)............................. 7-7
Extender, Safety Belt.......................................1-31
F
Filter
Engine Air Cleaner......................................5-22
Finish Damage...............................................5-96
Fixed Mast Antenna........................................3-72
Flashers, Hazard Warning.................................. 3-6
Flash-to-Pass................................................... 3-8
Flat Tire........................................................5-75
Flat Tire, Changing.........................................5-76
Flat Tire, Storing.............................................5-87
Fluid
Automatic Transaxle.....................................5-24
Manual Transaxle........................................5-24
Windshield Washer......................................5-38
Fog Lamps ....................................................3-15
Folding Rear Seat............................................ 1-9
Folding Seatback, Passenger............................. 1-7
Front Turn Signal, Parking and Daytime
Running Lamps...................................5-52, 5-53
Fuel............................................................... 5-4
Additives...................................................... 5-6
California Fuel.............................................. 5-5
Filling a Portable Fuel Container..................... 5-9
Filling Your Tank........................................... 5-7
Fuels in Foreign Countries.............................. 5-6
Gage .........................................................3-42
Gasoline Octane........................................... 5-5
5
ProCarManuals.com
Page 385 of 392

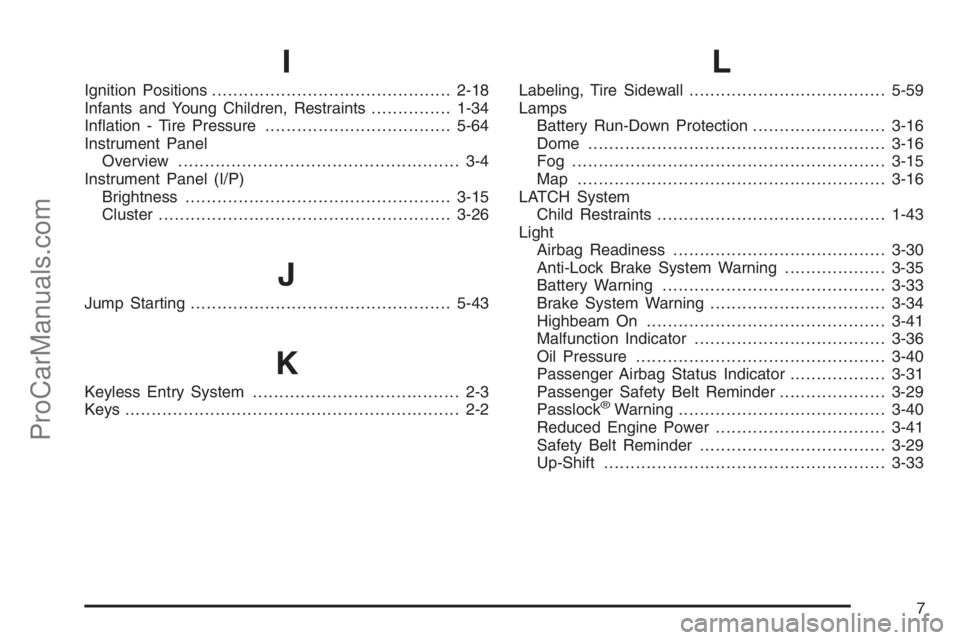
I
Ignition Positions.............................................2-18
Infants and Young Children, Restraints...............1-34
In�ation - Tire Pressure...................................5-64
Instrument Panel
Overview..................................................... 3-4
Instrument Panel (I/P)
Brightness..................................................3-15
Cluster.......................................................3-26
J
Jump Starting.................................................5-43
K
Keyless Entry System....................................... 2-3
Keys............................................................... 2-2
L
Labeling, Tire Sidewall.....................................5-59
Lamps
Battery Run-Down Protection.........................3-16
Dome ........................................................3-16
Fog ...........................................................3-15
Map ..........................................................3-16
LATCH System
Child Restraints...........................................1-43
Light
Airbag Readiness........................................3-30
Anti-Lock Brake System Warning...................3-35
Battery Warning..........................................3-33
Brake System Warning.................................3-34
Highbeam On.............................................3-41
Malfunction Indicator....................................3-36
Oil Pressure...............................................3-40
Passenger Airbag Status Indicator..................3-31
Passenger Safety Belt Reminder....................3-29
Passlock
®Warning.......................................3-40
Reduced Engine Power................................3-41
Safety Belt Reminder...................................3-29
Up-Shift.....................................................3-33
7
ProCarManuals.com