remote start SATURN L-SERIES 2004 Owners Manual
[x] Cancel search | Manufacturer: SATURN, Model Year: 2004, Model line: L-SERIES, Model: SATURN L-SERIES 2004Pages: 386, PDF Size: 2.89 MB
Page 81 of 386

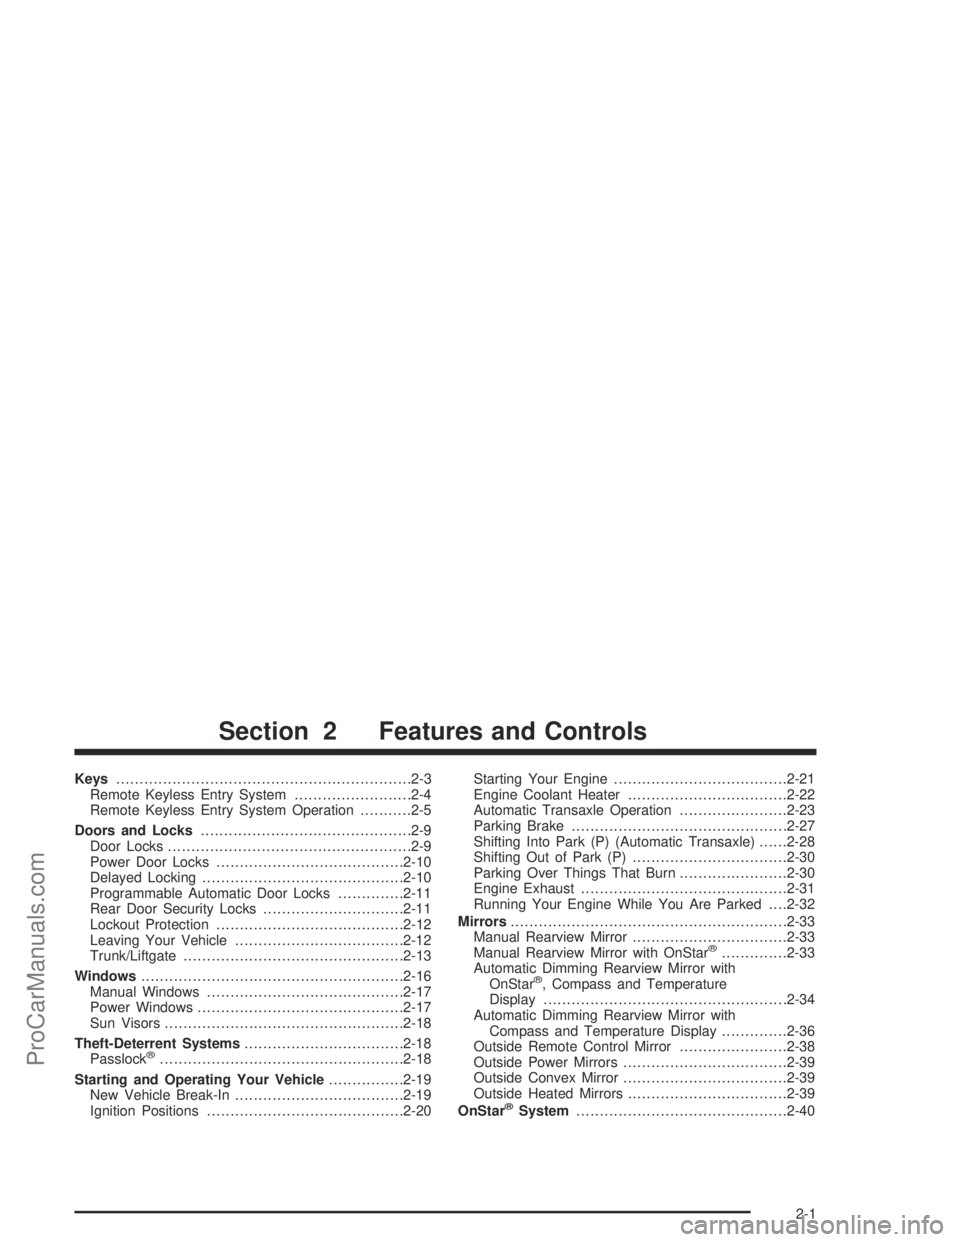
Keys...............................................................2-3
Remote Keyless Entry System.........................2-4
Remote Keyless Entry System Operation...........2-5
Doors and Locks.............................................2-9
Door Locks....................................................2-9
Power Door Locks........................................2-10
Delayed Locking...........................................2-10
Programmable Automatic Door Locks..............2-11
Rear Door Security Locks..............................2-11
Lockout Protection........................................2-12
Leaving Your Vehicle....................................2-12
Trunk/Liftgate...............................................2-13
Windows........................................................2-16
Manual Windows..........................................2-17
Power Windows............................................2-17
Sun Visors...................................................2-18
Theft-Deterrent Systems..................................2-18
Passlock
®....................................................2-18
Starting and Operating Your Vehicle................2-19
New Vehicle Break-In....................................2-19
Ignition Positions..........................................2-20Starting Your Engine.....................................2-21
Engine Coolant Heater..................................2-22
Automatic Transaxle Operation.......................2-23
Parking Brake..............................................2-27
Shifting Into Park (P) (Automatic Transaxle)......2-28
Shifting Out of Park (P).................................2-30
Parking Over Things That Burn.......................2-30
Engine Exhaust............................................2-31
Running Your Engine While You Are Parked. . . .2-32
Mirrors...........................................................2-33
Manual Rearview Mirror.................................2-33
Manual Rearview Mirror with OnStar
®..............2-33
Automatic Dimming Rearview Mirror with
OnStar
®, Compass and Temperature
Display....................................................2-34
Automatic Dimming Rearview Mirror with
Compass and Temperature Display..............2-36
Outside Remote Control Mirror.......................2-38
Outside Power Mirrors...................................2-39
Outside Convex Mirror...................................2-39
Outside Heated Mirrors..................................2-39
OnStar
®System.............................................2-40
Section 2 Features and Controls
2-1
ProCarManuals.com
Page 187 of 386

The RCA jacks are color coded to match typical home
entertainment system equipment. The yellow jack
(right) is for the video input. The white jack (middle) is
for the left audio input. The red jack (left) is for the right
audio input.
To use the auxiliary function, connect a camcorder or a
video game unit to the RCA jacks and turn on the
auxiliary device. If you want to view a DVD, insert the
DVD into the DVD radio. The system will automatically
switch to DVD and start to play. To switch between
the auxiliary device and the DVD, press the AUX button
on the DVD player or on the remote control. See
“DVD Radio” and “Remote Control” later in this section
for more information.
Audio Output
Only one audio source can be heard through the
speakers at one time.
The only way to listen to the audio through the vehicle
speakers is if the front seat passengers select DVD
Family Mode using the AUX button on the radio. Audio
will still play through the wireless headphones.There are three modes to the RSE system:
RSE:This is the default. When a DVD is inserted, the
rear speakers will be muted. The rear seat passengers
will be able to hear audio through the wireless
headphones. The front seat passengers will be able to
listen to the radio by pressing the AM FM button, or
listen to XM™ Satellite Radio Service (if equipped) or
CD, by pressing the AUX button, through the front
speakers.
DVD Family:When in RSE mode, press the AUX
button to switch to DVD Family. All passengers will be
able to hear audio through the vehicles speakers. Audio
will still be available through the wireless headphones.
DVD Aux:This is the default. When the RCA jacks
are connected, the rear speakers will be muted. The rear
seat passengers will be able to hear audio from the
auxiliary device through the wireless headphones. The
front seat passengers will be able to listen to the
radio by pressing the AM FM button, or listen to XM™
Satellite Radio Service (if equipped) or CD, by pressing
the AUX button, through the front speakers.
3-61
ProCarManuals.com
Page 189 of 386

The DVD radio is only compatible with DVDs authorized
for use in the United States and Canada (Region
Code 1). The DVD region code is printed on the jacket
of most DVDs. Regular audio CDs, CD-R, CD-RW,
and MP3s can also be played by the DVD radio.
If an error message appears on the video screen or the
radio, see “DVD Display Error Messages” and “DVD
Radio Error Messages” later in this section.
DVD Radio Buttons
RSE:Press this button to pause the DVD. Press this
button again to play the DVD.
Press and hold this button for more than two seconds to
turn off the DVD system.
AUX (Auxiliary):Press this button to switch between
RSE and DVD family when a DVD is playing.
Press this button to switch between playing a CD or
listening to XM™ Satellite Radio Service (if equipped)
when a CD is playing.
Z(Eject/Load):Press this button to eject a DVD or
CD. If a DVD or CD is ejected, but not removed,
pressing this button will load the DVD or CD.
Playing a Disc
To play a disc, gently insert the disc, with the label side
up, into the loading slot. The DVD player will continue
loading the disc and the player will automatically start.
If a disc is already in the radio, press the play/pause
button on the remote control to start playing the disc.
Vehicle speaker volume, bass, treble, etc. may be
adjusted using the radio controls.
Some DVDs will not allow fast forwarding or skipping of
the copyright information or the previews. Some
DVDs will begin playing after the previews have �nished,
although there may be a delay of up to 30 seconds. If
the DVD does not begin playing the movie automatically,
press the RSE button on the radio. If the DVD still
does not play, refer to the on-screen instructions.
3-63
ProCarManuals.com
Page 191 of 386

Remote Control Buttons
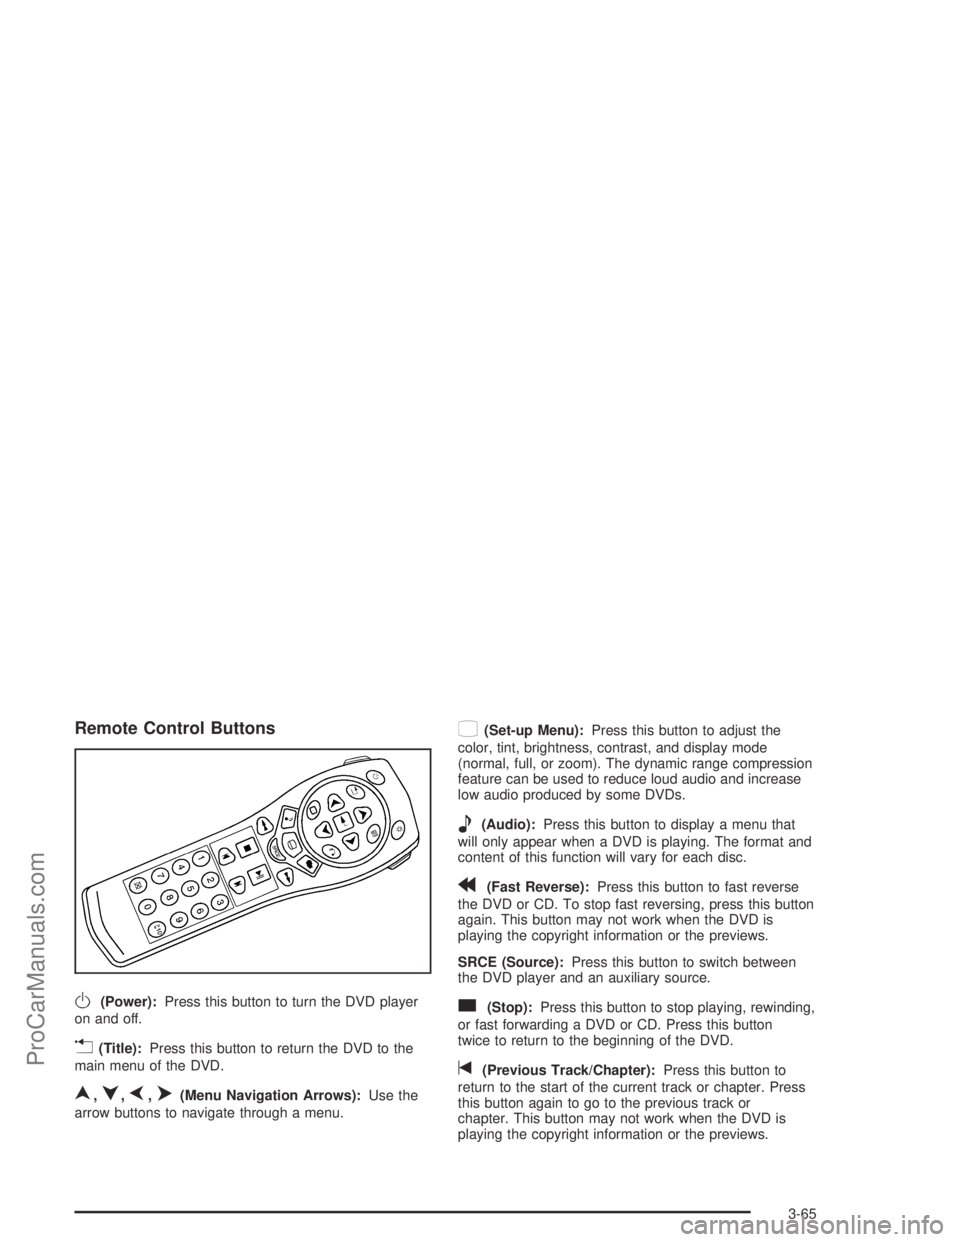
O(Power):Press this button to turn the DVD player
on and off.
v(Title):Press this button to return the DVD to the
main menu of the DVD.
n,q,p,o(Menu Navigation Arrows):Use the
arrow buttons to navigate through a menu.
z(Set-up Menu):Press this button to adjust the
color, tint, brightness, contrast, and display mode
(normal, full, or zoom). The dynamic range compression
feature can be used to reduce loud audio and increase
low audio produced by some DVDs.
e(Audio):Press this button to display a menu that
will only appear when a DVD is playing. The format and
content of this function will vary for each disc.
r(Fast Reverse):Press this button to fast reverse
the DVD or CD. To stop fast reversing, press this button
again. This button may not work when the DVD is
playing the copyright information or the previews.
SRCE (Source):Press this button to switch between
the DVD player and an auxiliary source.
c(Stop):Press this button to stop playing, rewinding,
or fast forwarding a DVD or CD. Press this button
twice to return to the beginning of the DVD.
t(Previous Track/Chapter):Press this button to
return to the start of the current track or chapter. Press
this button again to go to the previous track or
chapter. This button may not work when the DVD is
playing the copyright information or the previews.
3-65
ProCarManuals.com
Page 193 of 386

s(Play/Pause):Press this button to start play of a
DVD or CD. Press this button while a DVD or CD is
playing to pause it. Press this button again to continue
playing the DVD or CD.
When the DVD is playing, press the pause button then
press the fast forward button. The DVD will continue
playing in a slow play mode. To cancel slow play mode,
press the play/pause button.
u(Next Track/Chapter):Press this button to advance
to the beginning of the next track or chapter. This
button may not work when the DVD is playing the
copyright information or the previews.
Battery Replacement
To change the remote control batteries, do the following:
1. Remove the battery compartment door located on
the bottom of the remote control.
2. Replace the two AA batteries in the compartment.
Make sure that they are installed correctly, using
the diagram on the inside of the battery
compartment.
3. Close the battery door securely.
If the remote control is to be stored for a long period of
time, remove the batteries and keep them in a cool,
dry place.
DVD Display Error Messages
The video screen may display one of the following:
Disc Format Error:This message will be displayed,
if a disc is inserted upside down, if the disc is not
readable, or if the disc format is not compatible. The
disc will be automatically ejected from the radio.
Disc Play Error:This message will be displayed, if the
mechanism cannot play the disc. Severely scratched
or damaged discs may cause this error. The disc will be
automatically ejected from the radio.
Region Code Error:This message will be displayed,
if the disc is not a Region Code 1. The disc will be
automatically ejected from the radio.
Load/Eject Error:This message will be displayed,
if the disc is not properly loaded or ejected.
No Disc:This message will be displayed, if no disc is
present when the play, eject, or DVD/AUX button is
pressed on the remote control or the eject, RSE, or AUX
button is pressed on the radio.
3-67
ProCarManuals.com