battery SATURN VUE 2010 Owners Manual
[x] Cancel search | Manufacturer: SATURN, Model Year: 2010, Model line: VUE, Model: SATURN VUE 2010Pages: 398, PDF Size: 4.02 MB
Page 27 of 398

In Brief 1-21
Crisis Assist, Stolen Vehicle
Assistance, Vehicle Diagnostics,
Remote Door Unlock, Roadside
Assistance, Turn‐by‐Turn Navigation
and Hands‐Free Calling are
available on most vehicles. Not all
OnStar services are available on all
vehicles. For more information
see the OnStar Owner's Guide or
visit www.onstar.com (U.S.) or
www.onstar.ca (Canada), contact
OnStar at 1-888-4-ONSTAR
(1‐888‐466‐7827) or TTY
1‐877‐248‐2080, or press
Qto
speak with an OnStar advisor
24 hours a day, 7 days a week.
For a full description of OnStar
services and system limitations, see
the OnStar Owner's Guide in the
glove box.
OnStar service is subject to the
OnStar terms and conditions
included in the OnStar Subscriber
Information. OnStar service cannot work unless
the vehicle is in a place where
OnStar has an agreement with a
wireless service provider for service
in that area. OnStar service also
cannot work unless the vehicle is in
a place where the wireless service
provider OnStar has hired for that
area has coverage, network
capacity and reception when the
service is needed, and technology
that is compatible with the OnStar
service. Not all services are
available everywhere, particularly in
remote or enclosed areas, or at all
times.
The OnStar system can record and
transmit vehicle information. This
information is automatically sent to
an OnStar call center when
Qis
pressed,
]is pressed, or if the
airbags or ACR system deploy.
This information usually includes the
vehicle's GPS location and, in the
event of a crash, additional information regarding the crash that
the vehicle was involved in (e.g. the
direction from which the vehicle was
hit). When the virtual advisor feature
of OnStar hands-free calling is
used, the vehicle also sends OnStar
the vehicle's GPS location so they
can provide services where it is
located.
Location information about the
vehicle is only available if the GPS
satellite signals are unobstructed
and available.
The vehicle must have a working
electrical system, including
adequate battery power, for the
OnStar equipment to operate. There
are other problems OnStar cannot
control that may prevent OnStar
from providing OnStar service at
any particular time or place. Some
examples are damage to important
parts of the vehicle in a crash, hills,
tall buildings, tunnels, weather or
wireless phone network congestion.
ProCarManuals.com
Page 31 of 398

Keys, Doors and Windows 2-3
.Check the transmitter's battery.
See“Battery Replacement” later
in this section.
.If the transmitter is still not
working correctly, see your
dealer/retailer or a qualified
technician for service.
Remote Keyless Entry
(RKE) System Operation
The Remote Keyless Entry (RKE)
transmitter functions work up to
195 feet (60 m) away from the
vehicle.
There are other conditions which
can affect the performance of the
transmitter. See Remote Keyless
Entry (RKE) System on page 2‑2.
Without Remote Start Shown
(With Remote Start Similar)
/(Remote Vehicle Start): For
vehicles with this feature, this button
is used to operate the remote start
feature. See Remote Vehicle Start
on page 2‑4for additional
information.
Q(Lock): Press to lock all the
doors, including the liftgate. The
vehicle's lamps may flash and the
horn may sound. See “Remote Door
Lock” under Vehicle Personalization
on page 5‑39for more information.
K(Unlock): Press once to unlock
the driver door. If
Kis pressed
again within five seconds, all
remaining doors unlock. The interior
lamps come on and stay on for
20 seconds or until the ignition is
turned on. The exterior lamps may
flash when unlocking the vehicle.
See “Remote Door Unlock” under
Vehicle Personalization
on
page 5‑39for more information.
L(Vehicle Locator/Panic
Alarm): Press and release to
locate the vehicle. The turn signal
lamps flash and the horn sounds
three times. Press and hold
Lto
activate the panic alarm. The turn
signal lamps flash and the horn
sounds repeatedly for 30 seconds.
The alarm turns off when the
ignition is turned to ON/RUN or
when
Lis pressed again. The
ignition must be in LOCK/OFF for
the panic alarm to work.
ProCarManuals.com
Page 32 of 398

2-4 Keys, Doors and Windows
Programming Transmitters to
the Vehicle
Only RKE transmitters programmed
to the vehicle will work. If a
transmitter is lost or stolen, a
replacement can be purchased
and programmed through your
dealer/retailer. When the
replacement transmitter is
programmed to the vehicle, all
remaining transmitters must also be
programmed. Any lost or stolen
transmitters no longer work once the
new transmitter is programmed.
Each vehicle can have up to
eight transmitters programmed to it.
See“Relearn Remote Key” under
Driver Information Center (DIC)
on
page 5‑25.
Battery Replacement
Replace the battery if the REPLACE
REMOTE KEY FOB BATTERY
message displays on the Driver
Information Center (DIC). See
“REPLACE REMOTE KEY FOB
BATTERY” underKey and Lock
Messages on page 5‑35. Notice:
When replacing the
battery, do not touch any of the
circuitry on the transmitter. Static
from your body could damage the
transmitter.
To replace the battery:
1. Separate the transmitter with a flat, thin object inserted into the
notch on the side.
2. Remove the old battery. Do not use a metal object. 3. Insert the new battery, positive
side facing down. Replace with a
CR2032 or equivalent battery.
4. Reassemble the transmitter.
Remote Vehicle Start
This vehicle may have a remote
starting feature that starts the
engine from outside of the vehicle.
/ (Remote Start): This button is
located on the RKE transmitter if the
vehicle has remote start.
Laws in some communities may
restrict the use of remote starters.
For example, some laws may
require a person using the remote
start to have the vehicle in view
when doing so. Check local
regulations for any requirements on
remote starting of vehicles.
Do not use the remote start feature
if the vehicle is low on fuel. The
vehicle could run out of fuel.
ProCarManuals.com
Page 36 of 398

2-8 Keys, Doors and Windows
Doors
Liftgate
{WARNING
Exhaust gases can enter the
vehicle if it is driven with the
liftgate, trunk/hatch open, or with
any objects that pass through the
seal between the body and the
trunk/hatch or liftgate. Engine
exhaust contains Carbon
Monoxide (CO) which cannot be
seen or smelled. It can cause
unconsciousness and even death.
If the vehicle must be driven with
the liftgate, or trunk/hatch open:
.Close all of the windows.
.Fully open the air outlets on
or under the instrument
panel.(Continued)
WARNING (Continued)
.Adjust the Climate Control
system to a setting that
brings in only outside air and
set the fan speed to the
highest setting. See Climate
Control System in the Index.
.If the vehicle is equipped with
a power liftgate, disable the
power liftgate function.
For more information about
carbon monoxide, see Engine
Exhaust on page 9‑34.
To lock or unlock the liftgate, if the
vehicle has this feature, press
Qor
Ktwice on the Remote Keyless
Entry (RKE) transmitter or press the
power door lock switch.
To open the liftgate, press the
touchpad on the underside of the
liftgate handle and pull up.
To close the liftgate, pull down using
the handle and close until it latches. Liftgate Operation with Loss of
Power
To open the liftgate if the vehicle's
battery is disconnected or the
voltage is low, access the release
lever. Remove the interior trim cover
on the inside of the liftgate. Use a
tool to push the lever on the latch
until the liftgate releases.
ProCarManuals.com
Page 83 of 398

Seats and Restraints 3-39
A thick layer of additional material,
such as a blanket or cushion,
or aftermarket equipment such as
seat covers, seat heaters, and seat
massagers can affect how well the
passenger sensing system
operates. We recommend that you
not use seat covers or other
aftermarket equipment except when
approved by GM for your specific
vehicle. SeeAdding Equipment to
the Airbag-Equipped Vehicle
on
page 3‑40for more information
about modifications that can affect
how the system operates.
{WARNING
Stowing of articles under the
passenger seat or between the
passenger seat cushion and
seatback may interfere with the
proper operation of the passenger
sensing system.
Servicing the
Airbag-Equipped Vehicle
Airbags affect how the vehicle
should be serviced. There are parts
of the airbag system in several
places around the vehicle. Your
dealer/retailer and the service
manual have information about
servicing the vehicle and the airbag
system. To purchase a service
manual, see Service Publications
Ordering Information on page 13‑12.
{WARNING
For up to 10 seconds after the
ignition is turned off and the
battery is disconnected, an airbag
can still inflate during improper
service. You can be injured if you
are close to an airbag when it
inflates. Avoid yellow connectors.
They are probably part of the
airbag system. Be sure to follow
proper service procedures, and
make sure the person performing
work for you is qualified to do so.
ProCarManuals.com
Page 111 of 398

Instruments and Controls 5-1
Instruments and
Controls
Controls
Steering Wheel Adjustment . . . 5-2
Steering Wheel Controls . . . . . . 5-3
Horn . . . . . . . . . . . . . . . . . . . . . . . . . . 5-3
Windshield Wiper/Washer . . . . . 5-3
Rear Window Wiper/Washer . . . . . . . . . . . . . . . . . . . . . . 5-5
Compass . . . . . . . . . . . . . . . . . . . . . 5-5
Clock . . . . . . . . . . . . . . . . . . . . . . . . . 5-8
Power Outlets . . . . . . . . . . . . . . . . . 5-8
Warning Lights, Gages, and
Indicators
Warning Lights, Gages, and Indicators . . . . . . . . . . . . . . . . . . . . 5-9
Instrument Cluster . . . . . . . . . . . 5-10
Speedometer . . . . . . . . . . . . . . . . 5-11
Odometer . . . . . . . . . . . . . . . . . . . . 5-11
Trip Odometer . . . . . . . . . . . . . . . 5-11
Tachometer . . . . . . . . . . . . . . . . . . 5-11
Fuel Gage . . . . . . . . . . . . . . . . . . . 5-11
Safety Belt Reminders . . . . . . . 5-12
Airbag Readiness Light . . . . . . 5-13 Passenger Airbag Status
Indicator . . . . . . . . . . . . . . . . . . . . 5-14
Charging System Light . . . . . . 5-15
Malfunction Indicator Lamp . . . . . . . . . . . . . 5-15
Service Vehicle Soon Light . . . . . . . . . . . . . . . . . . . . . . . 5-18
Brake System Warning Light . . . . . . . . . . . . . . . . . . . . . . . 5-18
Antilock Brake System (ABS) Warning Light . . . . . . . . . . . . . . 5-19
All-Wheel-Drive Light . . . . . . . . 5-19
Power Steering Warning Light . . . . . . . . . . . . . . . . . . . . . . . 5-20
StabiliTrak
®Indicator Light . . . 5-20
Traction Control System (TCS) Warning Light . . . . . . . 5-20
Engine Coolant Temperature Warning Light . . . . . . . . . . . . . . 5-21
Tire Pressure Light . . . . . . . . . . 5-21
Engine Oil Pressure Light . . . . 5-22
Change Engine Oil Light . . . . . 5-22
Low Fuel Warning Light . . . . . . 5-23
Security Light . . . . . . . . . . . . . . . . 5-23
Reduced Engine Power Light . . . . . . . . . . . . . . . . . . . . . . . 5-23
High-Beam on Light . . . . . . . . . 5-24
Fog Lamp Light . . . . . . . . . . . . . . 5-24 Low Washer Fluid Warning
Light . . . . . . . . . . . . . . . . . . . . . . . 5-24
Cruise Control Light . . . . . . . . . 5-25
Door Ajar Light . . . . . . . . . . . . . . 5-25
Gate Ajar Light . . . . . . . . . . . . . . 5-25
Information Displays
Driver Information Center (DIC) . . . . . . . . . . . . . . . 5-25
Vehicle Messages
Vehicle Messages . . . . . . . . . . . 5-31
Battery Voltage and ChargingMessages . . . . . . . . . . . . . . . . . . 5-31
Brake System Messages . . . . 5-31
Compass Messages . . . . . . . . . 5-31
Cruise Control Messages . . . . 5-32
Door Ajar Messages . . . . . . . . . 5-32
Engine Cooling System Messages . . . . . . . . . . . . . . . . . . 5-32
Engine Oil Messages . . . . . . . . 5-33
Engine Power Messages . . . . 5-34
Fuel System Messages . . . . . . 5-34
Key and Lock Messages . . . . . 5-35
Ride Control System Messages . . . . . . . . . . . . . . . . . . 5-35
Airbag System Messages . . . . 5-36
Service Vehicle Messages . . . 5-37
ProCarManuals.com
Page 119 of 398

Instruments and Controls 5-9
Notice:Leaving electrical
equipment on for extended
periods will drain the battery.
Always turn off electrical
equipment when not in use and
do not plug in equipment that
exceeds the maximum 20 ampere
rating.
Certain electrical accessories may
not be compatible with the
accessory power outlet and could
result in blown vehicle or adapter
fuses. If you experience a problem,
see your dealer/retailer for
additional information on the
accessory power outlet. Notice:
Adding any electrical
equipment to your vehicle may
damage it or keep other
components from working as
they should. The repairs would
not be covered by your warranty.
Check with your dealer/retailer
before adding electrical
equipment.
When adding electrical equipment,
be sure to follow the installation
instructions included with the
equipment.
Notice: Improper use of the
power outlet can cause damage
not covered by the vehicle
warranty. Do not hang any type of
accessory or accessory bracket
from the plug because the power
outlets are designed for
accessory power plugs only.Warning Lights,
Gages, and Indicators
Warning lights come on when there
could be a problem with a vehicle
function. Some warning lights come
on briefly when the engine is started
to indicate they are working.
Gages can indicate when there
could be a problem with a vehicle
function. Often gages and warning
lights work together to indicate a
problem with the vehicle.
When one of the warning lights
comes on and stays on while
driving, or when one of the gages
shows there may be a problem,
check the section that explains what
to do. Follow this manual's advice.
Waiting to do repairs can be costly
and even dangerous.
ProCarManuals.com
Page 125 of 398

Instruments and Controls 5-15
{WARNING
If the airbag readiness light ever
comes on and stays on, it means
that something may be wrong
with the airbag system. To help
avoid injury to yourself or others,
have the vehicle serviced right
away. SeeAirbag Readiness
Light
on page 5‑13for more
information, including important
safety information.
Charging System Light
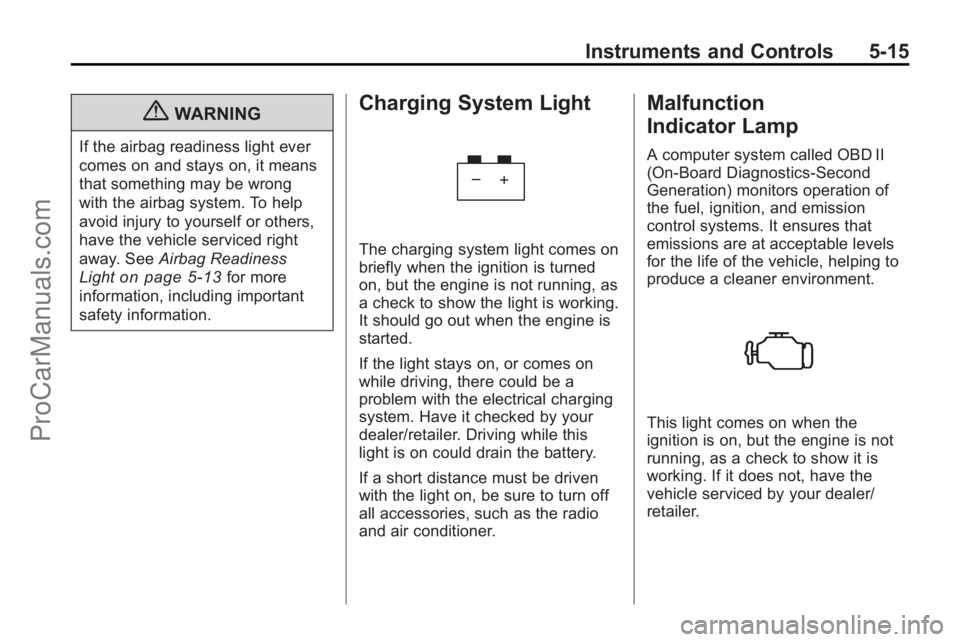
The charging system light comes on
briefly when the ignition is turned
on, but the engine is not running, as
a check to show the light is working.
It should go out when the engine is
started.
If the light stays on, or comes on
while driving, there could be a
problem with the electrical charging
system. Have it checked by your
dealer/retailer. Driving while this
light is on could drain the battery.
If a short distance must be driven
with the light on, be sure to turn off
all accessories, such as the radio
and air conditioner.
Malfunction
Indicator Lamp
A computer system called OBD II
(On-Board Diagnostics-Second
Generation) monitors operation of
the fuel, ignition, and emission
control systems. It ensures that
emissions are at acceptable levels
for the life of the vehicle, helping to
produce a cleaner environment.
This light comes on when the
ignition is on, but the engine is not
running, as a check to show it is
working. If it does not, have the
vehicle serviced by your dealer/
retailer.
ProCarManuals.com
Page 128 of 398

5-18 Instruments and Controls
.The vehicle will not pass this
inspection if the OBD II
(on-board diagnostic) system
determines that critical emission
control systems have not been
completely diagnosed by the
system. The vehicle would be
considered not ready for
inspection. This can happen if
the battery has recently been
replaced or if the battery has run
down. The diagnostic system is
designed to evaluate critical
emission control systems during
normal driving. This can take
several days of routine driving.
If this has been done and the
vehicle still does not pass the
inspection for lack of OBD II
system readiness, your dealer/
retailer can prepare the vehicle
for inspection.Service Vehicle Soon
Light
The service vehicle soon light
comes on if a condition exists that
may require the vehicle to be taken
in for service.
If the light comes on, take the
vehicle to your dealer/retailer for
service as soon as possible.
Brake System Warning
Light
United StatesCanada
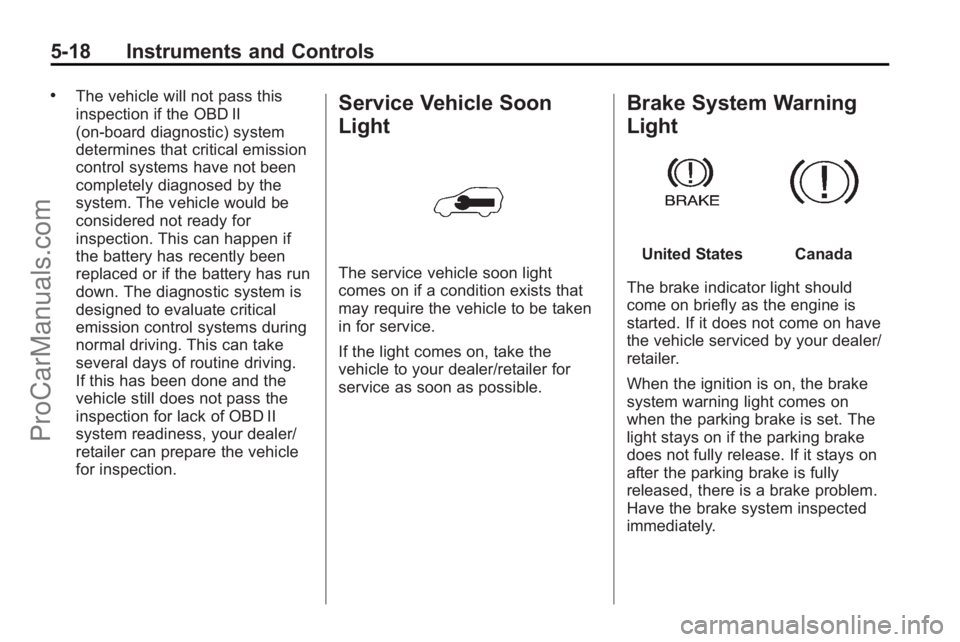
The brake indicator light should
come on briefly as the engine is
started. If it does not come on have
the vehicle serviced by your dealer/
retailer.
When the ignition is on, the brake
system warning light comes on
when the parking brake is set. The
light stays on if the parking brake
does not fully release. If it stays on
after the parking brake is fully
released, there is a brake problem.
Have the brake system inspected
immediately.
ProCarManuals.com
Page 136 of 398

5-26 Instruments and Controls
dashes. If this occurs, have the
vehicle serviced by your dealer/
retailer. If an abnormal temperature
reading is displayed for an extended
period of time, consult your
dealer/retailer. Under certain
circumstances, especially when the
engine is idling, a delay updating
the temperature display is normal.
SeeCompass
on page 5‑5and
Automatic Transmissionon
page 9‑35for more information.
The DIC has different displays
which can be accessed by pressing
the DIC buttons located on the
instrument panel, below the
headlamp switch.
The DIC displays trip, fuel, and
vehicle system information, and
warning messages if a system
problem is detected. DIC Buttons
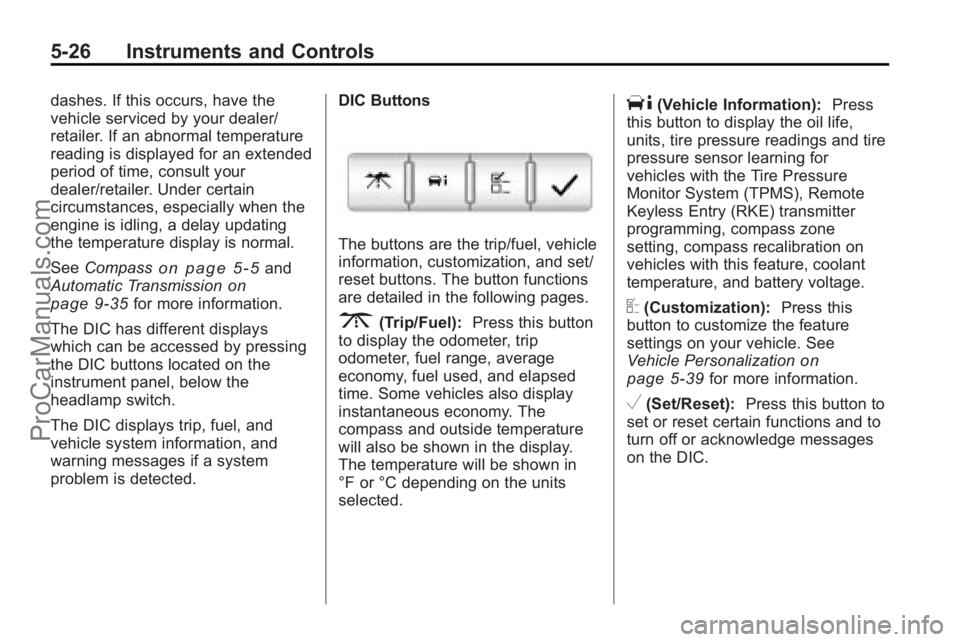
The buttons are the trip/fuel, vehicle
information, customization, and set/
reset buttons. The button functions
are detailed in the following pages.
3(Trip/Fuel):
Press this button
to display the odometer, trip
odometer, fuel range, average
economy, fuel used, and elapsed
time. Some vehicles also display
instantaneous economy. The
compass and outside temperature
will also be shown in the display.
The temperature will be shown in
°F or °C depending on the units
selected.
T(Vehicle Information): Press
this button to display the oil life,
units, tire pressure readings and tire
pressure sensor learning for
vehicles with the Tire Pressure
Monitor System (TPMS), Remote
Keyless Entry (RKE) transmitter
programming, compass zone
setting, compass recalibration on
vehicles with this feature, coolant
temperature, and battery voltage.
U(Customization): Press this
button to customize the feature
settings on your vehicle. See
Vehicle Personalization
on
page 5‑39for more information.
V(Set/Reset): Press this button to
set or reset certain functions and to
turn off or acknowledge messages
on the DIC.
ProCarManuals.com