bonnet Seat Alhambra 2007 Owner's Guide
[x] Cancel search | Manufacturer: SEAT, Model Year: 2007, Model line: Alhambra, Model: Seat Alhambra 2007Pages: 291, PDF Size: 9.13 MB
Page 219 of 291
Checking and refilling levels217
Safety First
Operating instructions
Tips and Maintenance
Te c h n i c a l D a t a
Caution
•
Other additives may give considerably inferior corrosion protection. The
resulting corrosion in the cooling system can lead to a loss of coolant,
causing serious damage to the engine.
•
The coolant additive G 12+ (purple) can be mixed with the additive G 12
(red) or G 11. Never mix G12 (red colour) with G 11.
Checking the coolant level and topping up
The correct coolant level is important for fault-free func-
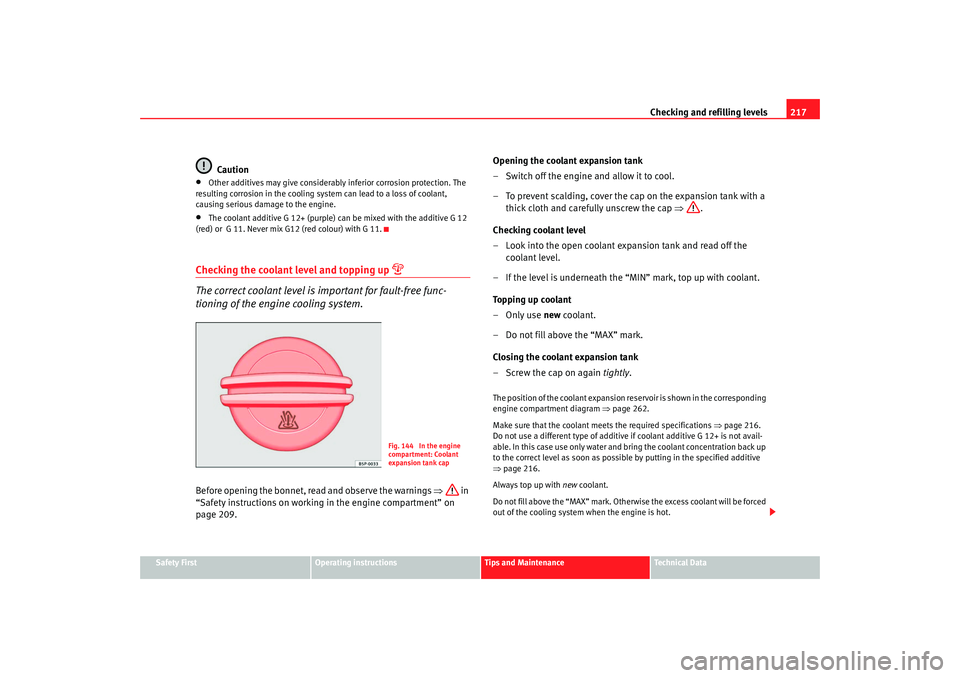
tioning of the engine cooling system.Before opening the bonnet, read and observe the warnings ⇒ in
“Safety instructions on working in the engine compartment” on
page 209. Opening the coolant expansion tank
– Switch off the engine and allow it to cool.
– To prevent scalding, cover the cap on the expansion tank with a
thick cloth and carefully unscrew the cap ⇒.
Checking coolant level
– Look into the open coolant expansion tank and read off the coolant level.
– If the level is underneath the “MIN” mark, top up with coolant.
Topping up coolant
–Only use new coolant.
– Do not fill above the “MAX” mark.
Closing the coolant expansion tank
–Screw the cap on again tightly.
The position of the coolant expansion reservoir is shown in the corresponding
engine compartment diagram ⇒page 262.
Make sure that the coolant meets the required specifications ⇒ page 216.
Do not use a different type of additive if coolant additive G 12+ is not avail-
able. In this case use only water and bring the coolant concentration back up
to the correct level as soon as possible by putting in the specified additive
⇒ page 216.
Always top up with new coolant.
Do not fill above the “MAX” mark. Otherwise the excess coolant will be forced
out of the cooling system when the engine is hot.
Fig. 144 In the engine
compartment: Coolant
expansion tank cap
alhambra ingles.book Seite 217 Donnerstag, 19. April 2007 4:04 16
Page 223 of 291
Checking and refilling levels221
Safety First
Operating instructions
Tips and Maintenance
Te c h n i c a l D a t a
– Insert a new wiper blade of the same length and design in the
direction of arrow and hook the blade back onto the wiper
arm.
– Now pull the wiper blade against the direction of arrow until it engages.
– Push the wiper arm back against the glass.These are available from SEAT Service
®.
If the wiper scrapes , it should be replaced if damaged, or cleaned if soiled.
If this does not produce the desired results, the setting angle of the wind-
screen wiper arms might be incorrect. They should be checked by a qualified
workshop and corrected if necessary.
WARNING
Do not drive unless you have good visibility through all windows!•
Clean the windscreen wiper blades and all windows regularly.
•
The wiper blades should be changed once or twice a year.Caution
•
Damaged or dirty windscreen wipers could scratch the windscreen.
•
Never use fuel, nail varnish remover, paint thinner or similar products to
clean the windows. This could damage the windscreen wiper blades.
•
Never move the windscreen wiper or windscreen wiper arm manually - this
could cause damage!Note
•
The wiper arms can be moved to the service position only when the
bonnet is properly closed.
Brake fluidChecking the brake fluid level
The brake fluid is checked at the intervals given in the service
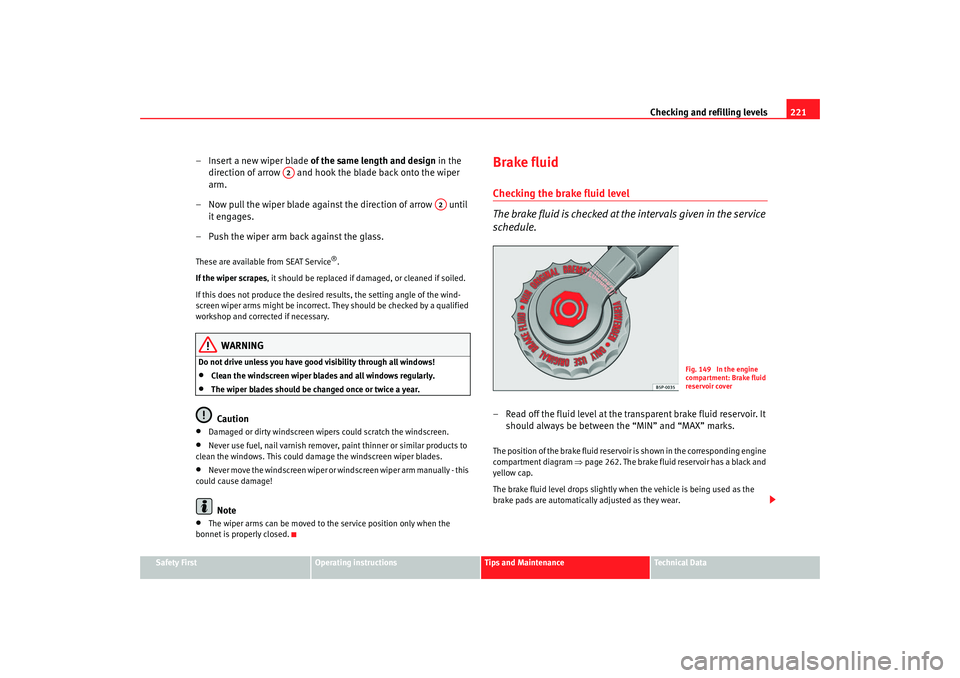
schedule.– Read off the fluid level at the transparent brake fluid reservoir. It should always be between the “MIN” and “MAX” marks.The position of the brake fluid reservoir is shown in the corresponding engine
compartment diagram ⇒page 262. The brake fluid reservoir has a black and
yellow cap.
The brake fluid level drops slightly when the vehicle is being used as the
brake pads are automatically adjusted as they wear.
A2
A2
Fig. 149 In the engine
compartment: Brake fluid
reservoir cover
alhambra ingles.book Seite 221 Donnerstag, 19. April 2007 4:04 16
Page 224 of 291
Checking and refilling levels
222However, if the level goes down noticeably in a short time, or drops below the
“MIN” mark, there may be a leak in the brake system. A display on the instru-
ment panel will warn you if the brake fluid level is too low ⇒page 70.
WARNING
Before opening the bonnet to check the brake fluid level, read and observe
the warnings ⇒page 209.Changing the brake fluid
The Maintenance Program indicates the brake fluid change
intervals.We recommend that you have the brake fluid changed by an Authorised
Service Centre.
Before opening the bonnet, please read and follow the warnings ⇒ in
“Safety instructions on working in the engine compartment” on page 209 in
“Working in the engine compartment”.
Brake fluid absorbs moisture. In the cour se of time, it will absorb water from
the ambient air. If the water content in the brake fluid is too high, the brake
system could corrode. This also considerably reduces the boiling point of the
brake fluid. Heavy use of the brakes may then cause a vapour lock which
could impair the braking effect.
It is important that you use only use brake fluid compliant with the US
standard FMVSS 116 DOT 4. We recommend the use of Genuine SEAT brake
fluid.
WARNING
Brake fluid is poisonous. Old brake fluid impairs the braking effect.
•
Before opening the bonnet to check the brake fluid level, read and
observe the warnings ⇒page 209.
•
Brake fluid should be stored in the closed original container in a safe
place out of reach of children. There is a toxic risk.
•
Complete the brake fluid change according to the Maintenance
Program. Heavy use of the brakes may cause a vapour lock if the brake fluid
is left in the system for too long. Th is would seriously affect the efficiency
of the brakes and the safety of the vehicle. This may cause an accident.Caution
Brake fluid could damage the paintwork. Wipe off any brake fluid from the
paintwork immediately.
For the sake of the environment
Brake fluid must be drained and disposed of in the proper manner observing
environmental regulations.
WARNING (continued)
alhambra ingles.book Seite 222 Donnerstag, 19. April 2007 4:04 16
Page 226 of 291
Checking and refilling levels
224•
If the vehicle is left standing in cold conditions for a long period, protect
the battery from frost. If it “freezes” it will be damaged.
Checking the electrolyte level
The electrolyte level should be checked regularly in high-
mileage vehicles, in hot countries and in older batteries.– Open the bonnet and open the battery cover at the front ⇒ in
“Safety instructions on working in the engine compartment” on
page 209 ⇒ in “Warnings on handling the battery” on
page 223.
– Check the colour display in the "magic eye" on the top of the battery.
– If there are air bubbles in the window, tap the window gently until they disperse.The position of the battery is shown in the corresponding engine compart-
ment diagram ⇒page 262.
The round window (“magic eye”) on the top of the battery changes colour,
depending on the charge level and electrolyte level of the battery.
If the colour in the window is colourless or bright yellow, the electrolyte level
of the battery is too low. Have the battery checked by a qualified workshop.
The colours green and black are used by the workshops for diagnostic
purposes.
Charging and changing the vehicle battery
The battery is maintenance-free and is checked during the
inspection service. All work on the vehicle battery requires
specialist knowledge.If you often drive short distances or if the vehicle is not driven for long
periods, the battery should be checked by a qualified workshop between the
scheduled services.
If the battery has discharged and you have problems starting the vehicle, the
battery might be damaged. If this happens, we recommend you have the
vehicle battery checked by an Authorised Service Centre where it will be re-
charged or replaced.
Charging the battery
The vehicle battery should be charged by a qualified workshop only, as
batteries using special technology have been installed and they must be
charged in a controlled environment.
Replacing a vehicle battery
The battery has been developed to suit the conditions of its location and has
special safety features.
Genuine SEAT batteries fulfil the maintenance, performance and safety spec-
ifications of your vehicle.
WARNING
•
We recommend you use only maintenance-free or cycle free leak-proof
batteries that comply with the standards T 825 06 and VW 7 50 73. This
standard applies as of 2001.
•
Before starting any work on the batteries, you must read and observe
the warnings ⇒ in “Warnings on handling the battery” on page 223.
alhambra ingles.book Seite 224 Donnerstag, 19. April 2007 4:04 16
Page 282 of 291
Index
280Belt tensioner
Warning lamp . . . . . . . . . . . . . . . . . . . . . . . . 33
Biodiesel . . . . . . . . . . . . . . . . . . . . . . . . . . . . . . 207
Bonnet . . . . . . . . . . . . . . . . . . . . . . . . . . . . . . . . 211
Brake assist system . . . . . . . . . . . . . . . . . . . . . 180
Brake fluid . . . . . . . . . . . . . . . . . . . . . . . . . . . . . 221 Changing . . . . . . . . . . . . . . . . . . . . . . . . . . . 222
Brake pad wear Warning lamp . . . . . . . . . . . . . . . . . . . . . . . 179
Brake pad wear indicator* Indicator . . . . . . . . . . . . . . . . . . . . . . . . . . . . . 77
Brake pads . . . . . . . . . . . . . . . . . . . . . . . . . . . . . 185
Brake servo . . . . . . . . . . . . . . . . . . . . . . . . 179, 185
Brake system . . . . . . . . . . . . . . . . . . . . . . . . . . . 221 brake servo . . . . . . . . . . . . . . . . . . . . . . . . . 179
Warning lamp . . . . . . . . . . . . . . . . . . . . . . . . 76
warning lamp . . . . . . . . . . . . . . . . . . . . . . . . 179
Brakes . . . . . . . . . . . . . . . . . . . . . . . . . . . . 179, 185
Braking distance . . . . . . . . . . . . . . . . . . . . . . . . 185
Breakdown set storage . . . . . . . . . . . . . . . . . . . . . . . . . . . . . 231
Bulb change . . . . . . . . . . . . . . . . . . . . . . . . . . . 245
Bulb defect warning lamp . . . . . . . . . . . . . . . . . . . . . . . . . 76
Buzzer . . . . . . . . . . . . . . . . . . . . . . . . . . . . . . . . 161CCar care Exterior . . . . . . . . . . . . . . . . . . . . . . . . . . . . . 194
Car care products . . . . . . . . . . . . . . . . . . . . . . . 193 Car phone . . . . . . . . . . . . . . . . . . . . . . . . . . . . . 203
Car washes . . . . . . . . . . . . . . . . . . . . . . . . . . . . 194
Catalytic converter . . . . . . . . . . . . . . . . . . . . . . 186
CCS . . . . . . . . . . . . . . . . . . . . . . . . . . . . . . . . . . . 175
CD changer
Location . . . . . . . . . . . . . . . . . . . . . . . . . . . . 136
Central locking . . . . . . . . . . . . . . . . . . . . . . . . . . 87 individual opening of doors . . . . . . . . . . . . . 88
Central locking button . . . . . . . . . . . . . . . . . . . . 90
Central stowage on instrument panel . . . . . . . 133
Cetane number . . . . . . . . . . . . . . . . . . . . . . . . . 207
Changing a light . . . . . . . . . . . . . . . . . . . . . . . . 245
Changing a wheel . . . . . . . . . . . . . . . . . . . 236, 240
Changing brake pads . . . . . . . . . . . . . . . . . . . . 185
Changing bulbs lights on tailgate/rear door . . . . . . . . . . . . 247
Lights on vehicle body . . . . . . . . . . . . . . . . 246
Reading light . . . . . . . . . . . . . . . . . . . . . . . . 249
Registration plate light . . . . . . . . . . . . . . . . 247
Changing gear See Manual gearbox . . . . . . . . . . . . . . . . . . 165
Changing the bulbs interior light . . . . . . . . . . . . . . . . . . . . . . . . . 248
rear lights . . . . . . . . . . . . . . . . . . . . . . . . . . 246
Changing the lamps Side indicator lights . . . . . . . . . . . . . . . . . . 245
Chassis number . . . . . . . . . . . . . . . . . . . . . . . . 258
Checking . . . . . . . . . . . . . . . . . . . . . . . . . . . . . . 224
Checking battery electrolyte level . . . . . . . . . . 224
Checking engine oil level . . . . . . . . . . . . . . . . . 214 Child safety . . . . . . . . . . . . . . . . . . . . . . . . . . . . . 45
Child seat . . . . . . . . . . . . . . . . . . . . . . . . . . . . . . . 47
Categorisation in groups . . . . . . . . . . . . . . . 47
Group 1 . . . . . . . . . . . . . . . . . . . . . . . . . . . . . 48
Group 2 . . . . . . . . . . . . . . . . . . . . . . . . . . . . . 48
Group 3 . . . . . . . . . . . . . . . . . . . . . . . . . . . . . 48
Groups 0 and 0+ . . . . . . . . . . . . . . . . . . . . . . 47
in front passenger seat . . . . . . . . . . . . . . . . . 33
Safety notes . . . . . . . . . . . . . . . . . . . . . . . . . . 45
securing . . . . . . . . . . . . . . . . . . . . . . . . . . . . . 49
Childproof locks . . . . . . . . . . . . . . . . . . . . . . . . . 92
Cigarette lighter . . . . . . . . . . . . . . . . . . . . . . . . 140
Cleaning alloy wheels . . . . . . . . . . . . . . . . . . . . 198
Cleaning and caring for your vehicle . . . . . . . . 193
Cleaning chrome . . . . . . . . . . . . . . . . . . . . . . . . 197
Cleaning cloth seat covers . . . . . . . . . . . . . . . . 200
Cleaning dash panel . . . . . . . . . . . . . . . . . . . . . 199
Cleaning engine compartment . . . . . . . . . . . . . 199
Cleaning fabric trim . . . . . . . . . . . . . . . . . . . . . 200
Cleaning leather . . . . . . . . . . . . . . . . . . . . . . . . 200
Cleaning plastic parts . . . . . . . . . . . . . . . . . . . . 199
Cleaning seat belts . . . . . . . . . . . . . . . . . . . . . . 201
Cleaning steel wheels . . . . . . . . . . . . . . . . . . . . 197
Cleaning windows . . . . . . . . . . . . . . . . . . . . . . . 196
Cleaning wooden trim . . . . . . . . . . . . . . . . . . . . 200
Climatronic . . . . . . . . . . . . . . . . . . . . . . . . . . . . 151 Air outlet . . . . . . . . . . . . . . . . . . . . . . . . . . . 156
Controls . . . . . . . . . . . . . . . . . . . . . . . . . . . . 151
faults . . . . . . . . . . . . . . . . . . . . . . . . . . . . . . 157
alhambra ingles.book Seite 280 Donnerstag, 19. April 2007 4:04 16
Page 284 of 291
Index
282Electrical accessories . . . . . . . . . . . . . . . . . . . . 141
Electrical windows . . . . . . . . . . . . . . . . . . . . . . 100
Electronic differential lock . . . . . . . . . . . . . . . . 182
Warning lamp . . . . . . . . . . . . . . . . . . . . . . . . 74
warning lamp . . . . . . . . . . . . . . . . . . . . . . . . 181
Electronic immobiliser . . . . . . . . . . . . . . . . . . . 162
Electronic stabilisation program . . . . . . . . . . . 182
Electronic stabilisation programme . . . . . . . . . . 74 Description . . . . . . . . . . . . . . . . . . . . . . . . . 160
warning lamp . . . . . . . . . . . . . . . . . . . . 161, 183
Electronic stabilisat ion programme (ESP)
warning lamp . . . . . . . . . . . . . . . . . . . . . . . . . 74
Emergency opening Doors . . . . . . . . . . . . . . . . . . . . . . . . . . . . . . . 95
Engine Running in . . . . . . . . . . . . . . . . . . . . . . . . . . 185
Engine compartment Working in the engine compartment . . . . . 209
Engine coolant . . . . . . . . . . . . . . . . . . . . . . . . . 216
Engine fault indicator . . . . . . . . . . . . . . . . . . . . . . . . . . . . . 73
Engine hood See Bonnet . . . . . . . . . . . . . . . . . . . . . . . . . 211
Engine management Warning lamp . . . . . . . . . . . . . . . . . . . . . . . . 73
Engine oil . . . . . . . . . . . . . . . . . . . . . . . . . . . . . . 212 Changing . . . . . . . . . . . . . . . . . . . . . . . . . . . 215
Checking level . . . . . . . . . . . . . . . . . . . . . . . 214
Oil properties . . . . . . . . . . . . . . . . . . . . . . . . 213
Specifications . . . . . . . . . . . . . . . . . . . . . . . 212
Topping up . . . . . . . . . . . . . . . . . . . . . . . . . . 215 Engine oil dipstick . . . . . . . . . . . . . . . . . . . . . . 214
Engine oil pressure
Warning lamp . . . . . . . . . . . . . . . . . . . . . . . . 77
Engine oil temperature display . . . . . . . . . . . . . 65
Engine oil temperature gauge . . . . . . . . . . . . . . 62
ESP . . . . . . . . . . . . . . . . . . . . . . . . . . . . . . . . 74, 182 warning lamp . . . . . . . . . . . . . . . . . . . . . . . . 183
Exhaust gas indicator . . . . . . . . . . . . . . . . . . . . . 74
Exhaust gas purification system diesel particle filter . . . . . . . . . . . . . . . . . . . 187
Exterior mirrors . . . . . . . . . . . . . . . . . . . . . 119, 196
External aerial . . . . . . . . . . . . . . . . . . . . . . . . . . 203
FFastening rings . . . . . . . . . . . . . . . . . . . . . . 15, 143
Fastening seat belt . . . . . . . . . . . . . . . . . . . . . . . 22
Fault in the exhaust system* . . . . . . . . . . . . . . . 74
Fault messages . . . . . . . . . . . . . . . . . . . . . . . . . . 67 Overview . . . . . . . . . . . . . . . . . . . . . . . . . . . . 67
Faults in operation of air conditioning . . . . . . 157
First-aid kit . . . . . . . . . . . . . . . . . . . . . . . . . . . . . 142
Floor mats . . . . . . . . . . . . . . . . . . . . . . . . . . . . . . 14
Fog lights . . . . . . . . . . . . . . . . . . . . . . . . . . . . . . 108
Foot brake Warning lamp . . . . . . . . . . . . . . . . . . . . . . . . 73
Four-wheel drive . . . . . . . . . . . . . . . . . . . . . . . . 184 Replacing tyres . . . . . . . . . . . . . . . . . . . . . . 184
Snow chains . . . . . . . . . . . . . . . . . . . . . . . . 184
Winter tyres . . . . . . . . . . . . . . . . . . . . . . . . . 184 Front airbags . . . . . . . . . . . . . . . . . . . . . . . . . . . . 36
Description . . . . . . . . . . . . . . . . . . . . . . . . . . 36
Function . . . . . . . . . . . . . . . . . . . . . . . . . . . . . 37
Safety notes . . . . . . . . . . . . . . . . . . . . . . . . . . 38
Front passenger airbags . . . . . . . . . . . . . . . . . . . 43
Front seats adjusting . . . . . . . . . . . . . . . . . . . . . . . . . . . 124
heating . . . . . . . . . . . . . . . . . . . . . . . . . . . . 125
safety instructions . . . . . . . . . . . . . . . . . . . 131
Fuel Diesel . . . . . . . . . . . . . . . . . . . . . . . . . . . . . . 207
Petrol . . . . . . . . . . . . . . . . . . . . . . . . . . . . . . 207
Fuel level Display . . . . . . . . . . . . . . . . . . . . . . . . . . . . . . 64
Fuel reserve . . . . . . . . . . . . . . . . . . . . . . . . . . . . . 76
Fuel tank . . . . . . . . . . . . . . . . . . . . . . . . . . . . . . 206 See also Fuel reserve . . . . . . . . . . . . . . . . . . 76
Fuel tank cap . . . . . . . . . . . . . . . . . . . . . . . . . . . 206
Fuse box . . . . . . . . . . . . . . . . . . . . . . . . . . . . . . . 242
Fuses . . . . . . . . . . . . . . . . . . . . . . . . . . . . . . . . . 241
GG 12 . . . . . . . . . . . . . . . . . . . . . . . . . . . . . . . . . . 216
Gear selector lever See Automatic gearbox . . . . . . . . . . . . . . . . 169
See Automatic gearbox with Tiptronic . . . . 171
General overview of the engine compartment 262
Glove compartment . . . . . . . . . . . . . . . . . . . . . 133
Glove compartment light . . . . . . . . . . . . . . . . . 113
Glow plug system . . . . . . . . . . . . . . . . . . . . . . . 164
alhambra ingles.book Seite 282 Donnerstag, 19. April 2007 4:04 16