rear Seat Altea 2006 Owner's Guide
[x] Cancel search | Manufacturer: SEAT, Model Year: 2006, Model line: Altea, Model: Seat Altea 2006Pages: 288, PDF Size: 8.61 MB
Page 77 of 288
Cockpit75
Safety First
Operating instructions
Tips and Maintenance
Te c h n i c a l D a t a
First look at the coolant temperature gauge. If the needle is in the normal
range, top up with coolant at the earliest opportunity ⇒
.
WARNING
•
If your vehicle is immobilised for any technical reasons, move it to a
safe distance from traffic. Turn off the engine, turn on the hazard lights and
place the warning triangle.
•
Never open the bonnet if you can see or hear steam or coolant escaping
from the engine compartment. Risk of scalding. Wait until you can no
longer see or hear escaping steam or coolant.
•
The engine compartment of any motor vehicle is a dangerous area!
Before carrying out any work in the engine compartment, switch off the
engine and allow it to cool down. Always note the corresponding warnings
⇒ page 203.
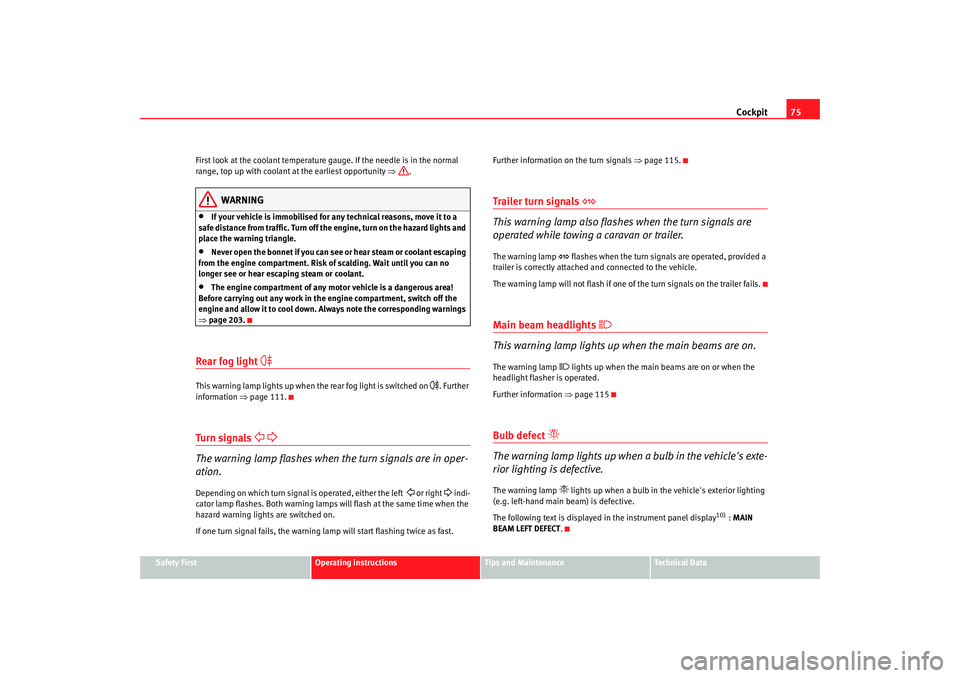
Rear fog light
This warning lamp lights up when the rear fog light is switched on
. Further
information ⇒page 111.
Turn signals
The warning lamp flashes when the turn signals are in oper-
ation.Depending on which turn signal is operated, either the left
or right
indi-
cator lamp flashes. Both warning lamps wi ll flash at the same time when the
hazard warning lights are switched on.
If one turn signal fails, the warning lamp will start flashing twice as fast. Further information on the turn signals
⇒page 115.
Trailer turn signals
This warning lamp also flashe s when the turn signals are
operated while towing a caravan or trailer.The warning lamp
flashes when the turn signals are operated, provided a
trailer is correctly attached and connected to the vehicle.
The warning lamp will not flash if one of the turn signals on the trailer fails.
Main beam headlights
This warning lamp lights up when the main beams are on.The warning lamp
lights up when the main beams are on or when the
headlight flasher is operated.
Further information ⇒page 115
Bulb defect
The warning lamp lights up when a bulb in the vehicle's exte-
rior lighting is defective.The warning lamp
lights up when a bulb in the vehicle's exterior lighting
(e.g. left-hand main beam) is defective.
The following text is displayed in the instrument panel display
10) : MAIN
BEAM LEFT DEFECT .
altea_ingles Seite 75 Dienstag, 4. Oktober 2005 6:57 18
Page 78 of 288
Cockpit
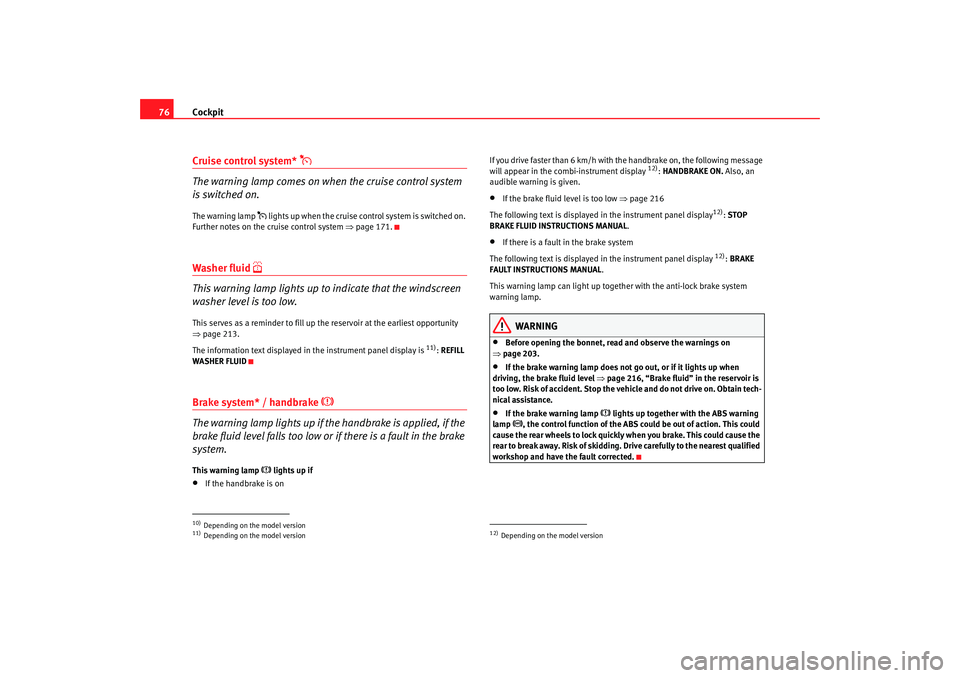
76Cruise control system*
The warning lamp comes on when the cruise control system
is switched on.The warning lamp
lights up when the cruise control system is switched on.
Further notes on the cruise control system ⇒page 171.
Washer fluid
This warning lamp lights up to indicate that the windscreen
washer level is too low.This serves as a reminder to fill up the reservoir at the earliest opportunity
⇒page 213.
The information text displayed in the instrument panel display is
11): REFILL
WASHER FLUID
Brake system* / handbrake
The warning lamp lights up if the handbrake is applied, if the
brake fluid level falls too low or if there is a fault in the brake
system.This warning lamp
lights up if
•
If the handbrake is on If you drive faster than 6 km/h with the handbrake on, the following message
will appear in the combi-instrument display
12):
HANDBRAKE ON. Also, an
audible warning is given.
•
If the brake fluid level is too low ⇒page 216
The following text is displayed in the instrument panel display
12): STOP
BRAKE FLUID INSTRUCTIONS MANUAL .
•
If there is a fault in the brake system
The following text is displayed in the instrument panel display
12): BRAKE
FAULT INSTRUCTIONS MANUAL .
This warning lamp can light up together with the anti-lock brake system
warning lamp.
WARNING
•
Before opening the bonnet, read and observe the warnings on
⇒ page 203.
•
If the brake warning lamp does not go out, or if it lights up when
driving, the brake fluid level ⇒ page 216, “Brake fluid” in the reservoir is
too low. Risk of accident. Stop the vehicle and do not drive on. Obtain tech-
nical assistance.
•
If the brake warning lamp
lights up together with the ABS warning
lamp
, the control function of the ABS could be out of action. This could
cause the rear wheels to lock quickly when you brake. This could cause the
rear to break away. Risk of skidding. Drive carefully to the nearest qualified
workshop and have the fault corrected.
10)Depending on the model version11)Depending on the model version
12)Depending on the model version
altea_ingles Seite 76 Dienstag, 4. Oktober 2005 6:57 18
Page 79 of 288
Cockpit77
Safety First
Operating instructions
Tips and Maintenance
Te c h n i c a l D a t a
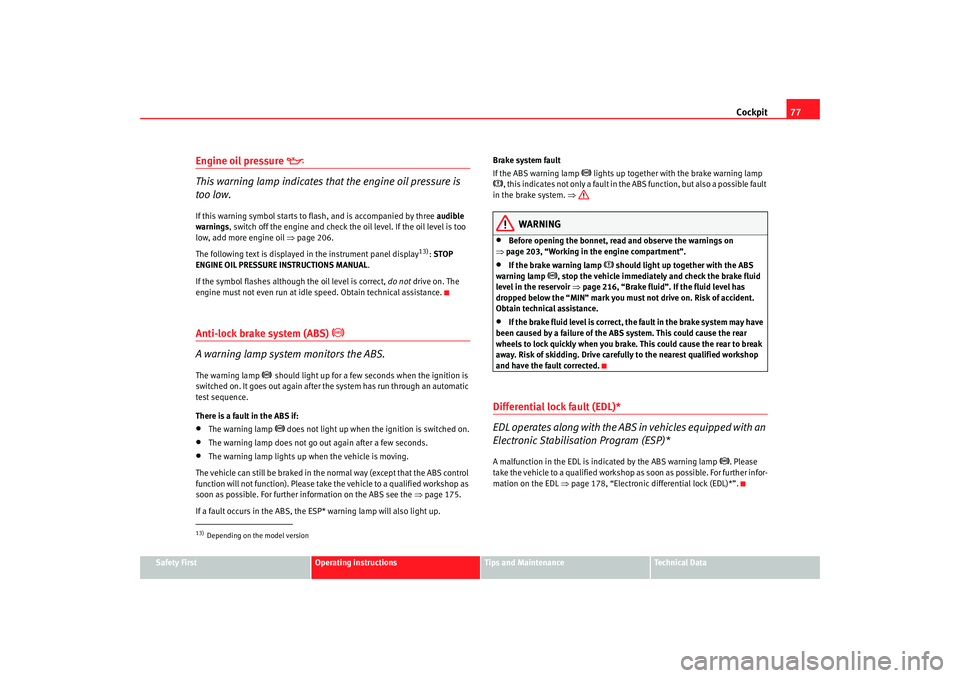
Engine oil pressure
This warning lamp indicates that the engine oil pressure is
too low.If this warning symbol starts to flash, and is accompanied by three audible
warnings , switch off the engine and check the oil level. If the oil level is too
low, add more engine oil ⇒page 206.
The following text is displayed in the instrument panel display
13): STOP
ENGINE OIL PRESSURE INSTRUCTIONS MANUAL .
If the symbol flashes although the oil level is correct, do not drive on. The
engine must not even run at idle speed. Obtain technical assistance.
Anti-lock brake system (ABS)
A warning lamp system monitors the ABS.The warning lamp
should light up for a few seconds when the igniti on is
switched on. It goes out again after th e system has run through an automatic
test sequence.
There is a fault in the ABS if:
•
The warning lamp
does not light up when the ignition is switched on.
•
The warning lamp does not go out again after a few seconds.
•
The warning lamp lights up when the vehicle is moving.
The vehicle can still be braked in the normal way (except that the ABS control
function will not function). Please take the vehicle to a qualified workshop as
soon as possible. For further information on the ABS see the ⇒page 175.
If a fault occurs in the ABS, the ESP* warning lamp will also light up. Brake system fault
If the ABS warning lamp
lights up together with the brake warning lamp
, this indicates not only a fault in the
ABS function, but also a possible fault
in the brake system. ⇒
WARNING
•
Before opening the bonnet, read and observe the warnings on
⇒ page 203, “Working in the engine compartment”.
•
If the brake warning lamp
should light up together with the ABS
warning lamp
, stop the vehicle immediately and check the brake fluid
level in the reservoir ⇒page 216, “Brake fluid”. If the fluid level has
dropped below the “MIN” mark you must not drive on. Risk of accident.
Obtain technical assistance.
•
If the brake fluid level is correct, the fault in the brake system may have
been caused by a failure of the ABS system. This could cause the rear
wheels to lock quickly when you brake. This could cause the rear to break
away. Risk of skidding. Drive carefully to the nearest qualified workshop
and have the fault corrected.
Differential lock fault (EDL)*
EDL operates along with the ABS in vehicles equipped with an
Electronic Stabilisation Program (ESP)*A malfunction in the EDL is indicated by the ABS warning lamp
. Please
take the vehicle to a qualified workshop as soon as possible. For further infor-
mation on the EDL ⇒ page 178, “Electronic differential lock (EDL)*”.
13)Depending on the model version
altea_ingles Seite 77 Dienstag, 4. Oktober 2005 6:57 18
Page 83 of 288
Cockpit81
Safety First
Operating instructions
Tips and Maintenance
Te c h n i c a l D a t a
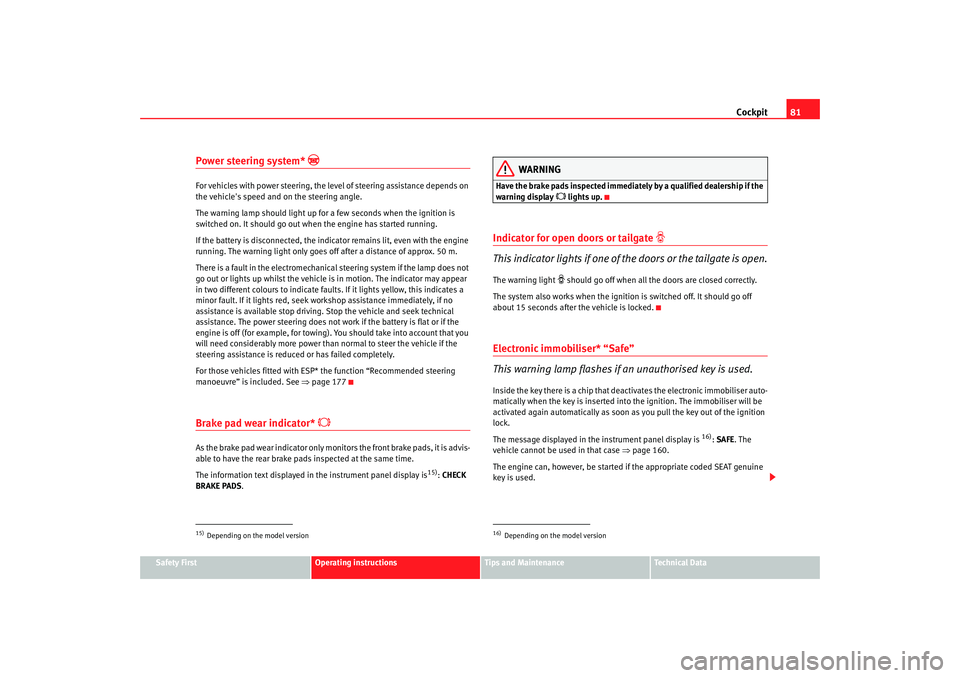
Power steering system*
For vehicles with power steering, the level of steering assistance depends on
the vehicle's speed and on the steering angle.
The warning lamp should light up for a few seconds when the ignition is
switched on. It should go out when the engine has started running.
If the battery is disconnected, the indicator remains lit, even with the engine
running. The warning light only goes of f after a distance of approx. 50 m.
There is a fault in the electromechanica l steering system if the lamp does not
go out or lights up whilst the vehicle is in motion. The indicator may appear
in two different colours to indicate faults. If it lights yellow, this indicates a
minor fault. If it lights red, seek wo rkshop assistance immediately, if no
assistance is available stop driving. Stop the vehicle and seek technical
assistance. The power steering does not work if the battery is flat or if the
engine is off (for example, for towing). You should take into account that you
will need considerably more power than normal to steer the vehicle if the
steering assistance is reduced or has failed completely.
For those vehicles fitted with ESP* the function “Recommended steering
manoeuv r
e” is included. S e e ⇒ page 177Brake pad wear indicator*
As the brake pad wear indicator only monitors the front brake pads, it is advis-
able to have the rear brake pads inspected at the same time.
The information text displayed in the instrument panel display is
15) : CHECK
BRAKE PADS .
WARNING
Have the brake pads inspected immediately by a qualified dealership if the
warning display
lights up.
Indicator for open doors or tailgate
This indicator lights if one of th e doors or the tailgate is open.The warning light
should go off when all the doors are closed correctly.
The system also works when the ignition is switched off. It should go off
about 15 seconds after the vehicle is locked.
Electronic immobiliser* “Safe”
This warning lamp flashes if an unauthorised key is used.Inside the key there is a chip that deactivates the electronic immobiliser auto-
matically when the key is inserted into the ignition. The immobiliser will be
activated again automatically as soon as you pull the key out of the ignition
lock.
The message displayed in the instrument panel display is
16) : SAFE. The
vehicle cannot be used in that case ⇒page 160.
The engine can, however, be started if the appropriate coded SEAT genuine
key is used.
15)Depending on the model version
16)Depending on the model version
altea_ingles Seite 81 Dienstag, 4. Oktober 2005 6:57 18
Page 97 of 288

Unlocking and locking95
Safety First
Operating instructions
Tips and Maintenance
Te c h n i c a l D a t a
Emergency manual locking
This permits mechanical locking of the doors in case of
central locking system failure.Locking the driver's door manually
Insert the key in the door lock cylinder and rotate in a clockwise direction for
the left hand side door and anti-clockwise for the right hand side door.
Once the door has been closed it can no longer be opened from the outside.
Manual (emergency) locking of the remaining doors
Open the door and remove the cap ⇒fig. 59 printed with a lock image.
This will expose a circular element with a groove in the centre. Insert the key
into the groove and rotate the element clockwise for the right hand side doors
and anticlockwise for the left hand side doors.
Replace the cap and close the door. Once the door has been closed it can no
longer be opened from the outside. Unlocking the manually (emergency) locked driver's door
Insert the key in the door lock cylinder and rotate anti-clockwise for the left
hand side doors and clockwise for the right hand side doors.
The door lock is released and the door may be opened using the exterior door
handle.
Unlocking the remaining manually (emergency) locked doors
First the driver's door must be unlocked to gain entry to the vehicle. Operate
the internal door handle for the required door. If the child safety lock is acti-
vated on the rear doors, when the interi
or door release lever is operated the
door is unlocked but does not open. The exterior door handle may now be
used to open the door.
Note
Once the vehicle is open, if you wish to lock it manually (emergency locking),
repeat the previous instructions.
Fig. 59 Locking the doors
manually
AA
altea_ingles Seite 95 Dienstag, 4. Oktober 2005 6:57 18
Page 98 of 288
Unlocking and locking
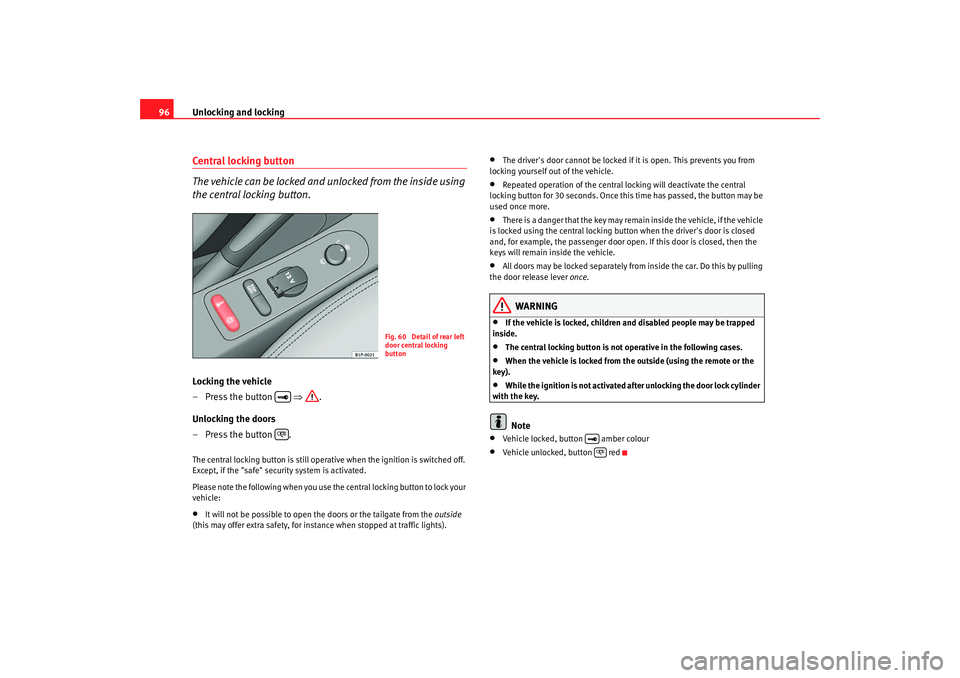
96Central locking button
The vehicle can be locked and unlocked from the inside using
the central locking button.Locking the vehicle
– Press the button ⇒.
Unlocking the doors
– Press the button .The central locking button is still operative when the ignition is switched off.
Except, if the "safe" security system is activated.
Please note the following when you use th e central locking button to lock your
vehicle:•
It will not be possible to open the doors or the tailgate from the outside
(this may offer extra safety, for instance when stopped at traffic lights).
•
The driver's door cannot be locked if it is open. This prevents you from
locking yourself out of the vehicle.
•
Repeated operation of the central locking will deactivate the central
locking button for 30 seconds. Once this time has passed, the button may be
used once more.
•
There is a danger that the key may remain inside the vehicle, if the vehicle
is locked using the central locking button when the driver's door is closed
and, for example, the passenger door o pen. If this door is closed, then the
keys will remain inside the vehicle.
•
All doors may be locked separately from inside the car. Do this by pulling
the door release lever once.
WARNING
•
If the vehicle is locked, children and disabled people may be trapped
inside.
•
The central locking button is not operative in the following cases.
•
When the vehicle is locked from the outside (using the remote or the
key).
•
While the ignition is not activated afte r unlocking the door lock cylinder
with the key.Note
•
Vehicle locked, button amber colour
•
Vehicle unlocked, button red
Fig. 60 Detail of rear left
door central locking
button
altea_ingles Seite 96 Dienstag, 4. Oktober 2005 6:57 18
Page 99 of 288

Unlocking and locking97
Safety First
Operating instructions
Tips and Maintenance
Te c h n i c a l D a t a
Childproof locks
The childproof lock prevents the rear doors being opened
from the inside. This system prevents minors from opening a
door accidentally while the vehicle is moving.
This function is independent of the electronic opening and locking
systems of the vehicle. It only a ffects the rear doors. It is only
possible to activate it and deactivate it manually, as described
below:
Activating the childproof lock
– Unlock the car and open the door you wish to childproof.
– With the door open, rotate the gr oove in the door using the igni-
tion key, clockwise for the left hand side doors, and anti-clock-
wise for the right hand side doors ⇒fig. 61 , ⇒ fig. 62 .
Deactivating the childproof lock
– Unlock the car and open the door for which you wish to deacti- vate the childproof lock.
– With the door open, rotate the gr oove in the door using the igni-
tion key clockwise for the right hand side doors and anti-clock-
wise for the left hand side doors ⇒ fig. 61, ⇒ fig. 62.When the childproof lock is activated, the door can be opened from the
outside only. The childproof lock can be activated and deactivated using the
key in the groove when the door is open, as described above.
Fig. 61 Child safety lock
on the left hand side doorFig. 62 Child safety lock
on the right hand side
door
altea_ingles Seite 97 Dienstag, 4. Oktober 2005 6:57 18
Page 107 of 288

Unlocking and locking105
Safety First
Operating instructions
Tips and Maintenance
Te c h n i c a l D a t a
WARNING
•
Always close the tailgate properly. Risk of accident or injury.
•
The tailgate must not be opened when the reverse or rear fog lights are
lit. This may damage the lighting units.
•
Do not close the tailgate by pushin g it down with your hand on the
window. The glass could shatter. Risk of injury!
•
Ensure the tailgate is locked after closing. If not, it may open unexpect-
edly while driving.
•
Never allow children to play in or ar ound the vehicle. A locked vehicle
can be subjected to extremely high and low temperatures, depending on
the time of year. This could cause serious injuries/illness. It could even
have fatal consequences. Close and lock both the tailgate and all the other
doors when you are not using the vehicle.
•
Never close the tailgate without observing and ensuring it is clear, to do
otherwise could cause serious injury to you and others. Make sure that no
one is in the path of the tailgate.
•
Never drive with the tailgate open or half-closed, exhaust gasses may
penetrate into the interior of th e vehicle. Danger of poisoning!
•
If only the boot is opened then do not leave the key inside. The vehicle
may not be opened if the key is left inside.
Emergency opening
This allows the vehicle to be opened if the central locking
does not operate (for example if the battery is flat)There is a groove in the boot allowing access to the emergency
opening mechanism.
Opening the tailgate from inside the luggage compartment
– Insert the key bit in the groove and unlock the locking system, turning the key from right to left, as shown by the arrow
⇒fig. 69 .
Fig. 69 Tailgate: emer-
gency opening
altea_ingles Seite 105 Dienstag, 4. Oktober 2005 6:57 18
Page 108 of 288

Unlocking and locking
106WindowsOpening or closing the windows electrically
The front and rear electric windows can be operated using the
controls in the driver's door.Opening and closing the windows
– Press the button to open a window.
– Pull button to close a window ⇒.Always close the windows fully if you park the vehicle or leave it unattended
⇒.
You can use the electric windows for approx. 10 minutes after switching off
the ignition if neither the driver door nor the front passenger door has been
opened and the key has not been removed from the ignition. Buttons in the driver door
Button for window in front left door
Button for window in front right door
Buttons for rear windows* Safety switch for deactivating the electric window buttons in the rear
doors
Button for window in rear left door
Button for window in rear right door
Safety switch
*
Safety switch in the driver door can be used to disable the electric window
buttons in the rear doors.
Safety switch not pushed in: the buttons in the rear doors are enabled.
Safety switch pushed in: the buttons in the rear doors are disabled.
WARNING
•
Incorrect use of the electric windows can result in injury.
•
Never close the tailgate without observing and ensuring it is clear, to do
otherwise could cause serious injury to you and others. Make sure that no
one is in the path of a window.
•
Always take the vehicle key with you when you leave the vehicle.
•
Never leave children or disabled persons in the vehicle, particularly if
they have access to the keys. Unsupervised use of a key could mean that
the engine is started or that electric al equipment is used (e.g. electric
windows). Risk of accident. The doors can be locked using the remote
control key. This could result in people being trapped in the vehicle in an
emergency.
•
The electric windows will work unti l the key has been removed from the
ignition and one of the front doors has been opened.
Fig. 70 Section of the
driver door: controls for
the front and rear
windows
A1A2A3A4A5
A3
altea_ingles Seite 106 Dienstag, 4. Oktober 2005 6:57 18
Page 109 of 288

Unlocking and locking107
Safety First
Operating instructions
Tips and Maintenance
Te c h n i c a l D a t a
•
If necessary, use the safety switch to disable the rear electric windows.
Make sure that they have been disabled.Note
If the window is not able to close because it is stiff or because of an obstruc-
tion, the window will automatically open again ⇒page 107. If this happens,
check why the window could not be clos ed before attempting to close it
again.One-touch opening and closing
One-touch opening and closing means you do not have to
hold down the button.One-touch closing
– Pull up the button for the window briefly to the second position. The window closes fully.
One-touch opening
– Push down the button for the window briefly to the second posi- tion. The window opens fully.
Restoring one-touch opening and closing
– Close all windows.
– Use the key to lock the vehicle from outside and hold the key in the lock position for at least one second. The one-touch function
is now ready for operation.
The buttons ⇒page 106, fig. 70 and have two levels for opening the
window and two for closing it. This makes it easier to open or close windows
to the desired position.
One-touch closing does not work when the ignition has been switched off,
even if the key is in the ignition.
The automatic open and close function wi ll not work if the battery has been
temporarily disconnected, or if the battery is flat. The function then has to be
reactivated.
The one-touch function and roll-back function will not work if there is a
malfunction in the electric windows. Contact an Authorised Service Centre.Roll-back function
The windows have a roll-back function. This reduces the risk
of injuries when the windows are closing.•
If a window is obstructed when closing automatically, the window stops
at this point and lowers immediately ⇒.
•
If this happens, check immediately (within 10 seconds) why the window
could not be closed before attempting to close it again. After 10 seconds the
normal automatic function resumes.
•
If the window is still obstructed , the window stops at this point.
•
If there is no obvious reason why the window cannot be closed, try to
close it again within five seconds.
If you wait longer than 10 / 5 seconds, the window will open fully when you
operate one of the buttons. One-touch closing is reactivated.
The one-touch function and roll-back function will not work if there is a
malfunction in the electric windows. Contact an Authorised Service Centre.
WARNING (continued)
A1
A2
altea_ingles Seite 107 Dienstag, 4. Oktober 2005 6:57 18