warning lights Seat Altea Freetrack 2013 Owner's Manual
[x] Cancel search | Manufacturer: SEAT, Model Year: 2013, Model line: Altea Freetrack, Model: Seat Altea Freetrack 2013Pages: 301, PDF Size: 4.45 MB
Page 5 of 301
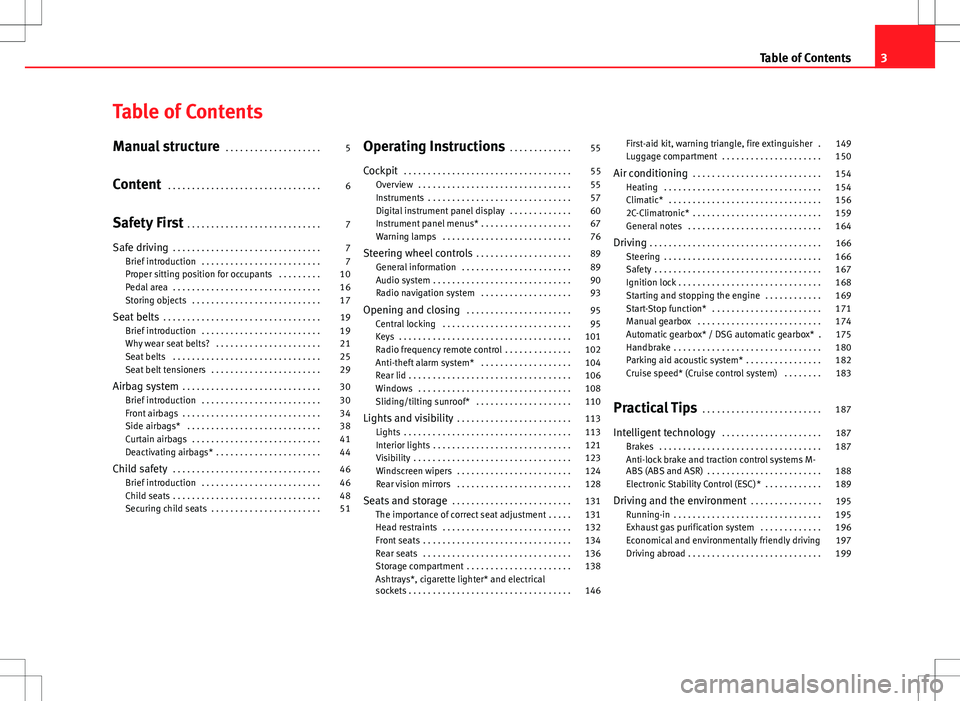
Table of Contents
Manual structure . . . . . . . . . . . . . . . . . . . . 5
Content . . . . . . . . . . . . . . . . . . . . . . . . . . . . . . . . 6
Safety First . . . . . . . . . . . . . . . . . . . . . . . . . . . . 7
Safe driving . . . . . . . . . . . . . . . . . . . . . . . . . . . . . . . 7
Brief introduction . . . . . . . . . . . . . . . . . . . . . . . . . 7
Proper sitting position for occupants . . . . . . . . . 10
Pedal area . . . . . . . . . . . . . . . . . . . . . . . . . . . . . . . 16
Storing objects . . . . . . . . . . . . . . . . . . . . . . . . . . . 17
Seat belts . . . . . . . . . . . . . . . . . . . . . . . . . . . . . . . . . 19
Brief introduction . . . . . . . . . . . . . . . . . . . . . . . . . 19
Why wear seat belts? . . . . . . . . . . . . . . . . . . . . . . 21
Seat belts . . . . . . . . . . . . . . . . . . . . . . . . . . . . . . . 25
Seat belt tensioners . . . . . . . . . . . . . . . . . . . . . . . 29
Airbag system . . . . . . . . . . . . . . . . . . . . . . . . . . . . . 30
Brief introduction . . . . . . . . . . . . . . . . . . . . . . . . . 30
Front airbags . . . . . . . . . . . . . . . . . . . . . . . . . . . . . 34
Side airbags* . . . . . . . . . . . . . . . . . . . . . . . . . . . . 38
Curtain airbags . . . . . . . . . . . . . . . . . . . . . . . . . . . 41
Deactivating airbags* . . . . . . . . . . . . . . . . . . . . . . 44
Child safety . . . . . . . . . . . . . . . . . . . . . . . . . . . . . . . 46
Brief introduction . . . . . . . . . . . . . . . . . . . . . . . . . 46
Child seats . . . . . . . . . . . . . . . . . . . . . . . . . . . . . . . 48
Securing child seats . . . . . . . . . . . . . . . . . . . . . . . 51 Operating Instructions
. . . . . . . . . . . . . 55
Cockpit . . . . . . . . . . . . . . . . . . . . . . . . . . . . . . . . . . . 55
Overview . . . . . . . . . . . . . . . . . . . . . . . . . . . . . . . . 55
Instruments . . . . . . . . . . . . . . . . . . . . . . . . . . . . . . 57
Digital instrument panel display . . . . . . . . . . . . . 60
Instrument panel menus* . . . . . . . . . . . . . . . . . . . 67
Warning lamps . . . . . . . . . . . . . . . . . . . . . . . . . . . 76
Steering wheel controls . . . . . . . . . . . . . . . . . . . . 89
General information . . . . . . . . . . . . . . . . . . . . . . . 89
Audio system . . . . . . . . . . . . . . . . . . . . . . . . . . . . . 90
Radio navigation system . . . . . . . . . . . . . . . . . . . 93
Opening and closing . . . . . . . . . . . . . . . . . . . . . . 95
Central locking . . . . . . . . . . . . . . . . . . . . . . . . . . . 95
Keys . . . . . . . . . . . . . . . . . . . . . . . . . . . . . . . . . . . . 101
Radio frequency remote control . . . . . . . . . . . . . . 102
Anti-theft alarm system* . . . . . . . . . . . . . . . . . . . 104
Rear lid . . . . . . . . . . . . . . . . . . . . . . . . . . . . . . . . . . 106
Windows . . . . . . . . . . . . . . . . . . . . . . . . . . . . . . . . 108
Sliding/tilting sunroof* . . . . . . . . . . . . . . . . . . . . 110
Lights and visibility . . . . . . . . . . . . . . . . . . . . . . . . 113
Lights . . . . . . . . . . . . . . . . . . . . . . . . . . . . . . . . . . . 113
Interior lights . . . . . . . . . . . . . . . . . . . . . . . . . . . . . 121
Visibility . . . . . . . . . . . . . . . . . . . . . . . . . . . . . . . . . 123
Windscreen wipers . . . . . . . . . . . . . . . . . . . . . . . . 124
Rear vision mirrors . . . . . . . . . . . . . . . . . . . . . . . . 128
Seats and storage . . . . . . . . . . . . . . . . . . . . . . . . . 131
The importance of correct seat adjustment . . . . . 131
Head restraints . . . . . . . . . . . . . . . . . . . . . . . . . . . 132
Front seats . . . . . . . . . . . . . . . . . . . . . . . . . . . . . . . 134
Rear seats . . . . . . . . . . . . . . . . . . . . . . . . . . . . . . . 136
Storage compartment . . . . . . . . . . . . . . . . . . . . . . 138
Ashtrays*, cigarette lighter* and electrical
sockets . . . . . . . . . . . . . . . . . . . . . . . . . . . . . . . . . . 146 First-aid kit, warning triangle, fire extinguisher . 149
Luggage compartment . . . . . . . . . . . . . . . . . . . . . 150
Air conditioning . . . . . . . . . . . . . . . . . . . . . . . . . . . 154
Heating . . . . . . . . . . . . . . . . . . . . . . . . . . . . . . . . . 154
Climatic* . . . . . . . . . . . . . . . . . . . . . . . . . . . . . . . . 156
2C-Climatronic* . . . . . . . . . . . . . . . . . . . . . . . . . . . 159
General notes . . . . . . . . . . . . . . . . . . . . . . . . . . . . 164
Driving . . . . . . . . . . . . . . . . . . . . . . . . . . . . . . . . . . . . 166
Steering . . . . . . . . . . . . . . . . . . . . . . . . . . . . . . . . . 166
Safety . . . . . . . . . . . . . . . . . . . . . . . . . . . . . . . . . . . 167
Ignition lock . . . . . . . . . . . . . . . . . . . . . . . . . . . . . . 168
Starting and stopping the engine . . . . . . . . . . . . 169
Start-Stop function* . . . . . . . . . . . . . . . . . . . . . . . 171
Manual gearbox . . . . . . . . . . . . . . . . . . . . . . . . . . 174
Automatic gearbox* / DSG automatic gearbox* . 175
Handbrake . . . . . . . . . . . . . . . . . . . . . . . . . . . . . . . 180
Parking aid acoustic system* . . . . . . . . . . . . . . . . 182
Cruise speed* (Cruise control system) . . . . . . . . 183
Practical Tips . . . . . . . . . . . . . . . . . . . . . . . . . 187
Intelligent technology . . . . . . . . . . . . . . . . . . . . . 187
Brakes . . . . . . . . . . . . . . . . . . . . . . . . . . . . . . . . . . 187
Anti-lock brake and traction control systems M-
ABS (ABS and ASR) . . . . . . . . . . . . . . . . . . . . . . . . 188
Electronic Stability Control (ESC)* . . . . . . . . . . . . 189
Driving and the environment . . . . . . . . . . . . . . . 195
Running-in . . . . . . . . . . . . . . . . . . . . . . . . . . . . . . . 195
Exhaust gas purification system . . . . . . . . . . . . . 196
Economical and environmentally friendly driving 197
Driving abroad . . . . . . . . . . . . . . . . . . . . . . . . . . . . 199
3
Table of Contents
Page 10 of 301
8Safe driving
passengers are sitting in a correct position and use this equipment proper-
ly.
Therefore, information is provided about why this equipment is so impor-
tant, how it protects you, what you have to consider when using it and how
you and your passengers can achieve the greatest possible benefit from the
safety equipment fitted. This manual includes important warnings that you
and your passengers should note in order to reduce the risk of injury.
Safety is everyone's business!
Before setting off
The driver is always responsible for the safety of the passen-
gers and the safe operation of the vehicle.
For your own safety and the safety of your passengers, always note
the following points before every trip:
– Make sure that the vehicle's lights and turn signals are working
properly.
– Check tyre pressure.
– Ensure that all windows provide a clear and good view of the
surroundings.
– Make sure all luggage is secured ⇒ page 17.
– Make sure that no objects can interfere with the pedals.
– Adjust front seat, head restraint and rear vision mirrors properly
according to your size. –
Ensure that the passengers in the rear seats always have the
head restraints in the in-use position ⇒ page 14
– Instruct passengers to adjust the head restraints according to
their height.
– Protect children with appropriate child seats and properly ap-
plied seat belts ⇒ page 46.
– Assume the correct sitting position. Instruct your passengers al-
so to assume a proper sitting position. ⇒ page 10.
– Fasten your seat belt securely. Instruct your passengers also to
fasten their seat belts properly. ⇒ page 19.
What affects driving safety?
Driving safety is largely determined by your driving style
and the personal behaviour of all vehicle occupants.
As a driver, you are responsible for yourself and your passengers.
When your concentration or driving safety is affected by any cir-
cumstance, you endanger yourself as well as others on the road
⇒
, for this reason:
– Always pay attention to traffic and do not get distracted by pas-
sengers or telephone calls.
– Never drive when your driving ability is impaired (e.g. by medi-
cation, alcohol, drugs).
– Observe traffic laws and speed limits.
Page 22 of 301
20Seat belts
After the ignition has been switched on, the control lamp on the instru-
ment panel lights up 1)
if the driver has not fastened his/her seat belt, and
an audible warning is heard if the vehicle is driven at more than 30 km/h
(20 mph).
The warning lamp* is switched off if the driver seat belt is fastened while
the ignition is switched on.
1)
Depending on the version of the model.
Page 34 of 301
32Airbag system
Control lamp for airbag and seat belt tensioner
This control lamp monitors the airbag and seat belt tension-
er system.
The control lamp monitors all airbags and seat belt tensioners in the vehi-
cle, including control units and wiring connections.
Monitoring of airbag and belt tensioner system
Both the airbag and belt tensioner systems operation is constantly moni-
tored electronically. Each time the ignition is switched on, the control lamp
lights for several seconds and the instrument panel display* shows AIR-
BAG/TENSIONER.
The system must be checked when the control lamp :
● does not light up when the ignition is switched on
● turns off after 4 seconds after the ignition is switched on
● turns off and then lights up again after the ignition is switched on
● lights up or flashes while the vehicle is moving
In the event of a malfunction, the warning lamp remains on continuously. In
addition, depending on the malfunction, a fault message appears in the in-
strument panel display for approx. 10 seconds and a short audible warning
is given. In this event, you should have a specialised workshop check the
system immediately.
If any of the airbags are disabled by a Technical Service, the warning lamp
lights for several seconds more after the verification and will turn off if there
is no fault.WARNING
● If there is a malfunction, the airbag and belt tensioner system cannot
properly perform its protective function.
● If a malfunction occurred, have the system checked immediately by a
specialised workshop. Otherwise, in the event of an accident, the airbag
system and belt tensioners may not be triggered, or may not be triggered
correctly.
Repairs, maintenance and disposal of airbags
The parts of the airbag system are installed in various places in your vehi-
cle. If work is carried out on the airbag system or parts have to be removed
and fitted on the system when performing other repair work, parts of the air-
bag system may be damaged. In the event of an accident this could cause
the airbag to inflate incorrectly or not inflate at all.
The relevant safety requirements must be observed when the vehicle or
components of the airbag are scrapped. Specialised workshops and vehicle
disposal centres are familiar with these requirements.
WARNING
● If repairs are not carried out by a professional, or if the airbags are
used incorrectly, the risk of severe or fatal injuries is increased. The air-
bags may fail to inflate, or could inflate in the wrong circumstances.
● Do not cover or stick anything on the steering wheel hub or the sur-
face of the airbag unit on the passenger side of the dash panel, and do
not obstruct or modify them in any way.
● It is important not to attach any objects such as cup holders or tele-
phone mountings to the surfaces covering the airbag units.
Page 67 of 301

65
Cockpit
more than 20 km/h (12 mph) (ice warning). This symbol will flash for about
10 seconds and remains lit until the outside temperature rises above +4 °C
(+39.2 °F) or +6 °C (+42.8 °F) if it was already lit.
WARNING
There could be black ice on the road surface even if the “snowflake sym-
bol” is not shown. For this reason you should not rely exclusively on this
display - Risk of accident!
Note
When the vehicle is stationary or travelling at very low speeds, the tempera-
ture displayed may be slightly higher than the actual outside temperature
as a result of the heat radiated from the engine.
Warning or information message in the display
Faults are shown in the display with control lamps and
warning/information reports.
The system runs a check on certain components and functions when the ig-
nition is switched on and while the vehicle is moving. Functional faults are
indicated by symbols with warning or information messages in the display.
An audible warning is given in certain cases.
Warning symbols
There are red warning symbols (priority 1) and yellow warning symbols (pri-
ority 2).
Information text
In addition to warning messages given on a fault, you will receive informa-
tion in the display on procedures or will be asked to carry out certain tasks.
Note
In the case of screens without warning or information messages, faults are
indicated exclusively by the control lamps.
Warning messages, Priority 1 (red)
If one of these faults occurs, the warning lamp will flash or light up and will
be accompanied by three audible warnings. This is a danger warning. Stop
the vehicle and switch off the engine. Check the fault and correct it. Obtain
professional assistance if necessary.
If several priority 1 faults are detected at the same time, the symbols will be
displayed one after the other for about 2 seconds at a time and will contin-
ue until the fault is corrected.
No menus will be shown in the display for the duration of a priority 1 warn-
ing message.
Examples of priority 1 warning messages (red)
● Brake system symbol with warning message STOP BRAKE FLUID IN-
STRUCTION MANUAL or STOP BRAKE FAULT INSTRUCTION MANUAL
● Coolant symbol with the warning message STOP SEE COOLANT IN-
STRUCTION MANUAL.
● Engine oil pressure symbol with the warning message STOP ENGINE
OIL PRESSURE LOW! INSTRUCTION MANUAL .
Warning messages, Priority 2 (yellow)
If one of these faults occurs, the warning lamp lights up, and is accompa-
nied by one audible warning. The function should be checked as soon as
possible.
Safety FirstOperating InstructionsPractical TipsTechnical Specifications
Page 75 of 301
73
Cockpit
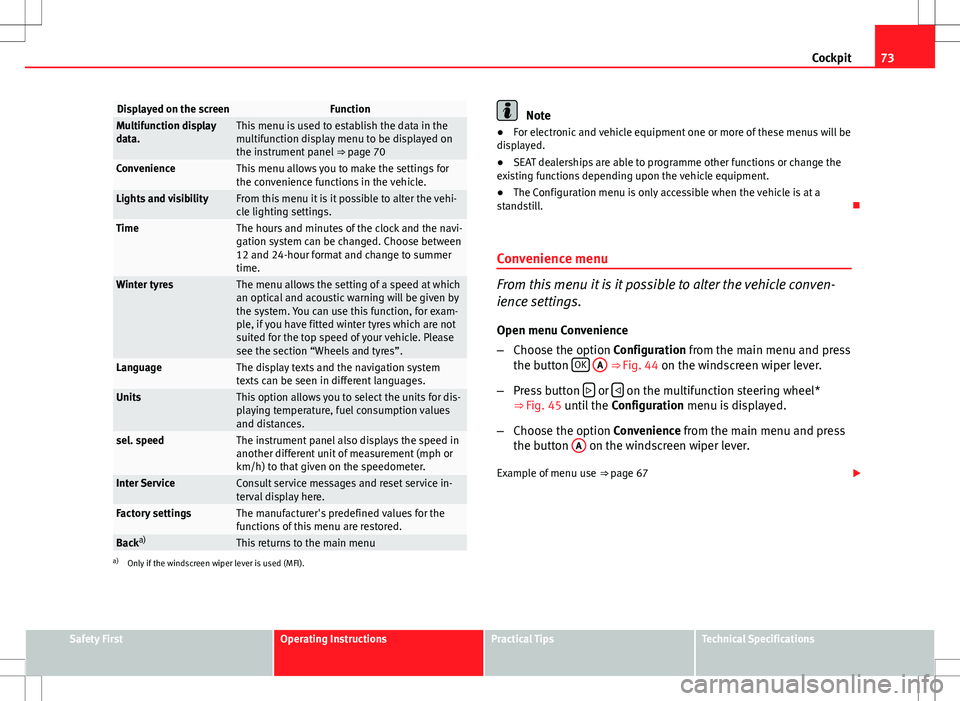
Displayed on the screenFunctionMultifunction display
data.This menu is used to establish the data in the
multifunction display menu to be displayed on
the instrument panel ⇒ page 70
ConvenienceThis menu allows you to make the settings for
the convenience functions in the vehicle.
Lights and visibilityFrom this menu it is it possible to alter the vehi-
cle lighting settings.
TimeThe hours and minutes of the clock and the navi-
gation system can be changed. Choose between
12 and 24-hour format and change to summer
time.
Winter tyresThe menu allows the setting of a speed at which
an optical and acoustic warning will be given by
the system. You can use this function, for exam-
ple, if you have fitted winter tyres which are not
suited for the top speed of your vehicle. Please
see the section “Wheels and tyres”.
LanguageThe display texts and the navigation system
texts can be seen in different languages.
UnitsThis option allows you to select the units for dis-
playing temperature, fuel consumption values
and distances.
sel. speedThe instrument panel also displays the speed in
another different unit of measurement (mph or
km/h) to that given on the speedometer.
Inter ServiceConsult service messages and reset service in-
terval display here.
Factory settingsThe manufacturer's predefined values for the
functions of this menu are restored.
Backa)This returns to the main menua)
Only if the windscreen wiper lever is used (MFI).
Note
● For electronic and vehicle equipment one or more of these menus will be
displayed.
● SEAT dealerships are able to programme other functions or change the
existing functions depending upon the vehicle equipment.
● The Configuration menu is only accessible when the vehicle is at a
standstill.
Convenience menu
From this menu it is it possible to alter the vehicle conven-
ience settings.
Open menu Convenience
– Choose the option Configuration from the main menu and press
the button OK
A ⇒ Fig. 44 on the windscreen wiper lever.
– Press button
or on the multifunction steering wheel*
⇒ Fig. 45 until the Configuration menu is displayed.
– Choose the option Convenience from the main menu and press
the button A
on the windscreen wiper lever.
Example of menu use ⇒ page 67
Safety FirstOperating InstructionsPractical TipsTechnical Specifications
Page 80 of 301
78Cockpit
WARNING
● Failure to observe control lamps and warning messages can result in
serious personal injury or damage to your vehicle.
● The risk of an accident increases if your vehicle breaks down. Use a
warning triangle to draw the attention of other road users in order to pre-
vent danger to third parties.
● The engine compartment is a dangerous area! Before you open the
bonnet to work on the engine or in the engine compartment, you must
switch the engine off and allow it to cool to reduce the risk of scalding or
other injuries. Read and observe the relevant warnings ⇒ page 222.
Note
● The appropriate control lamp for a fault will light up in vehicles without
warning or information messages in the display.
● In vehicles with warning or information texts on the screen, the appro-
priate control lamp for a fault will light up and a warning or information
message will also appear on the screen.
Warning symbols
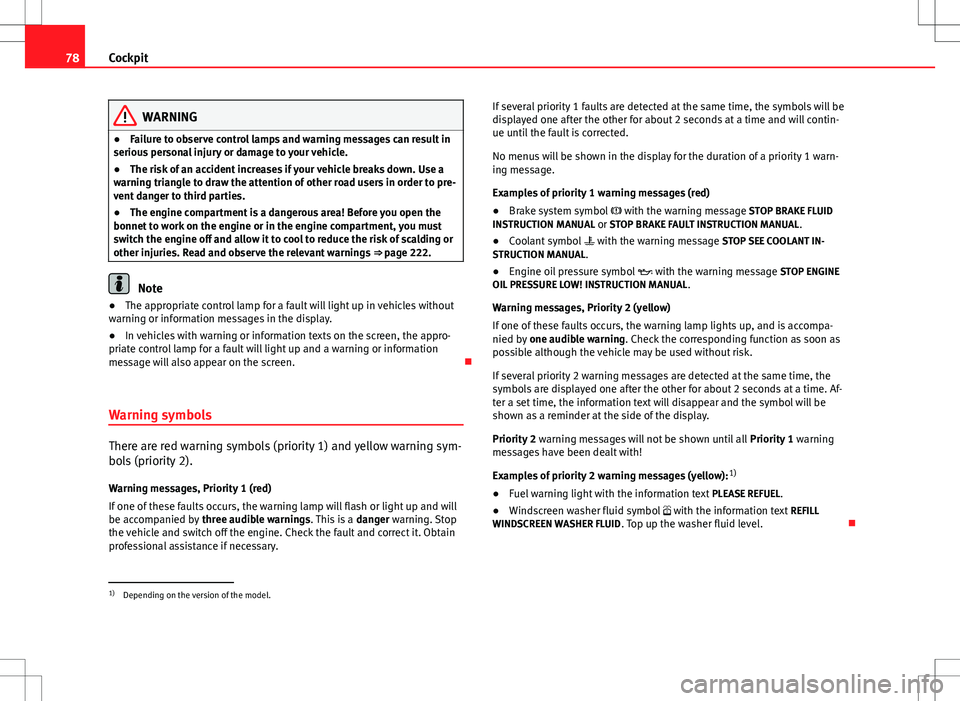
There are red warning symbols (priority 1) and yellow warning sym-
bols (priority 2).
Warning messages, Priority 1 (red)
If one of these faults occurs, the warning lamp will flash or light up and will
be accompanied by three audible warnings. This is a danger warning. Stop
the vehicle and switch off the engine. Check the fault and correct it. Obtain
professional assistance if necessary. If several priority 1 faults are detected at the same time, the symbols will be
displayed one after the other for about 2 seconds at a time and will contin-
ue until the fault is corrected.
No menus will be shown in the display for the duration of a priority 1 warn-
ing message.
Examples of priority 1 warning messages (red)
●
Brake system symbol with the warning message STOP BRAKE FLUID
INSTRUCTION MANUAL or STOP BRAKE FAULT INSTRUCTION MANUAL .
● Coolant symbol with the warning message STOP SEE COOLANT IN-
STRUCTION MANUAL.
● Engine oil pressure symbol with the warning message STOP ENGINE
OIL PRESSURE LOW! INSTRUCTION MANUAL .
Warning messages, Priority 2 (yellow)
If one of these faults occurs, the warning lamp lights up, and is accompa-
nied by one audible warning. Check the corresponding function as soon as
possible although the vehicle may be used without risk.
If several priority 2 warning messages are detected at the same time, the
symbols are displayed one after the other for about 2 seconds at a time. Af-
ter a set time, the information text will disappear and the symbol will be
shown as a reminder at the side of the display.
Priority 2 warning messages will not be shown until all Priority 1 warning
messages have been dealt with!
Examples of priority 2 warning messages (yellow): 1)
● Fuel warning light with the information text PLEASE REFUEL.
● Windscreen washer fluid symbol with the information text REFILL
WINDSCREEN WASHER FLUID . Top up the washer fluid level.
1)
Depending on the version of the model.
Page 81 of 301

79
Cockpit
Information messages displayed on the screen*
Message a)Description
SERVICEThe service interval has ended. Take the vehicle to a Techni-
cal Service.
IMMOBILIS-
ERImmobiliser system active. The vehicle will not start. Take
the vehicle to a Technical Service.
ERRORInstrument panel faulty. Take the vehicle to a Technical Serv-
ice.
CLEAN AIRFILTERWarning: Clean the air filter.
NO KEYWarning: Correct key cannot be found in the vehicle.KEY BATTERYWarning: Key battery low. Change the battery.
CLUTCHWarning: Press the clutch to start. In vehicles with manual
gearbox and Start-Stop system.
--> P/NWarning: Place the selector level in P/N to start. Only in ve-
hicles with automatic gearbox.
--> PWarning: Place the selector lever in position P to stop the
engine.
STARTINGWarning: The engine starts automatically. Start-Stop system
activated.
START MAN- UALLYWarning: The engine must be started manually. Start-Stop
system activated.
ERROR
START-STOPWarning: Start-Stop system error.
START-STOP
IMPOSSIBLEWarning: Although the Start-Stop system is switched on, the
engine cannot be stopped automatically. Not all the neces-
sary conditions are met.
START-STOP ACTIVEWarning: Start-Stop system activated. Vehicle in Stop mode.
SWITCH OFFWarning: Start-Stop system activated. Switch off the ignition
when you leave the vehicle.
STOP TRANS-MISSIONTOO HOTWarning: Stop the engine. Gearbox overheated.
BRAKEWarning: To start the engine, press the brake pedal. Only in
vehicles with automatic gearbox.
COASTING FUNCTIONWarning: Coasting mode active. Transmission engaged. On-
ly in vehicles with automatic gearbox.
CHECK SAFE- LOCKNotification of central locking function activated.
a)These messages may vary according the version of the vehicle model.
Fuel level/reserve
This symbol lights up to indicate that the fuel tank is under
the reserve level.
It lights up when only 7 litres of fuel remain in the tank. You will also hear
an audible warning. It reminds you to fuel up the fuel tank as soon as possi-
ble ⇒ page 219.
The instrument panel displays the following message 1)
: PLEASE REFUEL! .
1)
Depending on the version of the model.
Safety FirstOperating InstructionsPractical TipsTechnical Specifications
Page 82 of 301

80Cockpit
Coolant level*/temperature
The warning lamp lights up if the coolant temperature is too
high or if the coolant level is too low.
There is a fault if:
● The warning symbol does not go out again after a few seconds.
● The warning lamp lights up or flashes while the vehicle is moving, and
three acoustic warning signals ⇒
are emitted.
This means that either the coolant level is too low or the coolant tempera-
ture is too high.
Coolant temperature too high
The instrument panel displays the following message 1)
: CHECK COOLANT IN-
STRUCTION MANUAL. ⇒ page 229.
First look at the coolant temperature gauge. The coolant temperature is too
high if the needle is over the warning area on the dial. Stop the vehicle,
switch the engine off and wait for it to cool down. Check the coolant level.
If the coolant level is correct, the overheating may be caused by a malfunc-
tion of the radiator fan. Check the radiator fan fuse and have it replaced if
necessary ⇒ page 258.
If the control lamp lights up again after driving on for a short distance, stop
the vehicle and switch the engine off . Contact a Technical Service or a spe-
cialised workshop.
Coolant level too low
The instrument panel displays the following message 1)
: STOP CHECK COOL-
ANT INSTRUCTION MANUAL.
First look at the coolant temperature gauge. If the needle is in the normal
range, top up with coolant at the earliest opportunity ⇒
.
WARNING
● If your vehicle is immobilised for technical reasons, move it to a safe
distance from traffic. Turn the engine off, turn the hazard lights on and
place the warning triangle.
● Never open the bonnet if you can see or hear steam or coolant escap-
ing from the engine compartment. Risk of scalding. Wait until you can no
longer see or hear escaping steam or coolant.
● The engine compartment is a dangerous area! Before carrying out any
work in the engine compartment, switch off the engine and allow it to
cool down. Always note the corresponding warnings ⇒ page 222.
Rear fog light
This warning lamp lights up when the rear fog light is switched on . For
further information see ⇒ page 113.
Turn signals
The control lamp flashes when the turn signals are in opera-
tion.
Depending on which turn signal is operating, either the left or right
turn signal lamp flashes. Both control lamps will flash at the same time
when the hazard warning lights are switched on.
If any of both turn signals fails, the warning lamp will start flashing twice
faster than normal.
1)
Depending on the version of the model.
Page 83 of 301
81
Cockpit
For further information on the turn signals, please see ⇒ page 119.
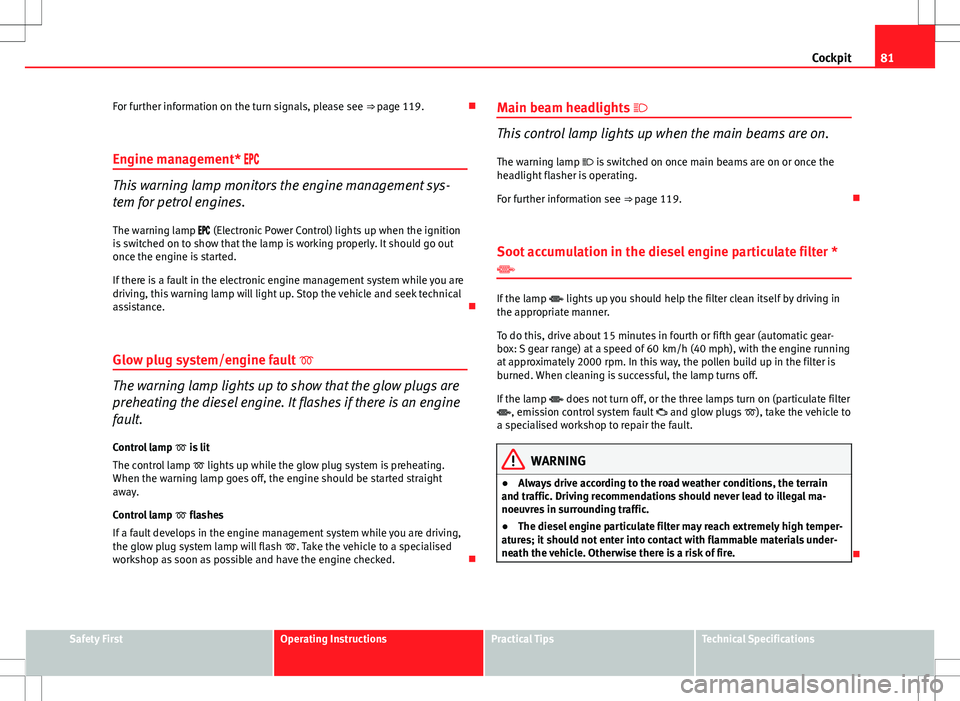
Engine management*
This warning lamp monitors the engine management sys-
tem for petrol engines.
The warning lamp (Electronic Power Control) lights up when the ignition
is switched on to show that the lamp is working properly. It should go out
once the engine is started.
If there is a fault in the electronic engine management system while you are
driving, this warning lamp will light up. Stop the vehicle and seek technical
assistance.
Glow plug system/engine fault
The warning lamp lights up to show that the glow plugs are
preheating the diesel engine. It flashes if there is an engine
fault.
Control lamp is lit
The control lamp lights up while the glow plug system is preheating.
When the warning lamp goes off, the engine should be started straight
away.
Control lamp flashes
If a fault develops in the engine management system while you are driving,
the glow plug system lamp will flash . Take the vehicle to a specialised
workshop as soon as possible and have the engine checked. Main beam headlights
This control lamp lights up when the main beams are on.
The warning lamp is switched on once main beams are on or once the
headlight flasher is operating.
For further information see ⇒ page 119.
Soot accumulation in the diesel engine particulate filter *
If the lamp lights up you should help the filter clean itself by driving in
the appropriate manner.
To do this, drive about 15 minutes in fourth or fifth gear (automatic gear-
box: S gear range) at a speed of 60 km/h (40 mph), with the engine running
at approximately 2000 rpm. In this way, the pollen build up in the filter is
burned. When cleaning is successful, the lamp turns off.
If the lamp does not turn off, or the three lamps turn on (particulate filter
, emission control system fault and glow plugs ), take the vehicle to
a specialised workshop to repair the fault.
WARNING
● Always drive according to the road weather conditions, the terrain
and traffic. Driving recommendations should never lead to illegal ma-
noeuvres in surrounding traffic.
● The diesel engine particulate filter may reach extremely high temper-
atures; it should not enter into contact with flammable materials under-
neath the vehicle. Otherwise there is a risk of fire.
Safety FirstOperating InstructionsPractical TipsTechnical Specifications