service reset Seat Altea XL 2014 Owner's Manual
[x] Cancel search | Manufacturer: SEAT, Model Year: 2014, Model line: Altea XL, Model: Seat Altea XL 2014Pages: 321, PDF Size: 4.52 MB
Page 64 of 321

62Cockpit
Recommended gear display*
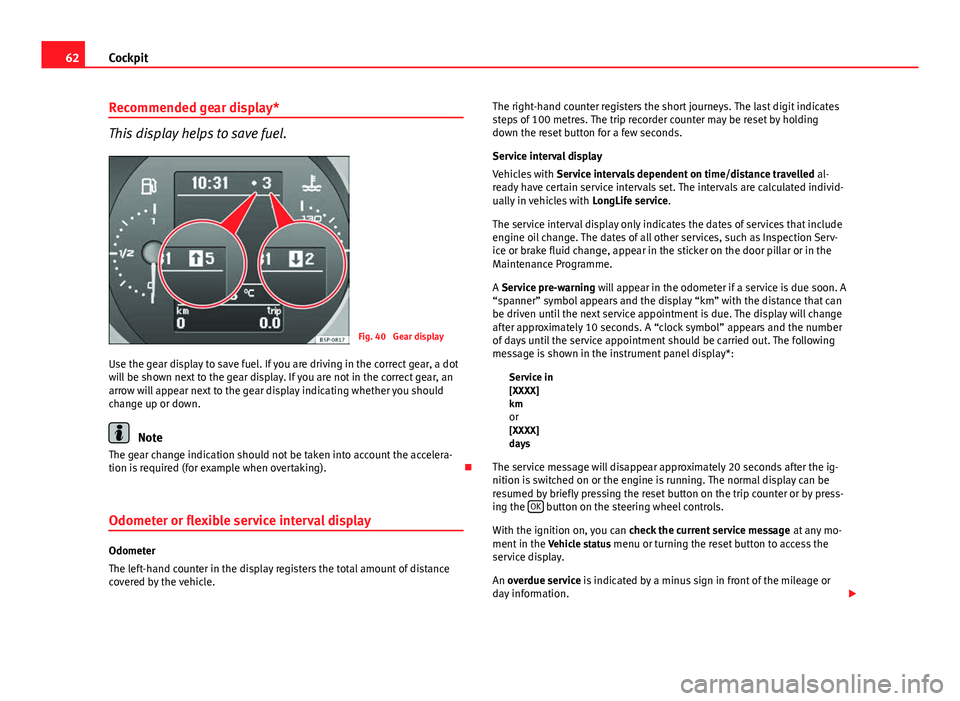
This display helps to save fuel.
Fig. 40 Gear display
Use the gear display to save fuel. If you are driving in the correct gear, a dot
will be shown next to the gear display. If you are not in the correct gear, an
arrow will appear next to the gear display indicating whether you should
change up or down.
Note
The gear change indication should not be taken into account the accelera-
tion is required (for example when overtaking).
Odometer or flexible service interval display
Odometer
The left-hand counter in the display registers the total amount of distance
covered by the vehicle. The right-hand counter registers the short journeys. The last digit indicates
steps of 100 metres. The trip recorder counter may be reset by holding
down the reset button for a few seconds.
Service interval display
Vehicles with
Service intervals dependent on time/distance travelled al-
ready have certain service intervals set. The intervals are calculated individ-
ually in vehicles with LongLife service.
The service interval display only indicates the dates of services that include
engine oil change. The dates of all other services, such as Inspection Serv-
ice or brake fluid change, appear in the sticker on the door pillar or in the
Maintenance Programme.
A Service pre-warning will appear in the odometer if a service is due soon. A
“spanner” symbol appears and the display “km” with the distance that can
be driven until the next service appointment is due. The display will change
after approximately 10 seconds. A “clock symbol” appears and the number
of days until the service appointment should be carried out. The following
message is shown in the instrument panel display*: Service in
[XXXX]
kmor
[XXXX]
days
The service message will disappear approximately 20 seconds after the ig-
nition is switched on or the engine is running. The normal display can be
resumed by briefly pressing the reset button on the trip counter or by press-
ing the OK
button on the steering wheel controls.
With the ignition on, you can check the current service message at any mo-
ment in the Vehicle status menu or turning the reset button to access the
service display.
An overdue service is indicated by a minus sign in front of the mileage or
day information.
Page 65 of 321

63
Cockpit
Indications for vehicles with LongLife service
Technical progress has made it possible to considerably reduce servicing re-
quirements. With the LongLife System, SEAT ensures that your vehicle only
has an interval service when it is necessary. The length of the Interval Serv-
ices (max. two years) is determined by factors such as conditions under
which the vehicle is used and personal driving style.
The service pre-warning will first appear 20 days before the date on which
the service is due. The distance travelled is rounded off to the nearest
100 km (miles) and the time to full days. The current service message can
only be consulted 500 km (300 miles) after the last service. Until that time,
only dashes are displayed.
Note
● If you reset the display manually, the next service interval will be indica-
ted after 15 000 km (10 000 miles) or one year and will not be calculated
individually.
● Do not reset the display between service intervals as the display will
otherwise be incorrect.
● In LongLife Service vehicles, if the battery is disconnected for a long pe-
riod, the days remaining until the next service cannot be calculated. There-
fore, the service message displays on the instrument panel may be incor-
rect. Take into account the maximum authorised service intervals. Multifunction display (MFI)*
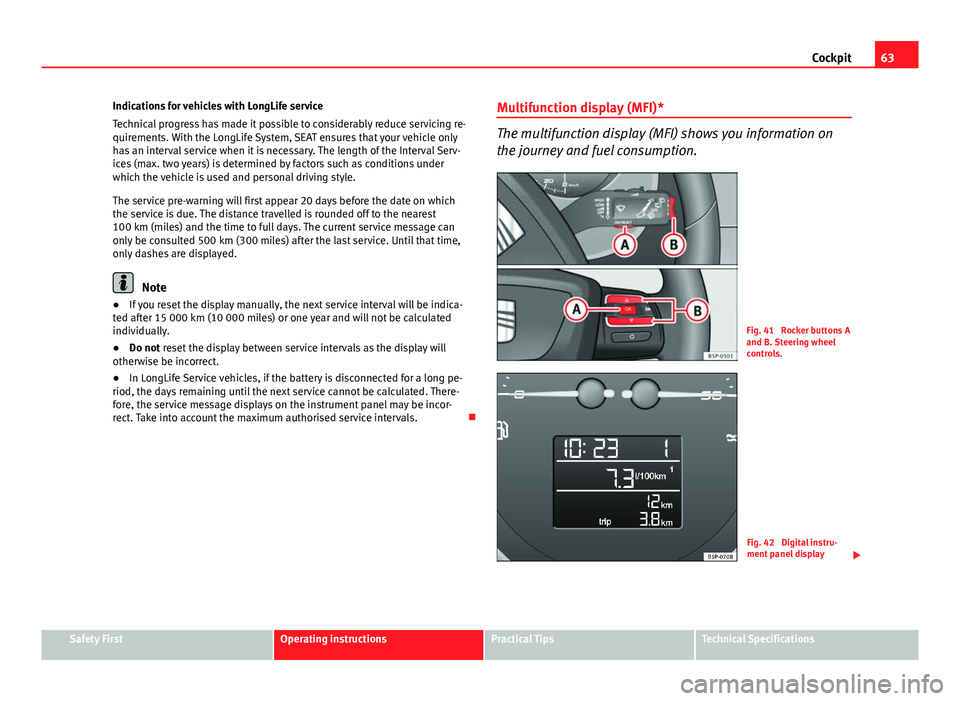
The multifunction display (MFI) shows you information on
the journey and fuel consumption.
Fig. 41 Rocker buttons A
and B. Steering wheel
controls.
Fig. 42 Digital instru-
ment panel display
Safety FirstOperating instructionsPractical TipsTechnical Specifications
Page 75 of 321

73
Cockpit
Configuration menu
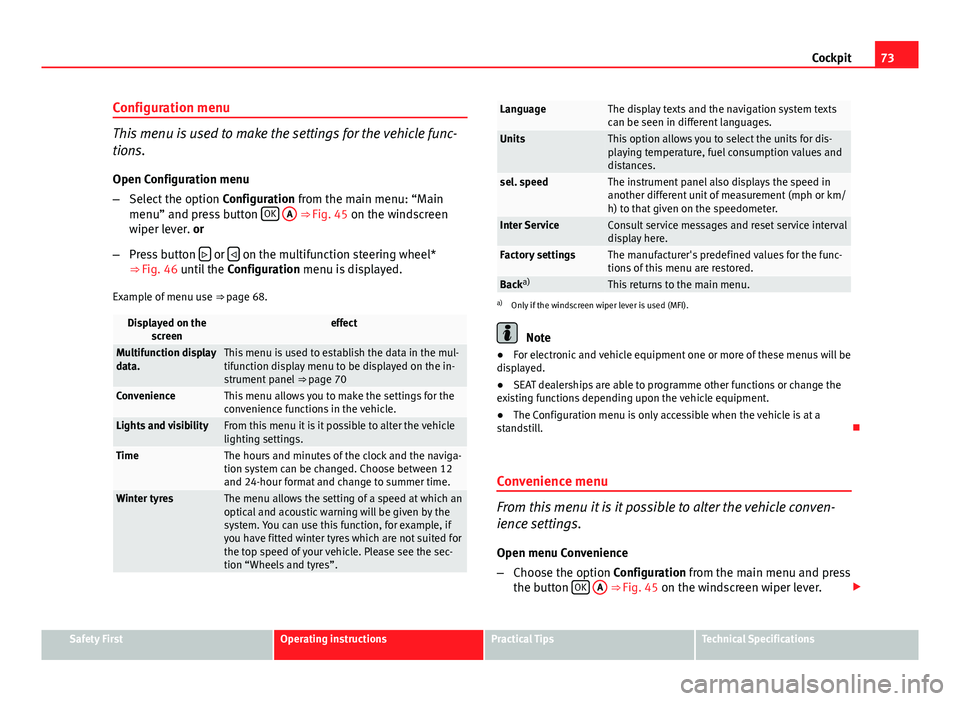
This menu is used to make the settings for the vehicle func-
tions. Open Configuration menu
– Select the option Configuration from the main menu: “Main
menu” and press button OK
A ⇒ Fig. 45 on the windscreen
wiper lever. or
– Press button
or on the multifunction steering wheel*
⇒ Fig. 46 until the Configuration menu is displayed.
Example of menu use ⇒ page 68.
Displayed on the
screeneffect
Multifunction display
data.This menu is used to establish the data in the mul-
tifunction display menu to be displayed on the in-
strument panel ⇒ page 70
ConvenienceThis menu allows you to make the settings for the
convenience functions in the vehicle.
Lights and visibilityFrom this menu it is it possible to alter the vehicle
lighting settings.
TimeThe hours and minutes of the clock and the naviga-
tion system can be changed. Choose between 12
and 24-hour format and change to summer time.
Winter tyresThe menu allows the setting of a speed at which an
optical and acoustic warning will be given by the
system. You can use this function, for example, if
you have fitted winter tyres which are not suited for
the top speed of your vehicle. Please see the sec-
tion “Wheels and tyres”.
LanguageThe display texts and the navigation system texts
can be seen in different languages.
UnitsThis option allows you to select the units for dis-
playing temperature, fuel consumption values and
distances.
sel. speedThe instrument panel also displays the speed in
another different unit of measurement (mph or km/
h) to that given on the speedometer.
Inter ServiceConsult service messages and reset service interval
display here.
Factory settingsThe manufacturer's predefined values for the func-
tions of this menu are restored.
Backa)This returns to the main menu.a)
Only if the windscreen wiper lever is used (MFI).
Note
● For electronic and vehicle equipment one or more of these menus will be
displayed.
● SEAT dealerships are able to programme other functions or change the
existing functions depending upon the vehicle equipment.
● The Configuration menu is only accessible when the vehicle is at a
standstill.
Convenience menu
From this menu it is it possible to alter the vehicle conven-
ience settings.
Open menu Convenience
– Choose the option Configuration from the main menu and press
the button OK
A ⇒ Fig. 45 on the windscreen wiper lever.
Safety FirstOperating instructionsPractical TipsTechnical Specifications
Page 277 of 321

275
If and when
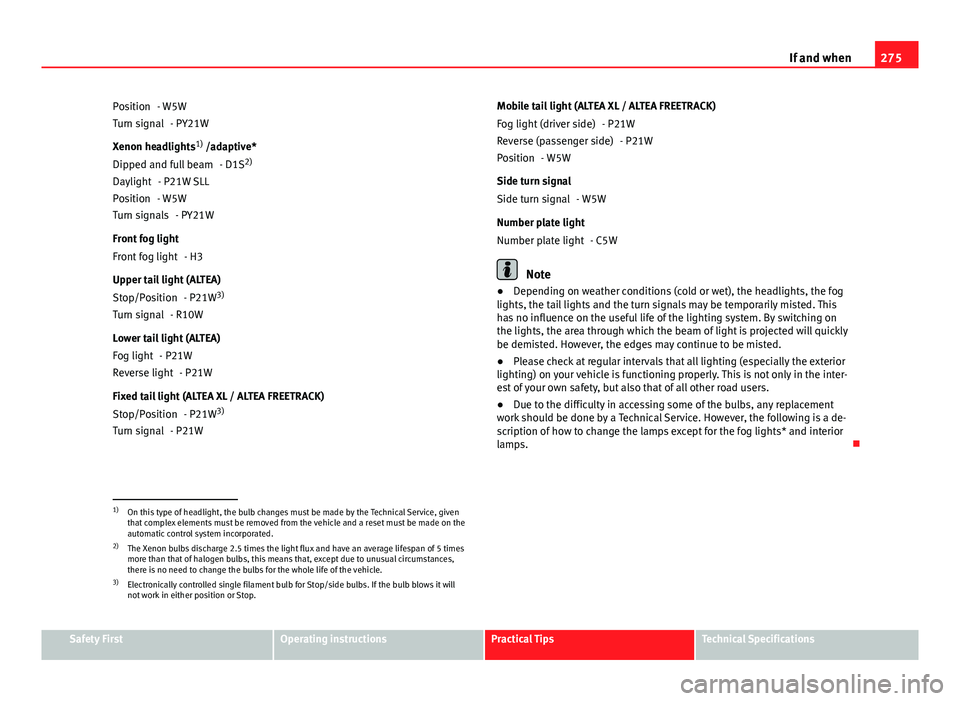
- W5W - PY21W
Xenon headlights 1)
/adaptive*
- D1S 2)
- P21W SLL
- W5W - PY21W
Front fog light - H3
Upper tail light (ALTEA) - P21W3)
- R10W
Lower tail light (ALTEA) - P21W- P21W
Fixed tail light (ALTEA XL / ALTEA FREETRACK) - P21W3)
- P21W
Position
Turn signal
Dipped and full beam
Daylight
Position
Turn signals
Front fog light
Stop/Position
Turn signal
Fog light
Reverse light
Stop/Position
Turn signal Mobile tail light (ALTEA XL / ALTEA FREETRACK)
- P21W- P21W
- W5W
Side turn signal - W5W
Number plate light - C5W
Note
● Depending on weather conditions (cold or wet), the headlights, the fog
lights, the tail lights and the turn signals may be temporarily misted. This
has no influence on the useful life of the lighting system. By switching on
the lights, the area through which the beam of light is projected will quickly
be demisted. However, the edges may continue to be misted.
● Please check at regular intervals that all lighting (especially the exterior
lighting) on your vehicle is functioning properly. This is not only in the inter-
est of your own safety, but also that of all other road users.
● Due to the difficulty in accessing some of the bulbs, any replacement
work should be done by a Technical Service. However, the following is a de-
scription of how to change the lamps except for the fog lights* and interior
lamps.
Fog light (driver side)
Reverse (passenger side)
Position
Side turn signal
Number plate light
1)
On this type of headlight, the bulb changes must be made by the Technical Service, given
that complex elements must be removed from the vehicle and a reset must be made on the
automatic control system incorporated.
2) The Xenon bulbs discharge 2.5 times the light flux and have an average lifespan of 5 times
more than that of halogen bulbs, this means that, except due to unusual circumstances,
there is no need to change the bulbs for the whole life of the vehicle.
3) Electronically controlled single filament bulb for Stop/side bulbs. If the bulb blows it will
not work in either position or Stop.
Safety FirstOperating instructionsPractical TipsTechnical Specifications