lock Seat Exeo 2008 ADAGIO
[x] Cancel search | Manufacturer: SEAT, Model Year: 2008, Model line: Exeo, Model: Seat Exeo 2008Pages: 47, PDF Size: 1.76 MB
Page 10 of 47
Operations: General information9
Operations: General informationSwitching on and off– Briefly press the ON/OFF button to switch the sound system on.
You will then hear the audio source last used.
– Press and hold the ON/OFF button to switch the sound system off.The sound system will come on automatically when the ignition is switched
on . It will also automatically switch off when the ignition key is removed.
If the sound system is switched on manually while the ignition key is
removed, it will remain on for about 60 minutes.
If the sound system was switched off manually, it will not come on again auto-
matically when the ignition is switched on.Adjusting the volumeIncreasing and reducing the volume
– Turn the ON/OFF button clockwise or anti-clockwise.
Mute function
– Briefly press the ON/OFF button. The volume for the enabled audio source will then be switched off. A crossed-out loud-
speaker symbol will appear in the display. Any CD media drives
enabled will stop (pause function). – To restore the volume, briefly press the ON/OFF button or
– Turn the ON/OFF button clockwise.
When you switch on the system, exc
essive volume levels are reduced auto-
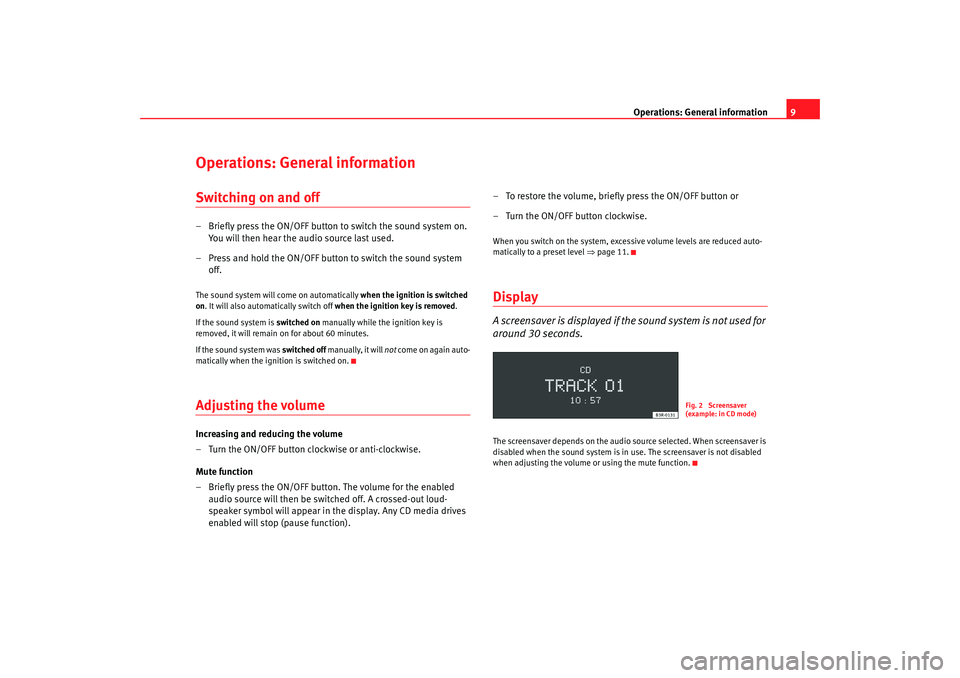
matically to a preset level ⇒page 11.DisplayA screensaver is displayed if th e sound system is not used for
around 30 seconds.The screensaver depends on the audio source selected. When screensaver is
disabled when the sound system is in use. The screensaver is not disabled
when adjusting the volume or using the mute function.
Fig. 2 Screensaver
(example: in CD mode)
Adagio_EN Seite 9 Dienstag, 7. Oktober 2008 10:55 10
Page 11 of 47
Operations: General information
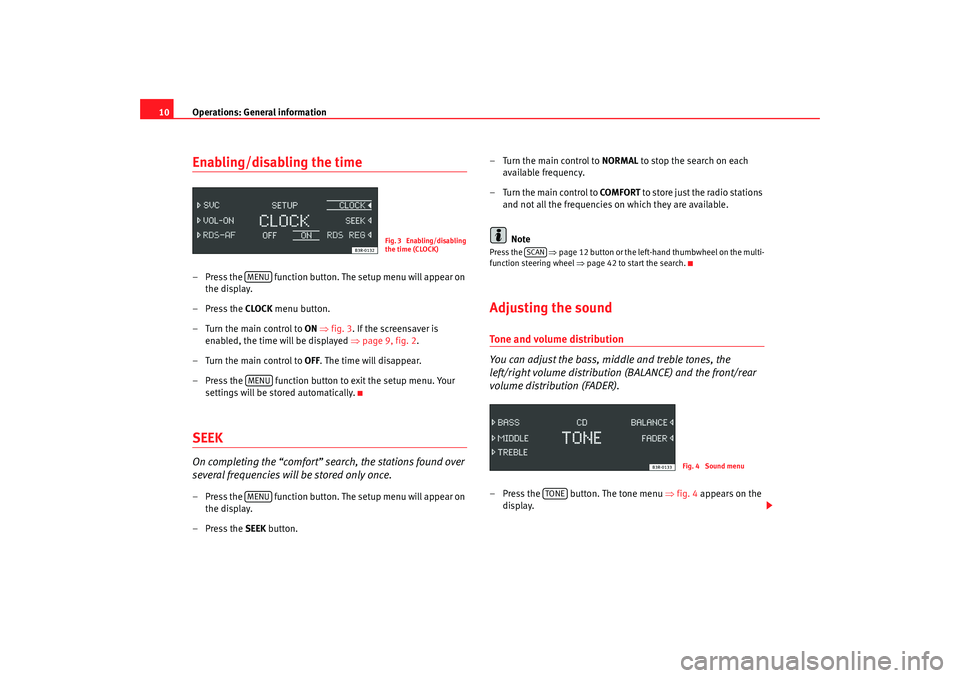
10Enabling/disabling the time– Press the function button. The setup menu will appear on
the display.
– Press the CLOCK menu button.
–Turn the main control to ON ⇒fig. 3 . If the screensaver is
enabled, the time will be displayed ⇒page 9, fig. 2 .
–Turn the main control to OFF . The time will disappear.
– Press the function button to exit the setup menu. Your
settings will be stored automatically.SEEKOn completing the “comfort” search, the stations found over
several frequencies will be stored only once.– Press the function button. The setup menu will appear on the display.
– Press the SEEK button. – Turn the main control to
NORMAL to stop the search on each
available frequency.
– Turn the main control to COMFORT to store just the radio stations
and not all the frequencies on which they are available.
Note
Press the ⇒page 12 button or the left-hand thumbwheel on the multi-
function steering wheel ⇒page 42 to start the search.Adjusting the soundTone and volume distribution
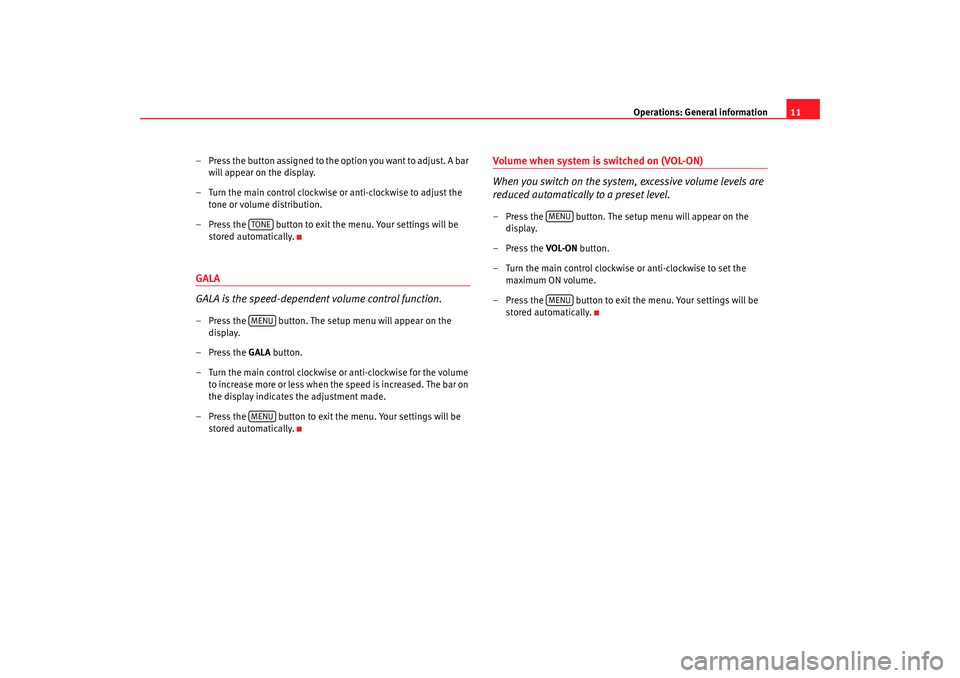
You can adjust the bass, middle and treble tones, the
left/right volume distribution (BALANCE) and the front/rear
volume distribution (FADER).– Press the button. The tone menu ⇒fig. 4 appears on the
display.
Fig. 3 Enabling/disabling
the time (CLOCK)
MENUMENUMENU
SCAN
Fig. 4 Sound menu
TONE
Adagio_EN Seite 10 Dienstag, 7. Oktober 2008 10:55 10
Page 12 of 47
Operations: General information11
– Press the button assigned to the option you want to adjust. A bar will appear on the display.
– Turn the main control clockwise or anti-clockwise to adjust the tone or volume distribution.
– Press the button to exit th e menu. Your settings will be
stored automatically.
GALA
GALA is the speed-dependent volume control function.– Press the button. The setup menu will appear on the display.
–Press the GALA button.
– Turn the main control clockwise or anti-clockwise for the volume to increase more or less when the speed is increased. The bar on
the display indicates the adjustment made.
– Press the button to exit the menu. Your settings will be stored automatically.
Volume when system is switched on (VOL-ON)
When you switch on the system, excessive volume levels are
reduced automatically to a preset level.– Press the button. The setup menu will appear on the display.
– Press the VOL-ON button.
– Turn the main control clockwise or anti-clockwise to set the maximum ON volume.
– Press the button to exit the menu. Your settings will be stored automatically.
TONEMENUMENU
MENUMENU
Adagio_EN Seite 11 Dienstag, 7. Oktober 2008 10:55 10
Page 13 of 47
Radio
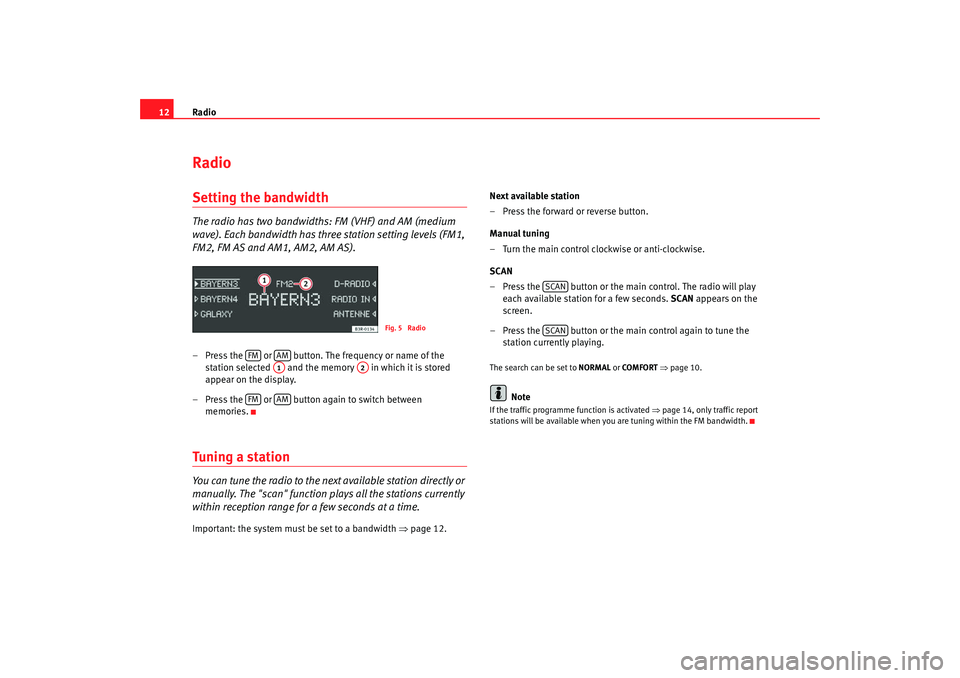
12RadioSetting the bandwidthThe radio has two bandwidths: FM (VHF) and AM (medium
wave). Each bandwidth has three station setting levels (FM1,
FM2, FM AS and AM1, AM2, AM AS).– Press the or button. The frequency or name of the
station selected and the memory in which it is stored
appear on the display.
– Press the or button again to switch between memories.Tuning a stationYou can tune the radio to the next available station directly or
manually. The "scan" function plays all the stations currently
within reception range for a few seconds at a time.Important: the system must be set to a bandwidth ⇒page 12. Next available station
– Press the forward or reverse button.
Manual tuning
– Turn the main control clockwise or anti-clockwise.
SCAN
– Press the button or the main control. The radio will play
each available station for a few seconds. SCAN appears on the
screen.
– Press the button or the main control again to tune the station currently playing.
The search can be set to NORMAL or COMFORT ⇒ page 10.
Note
If the traffic programme function is activated ⇒page 14, only traffic report
stations will be available when you are tuning within the FM bandwidth.
Fig. 5 Radio
FM
AMA1
A2
FM
AM
SCANSCAN
Adagio_EN Seite 12 Dienstag, 7. Oktober 2008 10:55 10
Page 15 of 47
Radio
14Regional stationsSome FM stations broadcast different regional programmes
under the same name.– Press the button.
– Press the RDS-REG control button.
–Turn the main control to AUTO i f y o u w i s h t o r e - t u n e a u t o m a t i c a l l y
to regional broadcasts. The radio will tune to the regional station
with the best reception.
–Turn the main control to OFF to prevent the radio from re-tuning
to regional broadcasts.
– Press the button to exit the menu.Traffic Programme, TPTraffic announcements broadcast by FM stations are played
even if you are listening to an AM station or a CD.Switching on the Traffic Programme
– Press the button. TP will appear on the display. You will then
hear the latest traffic announcements when they are broadcast.
Interrupting a traffic announcement
– Press the button. The current traffic announcement will be interrupted. The Traffic Programme will remain active. Adjusting the volume for traffic announcements
– Turn the ON/OFF button clockwise or anti-clockwise during a
traffic announcement. The volume for traffic announcements will
be stored. The volume for radio and CD mode will not be
changed.
Switching off the Traffic Programme
–Press the button.
What happens when the selected traffic report station can no longer be
received?•
If you are tuned to the FM bandwidth, you will hear a tone and NO TP will
appear on the display for a few seconds. Tune to another station manually
⇒ page 12.
•
If you are tuned to the AM bandwidth a new traffic report station will be
selected automatically.
If no traffic report st ations can be received, NO TP will appear on the display.Note
If the Traffic Programme func tion is enabled, only traffic report stations will be
available when you are tuning within the FM bandwidth.
MENUMENUTPTP
TP
Adagio_EN Seite 14 Dienstag, 7. Oktober 2008 10:55 10
Page 25 of 47
CD
24CDSelecting CD ModeImportant: A CD must have been inserted in the CD player
⇒ page 15.
– Press the button.The following information appears in the display:•
Duration
•
CD track
2)
•
Number of the track on the CD
•
Name of the directory/ album
2)
Selecting an MP3 directory ("browse")
Important: You must have inserted an MP3 CD and selected CD
mode.
Moving down a directory level
–Press the BROWSE button.
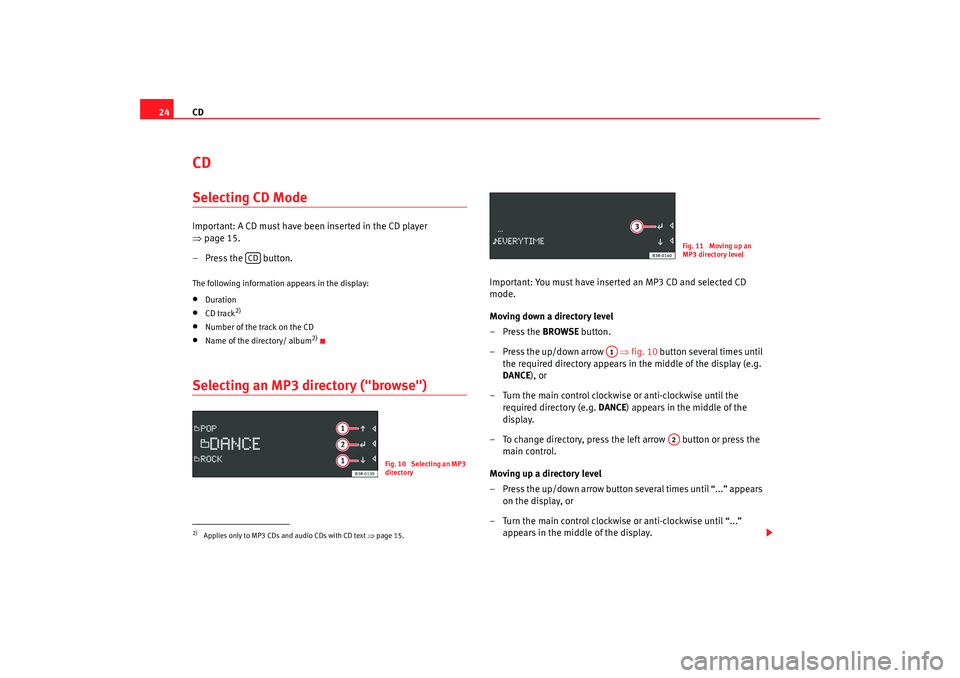
– Press the up/down arrow ⇒fig. 10 button several times until
the required directory appears in the middle of the display (e.g.
DANCE ), or
– Turn the main control clockwise or anti-clockwise until the required directory (e.g. DANCE) appears in the middle of the
display.
– To change directory, press the left arrow button or press the main control.
Moving up a directory level
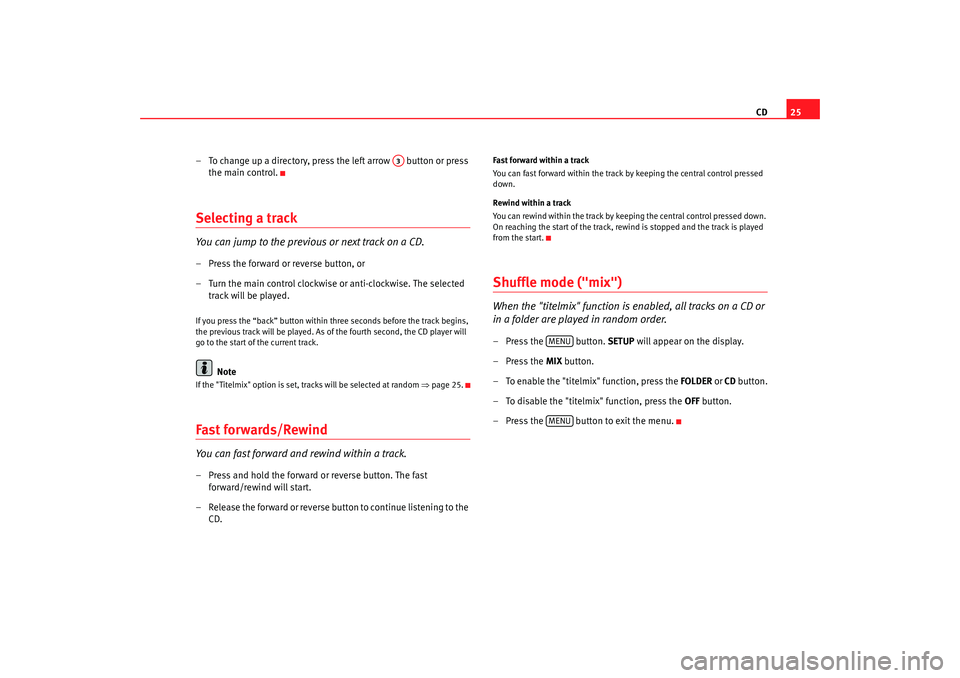
– Press the up/down arrow button several times until “...” appears on the display, or
– Turn the main control clockwise or anti-clockwise until “...” appears in the middle of the display.
2)Applies only to MP3 CDs and audio CDs with CD text ⇒page 15.
CD
Fig. 10 Selecting an MP3
directory
Fig. 11 Moving up an
MP3 directory level
A1
A2
Adagio_EN Seite 24 Dienstag, 7. Oktober 2008 10:55 10
Page 26 of 47
CD25
– To change up a directory, press the left arrow button or press the main control.
Selecting a trackYou can jump to the previous or next track on a CD.– Press the forward or reverse button, or
– Turn the main control clockwise or anti-clockwise. The selected track will be played.If you press the “back” button within three seconds before the track begins,
the previous track will be played. As of the fourth second, the CD player will
go to the start of the current track.
Note
If the "Titelmix" option is set, tracks will be selected at random ⇒page 25.Fast forwards/RewindYou can fast forward and rewind within a track.– Press and hold the forward or reverse button. The fast
forward/rewind will start.
– Release the forward or reverse button to continue listening to the CD.
Fast forward within a track
You can fast forward within the track by keeping the central control pressed
down.
Rewind within a track
You can rewind within the track by keeping the central control pressed down.
On reaching the start of the track, rewind is stopped and the track is played
from the start.Shuffle mode ("mix")When the "titelmix" function is enabled, all tracks on a CD or
in a folder are played in random order.– Press the button. SETUP will appear on the display.
– Press the MIX button.
– To enable the "titelmix" function, press the FOLDER or CD button.
– To disable the "titelmix" function, press the OFF button.
– Press the button to exit the menu.
A3
MENUMENU
Adagio_EN Seite 25 Dienstag, 7. Oktober 2008 10:55 10
Page 29 of 47
Mobile phone interface
28InstallationInstalling and removing the mobile phone adapter
The mobile phone adapter is fitted to the top of the mounting
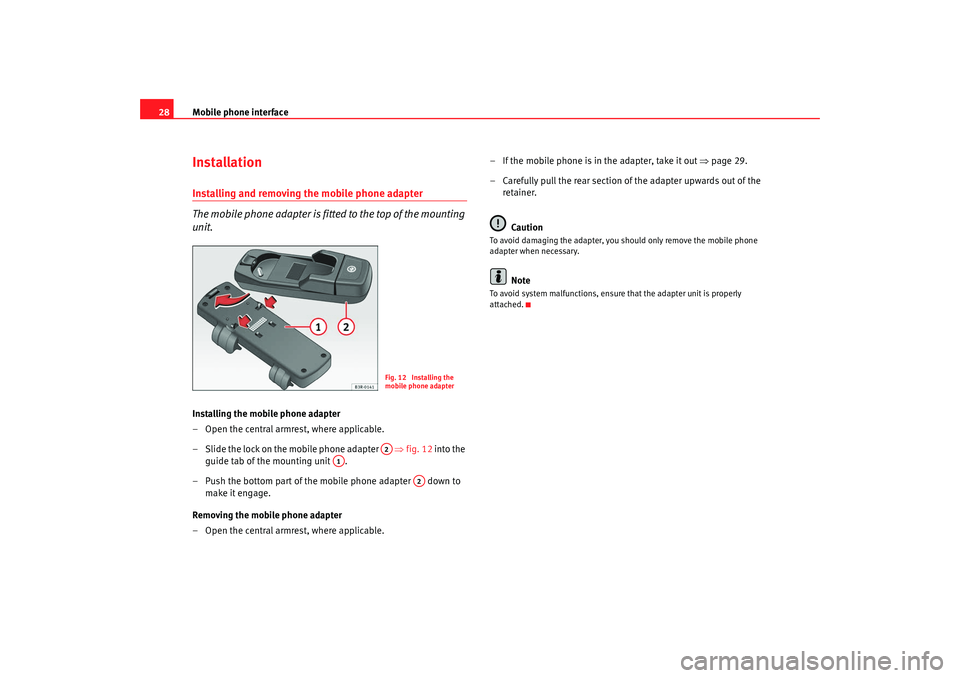
unit.Installing the mobile phone adapter
– Open the central armrest, where applicable.
– Slide the lock on the mobile phone adapter ⇒fig. 12 into the
guide tab of the mounting unit .
– Push the bottom part of the mobile phone adapter down to make it engage.
Removing the mobile phone adapter
– Open the central armrest, where applicable. – If the mobile phone is in the adapter, take it out
⇒page 29.
– Carefully pull the rear section of the adapter upwards out of the
retainer.
Caution
To avoid damaging the adapter, you should only remove the mobile phone
adapter when necessary.
Note
To avoid system malfunctions, ensure that the adapter unit is properly
attached.
Fig. 12 Installing the
mobile phone adapterA2
A1
A2
Adagio_EN Seite 28 Dienstag, 7. Oktober 2008 10:55 10
Page 30 of 47
Mobile phone interface29
Inserting/Removing the mobile phoneImportant: The mobile phone adapter must be fitted ⇒page 28. Inserting
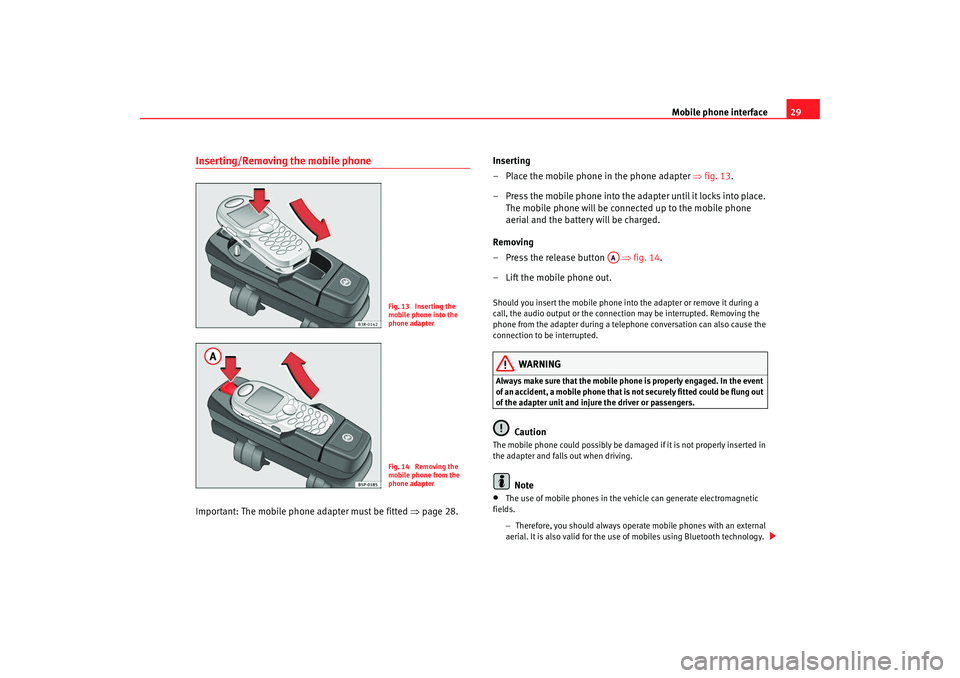
– Place the mobile phone in the phone adapter
⇒fig. 13 .
– Press the mobile phone into the adapter until it locks into place. The mobile phone will be connected up to the mobile phone
aerial and the battery will be charged.
Removing
– Press the release button ⇒fig. 14 .
– Lift the mobile phone out.
Should you insert the mobile phone into the adapter or remove it during a
call, the audio output or the connect ion may be interrupted. Removing the
phone from the adapter during a telephone conversation can also cause the
connection to be interrupted.
WARNING
Always make sure that the mobile phon e is properly engaged. In the event
of an accident, a mobile phone that is not securely fitted could be flung out
of the adapter unit and injure the driver or passengers.
Caution
The mobile phone could possibly be damaged if it is not properly inserted in
the adapter and falls out when driving.
Note
•
The use of mobile phones in the vehicle can generate electromagnetic
fields.
−Therefore, you should always operate mobile phones with an external
aerial. It is also valid for the use of mobiles using Bluetooth technology.
Fig. 13 Inserting the
mobile phone into the
phone adapterFig. 14 Removing the
mobile phone from the
phone adapter
AA
Adagio_EN Seite 29 Dienstag, 7. Oktober 2008 10:55 10
Page 31 of 47
Mobile phone interface
30
The external aerial directs the electromagnetic fields to the exterior,
which reduces the field strength in the vehicle interior.
− If retrofitting an external aerial, please ensure that it is installed
correctly.
Bluetooth®
Bluetooth technology enables a wireless connection between
a mobile phone and the on-board phone system.The mobile phone
3) must be bonded once to the mobile phone
interface in the vehicle. This procedure involves various steps,
depending on the mobile phone you are using. After switching the
ignition on (and with the vehicle at a standstill), your mobile phone
can be connected to the mobile phone interface.
– Make sure that no other mobile phone is connected to the mobile phone interface via Bluetooth.
– Switch the ignition on.
– Select the appropriate menu option on your mobile phone to search for Bluetooth compatible devices (i.e. the mobile phone
interface).
– Connect the mobile phone to the mobile phone interface. Your mobile phone interface will use the name “SEAT XXXX” when it
connects with the mobile phone.
– Enter the PIN for handsfree mode (“1234”) on the mobile phone interface within 30 seconds.
4)
– Wait until your mobile phone indicates that it has bonded.Up to four mobile phones
You can bond up to four mobile phones to the mobile phone interface.
However, it is only possible to activate one connection at a time. If you bond
a fifth mobile phone to the mobile phone interface, the system will delete the
device which has not been used for the longest time in conjunction with the
mobile phone interface.
Connecting and disconnecting
A mobile phone which has been bonded to the mobile phone interface and is
ready to operate will be connected automatically when you switch on the igni-
tion. On some mobile phones, yo u have to confirm the connection.
The Bluetooth connection is terminated when the key is removed from the
ignition lock. With most mobile phones the Bluetooth connection will also be
terminated when you insert the mobile phone in the adapter.
Autonomy
The Bluetooth connection between the mobile phone and the mobile phone
interface is restricted to the interior of the vehicle. The connection can be
susceptible to interference caused by other electronic devices or obstacles
between the devices. For example, the mobile phone interface may have diffi-
culty detecting your mobile phone or communicating with it if you keep it in
your jacket pocket.
3)Please make sure that the mobile phone supports the handsfree profile.
4)To prevent unauthorised use of your mobile phone, we recommend that you have the
Bluetooth PIN changed by a Technical Service or specialist garage.
Adagio_EN Seite 30 Dienstag, 7. Oktober 2008 10:55 10