key Seat Exeo 2010 MEDIA SYSTEM E
[x] Cancel search | Manufacturer: SEAT, Model Year: 2010, Model line: Exeo, Model: Seat Exeo 2010Pages: 167, PDF Size: 5.4 MB
Page 75 of 167
Mobile phone system*
74Main telephone menuMaking calls
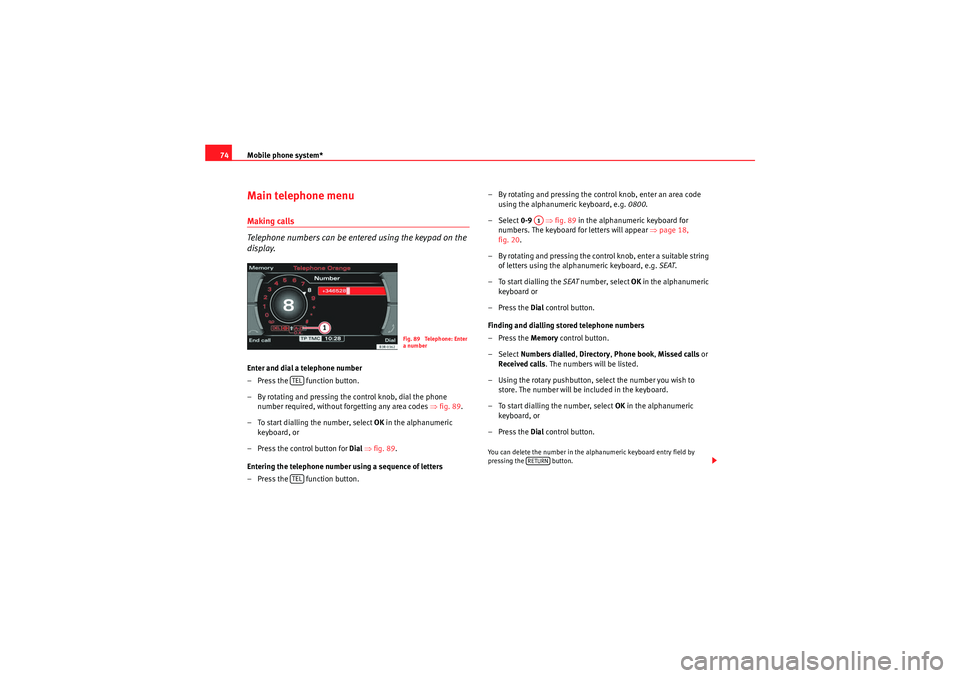
Telephone numbers can be entered using the keypad on the
display.Enter and dial a telephone number
– Press the function button.
– By rotating and pressing the control knob, dial the phone
number required, without forgetting any area codes ⇒fig. 89.
– To start dialling the number, select OK in the alphanumeric
keyboard, or
– Press the control button for Dial ⇒ fig. 89 .
Entering the telephone number using a sequence of letters
– Press the function button. – By rotating and pressing the control knob, enter an area code
using the alphanumeric keyboard, e.g. 0800.
– Select 0-9 ⇒fig. 89 in the alphanumeric keyboard for
numbers. The keyboard for letters will appear ⇒page 18,
fig. 20 .
– By rotating and pressing the control knob, enter a suitable string of letters using the alphanumeric keyboard, e.g. SEAT.
– To start dialling the SEAT number, select OK in the alphanumeric
keyboard or
–Press the Dial control button.
Finding and dialling stored telephone numbers
–Press the Memory control button.
– Select Numbers dialled , Directory , Phone book , Missed calls or
Received calls . The numbers will be listed.
– Using the rotary pushbutton, select the number you wish to store. The number will be included in the keyboard.
– To start dialling the number, select OK in the alphanumeric
keyboard, or
–Press the Dial control button.
You can delete the number in the alphanumeric keyboard entry field by
pressing the button.
Fig. 89 Telephone: Enter
a number
TELTEL
A1RETURN
media_systemE_EN.book Seite 74 Montag, 21. September 2009 1:48 13
Page 76 of 167
Mobile phone system*75
Operating
RADIO, MEDIA (audiovisual
systems)
NAME, TEL
NAV, INFO
CAR, SETUP
Note
•DTMF tones can be entered directly using the alphanumeric keyboard or
loaded from the telephone numbers stored in the memory lists ⇒ page 77.•The audio source is muted automatically when you make or receive tele-
phone calls. The Mute symbol ⇒page 10, fig. 9 will then appear in the
status line.•You can still make calls using the mobile phone. Please refer to the
instructions for your mobile phone for more information.
² ⇒page 86 provides information relating to the telephone speech control
system*.•If you make calls using the mobile phone, the telephone number may not
appear on the display.•Navigation messages are given during a telephone call if the navigation
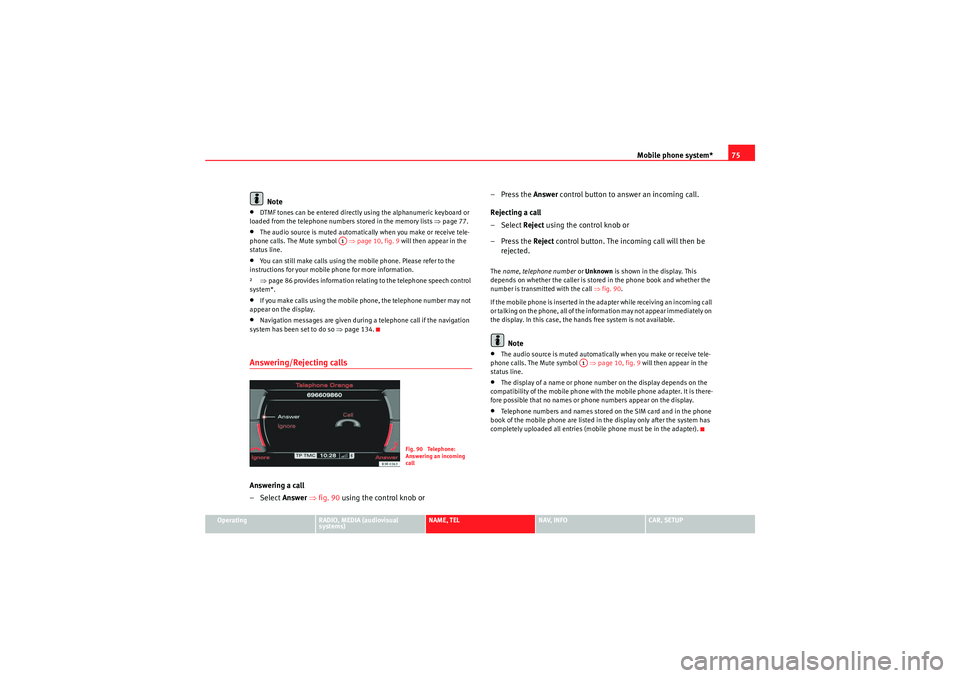
system has been set to do so ⇒page 134.Answering/Rejecting callsAnswering a call
–Select Answer ⇒ fig. 90 using the control knob or –Press the Answer
control button to answer an incoming call.
Rejecting a call
– Select Reject using the control knob or
–Press the Reject control button. The incoming call will then be
rejected.
The name , telephone number or Unknown is shown in the display. This
depends on whether the caller is stored in the phone book and whether the
number is transmitted with the call ⇒fig. 90 .
If the mobile phone is inserted in the adapter while receiving an incoming call
or talking on the phone, all of the information may not appear immediately on
the display. In this case, the hands free system is not available.
Note
•The audio source is muted automatically when you make or receive tele-
phone calls. The Mute symbol ⇒page 10, fig. 9 will then appear in the
status line.•The display of a name or phone number on the display depends on the
compatibility of the mobile phone with the mobile phone adapter. It is there-
fore possible that no names or phone numbers appear on the display.•Telephone numbers and names stored on the SIM card and in the phone
book of the mobile phone are listed in the display only after the system has
completely uploaded all entries (mobile phone must be in the adapter).
A1
Fig. 90 Telephone:
Answering an incoming
call
A1
media_systemE_EN.book Seite 75 Montag, 21. September 2009 1:48 13
Page 78 of 167
Mobile phone system*77
Operating
RADIO, MEDIA (audiovisual
systems)
NAME, TEL
NAV, INFO
CAR, SETUP
"Memory" MenuIntroductionYou can access phone numbers in the directory, phone book and call lists and
place calls using the Memory function. You can store entries from the call lists
in the directory.
The following functions are available:•Numbers dialled ⇒page 77•Call voice mailbox ⇒page 78
•Directory ⇒page 78•Phone book ⇒page 79•Received calls ⇒page 80•Missed calls ⇒page 80•Store current number ⇒page 81Note
•Some of these functions may be not be active, and will then be greyed-
out . For example, if you have not stored a phone number for your voice
mailbox under Setup Telephone ⇒page 85, the option for Call voice mailbox
will be greyed-out and cannot be selected.•The relevant functions will be greyed-out in the display while the phone
book entries are being loaded into the memory ⇒page 79.•It is possible that no entries for “Numbers dialled”, “Received calls” and
“Missed calls” are shown in the display.Numbers dialled–Press the Memory control button in a telephone menu.
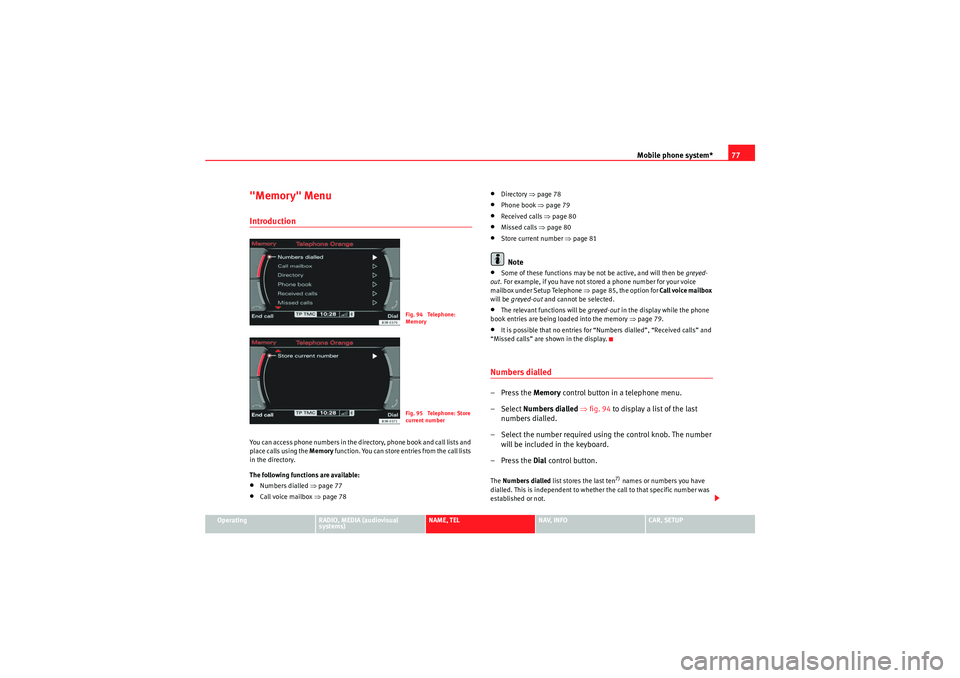
– Select Numbers dialled ⇒ fig. 94 to display a list of the last
numbers dialled.
– Select the number required using the control knob. The number will be included in the keyboard.
–Press the Dial control button.The Numbers dialled list stores the last ten
7) names or numbers you have
dialled. This is independent to whether the call to that specific number was
established or not.
Fig. 94 Telephone:
MemoryFig. 95 Telephone: Store
current number
media_systemE_EN.book Seite 77 Montag, 21. September 2009 1:48 13
Page 79 of 167
Mobile phone system*
78Depending on your mobile phone, the number last dialled is displayed at the
top or bottom of the list.
You can access the Numbers dialled list from the telephone main menu by
pressing the control button for Dial when the keyboard entry space is
empty.Voi ce ma ilbox– Press the Memory control button in a telephone menu.
– Select Call voice mailbox ⇒ page 77, fig. 94 . The voice mailbox
number you have stored will be dialled.
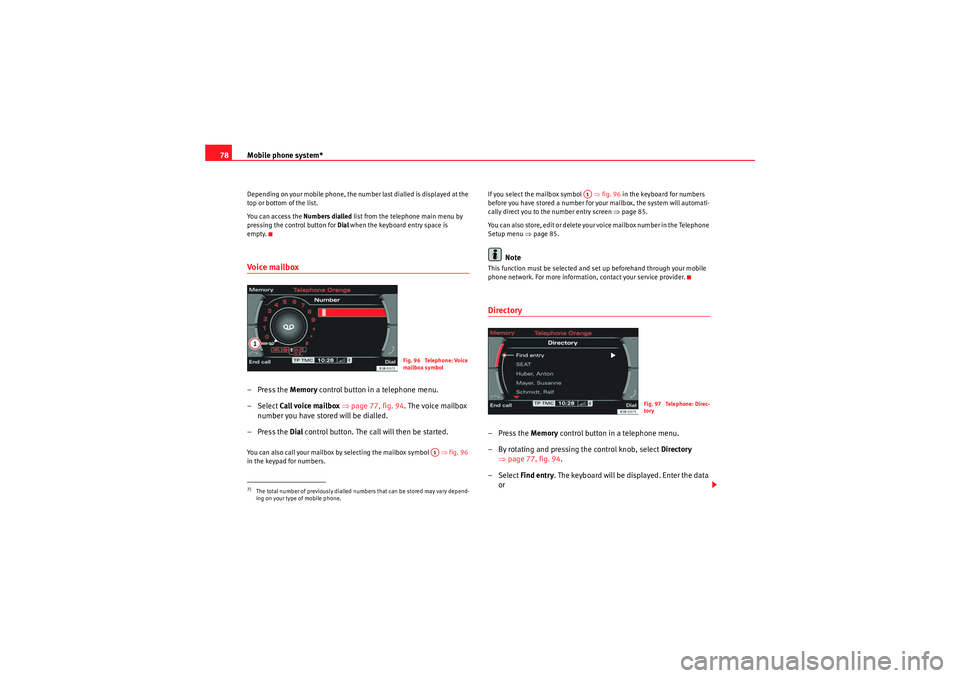
– Press the Dial control button. The call will then be started.You can also call your mailbox by selecting the mailbox symbol ⇒fig. 96
in the keypad for numbers. If you select the mailbox symbol
⇒fig. 96 in the keyboard for numbers
before you have stored a number for your mailbox, the system will automati-
cally direct you to the number entry screen ⇒page 85.
You can also store, edit or delete your voice mailbox number in the Telephone
Setup menu ⇒page 85.
Note
This function must be selected and set up beforehand through your mobile
phone network. For more information, contact your service provider.Directory–Press the Memory control button in a telephone menu.
– By rotating and pressing the control knob, select Directory
⇒ page 77, fig. 94 .
– Select Find entry . The keyboard will be displayed. Enter the data
or
7)The total number of previously dialled numbers that can be stored may vary depend-
ing on your type of mobile phone.
Fig. 96 Telephone: Voice
mailbox symbol
A1
A1
Fig. 97 Telephone: Direc-
tory
media_systemE_EN.book Seite 78 Montag, 21. September 2009 1:48 13
Page 80 of 167
Mobile phone system*79
Operating
RADIO, MEDIA (audiovisual
systems)
NAME, TEL
NAV, INFO
CAR, SETUP
– Select a name from the list.
–Select OK using the alphanumeric keyboard, or
– Press the Dial control button.If you have stored more than one number for one of your contacts, all the
numbers will be listed.
If no telephone numbers have been stored in the directory, the directory will
appear greyed out on the display. it cannot be selected.
Note
Use the button to access and edit your directory data ⇒page 63.Phone book– Press the Memory control button in a telephone menu.
– By rotating and pressing the control knob, select Phone book.
–Select Find entry . The alphanumeric keyboard will appear, or
– Select a name from the list.
–Select OK using the alphanumeric keyboard, or
– Press the Dial control button.Loading the phone book entries
Provided your mobile phone supports this function, the phone book entries
will be automatically scanned into the memory of the mobile phone adapter
after you have switched on the ignition and inserted the mobile phone in the adapter. It may take several minutes to load the entries, depending on how
many entries are stored on the mobile phone. The message
Please wait... will
appear on the instrument panel display during this process.
The last four phone books loaded into the mobile phone adapter remain
stored there. When you link a fifth mobile phone to the mobile phone
adapter, the phone book from the mobile phone which has not been used for
the longest time is deleted from the mobile phone adapter. Up to 500 phone
book entries per phone book can be stored in the memory.
Using the mobile phone again later
If the SIM card is identical, the phone b ook entries are already stored in the
mobile phone adapter. You can use the phone book almost immediately.
The system automatically searches for changes or new entries and stores
them automatically. This process can take several minutes. If your vehicle is
equipped with the speech control system* ⇒page 86, you cannot record any
spoken names in the phone book for the speech control system while phone
book entries are being loaded from the mobile phone.
Displaying the phone book entries
The phone book entries are displayed in alphabetical order together with a
category symbol, e.g. SIM card, private, business, mobile phone or telephone
symbol.
Note
•Which phone book entries are displayed by the navigation system will
depend on the mobile phone you are using.•In certain cases, phone book entries from a mobile phone may not be
transmitted in alphabetical order. If more than 500 phone book entries exist,
entries with certain initial letters may not appear on the navigation system
display.
NAME
media_systemE_EN.book Seite 79 Montag, 21. September 2009 1:48 13
Page 81 of 167
Mobile phone system*
80Received calls– Press the Memory control button in a telephone menu.
– Select Received calls ⇒ page 77, fig. 94 . The last ten calls that
have been answered will be stored.
– Select the number required using the control knob. The number will be included in the keyboard.
– Press the Dial control button.The last ten
8) names or numbers of the calls you have answered are stored in
the Calls received list.
Depending on your type of mobile phone, the telephone number and name of
the most recent received call will appear either at the first position or last
position in the list.
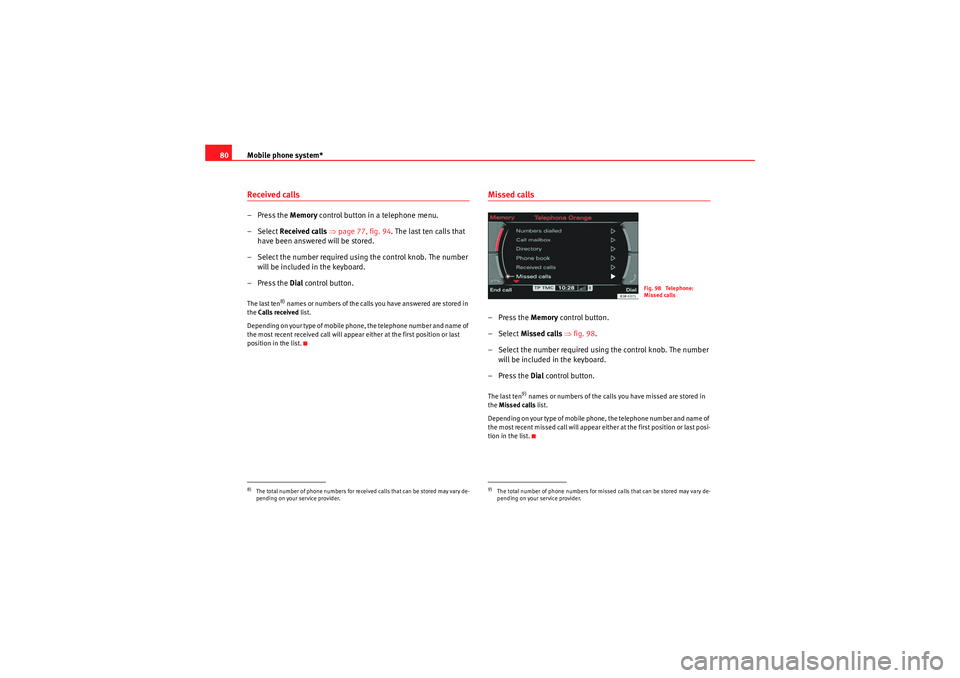
Missed calls–Press the Memory control button.
– Select Missed calls ⇒ fig. 98.
– Select the number required using the control knob. The number will be included in the keyboard.
–Press the Dial control button.The last ten
9) names or numbers of the calls you have missed are stored in
the Missed calls list.
Depending on your type of mobile phone, the telephone number and name of
the most recent missed call will appear either at the first position or last posi-
tion in the list.
8)The total number of phone numbers for received calls that can be stored may vary de-
pending on your service provider.
9)The total number of phone numbers for missed calls that can be stored may vary de-
pending on your service provider.
Fig. 98 Telephone:
Missed calls
media_systemE_EN.book Seite 80 Montag, 21. September 2009 1:48 13
Page 86 of 167
Mobile phone system*85
Operating
RADIO, MEDIA (audiovisual
systems)
NAME, TEL
NAV, INFO
CAR, SETUP
When "Automatic answer" is on, an incoming call is answered automatically.
However, you do have the opportunity to quickly select
Reject if you wish to
reject the call.
Voice mailboxStoring the voice mailbox number
– Press the button in a telephone menu.
–Select Voice mailbox number .
– Press the rotary pushbutton to enter the number using the alpha- numeric keyboard.
–Select OK in the alphanumeric keyboard to store the new mailbox
number.
Editing the voice mailbox number
– Press the button in a telephone menu.
–Select Voice mailbox number .
– Press the control knob to edit the number using the alphanu- meric keypad.
–Select OK in the alphanumeric keyboard to store the new voice
mailbox number.
Deleting the voice mailbox number
– Press the button in a telephone menu.
–Select Voice mailbox number . – Press the control knob. The alph
anumeric keyboard will appear.
– Select DEL in the alphanumeric keyboard.
– Press the control knob until the voice mailbox number has been deleted.
– Select OK in the alphanumeric keyboard to confirm deletion of
the number.
If you have stored your voice mailbox number, you can consult it using the
Memory control button ⇒page 78. You can listen to any voice messages left
in your mailbox.
This function must be selected and se t up beforehand. For more information,
contact your service provider.
Note
•You can also use the alphanumeric keyboard to call your voice mailbox
⇒ page 78.•If you are abroad, do not forget to dial the necessary country codes.
SETUPSETUPSETUP
media_systemE_EN.book Seite 85 Montag, 21. September 2009 1:48 13
Page 92 of 167
Mobile phone system*91
Operating
RADIO, MEDIA (audiovisual
systems)
NAME, TEL
NAV, INFO
CAR, SETUP
– Give the command CORREC T.If the PIN code is more than 8 digits long, the speech control system will
decline and give the cue The PIN is too long. If the specified PIN code is incor-
rect, the system will say The PIN is incorrect . If the wrong PIN code is entered
three times in a row, the SIM card will be blocked. You can unblock the SIM
card by entering the PUK code (personal unblocking key) via the keypad of
your mobile phone.Dialling a number
A telephone number can be specified to the system and then
dialled.– Switch on the speech control system ⇒page 88.
– Say the command DIAL NUMBER. The speech control system will
ask you to enter a telephone number.
– Say the digits of the telephone number individually or in groups. After each block of digits you specify (separated by a brief pause)
the system will repeat the digits.
–Say DIAL when you have completed the number entry. The tele-
phone number will be dialled.Redialling– Switch on the speech control system ⇒page 88. –Say the command
REDIAL. The last telephone number you used
will be dialled.
Note
On some mobile phones, the number you dialled last is placed at the bottom
of the list. In this case, the redial function of the speech control system
cannot be used.
media_systemE_EN.book Seite 91 Montag, 21. September 2009 1:48 13
Page 105 of 167
Navigation (NAV)*
104Main navigation menuEntering a destination
There are various ways of entering the navigation destina-
tions.First determine whether you would like to navigate to a final destination with
or without stopovers ⇒page 120. After you have selected the type of guid-
ance (with/without stopovers) you can enter a destination over different
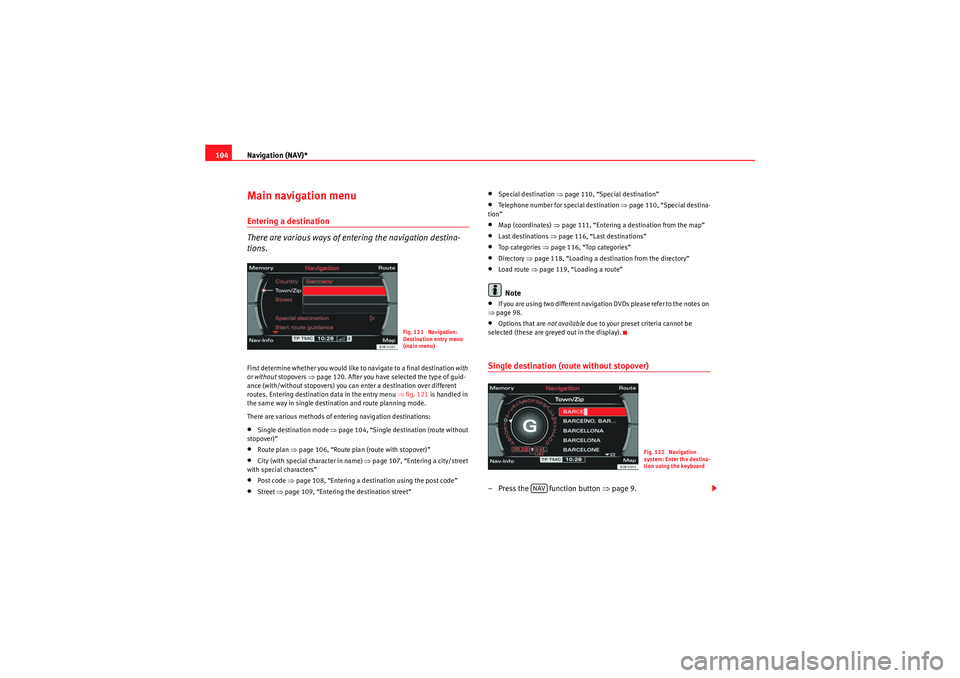
routes. Entering destination data in the entry menu ⇒fig. 121 is handled in
the same way in single destination and route planning mode.
There are various methods of entering navigation destinations:•Single destination mode ⇒page 104, “Single destination (route without
stopover)”•Route plan ⇒ page 106, “Route plan (route with stopover)”•City (with special character in name) ⇒page 107, “Entering a city/street
with special characters”•Post code ⇒page 108, “Entering a destination using the post code”•Street ⇒page 109, “Entering the destination street”
•Special destination ⇒page 110, “Special destination”•Telephone number for special destination ⇒page 110, “Special destina-
tion”•Map (coordinates) ⇒page 111, “Entering a destination from the map”•Last destinations ⇒page 116, “Last destinations”•To p ca t ego r i es ⇒ page 116, “Top categories”•Directory ⇒page 118, “Loading a destination from the directory”•Load route ⇒page 119, “Loading a route”Note
•If you are using two different navigation DVDs please refer to the notes on
⇒ page 98.•Options that are not available due to your preset criteria cannot be
selected (these are greyed out in the display).Single destination (route without stopover)– Press the function button ⇒ page 9.
Fig. 121 Navigation:
Destination entry menu
(main menu)
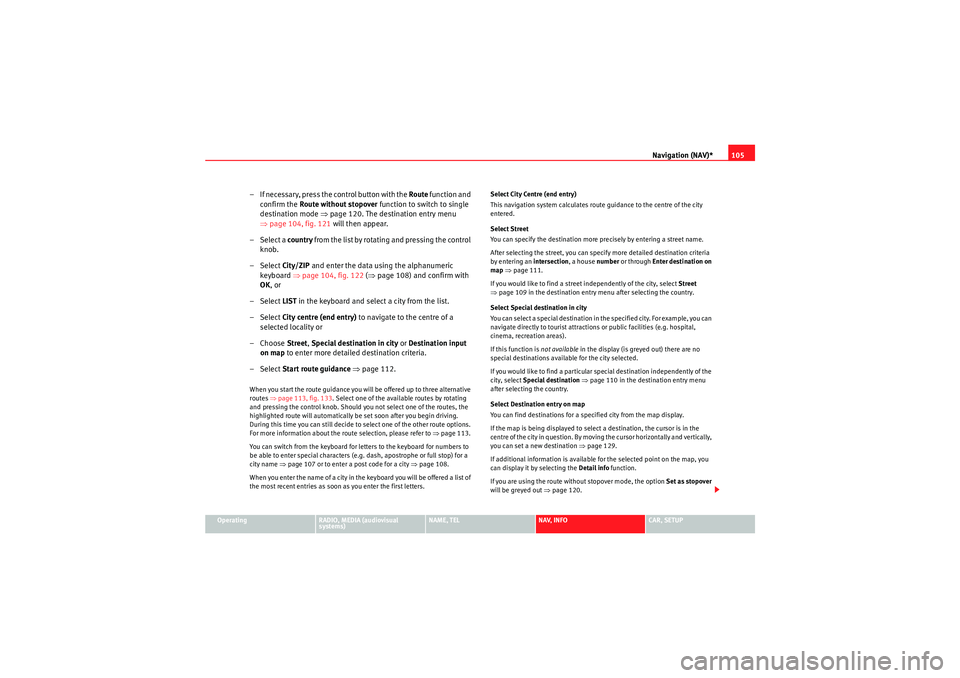
Fig. 122 Navigation
system: Enter the destina-
tion using the keyboard
NAV
media_systemE_EN.book Seite 104 Montag, 21. September 2009 1:48 13
Page 106 of 167
Navigation (NAV)*105
Operating
RADIO, MEDIA (audiovisual
systems)
NAME, TEL
NAV, INFO
CAR, SETUP
– If necessary, press the control button with the Route function and
confirm the Route without stopover function to switch to single
destination mode ⇒page 120. The destination entry menu
⇒ page 104, fig. 121 will then appear.
–Select a country from the list by rotating and pressing the control
knob.
–Select City/ZIP and enter the data using the alphanumeric
keyboard ⇒page 104, fig. 122 (⇒ page 108) and confirm with
OK , or
–Select LIST in the keyboard and select a city from the list.
–Select City centre (end entry) to navigate to the centre of a
selected locality or
–Choose Street, Special destination in city or Destination input
on map to enter more detailed destination criteria.
–Select Start route guidance ⇒ page 112.When you start the route guidance you will be offered up to three alternative
routes ⇒ page 113, fig. 133 . Select one of the available routes by rotating
and pressing the control knob. Should you not select one of the routes, the
highlighted route will automatically be set soon after you begin driving.
During this time you can still decide to select one of the other route options.
For more information about the route selection, please refer to ⇒page 113.
You can switch from the keyboard for letters to the keyboard for numbers to
be able to enter special characters (e.g. dash, apostrophe or full stop) for a
city name ⇒page 107 or to enter a post code for a city ⇒ page 108.
When you enter the name of a city in the keyboard you will be offered a list of
the most recent entries as soon as you enter the first letters. Select City Centre (end entry)
This navigation system calculates route guidance to the centre of the city
entered.
Select Street
You can specify the destination more precisely by entering a street name.
After selecting the street, you can specify more detailed destination criteria
by entering an intersection
, a house number or through Enter destination on
map ⇒ page 111.
If you would like to find a street independently of the city, select Street
⇒ page 109 in the destination entry menu after selecting the country.
Select Special destination in city
You can select a special destination in the specified city. For example, you can
navigate directly to tourist attractions or public facilities (e.g. hospital,
cinema, recreation areas).
If this function is not available in the display (is greyed out) there are no
special destinations available for the city selected.
If you would like to find a particular special destination independently of the
city, select Special destination ⇒ page 110 in the destination entry menu
after selecting the country.
Select Destination entry on map
You can find destinations for a specified city from the map display.
If the map is being displayed to select a destination, the cursor is in the
centre of the city in question. By moving the cursor horizontally and vertically,
you can set a new destination ⇒page 129.
If additional information is available for the selected point on the map, you
can display it by selecting the Detail info function.
If you are using the route without stopover mode, the option Set as stopover
will be greyed out ⇒page 120.
media_systemE_EN.book Seite 105 Montag, 21. September 2009 1:48 13