ignition Seat Exeo 2011 MEDIA SYSTEM 1.0
[x] Cancel search | Manufacturer: SEAT, Model Year: 2011, Model line: Exeo, Model: Seat Exeo 2011Pages: 124, PDF Size: 6.35 MB
Page 6 of 124
Overview5
Operating
RADIO, CD/MP3
TEL (telephone)
NAV, INFO
SETUP
Display control knob (
) . . . . . . . . . . . . . . . . . . . . . . . . . . . . . .
Function buttons . . . . . . . . . . . . . . . . . . . . . . . . . . . . . . . . . . . . .
Eject button . . . . . . . . . . . . . . . . . . . . . . . . . . . . . . . . . . . . . . . . .
Display . . . . . . . . . . . . . . . . . . . . . . . . . . . . . . . . . . . . . . . . . . . . .
CD slot
Forward/reverse buttons . . . . . . . . . . . . . . . . . . . . . . . . . . . . . .
Rotary pushbutton . . . . . . . . . . . . . . . . . . . . . . . . . . . . . . . . . . .
Control buttons . . . . . . . . . . . . . . . . . . . . . . . . . . . . . . . . . . . . . . button . . . . . . . . . . . . . . . . . . . . . . . . . . . . . . . . . . . . . .
Note
•Please note that this instruction manual only describes the SEAT naviga-
tion system and its components. For more information about the features and
equipment fitted on your vehicle, please refer to the owner's manual.•Some of the equipment shown is found only in certain model versions or
is not supplied as standard.Switching on and offAutomatic switching on and offThe navigation system switches on automatically after you turn the ignition
on . When you remove your key from the ignition lock , the navigation system
will automatically switch off.
What happens when it is switched on?
When the system is switched on, the start screen appears. Then the last
selected main function is switched on automatically. The last selected
audio/video source is automatically switched on. What happens when it is switched off?
When the equipment is switched off, the display darkens and the audio
source is silenced. Settings made are stored.
Switching on and off manually
The navigation system can also be turned on and off manu-
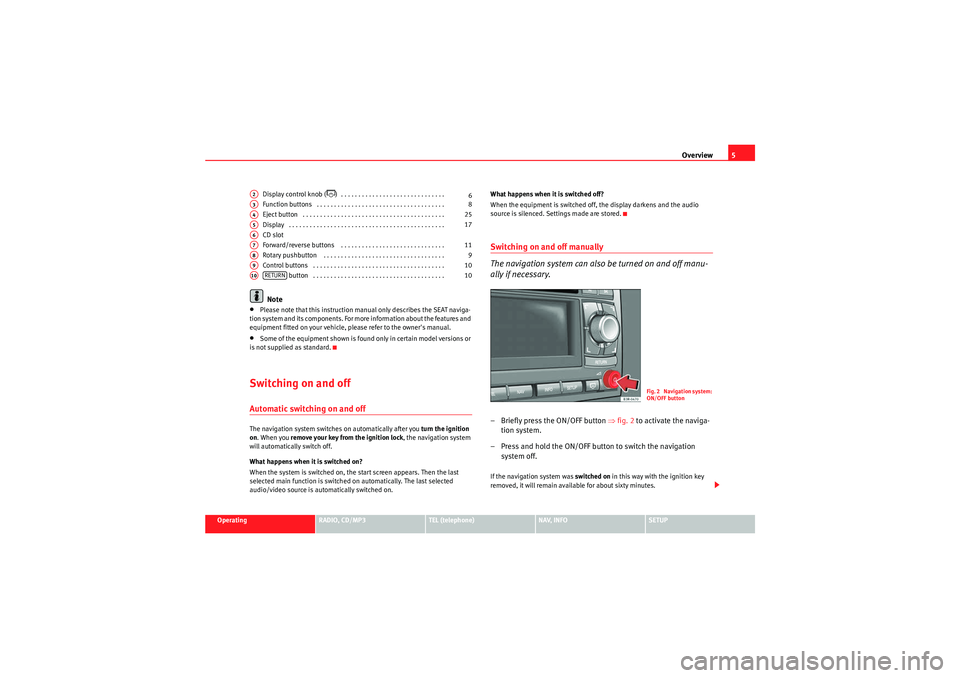
ally if necessary.– Briefly press the ON/OFF button
⇒fig. 2 to activate the naviga-
tion system.
– Press and hold the ON/OFF button to switch the navigation system off.If the navigation system was switched on in this way with the ignition key
removed, it will remain available for about sixty minutes.
A2
6
A3
8
A4
25
A5
17
A6A7
11
A8
9
A9
10
A10
RETURN
10
Fig. 2 Navigation system:
ON/OFF button
Media System 1.0_EN.book Seite 5 Donnerstag, 10. September 2009 1:52 13
Page 7 of 124
Overview
6If the system was switched off manually, it will not be switched on again auto-
matically the next time the ignition is turned on.
Note
•Where the battery level does not reach a pre-established value and the
engine is not running, the navigation system will switch off automatically. You
should therefore start the engine if you wish to continue using the function.•Briefly press the ON/OFF button to activate or deactivate the MUTE func-
tion for the current audio source ⇒page 12.Switching the navigation system display screen on and offThe display switches on automatically when the navigation system is
switched on. It also switches off again automatically when the system is
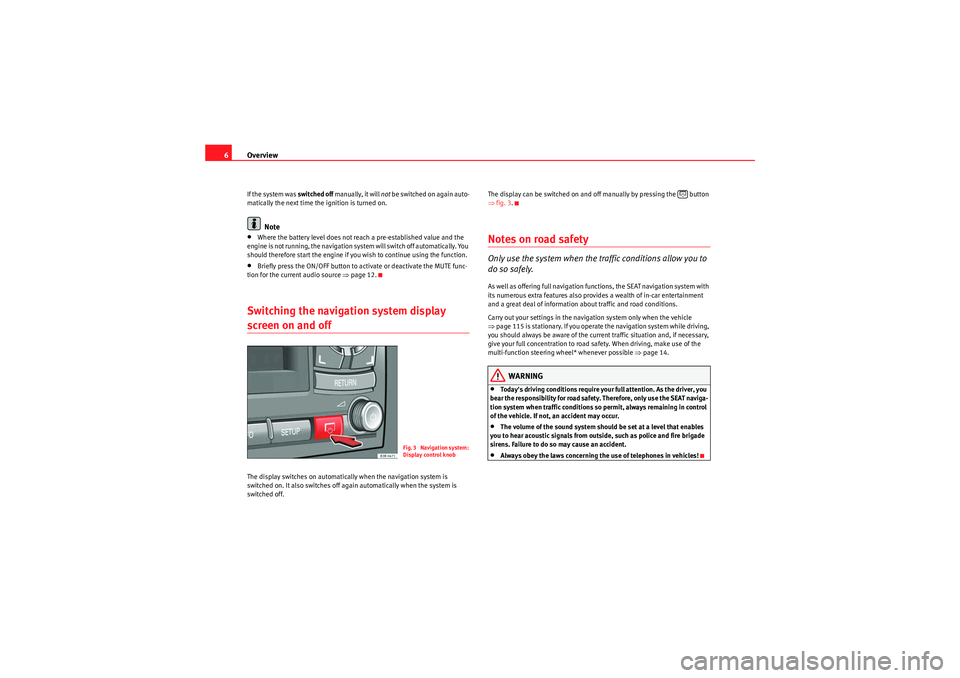
switched off. The display can be switched on and off manually by pressing the button
⇒
fig. 3.
Notes on road safetyOnly use the system when the traffic conditions allow you to
do so safely.As well as offering full navigation functions, the SEAT navigation system with
its numerous extra features also provides a wealth of in-car entertainment
and a great deal of information about traffic and road conditions.
Carry out your settings in the navigation system only when the vehicle
⇒page 115 is stationary. If you operate the navigation system while driving,
you should always be aware of the current traffic situation and, if necessary,
give your full concentration to road safety. When driving, make use of the
multi-function steering wheel* whenever possible ⇒page 14.
WARNING
•Today's driving conditions require your full attention. As the driver, you
bear the responsibility for road safety. Therefore, only use the SEAT naviga-
tion system when traffic conditions so permit, always remaining in control
of the vehicle. If not, an accident may occur.•The volume of the sound system should be set at a level that enables
you to hear acoustic signals from outside, such as police and fire brigade
sirens. Failure to do so may cause an accident.•Always obey the laws concerning the use of telephones in vehicles!
Fig. 3 Navigation system:
Display control knob
Media System 1.0_EN.book Seite 6 Donnerstag, 10. September 2009 1:52 13
Page 29 of 124
Drives
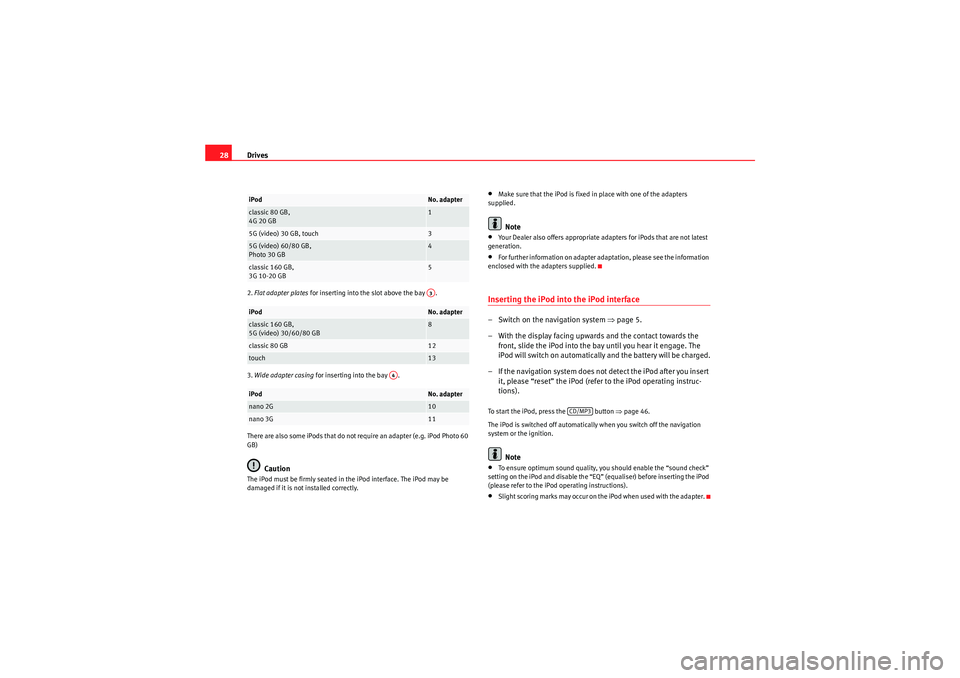
282. Flat adapter plates for inserting into the slot above the bay .
3. Wide adapter casing for inserting into the bay .
There are also some iPods that do not require an adapter (e.g. iPod Photo 60
GB)
Caution
The iPod must be firmly seated in the iPod interface. The iPod may be
damaged if it is not installed correctly.
•Make sure that the iPod is fixed in place with one of the adapters
supplied.Note
•Your Dealer also offers appropriate adapters for iPods that are not latest
generation.•For further information on adapter adaptation, please see the information
enclosed with the adapters supplied.Inserting the iPod into the iPod interface– Switch on the navigation system ⇒page 5.
– With the display facing upwards and the contact towards the front, slide the iPod into the bay until you hear it engage. The
iPod will switch on automatically and the battery will be charged.
– If the navigation system does not detect the iPod after you insert it, please “reset” the iPod (refer to the iPod operating instruc-
tions).To start the iPod, press the button ⇒ page 46.
The iPod is switched off automatically when you switch off the navigation
system or the ignition.
Note
•To ensure optimum sound quality, you should enable the “sound check”
setting on the iPod and disable the “EQ” (equaliser) before inserting the iPod
(please refer to the iPod operating instructions).•Slight scoring marks may occur on the iPod when used with the adapter.
iPod
No. adapter
classic 80 GB,
4G 20 GB
1
5G (video) 30 GB, touch
3
5G (video) 60/80 GB,
Photo 30 GB
4
classic 160 GB,
3G 10-20 GB
5
iPod
No. adapter
classic 160 GB,
5G (video) 30/60/80 GB
8
classic 80 GB
12
touch
13
iPod
No. adapter
nano 2G
10
nano 3G
11A3
A4
CD/MP3
Media System 1.0_EN.book Seite 28 Donnerstag, 10. September 2009 1:52 13
Page 31 of 124
Drives
30•Never leave your memory stick or MP3 player in the vehicle in case of
extreme temperatures.Note
Please refer to the manufacturer's operating instructions for important infor-
mation on how to use your memory stick or MP3 player.Connecting a memory stick / MP3 player
For problem-free operation, use only approved memory sticks
and MP3 players.– Switch on the navigation system.
– Switch the audio source for the navigation system to radio.
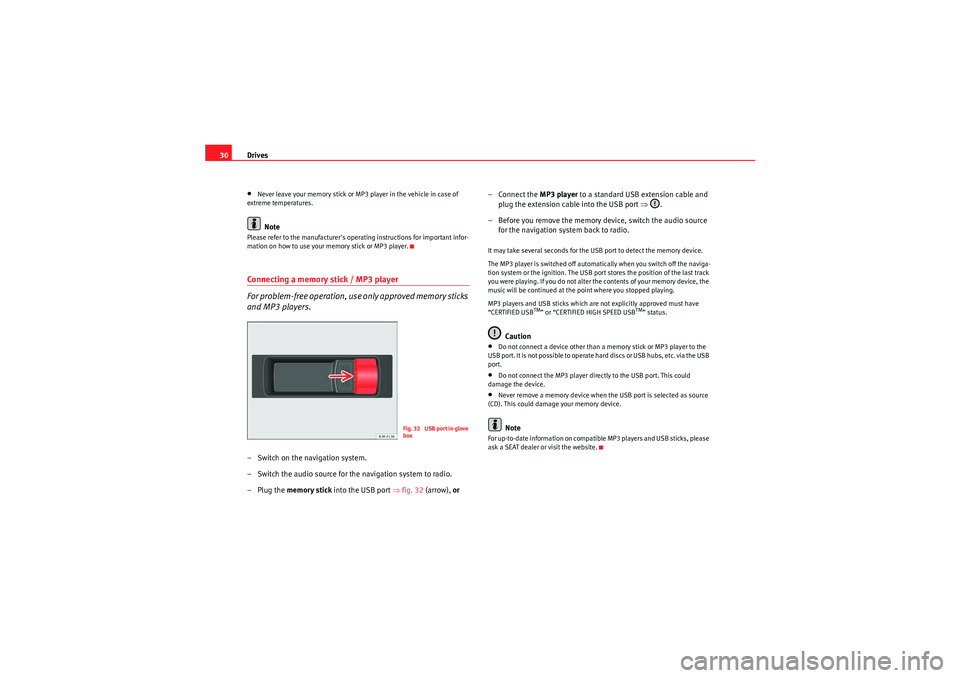
–Plug the memory stick into the USB port ⇒fig. 32 (arrow), or – Connect the
MP3 player to a standard USB extension cable and
plug the extension cable into the USB port ⇒.
– Before you remove the memory device, switch the audio source for the navigation system back to radio.
It may take several seconds for the USB port to detect the memory device.
The MP3 player is switched off automatically when you switch off the naviga-
tion system or the ignition. The USB port stores the position of the last track
you were playing. If you do not alter the contents of your memory device, the
music will be continued at the point where you stopped playing.
MP3 players and USB sticks which are not explicitly approved must have
“CERTIFIED USB
TM” or “CERTIFIED HIGH SPEED USB
TM” status.
Caution
•Do not connect a device other than a memory stick or MP3 player to the
U S B p o r t . I t is n o t p o ss i b l e to o p e ra t e h a r d d is cs o r U S B h u b s , e t c . v i a t h e U S B
port.•Do not connect the MP3 player directly to the USB port. This could
damage the device.•Never remove a memory device when the USB port is selected as source
(CD). This could damage your memory device.Note
For up-to-date information on compatible MP3 players and USB sticks, please
ask a SEAT dealer or visit the website.
Fig. 32 USB port in glove
box
Media System 1.0_EN.book Seite 30 Donnerstag, 10. September 2009 1:52 13
Page 61 of 124
Mobile phone system
60− If retrofitting an external aerial, please ensure that it is installed
correctly.Bluetooth®
Bluetooth technology enables a wireless connection between
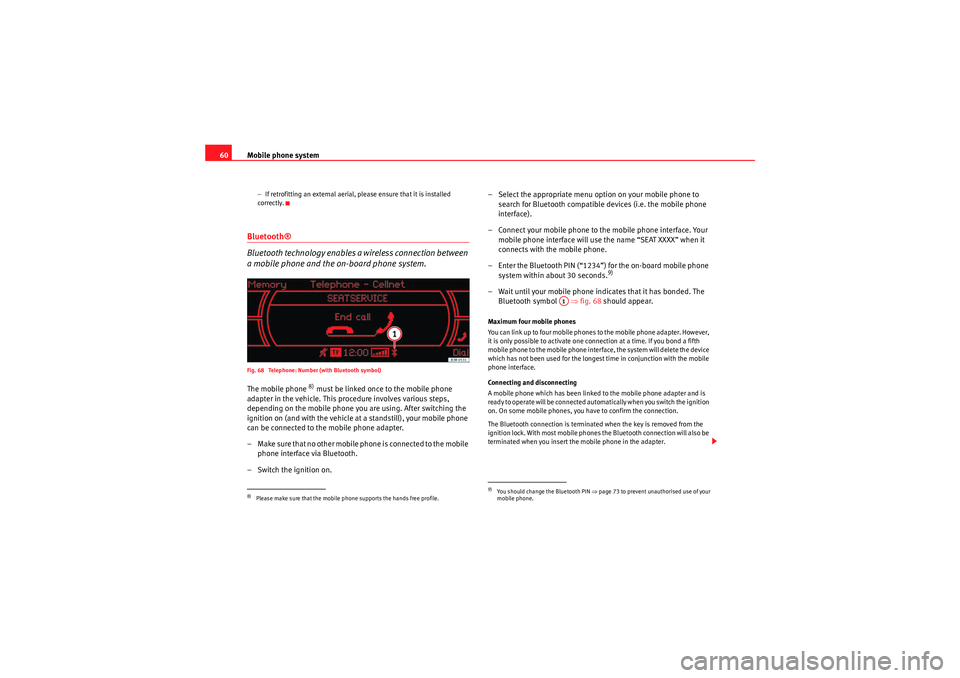
a mobile phone and the on-board phone system.Fig. 68 Telephone: Number (with Bluetooth symbol)The mobile phone
8) must be linked once to the mobile phone
adapter in the vehicle. This procedure involves various steps,
depending on the mobile phone yo u are using. After switching the
ignition on (and with the vehicle at a standstill), your mobile phone
can be connected to the mobile phone adapter.
– Make sure that no other mobile phone is connected to the mobile phone interface via Bluetooth.
– Switch the ignition on. – Select the appropriate menu option on your mobile phone to
search for Bluetooth compatible devices (i.e. the mobile phone
interface).
– Connect your mobile phone to the mobile phone interface. Your mobile phone interface will use the name “SEAT XXXX” when it
connects with the mobile phone.
– Enter the Bluetooth PIN (“1234”) for the on-board mobile phone system within about 30 seconds.
9)
– Wait until your mobile phone indicates that it has bonded. The Bluetooth symbol ⇒fig. 68 should appear.Maximum four mobile phones
You can link up to four mobile phones to the mobile phone adapter. However,
it is only possible to activate one connection at a time. If you bond a fifth
mobile phone to the mobile phone interface, the system will delete the device
which has not been used for the longest time in conjunction with the mobile
phone interface.
Connecting and disconnecting
A mobile phone which has been linked to the mobile phone adapter and is
ready to operate will be connected automatically when you switch the ignition
on. On some mobile phones, you have to confirm the connection.
The Bluetooth connection is terminated when the key is removed from the
ignition lock. With most mobile phones the Bluetooth connection will also be
terminated when you insert the mobile phone in the adapter.
8)Please make sure that the mobile phone supports the hands free profile.
9)You should change the Bluetooth PIN ⇒page 73 to prevent unauthorised use of your
mobile phone.
A1
Media System 1.0_EN.book Seite 60 Donnerstag, 10. September 2009 1:52 13
Page 63 of 124
Mobile phone system
62The following submenus are available in the telephone function:
The following submenus are available in the telephone setup function:
The message “ Your telephone may not be connected or attached properly ”
will appear on the display if you press the button when there is no
connection between the mobile phone and the adapter. Insert the mobile
phone in the adapter ⇒page 59 or connect the phone to the system via Blue-
tooth ⇒page 60.
Requirements for using the telephone•The vehicle must be fitted with a mobile phone adapter ⇒page 57.•A mobile phone has been connected to the mobile phone adapter
⇒ page 59 or•A Bluetooth connection exists between the Bluetooth mobile phone and
the on-board phone system, and the ignition is switched on ⇒page 60.
The telephone functions described in this chapter depend on the following:
•The telephone used must be compatible with the mobile phone adapter
and it must support the telephone functions described.•The mobile network service provider must support the telephone func-
tions described.Note
•For technical reasons, mobile phones may be temporarily affected by
interference. Please refer to the instructions for your mobile phone for more
information.•The range of the handset may be affected in isolated areas (such as a
tunnel or underground garage).•Some places have no range at all. You will not be able to use the tele-
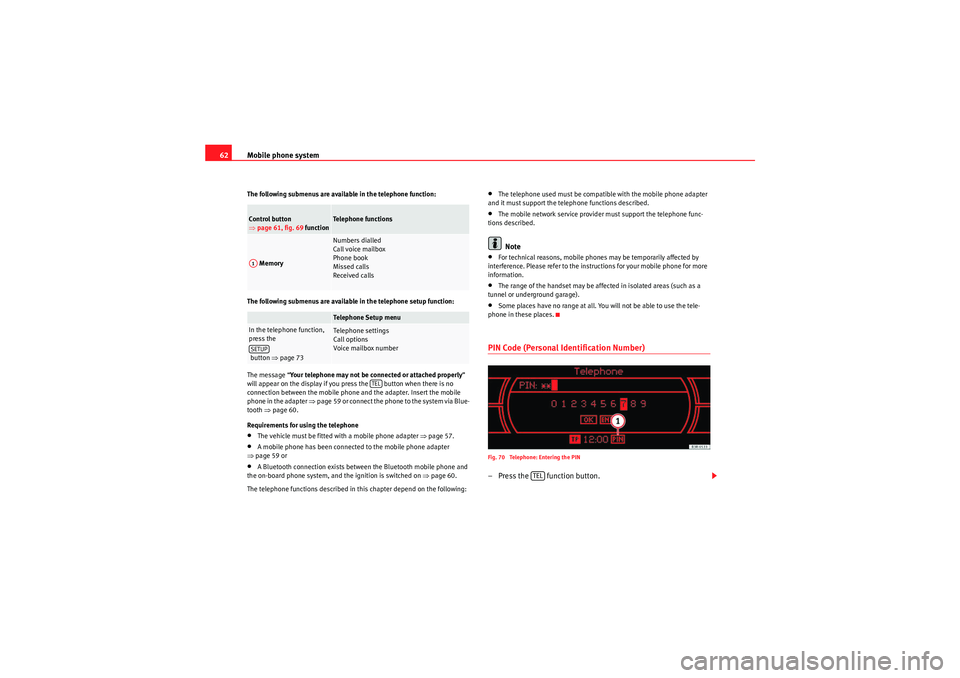
phone in these places.PIN Code (Personal Identification Number)Fig. 70 Telephone: Entering the PIN– Press the function button.
Control button
⇒ page 61, fig. 69 function
Te l e p h o n e f u n c t i o n s
Memory
Numbers dialled
Call voice mailbox
Phone book
Missed calls
Received callsTelephone Setup menu
In the telephone function,
press the
button ⇒page 73
Telephone settings
Call options
Voice mailbox num ber
A1SETUP
TEL
TEL
Media System 1.0_EN.book Seite 62 Donnerstag, 10. September 2009 1:52 13
Page 71 of 124
Mobile phone system
70
–Press the Dial control button.Loading the phone book entries
Provided your mobile phone supports this function, the phone book entries
will be automatically scanned into the memory of the mobile phone adapter
after you have switched on the ignition and inserted the mobile phone in the
adapter. This process may take several minutes, depending on how many
entries are stored on the mobile phone. The message Please wait... will
appear on the instrument panel display during this process.
The last four phone books loaded into the mobile phone adapter remain
stored there. When you link a fifth mobile phone to the mobile phone
adapter, the phone book from the mobile phone which has not been used for
the longest time is deleted from the mobile phone adapter. Up to 500 phone
book entries per phone book can be stored in the memory.
Using the mobile phone again later
If the SIM card is identical, the phone book entries are already stored in the
mobile phone adapter. You can use the phone book almost immediately.
The system searches for changes or new entries and stores them automati-
cally. This process can take several minutes. If your vehicle is equipped with
the speech control system* ⇒page 75, you cannot record any spoken names
in the phone book for the speech control system while phone book entries are
being loaded from the mobile phone.
Displaying the phone book entries
The phone book entries are displayed in alphabetical order together with a
category symbol ⇒page 69, fig. 81, e.g. SIM card, private, business, mobile
phone or telephone symbol.
Note
•Which phone book entries are displayed by the navigation system will
depend on the mobile phone you are using.
•In certain cases, phone book entries from a mobile phone may not be
transmitted in alphabetical order. If more than 500 phone book entries exist,
entries with certain initial letters may not appear on the navigation system
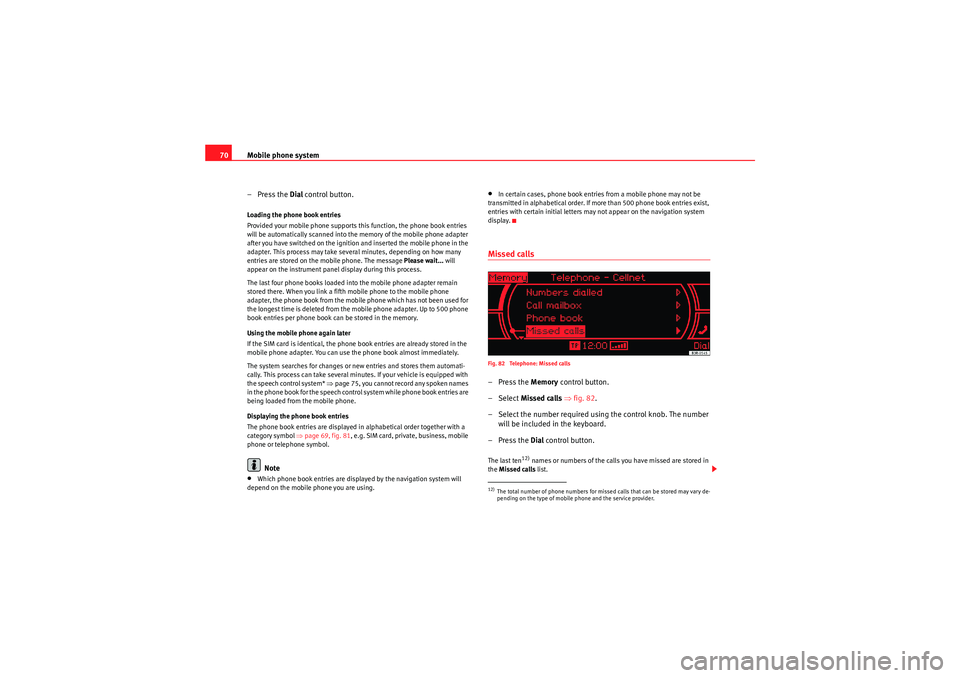
display.Missed callsFig. 82 Telephone: Missed calls–Press the Memory control button.
– Select Missed calls ⇒fig. 82 .
– Select the number required using the control knob. The number will be included in the keyboard.
–Press the Dial control button.The last ten
12) names or numbers of the calls you have missed are stored in
the Missed calls list.
12)The total number of phone numbers for missed calls that can be stored may vary de-
pending on the type of mobile phone and the service provider.
Media System 1.0_EN.book Seite 70 Donnerstag, 10. September 2009 1:52 13
Page 77 of 124
Mobile phone system
76•Keep the air outlets of the air distribution system pointed away from the
microphone, which is fitted in the vicinity of the front interior lights.•The system should only be operated by the driver, since the hands-free
microphone is directed towards the driver.WARNING
•Please direct your full attention to the road at all times! As the driver,
you bear the responsibility for road safety. Therefore, you should only use
the functions in a manner that allows you to maintain control of the vehicle
in all situations.•The speech control system must not be used in cases of emergency,
since the voice changes in stressful situations. This could result in a failed
or delayed telephone connection. Always dial emergency numbers
manually.
Phone book for the speech control system
Name tags are stored in the phone book for the speech
control system.General notes
The phone book for the speech control system has 50 memory positions. You
can use it independently of the mobile phone. The name tags are stored in
the phone book for the speech control system.
Functions
The phone book for the speech control system gives you various options:•Dialling phone numbers stored previously ⇒page 81•Recording a name in the speech control phone book for a phone book
entry in the on-board phone system ⇒ page 80
•Storing name tags (consisting of a name and number) in the phone book
for the speech control system ⇒page 81•Playing the phone book through the speech control system ⇒page 82
Once you have saved name tags in the phone book for the speech control
system, you can select them via the speech control system.
Entering data
You should choose spoken names that can be identified clearly by the speech
control system.
Numbers from ZERO to NINE are recognised when you enter a telephone
number. The telephone number can be specified all at once, in blocks of
digits (separated by a brief pause), or as single digits. After each block of
digits specified (separated by a brief pause) the system will repeat the digits.
The system does not recognise number combinations (e.g. "twenty-three")
but separate figures ( TWO, THREE ). Say the numbers clearly so that the
system can recognise them easily.
I f yo u i n d i ca t e a n u m b e r o f m o r e t h a n t w e n t y f i g u r e s , t h e s y s t e m w i ll r e s p o n d :
The number is too long . A Plus (+) can also be placed ahead of the number.
If the system does not recognise a phone book entry, you can play back the
name tags (voice entries) on the speech control system by saying the
command PLAY PHONE BOOK ⇒ page 82. Press the talk button as a name is
being read to select the entry.
The function is not possible
Should the system say The function is not possible , please check the status
of the speech control system:•Is the ignition switched on?•Is the mobile phone connected to the mobile phone interface via Blue-
tooth?•Is the mobile phone inserted in the mobile phone adapter?•Is the mobile phone switched on and the PIN entered?
Media System 1.0_EN.book Seite 76 Donnerstag, 10. September 2009 1:52 13
Page 78 of 124
Mobile phone system77
Operating
RADIO, CD/MP3
TEL (telephone)
NAV, INFO
SETUP
•Are the phone book entries being loaded from the mobile phone into the
mobile phone interface ⇒page 69?Speech control system: switching on and off
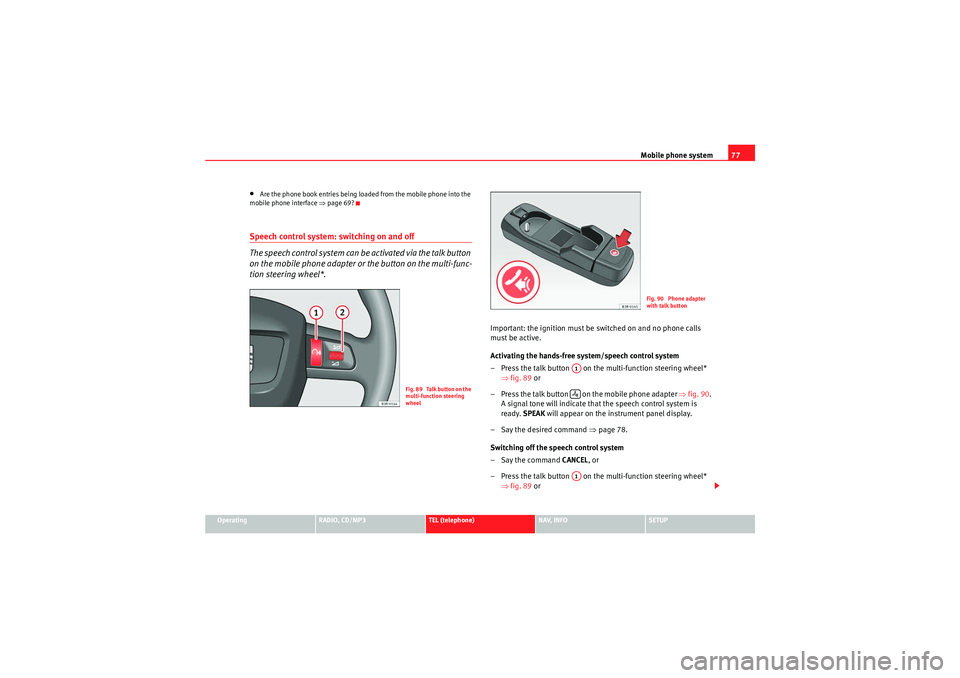
The speech control system can be activated via the talk button
on the mobile phone adapter or the button on the multi-func-
tion steering wheel*.
Important: the ignition must be switched on and no phone calls
must be active.
Activating the hands-free system/speech control system
– Press the talk button on the multi-function steering wheel*
⇒fig. 89 or
– Press the talk button on the mobile phone adapter ⇒fig. 90 .
A signal tone will indicate that the speech control system is
ready. SPEAK will appear on the instrument panel display.
– Say the desired command ⇒page 78.
Switching off the speech control system
–Say the command CANCEL, or
– Press the talk button on the multi-function steering wheel* ⇒fig. 89 or
F i g . 8 9 Ta l k b u t t o n o n t h e
multi-function steering
wheel
Fig. 90 Phone adapter
with talk button
A1A1
Media System 1.0_EN.book Seite 77 Donnerstag, 10. September 2009 1:52 13