manual radio set Seat Exeo 2013 MEDIA SYSTEM E
[x] Cancel search | Manufacturer: SEAT, Model Year: 2013, Model line: Exeo, Model: Seat Exeo 2013Pages: 167, PDF Size: 5.48 MB
Page 2 of 167
Contents1
ContentsNotes about this Owner's Manual
Operating
. . . . . . . . . . . . . . . . . . . . . . . . . . . . .
Overview
. . . . . . . . . . . . . . . . . . . . . . . . . . . . . . . . .
Control panel with screen . . . . . . . . . . . . . . . . . .
Switching on and off . . . . . . . . . . . . . . . . . . . . . .
Opening and closing the display . . . . . . . . . . . .
Notes on road safety . . . . . . . . . . . . . . . . . . . . . .
Cleaning and care . . . . . . . . . . . . . . . . . . . . . . . .
Handling: General information
. . . . . . . . . . . .
Control switches . . . . . . . . . . . . . . . . . . . . . . . . .
Multi-function steering wheel* . . . . . . . . . . . . . .
Display
. . . . . . . . . . . . . . . . . . . . . . . . . . . . . . . . . . .
Display orientation . . . . . . . . . . . . . . . . . . . . . . .
Working with the alphanumeric keyboard . . . . .
Control wheel . . . . . . . . . . . . . . . . . . . . . . . . . . . .
Drives
. . . . . . . . . . . . . . . . . . . . . . . . . . . . . . . . . . . .
System drives . . . . . . . . . . . . . . . . . . . . . . . . . . .
General instructions on CD mode . . . . . . . . . . . .
Instructions relating to memory cards . . . . . . . .
iPod interface* . . . . . . . . . . . . . . . . . . . . . . . . . . .
USB interface* . . . . . . . . . . . . . . . . . . . . . . . . . . .
Aux-in connection* . . . . . . . . . . . . . . . . . . . . . . .
RADIO, MEDIA (audiovisual
systems)
. . . . . . . . . . . . . . . . . . . . . . . . . . . . . .
RADIO
. . . . . . . . . . . . . . . . . . . . . . . . . . . . . . . . . . . .
Introduction . . . . . . . . . . . . . . . . . . . . . . . . . . . . .
Band function . . . . . . . . . . . . . . . . . . . . . . . . . . . Main radio menu . . . . . . . . . . . . . . . . . . . . . . . . .
"Memory" Menu . . . . . . . . . . . . . . . . . . . . . . . . . .
Tuning Menu . . . . . . . . . . . . . . . . . . . . . . . . . . . .
Radio setups . . . . . . . . . . . . . . . . . . . . . . . . . . . .
MEDIA
. . . . . . . . . . . . . . . . . . . . . . . . . . . . . . . . . . .
Introduction . . . . . . . . . . . . . . . . . . . . . . . . . . . . .
Source control button . . . . . . . . . . . . . . . . . . . . .
Main audio CD / MP3 CD menu . . . . . . . . . . . . .
Audio CD: Control menu . . . . . . . . . . . . . . . . . . .
Main MP3 menu . . . . . . . . . . . . . . . . . . . . . . . . .
MP3: Control menu . . . . . . . . . . . . . . . . . . . . . . .
MP3 settings . . . . . . . . . . . . . . . . . . . . . . . . . . . .
Adjusting sound settings
. . . . . . . . . . . . . . . . .
Setting the sound . . . . . . . . . . . . . . . . . . . . . . . .
DSP ("Digital Signal Processing") . . . . . . . . . . . .
Dynamic noise compensation* . . . . . . . . . . . . . .
Volume settings of other functions . . . . . . . . . .
NAME, TEL
. . . . . . . . . . . . . . . . . . . . . . . . . . . .
NAME (Directory)
. . . . . . . . . . . . . . . . . . . . . . . . .
Introduction . . . . . . . . . . . . . . . . . . . . . . . . . . . . .
Main directory menu . . . . . . . . . . . . . . . . . . . . . .
Mobile phone system*
. . . . . . . . . . . . . . . . . . . .
Introduction . . . . . . . . . . . . . . . . . . . . . . . . . . . . .
Installation . . . . . . . . . . . . . . . . . . . . . . . . . . . . . .
Using the telephone . . . . . . . . . . . . . . . . . . . . . .
Main telephone menu . . . . . . . . . . . . . . . . . . . . .
"Memory" Menu . . . . . . . . . . . . . . . . . . . . . . . . . .
Phone settings . . . . . . . . . . . . . . . . . . . . . . . . . . .
Telephone speech control system . . . . . . . . . . .
Speech recognition for some countries . . . . . . .
NAV, INFO
. . . . . . . . . . . . . . . . . . . . . . . . . . . . .
Navigation (NAV)*
. . . . . . . . . . . . . . . . . . . . . . . .
General safety precautions . . . . . . . . . . . . . . . . .
Introduction . . . . . . . . . . . . . . . . . . . . . . . . . . . . .
Main navigation menu . . . . . . . . . . . . . . . . . . . .
"Memory" Menu . . . . . . . . . . . . . . . . . . . . . . . . . .
Route control button . . . . . . . . . . . . . . . . . . . . . .
Map control button . . . . . . . . . . . . . . . . . . . . . . .
Nav-Info control button . . . . . . . . . . . . . . . . . . . .
Navigation settings . . . . . . . . . . . . . . . . . . . . . . .
INFO (Traffic information)
. . . . . . . . . . . . . . . . . .
Introduction . . . . . . . . . . . . . . . . . . . . . . . . . . . . .
Main traffic information menu . . . . . . . . . . . . . .
Memo TP control button . . . . . . . . . . . . . . . . . . .
Source function button . . . . . . . . . . . . . . . . . . . .
Traffic information setup . . . . . . . . . . . . . . . . . . .
CAR, SETUP
. . . . . . . . . . . . . . . . . . . . . . . . . .
CAR (vehicle settings)
. . . . . . . . . . . . . . . . . . . . .
Introduction . . . . . . . . . . . . . . . . . . . . . . . . . . . . .
SETUP
. . . . . . . . . . . . . . . . . . . . . . . . . . . . . . . . . . . .
Introduction . . . . . . . . . . . . . . . . . . . . . . . . . . . . .
Settings control button . . . . . . . . . . . . . . . . . . . .
Display control button . . . . . . . . . . . . . . . . . . . . .
Frequently Asked Questions (FAQ)
. . . . . . . . .
Emergencies . . . . . . . . . . . . . . . . . . . . . . . . . . . .
Index
. . . . . . . . . . . . . . . . . . . . . . . . . . . . . . . . . .
2
3
3
3
4
5
6
6
8
8
12
15
15
18
21
22
22
26
28
28
31
33
35
35
35
36 36
38
39
41
48
48
50
51
51
54
54
57
59
59
60
60
61
63
63
63
63
68
68
69
72
74
77
83
86
95
97
97
97
97
104
116
120
123
130
131
141
141
143
146
147
148
151
151
151
153
153
154
156
158
158
161
media_systemE_EN.book Seite 1 Montag, 21. September 2009 1:48 13
Page 6 of 167
Overview5
Operating
RADIO, MEDIA (audiovisual
systems)
NAME, TEL
NAV, INFO
CAR, SETUP
– Press and hold the ON/OFF button to switch the navigation
system off.The navigation system can also be turned on and off manually if necessary. If
the navigation system was switched on in this way with the ignition key
removed, it will remain available for about thirty minutes.
If the system was switched off manually, it will not be switched on again auto-
matically the next time the ignition is turned on.
Note
To avoid discharging the battery, the navigation system should not be left
switched on for unnecessary long periods with the engine off.
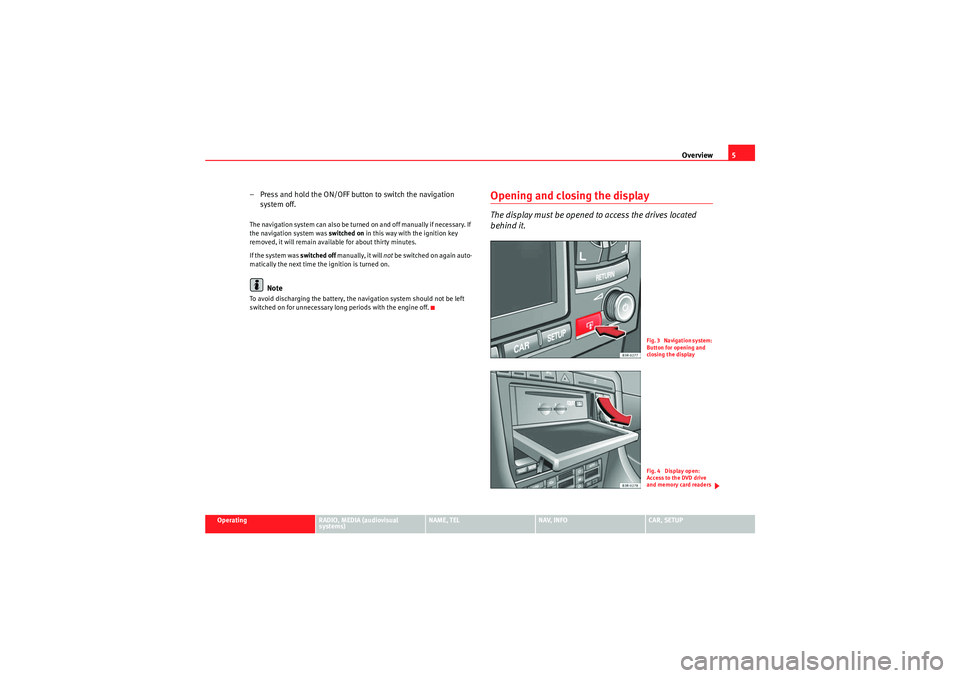
Opening and closing the displayThe display must be opened to access the drives located
behind it.
Fig. 3 Navigation system:
Button for opening and
closing the displayFig. 4 Display open:
Access to the DVD drive
and memory card readers
media_systemE_EN.book Seite 5 Montag, 21. September 2009 1:48 13
Page 12 of 167
Handling: General information11
Operating
RADIO, MEDIA (audiovisual
systems)
NAME, TEL
NAV, INFO
CAR, SETUP
History function
The system recalls the previous settings.When a function button is pressed, the system will switch to the most recently
accessed menu level for the specific main function. This includes any
sublevels that were opened. This excludes the Setup menus.
The history memory is erased when the system moves into standby mode.
An example: You are currently in radio mode and have selected the Control
menu. You switch to the navigation menu by pressing the button. If you
then press the button, you will return to the menu selected before
leaving radio mode. In this case, the Control menu of the radio is shown in the
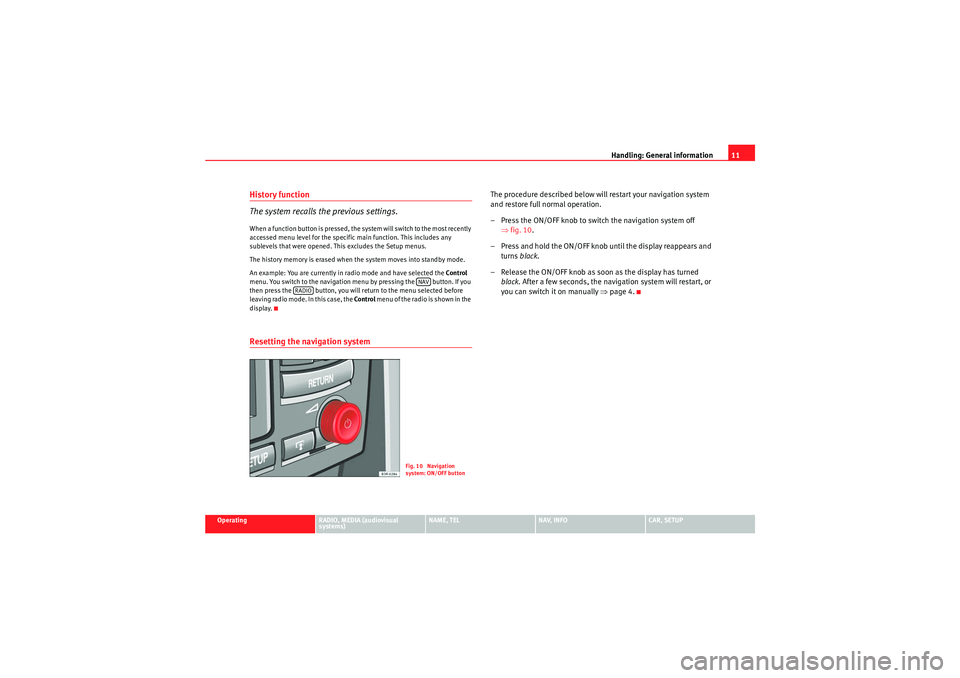
display.Resetting the navigation system
The procedure described below will restart your navigation system
and restore full normal operation.
– Press the ON/OFF knob to switch the navigation system off ⇒fig. 10 .
– Press and hold the ON/OFF knob until the display reappears and turns black.
– Release the ON/OFF knob as soon as the display has turned black . After a few seconds, the navigation system will restart, or
you can switch it on manually ⇒page 4.
NAV
RADIO
Fig. 10 Navigation
system: ON/OFF button
media_systemE_EN.book Seite 11 Montag, 21. September 2009 1:48 13
Page 20 of 167
Display19
Operating
RADIO, MEDIA (audiovisual
systems)
NAME, TEL
NAV, INFO
CAR, SETUP
manually from numbers to letters using button or from letters to numbers
using .
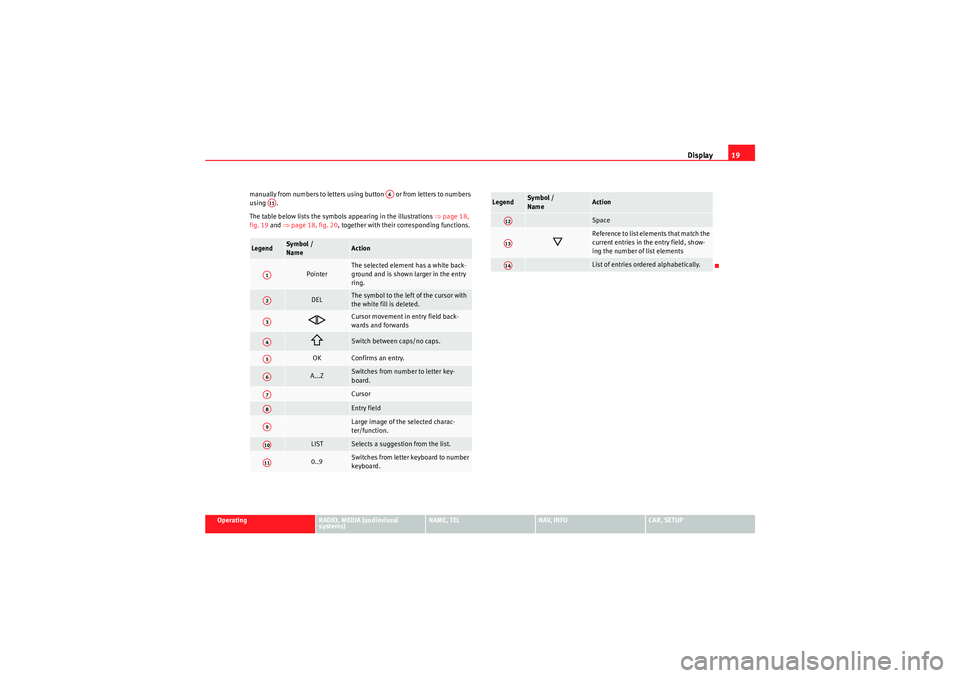
The table below lists the symbols appearing in the illustrations
⇒page 18,
fig. 19 and ⇒page 18, fig. 20 , together with their corresponding functions.
Legend
Sym bol /
Name
Action
Pointer
The selected element has a white back-
ground and is shown larger in the entry
ring.
DEL
The symbol to the left of the cursor with
the white fill is deleted.
Cursor movement in entry field back-
wards and forwards
Switch between caps/no caps.
OK
Confirms an entry.
A...Z
Switches from number to letter key-
board.CursorEntry fieldLarge image of the selected charac-
ter/function.
LIST
Selects a suggestion from the list.
0..9
Switches from letter keyboard to number
keyboard.
A6
A11A1A2A3A4A5A6A7A8A9A10A11
Space
Reference to list elements that match the
current entries in the entry field, show-
ing the number of list elementsList of entries ordered alphabetically.
Legend
Symbol /
Name
Action
A12A13A14
media_systemE_EN.book Seite 19 Montag, 21. September 2009 1:48 13
Page 37 of 167
RADIO
36The following settings are possible in radio setup:Band functionSelecting frequency band
The frequency band selection determines which radio
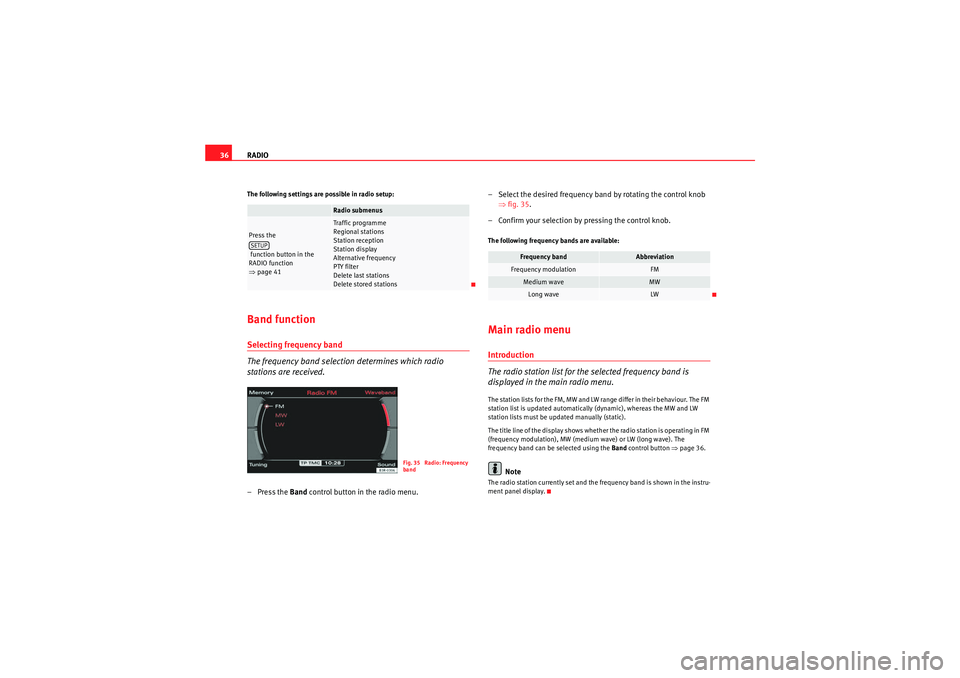
stations are received.– Press the Band control button in the radio menu. – Select the desired frequency band by rotating the control knob
⇒fig. 35 .
– Confirm your selection by pressing the control knob.
The following frequency bands are available:Main radio menuIntroduction
The radio station list for the selected frequency band is
displayed in the main radio menu.The station lists for the FM, MW and LW range differ in their behaviour. The FM
station list is updated automatically (dynamic), whereas the MW and LW
station lists must be updated manually (static).
The title line of the display shows whether the radio station is operating in FM
(frequency modulation), MW (medium wave) or LW (long wave). The
frequency band can be selected using the Band control button ⇒page 36.
Note
The radio station currently set and the frequency band is shown in the instru-
ment panel display.
Radio submenus
Press the
function button in the
RADIO function
⇒page 41
Traffic programme
Regional stations
Station reception
Station display
Alternative frequency
PTY filter
Delete last stations
Delete stored stations
SETUP
Fig. 35 Radio: Frequency
band
Frequency band
Abbreviation
Frequency modulation
FM
Medium wave
MW
Long wave
LW
media_systemE_EN.book Seite 36 Montag, 21. September 2009 1:48 13
Page 38 of 167
RADIO37
Operating
RADIO, MEDIA (audiovisual
systems)
NAME, TEL
NAV, INFO
CAR, SETUP
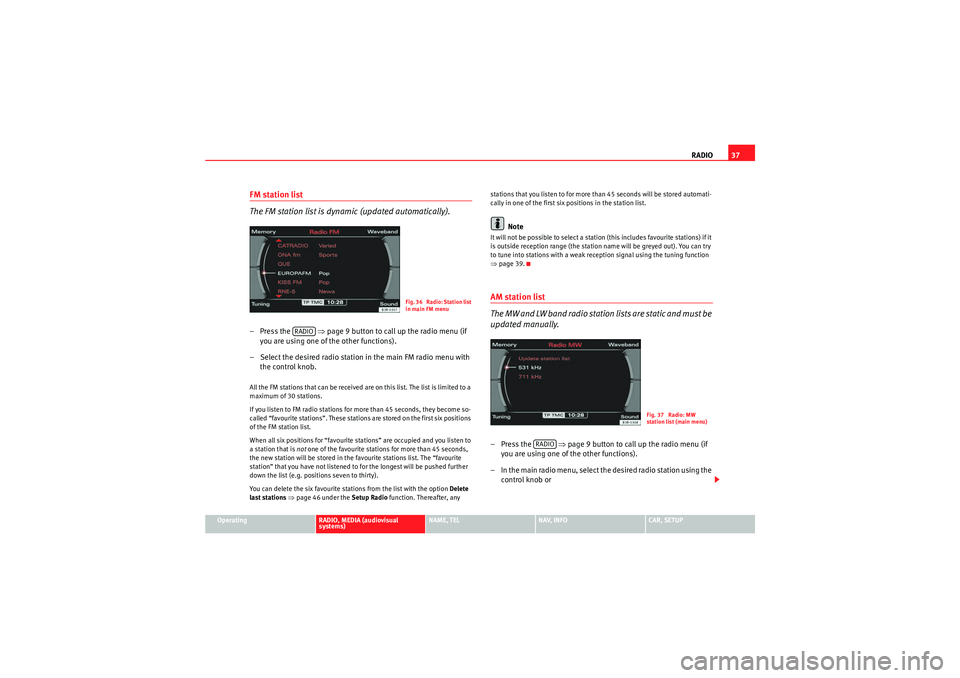
FM station list
The FM station list is dynamic (updated automatically).– Press the ⇒page 9 button to call up the radio menu (if
you are using one of the other functions).
– Select the desired radio station in the main FM radio menu with the control knob.All the FM stations that can be received are on this list. The list is limited to a
maximum of 30 stations.
If you listen to FM radio stations for more than 45 seconds, they become so-
called “favourite stations”. These stations are stored on the first six positions
of the FM station list.
When all six positions for “favourite stations” are occupied and you listen to
a station that is not one of the favourite stations for more than 45 seconds,
the new station will be stored in the favourite stations list. The “favourite
station” that you have not listened to for the longest will be pushed further
down the list (e.g. positions seven to thirty).
You can delete the six favourite stations from the list with the option Delete
last stations ⇒ page 46 under the Setup Radio function. Thereafter, any stations that you listen to for more than 45 seconds will be stored automati-
cally in one of the first six positions in the station list.
Note
It will not be possible to select a station (this includes favourite stations) if it
is outside reception range (the station name will be greyed out). You can try
to tune into stations with a weak reception signal using the tuning function
⇒
page 39.AM station list
The MW and LW band radio station lists are static and must be
updated manually.–Press the ⇒page 9 button to call up the radio menu (if
you are using one of the other functions).
– In the main radio menu, select the desired radio station using the control knob or
Fig. 36 Radio: Station list
in main FM menu
RADIO
Fig. 37 Radio: MW
station list (main menu)
RADIO
media_systemE_EN.book Seite 37 Montag, 21. September 2009 1:48 13
Page 39 of 167
RADIO
38
– Select Update station list ⇒page 37, fig. 37 to show the list of
stations that can be received at that time.All the MW and LW stations that can be received are included in the station
list at this time. The list is limited to a maximum of 30 stations.
If you are outside the transmission range for your station, it will still be
displayed but there will be interference in the signal. In this case, update your
list of stations ⇒page 37, fig. 37."Memory" MenuUsing the memory list
Up to 30 stations from all available frequency bands can be
saved in the memory list.Saving a new station
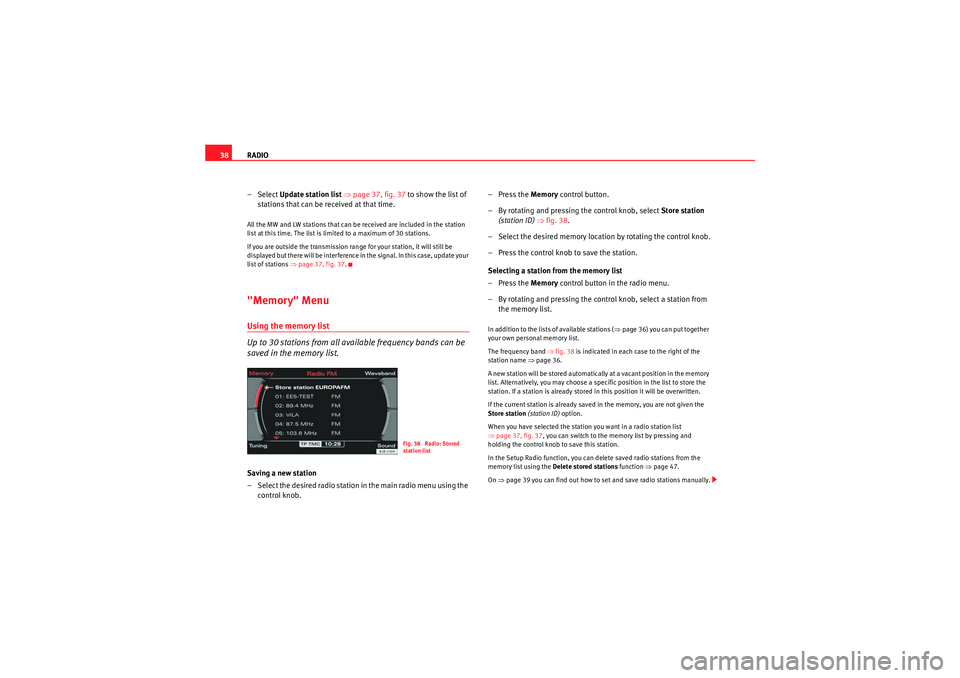
– Select the desired radio station in the main radio menu using the
control knob. –Press the
Memory control button.
– By rotating and pressing the control knob, select Store station
(station ID) ⇒ fig. 38 .
– Select the desired memory location by rotating the control knob.
– Press the control knob to save the station.
Selecting a station from the memory list
–Press the Memory control button in the radio menu.
– By rotating and pressing the control knob, select a station from the memory list.
In addition to the lists of available stations ( ⇒page 36) you can put together
your own personal memory list.
The frequency band ⇒fig. 38 is indicated in each case to the right of the
station name ⇒page 36.
A new station will be stored automatically at a vacant position in the memory
list. Alternatively, you may choose a specific position in the list to store the
station. If a station is already stored in this position it will be overwritten.
If the current station is already saved in the memory, you are not given the
Store station (station ID) option.
When you have selected the station you want in a radio station list
⇒ page 37, fig. 37 , you can switch to the memory list by pressing and
holding the control knob to save this station.
In the Setup Radio function, you can delete saved radio stations from the
memory list using the Delete stored stations function ⇒page 47.
On ⇒page 39 you can find out how to set and save radio stations manually.
Fig. 38 Radio: Stored
station list
media_systemE_EN.book Seite 38 Montag, 21. September 2009 1:48 13
Page 40 of 167
RADIO39
Operating
RADIO, MEDIA (audiovisual
systems)
NAME, TEL
NAV, INFO
CAR, SETUP
Note
If you are outside the transmission range for the stations saved in the list, you
will not be able to select them (the station names will be greyed out). You can
try to tune into stations with a weak reception signal using the tuning func-
tion ⇒page 39.Tuning MenuManual tuning
With the manual tuning option, even weak stations can be set
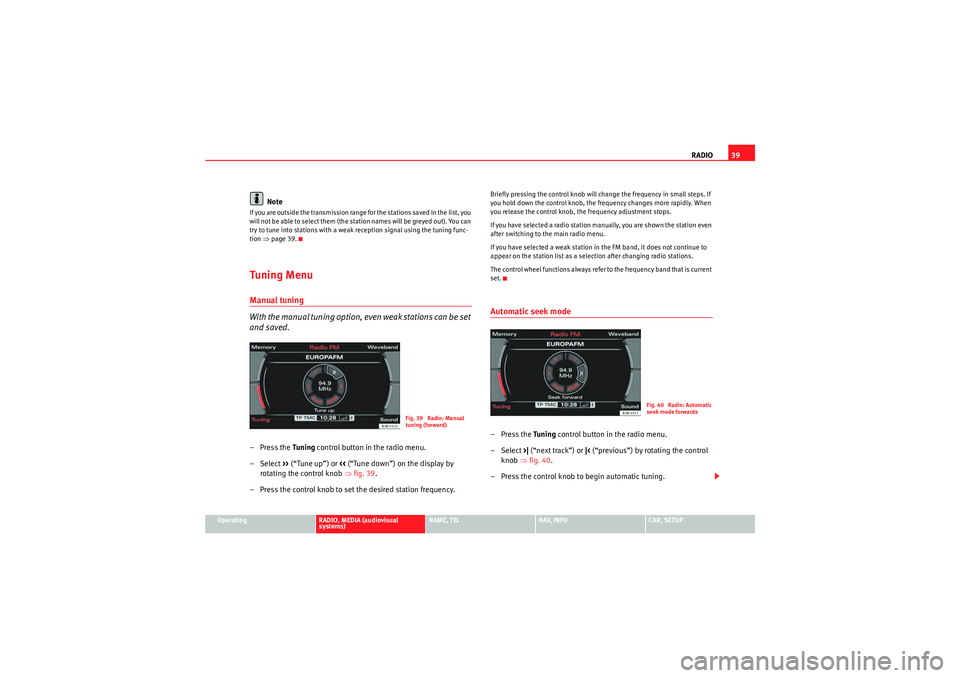
and saved.– Press the Tuning control button in the radio menu.
–Select >> (“Tune up”) or << (“Tune down”) on the display by
rotating the control knob ⇒fig. 39 .
– Press the control knob to set the desired station frequency.
Briefly pressing the control knob will change the frequency in small steps. If
you hold down the control knob, the frequency changes more rapidly. When
you release the control knob, the frequency adjustment stops.
If you have selected a radio station manually, you are shown the station even
after switching to the main radio menu.
If you have selected a weak station in the FM band, it does not continue to
appear on the station list as a selection after changing radio stations.
The control wheel functions always refer to the frequency band that is current
set.Automatic seek mode–Press the Tuning control button in the radio menu.
– Select >| (“next track”) or |< (“previous”) by rotating the control
knob ⇒fig. 40.
– Press the control knob to begin automatic tuning.
Fig. 39 Radio: Manual
tuning (forward)
Fig. 40 Radio: Automatic
seek mode forwards
media_systemE_EN.book Seite 39 Montag, 21. September 2009 1:48 13
Page 41 of 167
RADIO
40By briefly pressing the control knob you start automatic seek, which stops at
the next receivable frequency. Since a station often broadcasts on different
frequency, the tuning stops at each of the receivable frequencies. This means
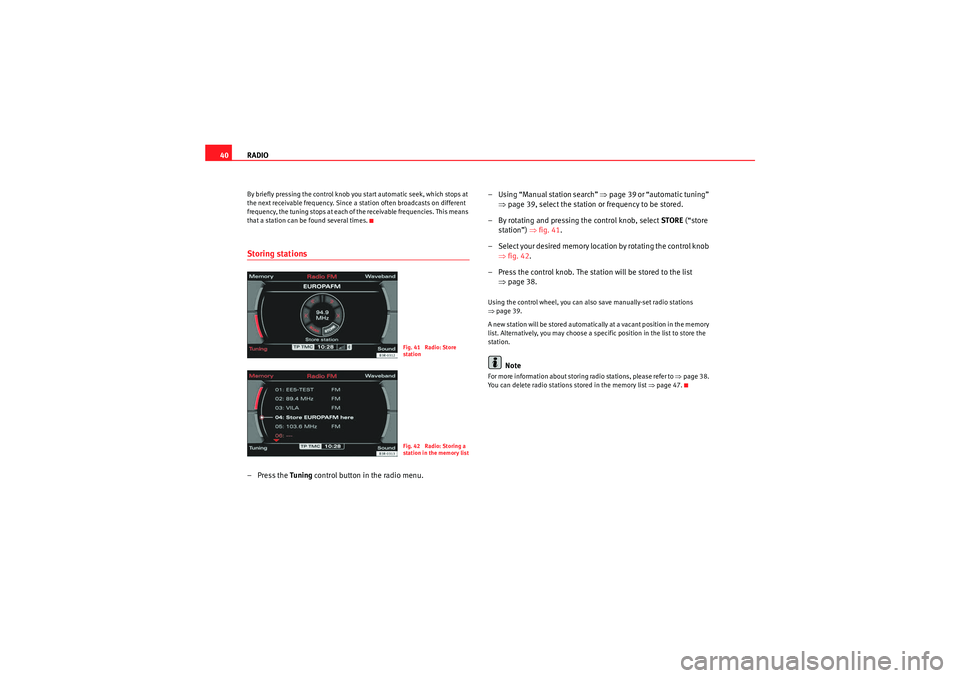
that a station can be found several times.Storing stations– Press the Tuning control button in the radio menu. – Using “Manual station search”
⇒page 39 or “automatic tuning”
⇒ page 39, select the station or frequency to be stored.
– By rotating and pressing the control knob, select STORE (“store
station”) ⇒fig. 41 .
– Select your desired memory location by rotating the control knob ⇒fig. 42 .
– Press the control knob. The station will be stored to the list ⇒page 38.
Using the control wheel, you can also save manually-set radio stations
⇒page 39.
A new station will be stored automatically at a vacant position in the memory
list. Alternatively, you may choose a specific position in the list to store the
station.
Note
For more information about storing radio stations, please refer to ⇒page 38.
You can delete radio stations stored in the memory list ⇒page 47.
Fig. 41 Radio: Store
stationFig. 42 Radio: Storing a
station in the memory list
media_systemE_EN.book Seite 40 Montag, 21. September 2009 1:48 13
Page 103 of 167
Navigation (NAV)*
102If you are approaching a turn-off, an arrow will indicate the direction of the
turn-off. The name of the street onto which you must turn-off will also appear
under the arrow. The bar graph (countdown) ⇒page 101, fig. 119 on the
right in the display corresponds to the distance up to the turn-off.
If a change of lanes (e.g. on the motorway) is necessary before the turn-off,
you will be informed accordingly beforehand ⇒page 99, fig. 116 . Route guidance on the instrument panel display remains visible during navi-
gation even when you have selected other functions (e.g. radio).
Note
To switch from the route guidance display to the on-board computer* display,
press the Reset* button for the on-board computer. Press the Reset* button
repeatedly to return to the route guidance screen. For detailed information
regarding the on-board computer*, please refer to your Owner's Manual.Switching on the navigation system
The navigation functions can be selected with the func-
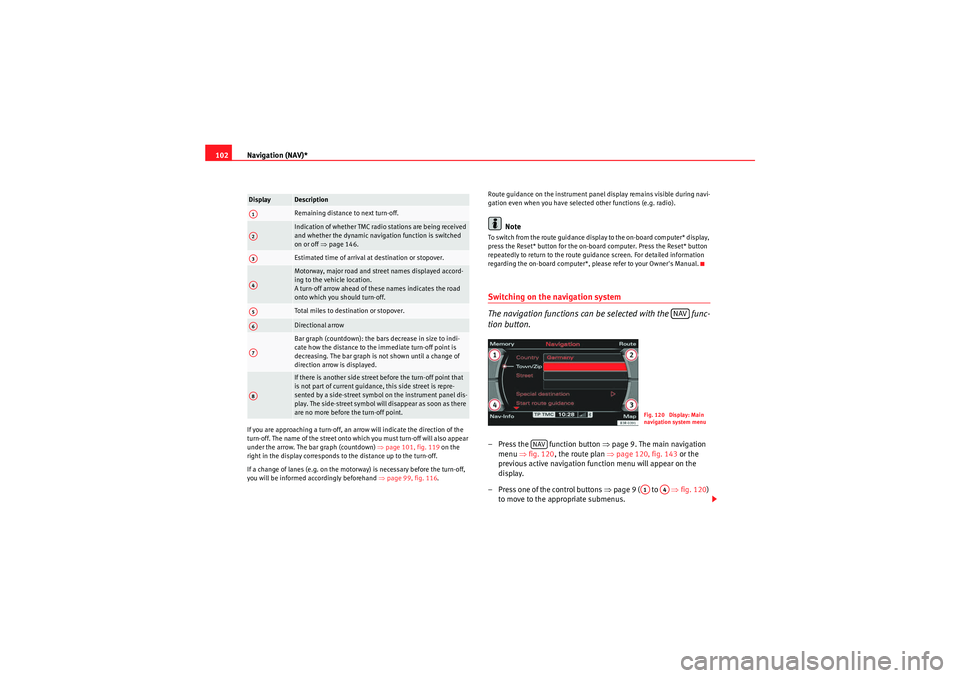
tion button.– Press the function button ⇒
page 9. The main navigation
menu ⇒fig. 120 , the route plan ⇒ page 120, fig. 143 or the
previous active navigation function menu will appear on the
display.
– Press one of the control buttons ⇒page 9 ( to ⇒ fig. 120)
to move to the appropriate submenus.
Display
DescriptionRemaining distance to next turn-off.Indication of whether TMC radio stations are being received
and whether the dynamic navigation function is switched
on or off ⇒page 146.Estimated time of arrival at destination or stopover.Motorway, major road and street names displayed accord-
ing to the vehicle location.
A turn-off arrow ahead of these names indicates the road
onto which you should turn-off.Total miles to destination or stopover.Directional arrowBar graph (countdown): the bars decrease in size to indi-
cate how the distance to the immediate turn-off point is
decreasing. The bar graph is not shown until a change of
direction arrow is displayed.If there is another side street before the turn-off point that
is not part of current guidance, this side street is repre-
sented by a side-street symbol on the instrument panel dis-
play. The side-street symbol will disappear as soon as there
are no more before the turn-off point.
A1A2A3A4A5A6A7A8
NAV
Fig. 120 Display: Main
navigation system menu
NAV
A1
A4
media_systemE_EN.book Seite 102 Montag, 21. September 2009 1:48 13