stop Seat Exeo ST 2009 ADAGIO
[x] Cancel search | Manufacturer: SEAT, Model Year: 2009, Model line: Exeo ST, Model: Seat Exeo ST 2009Pages: 45, PDF Size: 1.48 MB
Page 5 of 45
Introduction
4IntroductionImportant Information. Traffic safetyTravelling on today's roads requires the driver's full attention at all times.
Only operate the radio and its various functions when the traffic situation
really permits this.
WARNING
•Before starting the trip, you should familiarise yourself with the
different radio functions.•High audio volume may represent a danger to you and to others.•Adjust the volume in a way that you can distinguish surrounding noise,
for example, horns and sirens, etc.•Radio settings should be made when the car is stopped or by a
passenger.Note
Separate the radio navigation card and keep it in a safe place, but never
within the vehicle. If the radio is lost with the code, go to a SEAT Dealer, who
will help you.
Radio Adagio_EN.book Seite 4 Montag, 14. September 2009 10:50 10
Page 8 of 45
Overview7
Notes on traffic safetyIf you operate the sound system while driving, please consider the current
traffic situation and always be prepared to stop operating the system in the
interests of road safety. When driving, make use of the multi-function
steering wheel* ⇒ page 39 whenever possible.
WARNING
•Today's driving conditions require your full attention. As the driver, you
bear the responsibility for road safety. Therefore, only use the SEAT sound
system when traffic conditions allow as such, remaining in control of the
vehicle. If not, an accident may occur.•The volume of the sound system should be set at a level that enables
you to hear acoustic signals from outside, such as police and fire brigade
sirens. Failure to do so may cause an accident.•Always obey the laws controlling the use of telephones in vehicles!
Cleaning and careCleaning the display
– Use a soft, clean cloth and an LCD cleaner to clean the display.
Cleaning the control panel
– First clean the control panel with a brush to remove dust.
– Then wipe the controls with a clean, soft and slightly damp cloth. Caution
•Treat the display with care. Pushing on it with your fingers or touching it
with sharp objects can cause dents or scratches.•CD player cleaning disks can damage the media drives.
− Do not use a CD player cleaning disk to clean the media drives.
Radio Adagio_EN.book Seite 7 Montag, 14. September 2009 10:50 10
Page 9 of 45
Handling: General information
8Handling: General informationSwitching on and off– Briefly press the ON/OFF button to switch the sound system on.
You will then hear the audio source last used.
– Press and hold the ON/OFF button to switch the sound system off.The sound system will come on automatically when the ignition is switched
on . It will also automatically switch off when the ignition key is removed.
If the sound system is switched on manually while the ignition key is
removed, it will remain on for about 60 minutes.
If the sound system was switched off manually, it will not come on again auto-
matically when the ignition is switched on.Adjusting the volumeIncreasing and reducing the volume
– Turn the ON/OFF button clockwise or anti-clockwise.
Mute function
– Briefly press the ON/OFF knob. The volume for the enabled audio source will then be switched off. A crossed-out loudspeaker
symbol will appear in the display. Any CD media drives enabled
will stop (pause function). – To restore the volume, briefly press the ON/OFF button or
– Turn the ON/OFF button clockwise.
When you switch on the system, excessive volume levels are reduced auto-
matically to a preset level ⇒
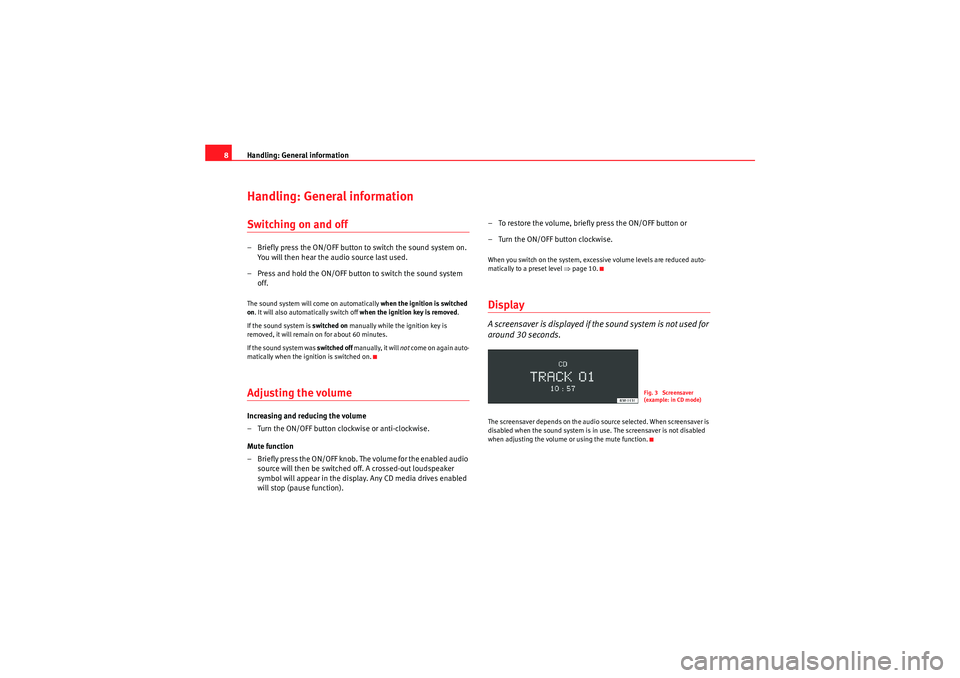
page 10.DisplayA screensaver is displayed if the sound system is not used for
around 30 seconds.The screensaver depends on the audio source selected. When screensaver is
disabled when the sound system is in use. The screensaver is not disabled
when adjusting the volume or using the mute function.
Fig. 3 Screensaver
(example: in CD mode)
Radio Adagio_EN.book Seite 8 Montag, 14. September 2009 10:50 10
Page 10 of 45
Handling: General information9
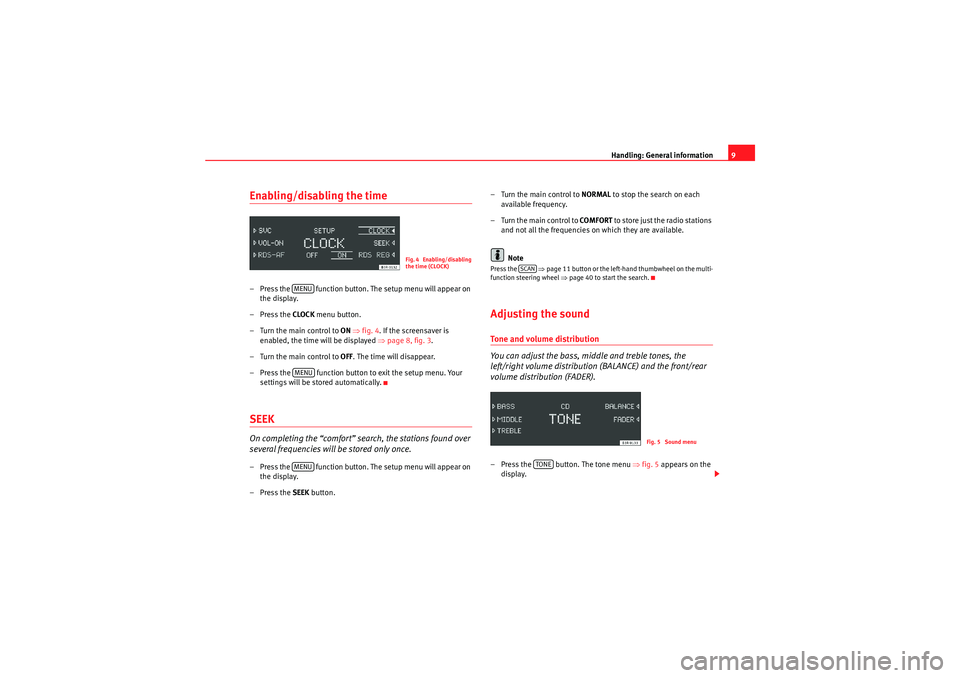
Enabling/disabling the time– Press the function button. The setup menu will appear on
the display.
–Press the CLOCK menu button.
– Turn the main control to ON ⇒ fig. 4 . If the screensaver is
enabled, the time will be displayed ⇒page 8, fig. 3 .
– Turn the main control to OFF. The time will disappear.
– Press the function button to exit the setup menu. Your settings will be stored automatically.SEEKOn completing the “comfort” search, the stations found over
several frequencies will be stored only once.– Press the function button. The setup menu will appear on
the display.
–Press the SEEK button. – Turn the main control to
NORMAL to stop the search on each
available frequency.
– Turn the main control to COMFORT to store just the radio stations
and not all the frequencies on which they are available.
Note
Press the ⇒page 11 button or the left-hand thumbwheel on the multi-
function steering wheel ⇒page 40 to start the search.Adjusting the soundTone and volume distribution
You can adjust the bass, middle and treble tones, the
left/right volume distribution (BALANCE) and the front/rear
volume distribution (FADER).– Press the button. The tone menu ⇒fig. 5 appears on the
display.
Fig. 4 Enabling/disabling
the time (CLOCK)
MENUMENUMENU
SCAN
Fig. 5 Sound menu
TONE
Radio Adagio_EN.book Seite 9 Montag, 14. September 2009 10:50 10
Page 21 of 45
Drives
20
NotePlease refer to the manufacturer's operating instructions for important infor-
mation on how to use your memory stick or MP3 player.Connecting a memory stick / MP3 player
For problem-free operation, use only approved memory sticks
and MP3 players.– Switch on your vehicle's sound system.
–Enable radio mode.
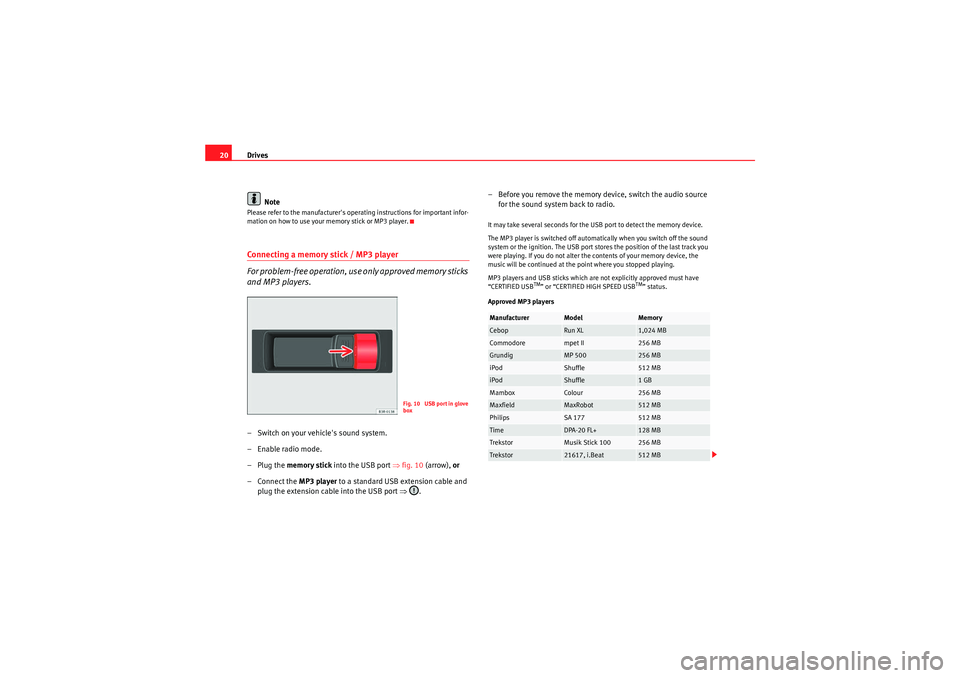
–Plug the memory stick into the USB port ⇒fig. 10 (arrow), or
– Connect the MP3 player to a standard USB extension cable and
plug the extension cable into the USB port ⇒ .– Before you remove the memory device, switch the audio source
for the sound system back to radio.
It may take several seconds for the USB port to detect the memory device.
The MP3 player is switched off automatically when you switch off the sound
system or the ignition. The USB port stores the position of the last track you
were playing. If you do not alter the contents of your memory device, the
music will be continued at the point where you stopped playing.
MP3 players and USB sticks which are not explicitly approved must have
“CERTIFIED USB
TM” or “CERTIFIED HIGH SPEED USB
TM” status.
Approved MP3 players
Fig. 10 USB port in glove
box
Manufacturer
Model
Memory
Cebop
Run XL
1,024 MB
Commodore
mpet II
256 MB
Grundig
MP 500
256 MB
iPod
Shuffle
512 MB
iPod
Shuffle
1 GB
Mambox
Colour
256 MB
Maxfield
MaxRobot
512 MB
Philips
SA 177
512 MB
Time
DPA-20 FL+
128 MB
Trekstor
Musik Stick 100
256 MB
Trekstor
21617, i.Beat
512 MB
Radio Adagio_EN.book Seite 20 Montag, 14. September 2009 10:50 10
Page 26 of 45
CD25
– To change up a directory, press the left arrow button or press the main control.
Selecting a trackYou can jump to the previous or next track on a CD.– Press the forward or reverse button, or
– Turn the main control clockwise or anti-clockwise. The selected track will be played.If you press the “back” button within three seconds before the track begins,
the previous track will be played. As of the fourth second, the CD player will
go to the start of the current track.
Note
If the "Titelmix" option is set, tracks will be selected at random ⇒page 25.Fast forwards/RewindYou can fast forward and rewind within a track.– Press and hold the forward or reverse button. The fast
forward/rewind will start.
– Release the forward or reverse button to continue listening to the CD.
Fast forward within a track
You can fast forward within the track by keeping the central control pressed
down.
Rewind within a track
You can rewind within the track by keeping the central control pressed down.
On reaching the start of the track, rewind is stopped and the track is played
from the start.Applies to the market: EuropeanShuffle mode ("mix")When the "titelmix" function is enabled, all tracks on a CD or
in a folder are played in random order.– Press the button. SETUP will appear on the display.
–Press the MIX button.
– To enable the "titelmix" function, press the FOLDER or CD button.
– To disable the "titelmix" function, press the OFF button.
– Press the button to exit the menu.
A3
MENUMENU
Radio Adagio_EN.book Seite 25 Montag, 14. September 2009 10:50 10
Page 41 of 45
The multi-function steering wheel
40Radio modeSelecting the radio
– Press the button ⇒page 39, fig. 20 until a
station/station name appears on the instrument panel display.
Changing station
–Use the left thumbwheel ⇒ page 39, fig. 20 to scroll
up/down.
Tuning
– Press the left thumbwheel once to start the station search.
– Press the left thumbwheel again to stop the station search.If you hear only a hissing noise when you change stations, the current station
number has not been assigned or the se lected station is currently not within
the reception range.CD modeSelecting a CD
– Press the button ⇒page 39, fig. 20 until a CD track
appears on the instru ment panel display.
Next/previous track
–Use the left thumbwheel ⇒ page 39, fig. 20 to scroll
up/down. Fast forward
– Press and hold the left thumbwheel to start the fast forward.
– Release the left thumbwheel again to continue listening to the
CD.
Scroll the left thumbwheel up or down several click stops to skip up or down
through the tracks.Telephone modeSelecting a phone number
– Press the button ⇒ page 39, fig. 20 until a phone number
appears on the instru ment panel display.
Making a call
–Use the left thumbwheel ⇒page 39, fig. 20 to scroll up and
down through the phone book.
– Press the left thumbwheel . The number is dialled and the audio system is muted automatically.
Answering or ending calls
–Press the left thumbwheel .
Rejecting a call
– Keep the left thumbwheel held down.
MODE
AAAAAA
MODE
AA
AA
MODE
AAAAAAAA
Radio Adagio_EN.book Seite 40 Montag, 14. September 2009 10:50 10