fog light Seat Exeo ST 2009 Owner's manual
[x] Cancel search | Manufacturer: SEAT, Model Year: 2009, Model line: Exeo ST, Model: Seat Exeo ST 2009Pages: 316, PDF Size: 8.83 MB
Page 19 of 316
Safe driving17
Safety First
Controls and equipment
Practical tips
Technical Data
behind them; they will remain trapped without help and there is a mortal
risk.
•Never allow children to play in or around the vehicle. Close and lock
both the tailgate and all the doors when you leave the vehicle. Before you
lock the vehicle, make sure that there are no adults or children in the
vehicle.•Never transport passengers in the luggage compartment. Every
passenger must be properly belted in ⇒page 18.Note
•Air circulation in the vehicle helps reduce fogging of the windows. Used
air escapes through ventilation slits in the side trim of the luggage compart-
ment. Ensure that the ventilation slits are never covered.•Straps for securing the load to the fastening rings are commercially
available.Fastening rings
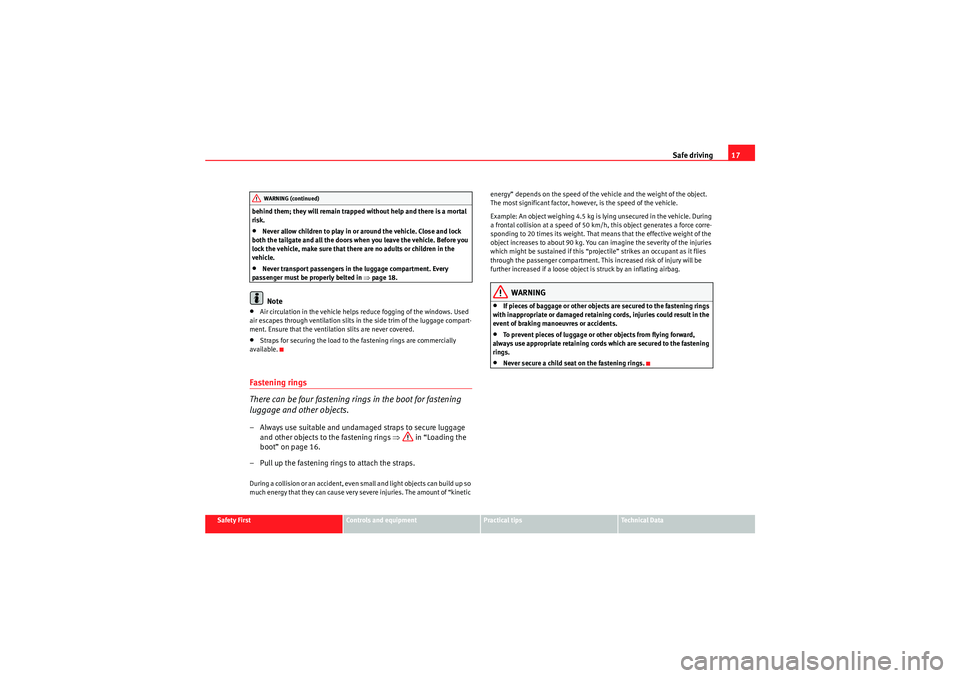
There can be four fastening rings in the boot for fastening
luggage and other objects.– Always use suitable and undamaged straps to secure luggage and other objects to the fastening rings ⇒ in “Loading the
boot” on page 16.
– Pull up the fastening rings to attach the straps.During a collision or an accident, even small and light objects can build up so
much energy that they can cause very severe injuries. The amount of “kinetic energy” depends on the speed of the vehicle and the weight of the object.
The most significant factor, however, is the speed of the vehicle.
Example: An object weighing 4.5 kg is lying unsecured in the vehicle. During
a frontal collision at a speed of 50 km/h, this object generates a force corre-
sponding to 20 times its weight. That means that the effective weight of the
object increases to about 90 kg. You can imagine the severity of the injuries
which might be sustained if this “projectile” strikes an occupant as it flies
through the passenger compartment. This increased risk of injury will be
further increased if a loose object is struck by an inflating airbag.
WARNING
•If pieces of baggage or other objects are secured to the fastening rings
with inappropriate or damaged retaining cords, injuries could result in the
event of braking manoeuvres or accidents.•To prevent pieces of luggage or other objects from flying forward,
always use appropriate retaining cords which are secured to the fastening
rings.•Never secure a child seat on the fastening rings.
WARNING (continued)
ExeoST_EN.book Seite 17 Donnerstag, 3. September 2009 12:24 12
Page 118 of 316
Lights and visibility
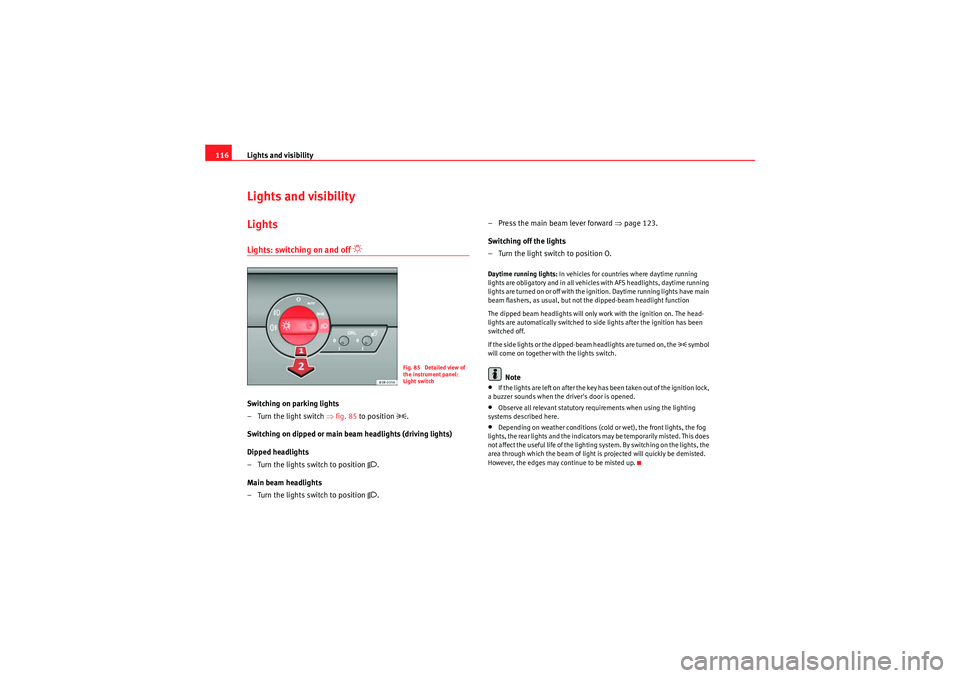
116Lights and visibilityLightsLights: switching on and off
Switching on parking lights
–Turn the light switch ⇒ fig. 85 to position
.
Switching on dipped or main beam headlights (driving lights)
Dipped headlights
– Turn the lights switch to position
.
Main beam headlights
– Turn the lights switch to position . – Press the main beam lever forward
⇒page 123.
Switching off the lights
– Turn the light switch to position O.
Daytime running lights: In vehicles for countries where daytime running
lights are obligatory and in all vehicles with AFS headlights, daytime running
lights are turned on or off with the ignition. Daytime running lights have main
beam flashers, as usual, but not the dipped-beam headlight function
The dipped beam headlights will only work with the ignition on. The head-
lights are automatically switched to side lights after the ignition has been
switched off.
If the side lights or the dipped-beam headlights are turned on, the
symbol
will come on together with the lights switch.
Note
•If the lights are left on after the key has been taken out of the ignition lock,
a buzzer sounds when the driver's door is opened.•Observe all relevant statutory requirements when using the lighting
systems described here.•Depending on weather conditions (cold or wet), the front lights, the fog
lights, the rear lights and the indicators may be temporarily misted. This does
not affect the useful life of the lighting system. By switching on the lights, the
area through which the beam of light is projected will quickly be demisted.
However, the edges may continue to be misted up.
Fig. 85 Detailed view of
the instrument panel:
Light switch
ExeoST_EN.book Seite 116 Donnerstag, 3. September 2009 12:24 12
Page 119 of 316
Lights and visibility117
Safety First
Controls and equipment
Practical tips
Technical Data
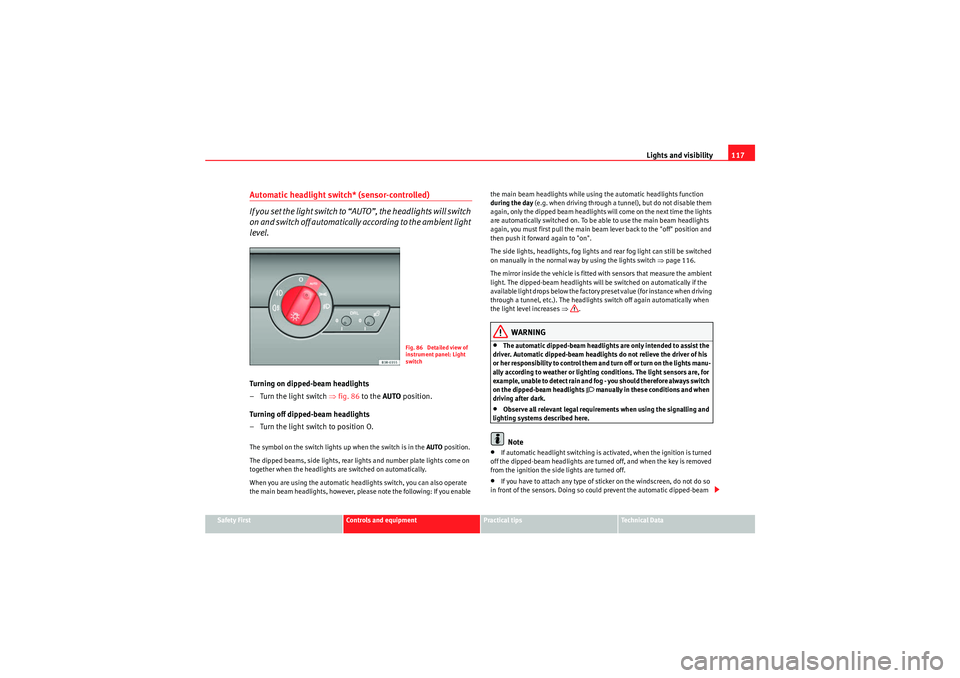
Automatic headlight switch* (sensor-controlled)
If you set the light switch to “AUTO”, the headlights will switch
on and switch off automatically according to the ambient light
level.Turning on dipped-beam headlights
– Turn the light switch ⇒fig. 86 to the AUTO position.
Turning off dipped-beam headlights
– Turn the light switch to position O.The symbol on the switch lights up when the switch is in the AUTO position.
The dipped beams, side lights, rear lights and number plate lights come on
together when the headlights are switched on automatically.
When you are using the automatic headlights switch, you can also operate
the main beam headlights, however, please note the following: If you enable the main beam headlights while using the automatic headlights function
during the day
(e.g. when driving through a tunnel), but do not disable them
again, only the dipped beam headlights will come on the next time the lights
are automatically switched on. To be able to use the main beam headlights
again, you must first pull the main beam lever back to the "off" position and
then push it forward again to "on".
The side lights, headlights, fog lights and rear fog light can still be switched
on manually in the normal way by using the lights switch ⇒page 116.
The mirror inside the vehicle is fitted with sensors that measure the ambient
light. The dipped-beam headlights will be switched on automatically if the
available light drops below the factory preset value (for instance when driving
through a tunnel, etc.). The headlights switch off again automatically when
the light level increases ⇒ .
WARNING
•The automatic dipped-beam headlights are only intended to assist the
driver. Automatic dipped-beam headlights do not relieve the driver of his
or her responsibility to control them an d turn off or turn on the lights manu-
ally according to weather or lighting conditions. The light sensors are, for
example, unable to detect rain and fog - you should therefore always switch
on the dipped-beam headlights
manually in these conditions and when
driving after dark.
•Observe all relevant legal requirements when using the signalling and
lighting systems described here.Note
•If automatic headlight switching is activated, when the ignition is turned
off the dipped-beam headlights are turned off, and when the key is removed
from the ignition the side lights are turned off.•If you have to attach any type of sticker on the windscreen, do not do so
in front of the sensors. Doing so could prevent the automatic dipped-beam
Fig. 86 Detailed view of
instrument panel: Light
switch
ExeoST_EN.book Seite 117 Donnerstag, 3. September 2009 12:24 12
Page 120 of 316
Lights and visibility
118headlight or anti-dazzle function from working correctly or even from working
at all.•The warning symbol
will appear on the instrument panel if a malfunc-
tion occurs ⇒ page 80.
•Observe all relevant legal requirements when using the signalling and
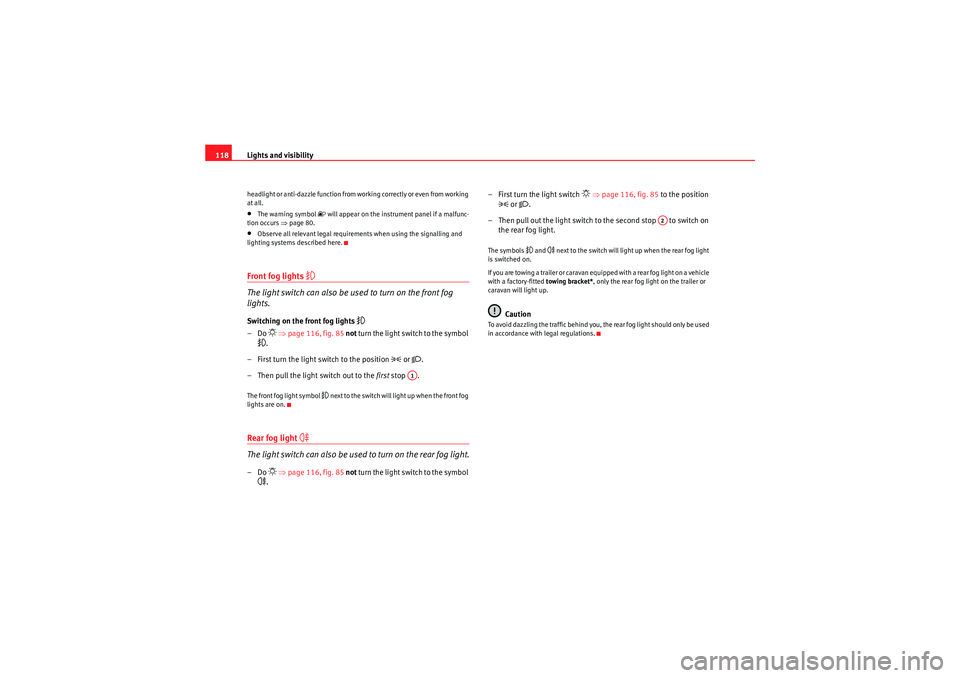
lighting systems described here.Front fog lights
The light switch can also be used to turn on the front fog
lights.Switching on the front fog lights
–Do
⇒ page 116, fig. 85 not turn the light switch to the symbol
.
– First turn the light switch to the position
or .
– Then pull the light switch out to the first stop .
The front fog light symbol
next to the switch will light up when the front fog
lights are on.
Rear fog light
The light switch can also be used to turn on the rear fog light.–Do
⇒ page 116, fig. 85 not turn the light switch to the symbol
. – First turn the light switch
⇒ page 116, fig. 85 to the position
or .
– Then pull out the light switch to the second stop to switch on the rear fog light.
The symbols
and
next to the switch will light up when the rear fog light
is switched on.
If you are towing a trailer or caravan equipped with a rear fog light on a vehicle
with a factory-fitted towing bracket*, only the rear fog light on the trailer or
caravan will light up.
Caution
To avoid dazzling the traffic behind you, the rear fog light should only be used
in accordance with legal regulations.
A1
A2
ExeoST_EN.book Seite 118 Donnerstag, 3. September 2009 12:24 12
Page 121 of 316

Lights and visibility119
Safety First
Controls and equipment
Practical tips
Technical Data
Coming home and leaving home functions*
The coming home and leaving home functions are used to
light up the surroundings in the dark. The front fog lights, the
rear side lights and the number plate light switch on.Enabling the functions
– Briefly press the knob ⇒ fig. 87 to release it from its set position.
– Turn the knob to position 1.
– Press the knob in again to prevent the setting from being changed unintentionally.
Disabling the functions
– Briefly press the knob ⇒ fig. 87 to release it from its set position.
– Turn the knob to position 0. – Press the knob in again to prevent the setting from being
changed unintentionally.
The coming home and leaving home functions are controlled by light sensors
in the rear view mirror housing. The system will function when the following
requirements are met:•The knob is set to position 1.•The headlights and the ignition are switched off.•Dark conditions; the sensors register little or no light.
Coming home
When the system is enabled and it is dark, the corresponding exterior lights
switch on as soon as the driver's door is opened.
The exterior lights will stay on for up to a maximum of 2 minutes as long as
one of the doors or the tailgate is open.
The exterior lights stay on for about 30 seconds to light up the area in front of
the car after all the doors and the tailgate have been closed.
This time interval is factory-set, but you can have it changed by a specialist
garage to suit your own requirements (max. setting is 60 seconds).
Leaving home
The exterior lights are switched on when the vehicle is unlocked with the
button on the remote control key.
The exterior lights go out when the driver's door is opened or after 60
seconds when the vehicle locks itself again automatically ⇒page 106.WARNING
Before leaving the vehicle, remove the key from the ignition, as the lights
will not go out if the coming home is enabled. This will lead to battery
discharge and vehicle breakdown.
Fig. 87 Detailed view of
the instrument panel:
Coming home and leaving
home functions
ExeoST_EN.book Seite 119 Donnerstag, 3. September 2009 12:24 12
Page 122 of 316

Lights and visibility
120
Note•If you always wish to use the coming home and leaving home functions,
you can leave them permanently switched on. As the system is controlled via
a light sensor, it will only work in dark conditions.•Permanent use of the coming home and leaving home functions, particu-
larly on short journeys, will increase the load on the battery. To make sure the
battery is always sufficiently charged, occasionally drive longer distances.•If the fog lights have been switched on by the coming home and leaving
home functions, they will always be switched off when you switch on the igni-
tion.•Observe all relevant legal requirements when using the signalling and
lighting systems described here.Instrument lighting
The brightness of the instrument lighting, displays and
centre console lighting can be varied as required.
– Press the button to increase the brightness.
– Press the button to reduce the brightness.With the ignition switched on
The lighting of the digital displays will adjust automatically, depending on
the ambient light.
With the vehicle's lights switched on
When the vehicle's lights are switched on, the brightness of the instrument
lighting, displays and centre console lighting can be varied by pressing the and buttons.Headlight range control
When the dipped beam headlights are switched on, the range
of the headlights can be adjusted to suit the load being
carried.
Fig. 88 Instrument panel
lighting
+-
+
-
Fig. 89 Headlight range
control
ExeoST_EN.book Seite 120 Donnerstag, 3. September 2009 12:24 12
Page 266 of 316
If and when
264Some of the electrical items listed in the table are only fitted on certain
models or are optional extras.
The electric windows and electric seat adjusters are protected by circuit
breakers . These reset automatically after a few seconds when the overload
(caused for example by frozen windows) has been corrected.
Note
Please note that the above list contains all data at the time of going to press,
so it is subject to modifications. If discrepancies should occur, please refer to
the sticker on the inside of the fuse cover for the correct information for your
model.
BulbsGeneral notesYou can change the following bulbs for exterior lights yourself:•Main headlights: all (except for xenon headlights)•Rear lights: All bulbs•Side indicator bulb
The following bulbs can only be changed by a qualified workshop:•Main headlights: Xenon* bulb ⇒page 271•Front fog lights: Bulb
As a rule, you require a certain degree of practical skill to change defective
bulbs. This applies in particular to those bulbs which are only accessible from
the engine compartment.
If in doubt, we recommend that you have defective bulbs changed by a qual-
ified workshop or qualified mechanic.
If you do decide to change bulbs in the engine compartment yourself, be
aware of the safety risks involved ⇒page 227 ⇒ in “Types of bulbs”.Changing bulbs Halogen headlightsTypes of bulbsYou must only replace a bulb with a bulb of the same type. The name can be
found on the base of the bulb.
33
Lighter
20
34
Diesel lambda-probe
5
35
Luggage compartment power point*
20
36
Wiper system
30
37
Pump for windscreen washer and headlight washer
system
30
38
Luggage compartment illumination, alarm
15
39
Radio, Amplifier
20
40
Horn
25
41
Va can t
30
42
Electronic stabilisation programme (ESP)
25
43
Engine management
15
44
Seat heating
35
No.
Consumer
Amps
ExeoST_EN.book Seite 264 Donnerstag, 3. September 2009 12:24 12
Page 267 of 316
If and when265
Safety First
Controls and equipment
Practical tips
Technical Data
WARNING
•Take particular care when working on components in the engine
compartment if the engine is warm - risk of burns!•Bulbs are highly sensitive to pressure. The glass can break when you
touch the bulb, causing injury.•The high voltage element of gas discharge lamps* (xenon light) must
be handled correctly. Otherwise, there is a risk of death.•When changing bulbs, please take care not to injure yourself on sharp
parts in the headlight housing.Caution
•Remove the ignition key before working on the electric system. If not, a
short circuit could occur.•Switch off the lights or parking lights before you change a bulb.For the sake of the environment
Please ask your specialist retailer how to dispose of used bulbs in the proper
manner.
Note
•Depending on weather conditions (cold or wet), the front lights, the fog
lights, the rear lights and the indicators may be temporarily misted. This does not affect the useful life of the lighting system. By switching on the lights, the
area through which the beam of light is projected will quickly be demisted.
However, the edges may continue to be misted.
•Please check at regular intervals that all lighting (especially the exterior
lighting) on your vehicle is functioning pr operly. This is not only in the interest
of your own safety, but also in that of all other road users.•Before changing a bulb, make sure you have the correct new bulb.•Do not touch the glass part of the bulb with your bare hands, use a cloth
or paper towel instead. Otherwise, the fingerprints left on the glass will
vaporise as a result of the heat generated by the bulb, be deposited on the
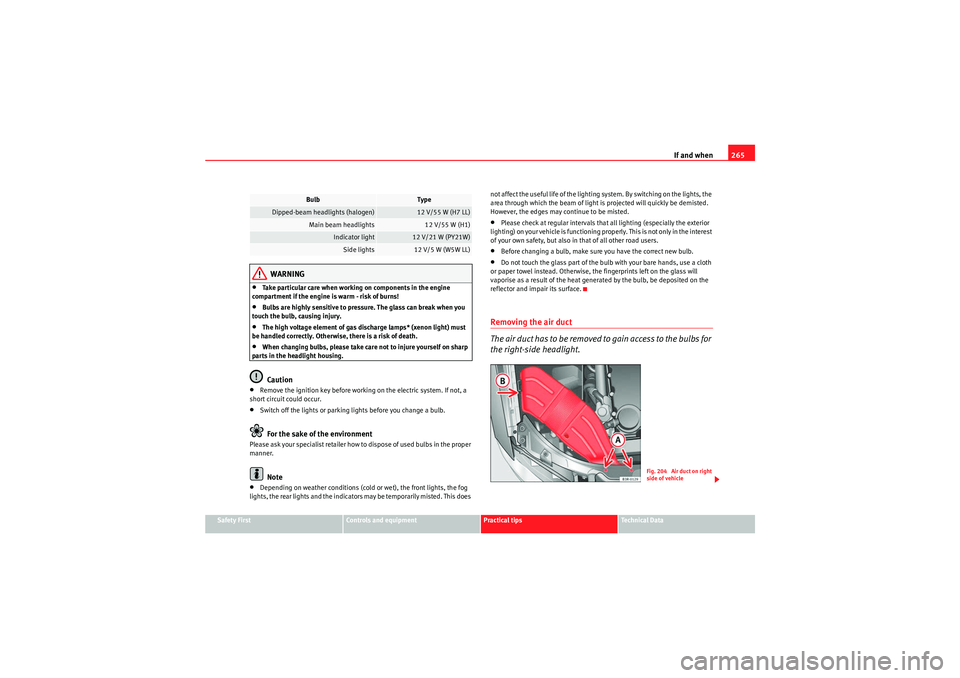
reflector and impair its surface.Removing the air duct
The air duct has to be removed to gain access to the bulbs for
the right-side headlight.
Bulb
Type
Dipped-beam headlights (halogen)
12 V/55 W (H7 LL)
Main beam headlights
12 V/55 W (H1)
Indicator light
12 V/21 W (PY21W)
Side lights
12 V/5 W (W5W LL)
Fig. 204 Air duct on right
side of vehicle
ExeoST_EN.book Seite 265 Donnerstag, 3. September 2009 12:24 12
Page 274 of 316
If and when
272
WARNING
•Take particular care when working on components in the engine
compartment if the engine is warm - risk of burns!•Bulbs are highly sensitive to pressure. The glass can break when you
touch the bulb, causing injury.•The high voltage element of gas discharge lamps* (xenon light) must
be handled correctly. Otherwise, there is a risk of death.•When changing bulbs, please take care not to injure yourself on sharp
parts in the headlight housing.Caution
•Remove the ignition key before working on the electric system. If not, a
short circuit could occur.•Switch off the lights or parking lights before you change a bulb.For the sake of the environment
Please ask your specialist retailer how to dispose of used bulbs in the proper
manner.
Note
•Depending on weather conditions (cold or wet), the front lights, the fog
lights, the rear lights and the indicators may be temporarily misted. This does not affect the useful life of the lighting system. By switching on the lights, the
area through which the beam of light is projected will quickly be demisted.
However, the edges may continue to be misted.
•Please check at regular intervals that all lighting (especially the exterior
lighting) on your vehicle is functioning properly. This is not only in the interest
of your own safety, but also in that of all other road users.•Before changing a bulb, make sure you have the correct new bulb.•Do not touch the glass part of the bulb with your bare hands, use a cloth
or paper towel instead. Otherwise, the fingerprints left on the glass will
vaporise as a result of the heat generated by the bulb, be deposited on the
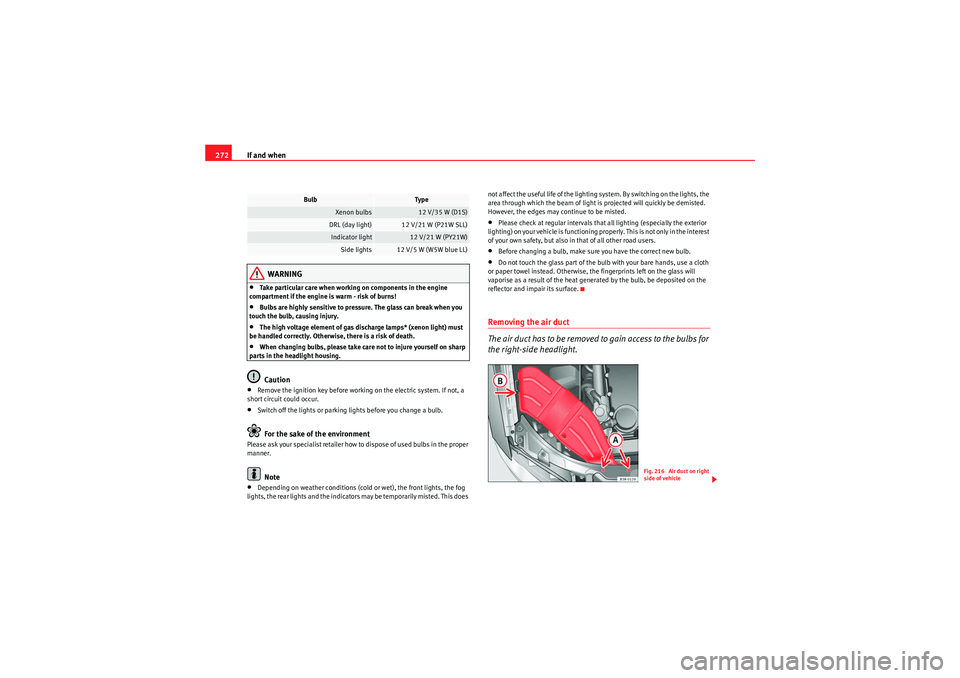
reflector and impair its surface.Removing the air duct
The air duct has to be removed to gain access to the bulbs for
the right-side headlight.
Bulb
Type
Xenon bulbs
12 V/35 W (D1S)
DRL (day light)
12 V/21 W (P21W SLL)
Indicator light
12 V/21 W (PY21W)
Side lights
12 V/5 W (W5W blue LL)
Fig. 216 Air duct on right
side of vehicle
ExeoST_EN.book Seite 272 Donnerstag, 3. September 2009 12:24 12
Page 283 of 316
If and when281
Safety First
Controls and equipment
Practical tips
Technical Data
Caution
Take care when fitting the rear light unit to make sure there is no damage to
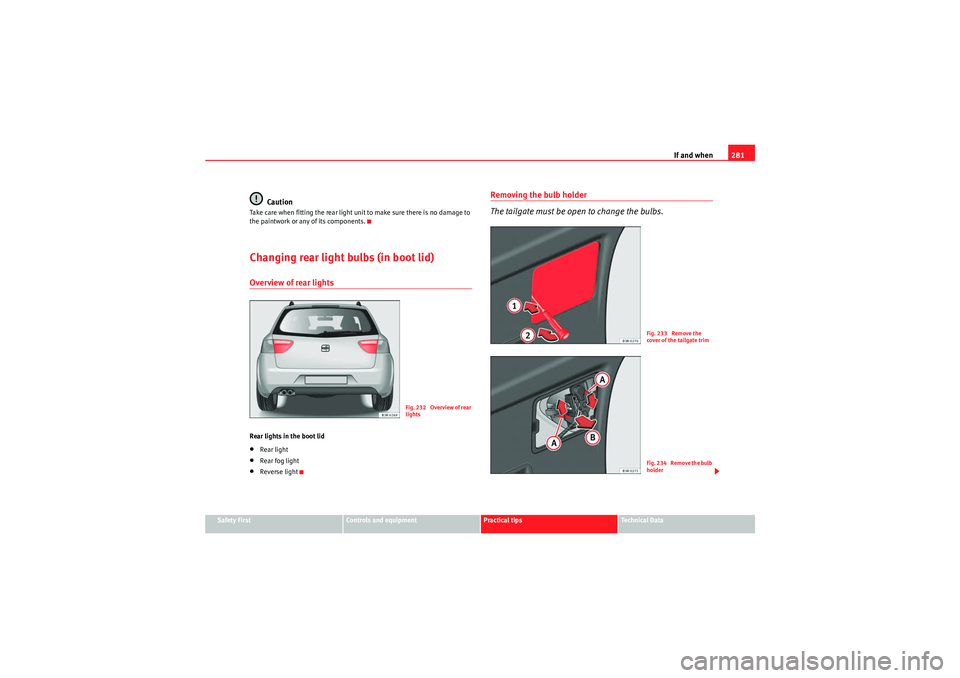
the paintwork or any of its components.Changing rear light bulbs (in boot lid)Overview of rear lightsRear lights in the boot lid•Rear light•Rear fog light•Reverse light
Removing the bulb holder
The tailgate must be open to change the bulbs.
F ig. 232 O ver vie w of rear
lights
Fig. 233 Remove the
cover of the tailgate trimFig. 234 Remove the bulb
holder
ExeoST_EN.book Seite 281 Donnerstag, 3. September 2009 12:24 12