clock Seat Exeo ST 2012 ADAGIO
[x] Cancel search | Manufacturer: SEAT, Model Year: 2012, Model line: Exeo ST, Model: Seat Exeo ST 2012Pages: 45, PDF Size: 1.55 MB
Page 9 of 45
Handling: General information
8Handling: General informationSwitching on and off– Briefly press the ON/OFF button to switch the sound system on.
You will then hear the audio source last used.
– Press and hold the ON/OFF button to switch the sound system off.The sound system will come on automatically when the ignition is switched
on . It will also automatically switch off when the ignition key is removed.
If the sound system is switched on manually while the ignition key is
removed, it will remain on for about 60 minutes.
If the sound system was switched off manually, it will not come on again auto-
matically when the ignition is switched on.Adjusting the volumeIncreasing and reducing the volume
– Turn the ON/OFF button clockwise or anti-clockwise.
Mute function
– Briefly press the ON/OFF knob. The volume for the enabled audio source will then be switched off. A crossed-out loudspeaker
symbol will appear in the display. Any CD media drives enabled
will stop (pause function). – To restore the volume, briefly press the ON/OFF button or
– Turn the ON/OFF button clockwise.
When you switch on the system, excessive volume levels are reduced auto-
matically to a preset level ⇒
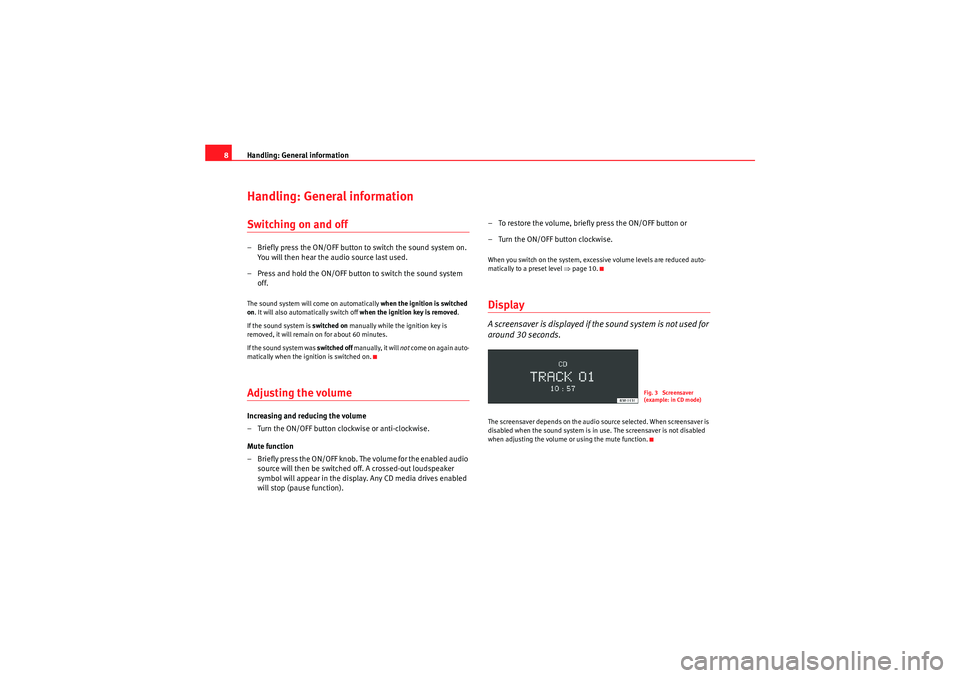
page 10.DisplayA screensaver is displayed if the sound system is not used for
around 30 seconds.The screensaver depends on the audio source selected. When screensaver is
disabled when the sound system is in use. The screensaver is not disabled
when adjusting the volume or using the mute function.
Fig. 3 Screensaver
(example: in CD mode)
Radio Adagio_EN.book Seite 8 Montag, 14. September 2009 10:50 10
Page 10 of 45
Handling: General information9
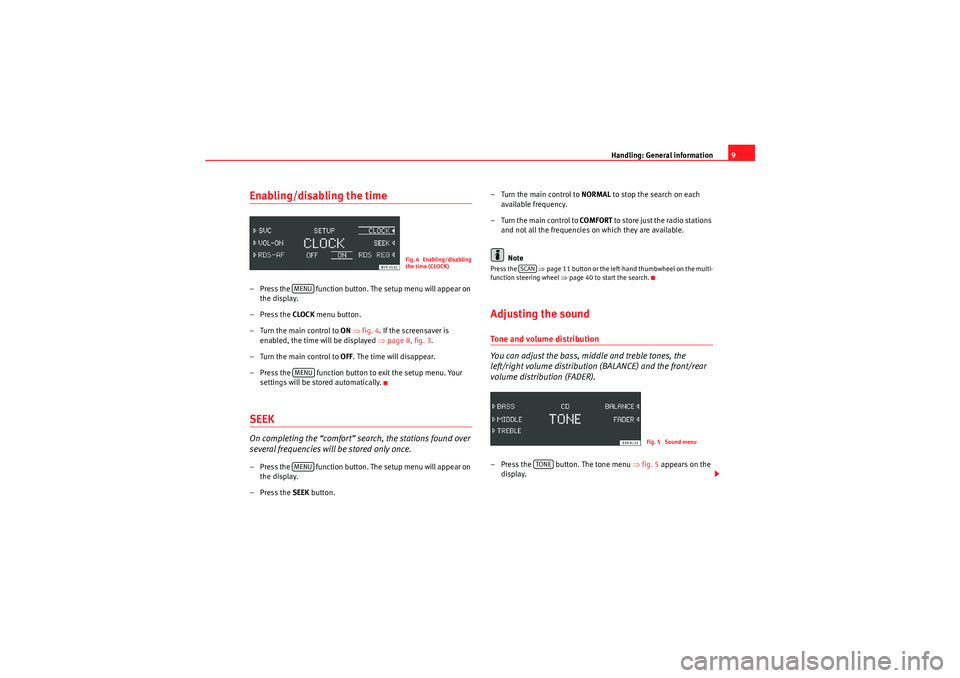
Enabling/disabling the time– Press the function button. The setup menu will appear on
the display.
–Press the CLOCK menu button.
– Turn the main control to ON ⇒ fig. 4 . If the screensaver is
enabled, the time will be displayed ⇒page 8, fig. 3 .
– Turn the main control to OFF. The time will disappear.
– Press the function button to exit the setup menu. Your settings will be stored automatically.SEEKOn completing the “comfort” search, the stations found over
several frequencies will be stored only once.– Press the function button. The setup menu will appear on
the display.
–Press the SEEK button. – Turn the main control to
NORMAL to stop the search on each
available frequency.
– Turn the main control to COMFORT to store just the radio stations
and not all the frequencies on which they are available.
Note
Press the ⇒page 11 button or the left-hand thumbwheel on the multi-
function steering wheel ⇒page 40 to start the search.Adjusting the soundTone and volume distribution
You can adjust the bass, middle and treble tones, the
left/right volume distribution (BALANCE) and the front/rear
volume distribution (FADER).– Press the button. The tone menu ⇒fig. 5 appears on the
display.
Fig. 4 Enabling/disabling
the time (CLOCK)
MENUMENUMENU
SCAN
Fig. 5 Sound menu
TONE
Radio Adagio_EN.book Seite 9 Montag, 14. September 2009 10:50 10
Page 11 of 45

Handling: General information
10
– Press the button assigned to the option you want to adjust. A bar will appear on the display.
– Turn the main control clockwise or anti-clockwise to adjust the tone or volume distribution.
– Press the button to exit the menu. Your settings will be stored automatically.GALA
GALA is the speed-dependent volume control function.– Press the button. The setup menu will appear on the display.
–Press the GALA button.
– Turn the main control clockwise or anti-clockwise for the volume to increase more or less when the speed is increased. The bar on
the display indicates the adjustment made.
– Press the button to exit the menu. Your settings will be stored automatically.
Volume when system is switched on (VOL-ON)
When you switch on the system, excessive volume levels are
reduced automatically to a preset level.– Press the button. The setup menu will appear on the display.
–Press the VOL-ON button.
– Turn the main control clockwise or anti-clockwise to set the maximum ON volume.
– Press the button to exit the menu. Your settings will be stored automatically.
TONEMENUMENU
MENUMENU
Radio Adagio_EN.book Seite 10 Montag, 14. September 2009 10:50 10
Page 12 of 45
Radio11
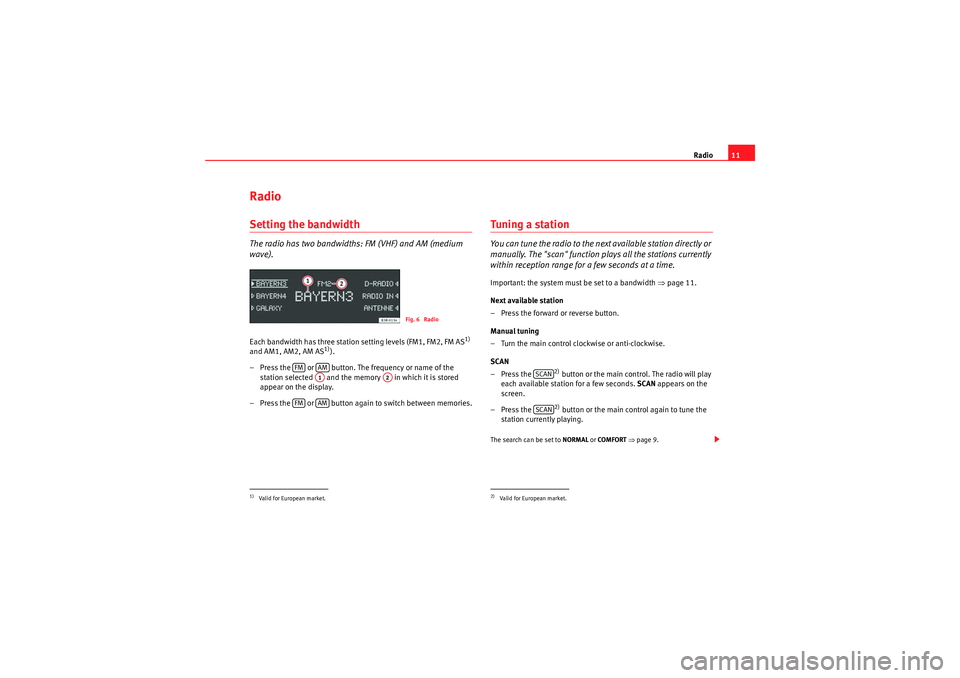
RadioSetting the bandwidthThe radio has two bandwidths: FM (VHF) and AM (medium
wave).Each bandwidth has three station setting levels (FM1, FM2, FM AS
1)
and AM1, AM2, AM AS
1)).
– Press the or button. The frequency or name of the station selected and the memory in which it is stored
appear on the display.
– Press the or button again to switch between memories.
Tuning a stationYou can tune the radio to the next available station directly or
manually. The "scan" function plays all the stations currently
within reception range for a few seconds at a time.Important: the system must be set to a bandwidth ⇒page 11.
Next available station
– Press the forward or reverse button.
Manual tuning
– Turn the main control clockwise or anti-clockwise.
SCAN
–Press the
2) button or the main control. The radio will play
each available station for a few seconds. SCAN appears on the
screen.
–Press the 2) button or the main control again to tune the
station currently playing.
The search can be set to NORMAL or COMFORT ⇒ page 9.
1)Valid for European market.
Fig. 6 Radio
FM
AMA1
A2
FM
AM
2)Valid for European market.
SCANSCAN
Radio Adagio_EN.book Seite 11 Montag, 14. September 2009 10:50 10
Page 14 of 45

Radio13
– Press the button to exit the menu.
Applies to the market: EuropeanRegional stationsSome FM stations broadcast different regional programmes
under the same name.– Press the button.
–Press the RDS-REG control button.
– Turn the main control to AUTO if you wish to re-tune automatically
to regional broadcasts. The radio will tune to the regional station
with the best reception.
– Turn the main control to OFF to prevent the radio from re-tuning
to regional broadcasts.
– Press the button to exit the menu.Applies to the market: EuropeanTraffic Programme (TP)Traffic announcements broadcast by FM stations are played
even if you are listening to an AM station or a CD.Switching on the Traffic Programme
–Press the button. TP will appear on the display. You will then
hear the latest traffic announcements when they are broadcast. Interrupting a traffic announcement
– Press the button. The current traffic announcement will be
interrupted. The Traffic Programme will remain active.
Adjusting the volume for traffic announcements
– Turn the ON/OFF button clockwise or anti-clockwise during a traffic announcement. The volume for traffic announcements will
be stored. The volume for radio and CD mode will not be
changed.
Switching off the Traffic Programme
– Press the button.
What happens when the selected traffic report station can no longer be
received?•If you are tuned to the FM bandwidth, you will hear a tone and NO TP will
appear on the display for a few seconds. Tune to another station manually
⇒ page 11.•If you are tuned to the AM bandwidth a new traffic report station will be
selected automatically.
If no traffic report stations can be received, NO TP will appear on the display.Note
I f t h e Tra f f i c P r o g r a m m e f un c t i o n i s e na b le d , o nl y t r a f f i c r e p o r t s t a t i o n s w il l b e
available when you are tuning within the FM bandwidth.
MENUMENUMENUTP
TPTP
Radio Adagio_EN.book Seite 13 Montag, 14. September 2009 10:50 10
Page 25 of 45
CD
24CDSelecting CD ModeImportant: A CD must have been inserted in the CD player
⇒ page 14.
– Press the button.The following information appears in the display:•Duration•CD track
7)
•Number of the track on the CD•Name of the directory/ album
7)
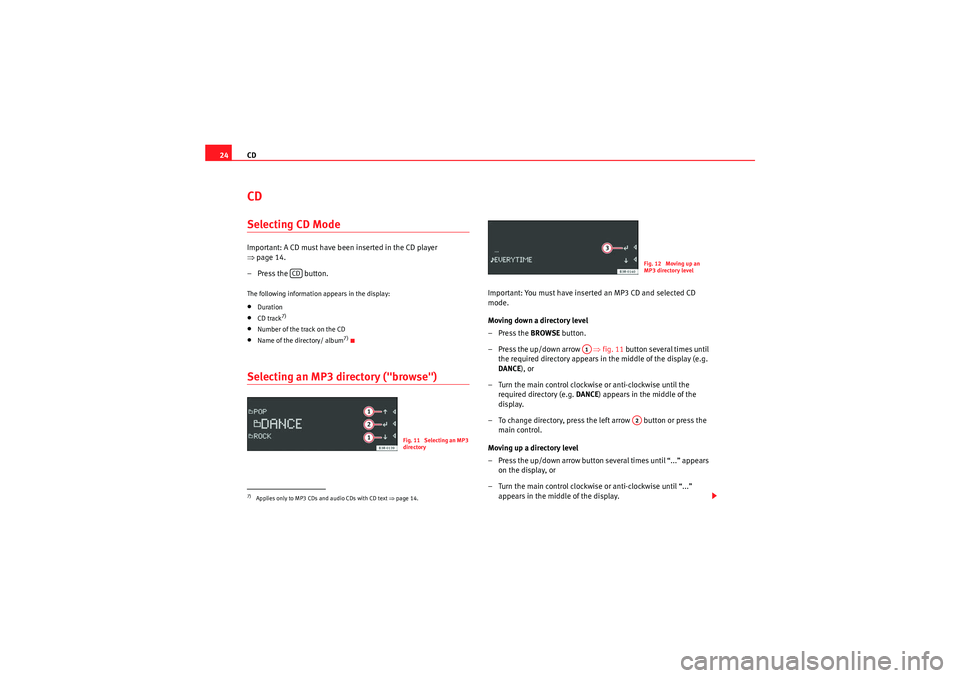
Selecting an MP3 directory ("browse")
Important: You must have inserted an MP3 CD and selected CD
mode.
Moving down a directory level
–Press the BROWSE button.
– Press the up/down arrow ⇒fig. 11 button several times until
the required directory appears in the middle of the display (e.g.
DANCE ), or
– Turn the main control clockwise or anti-clockwise until the required directory (e.g. DANCE) appears in the middle of the
display.
– To change directory, press the left arrow button or press the main control.
Moving up a directory level
– Press the up/down arrow button several times until “...” appears on the display, or
– Turn the main control clockwise or anti-clockwise until “...” appears in the middle of the display.
7)Applies only to MP3 CDs and audio CDs with CD text ⇒page 14.
CD
Fig. 11 Selecting an MP3
directory
Fig. 12 Moving up an
MP3 directory level
A1
A2
Radio Adagio_EN.book Seite 24 Montag, 14. September 2009 10:50 10
Page 26 of 45
CD25
– To change up a directory, press the left arrow button or press the main control.
Selecting a trackYou can jump to the previous or next track on a CD.– Press the forward or reverse button, or
– Turn the main control clockwise or anti-clockwise. The selected track will be played.If you press the “back” button within three seconds before the track begins,
the previous track will be played. As of the fourth second, the CD player will
go to the start of the current track.
Note
If the "Titelmix" option is set, tracks will be selected at random ⇒page 25.Fast forwards/RewindYou can fast forward and rewind within a track.– Press and hold the forward or reverse button. The fast
forward/rewind will start.
– Release the forward or reverse button to continue listening to the CD.
Fast forward within a track
You can fast forward within the track by keeping the central control pressed
down.
Rewind within a track
You can rewind within the track by keeping the central control pressed down.
On reaching the start of the track, rewind is stopped and the track is played
from the start.Applies to the market: EuropeanShuffle mode ("mix")When the "titelmix" function is enabled, all tracks on a CD or
in a folder are played in random order.– Press the button. SETUP will appear on the display.
–Press the MIX button.
– To enable the "titelmix" function, press the FOLDER or CD button.
– To disable the "titelmix" function, press the OFF button.
– Press the button to exit the menu.
A3
MENUMENU
Radio Adagio_EN.book Seite 25 Montag, 14. September 2009 10:50 10
Page 35 of 45
Mobile phone interface
34
– Press the talk button on the mobile phone adapter ⇒page 33, fig. 17 . The speech control system will answer with
Cancel and will be switched off.
Volume adjustment
– With the speech control system switched on, scroll the right thumbwheel of the multi-function steering wheel*
⇒page 33, fig. 16 up
or down
, or
– With the speech control system switched on, turn the ON/OFF button ⇒page 8 clockwise or anti-clockwise.
Control commands
The speech control system processes speech commands.The system confirms acceptance of speech commands verbally and guides
you through the dialogue.To ...
Speak this command:
Instruct the system to tell you which
commands are possible while a dia-
logue is active.
HELP
Enter the PIN code for the SIM card.
ENTER PIN ⇒ page 35
Enter a telephone number you want
to dial.
DIAL NUMBER ⇒ page 35
Select the telephone number associ-
ated with a name tag from the phone
book for the speech control system.
SELECT NAME ⇒ page 37
Dial a selected telephone number.
DIAL ⇒ page 35, ⇒page 37
A2
redial the last number dialled.
REDIAL ⇒ page 35
Store a name tag in the speech con-
trol system for a phone book entry
shown in the instrument panel dis-
play.
STORE ⇒ page 36
store a spoken name and telephone
number in the phone book for the
speech control system.
STORE ⇒ page 36
End a dialogue
CANCEL
Repeat a specified name or all of the
digits specified up to this point.
REPEAT
The system prompts you to Please
continue to enter other figures or
commands.
Delete the specified name or the last
entered block of digits.
BACK
The blocks of digits entered previ-
ously will be repeated. The system
prompts you to Please continue to
enter other figures or orders.
Delete all specified digits.
DELETE
The system will then give the cue
The number has been deleted.
Please continue so that you can
enter more figures or give another
command.
store names along with a telephone
number in the phone book for the
speech control system.
STORE NAME ⇒ page 36
To ...
Speak this command:
Radio Adagio_EN.book Seite 34 Montag, 14. September 2009 10:50 10